Pergola Builders in Auckland: From Quote to Handover

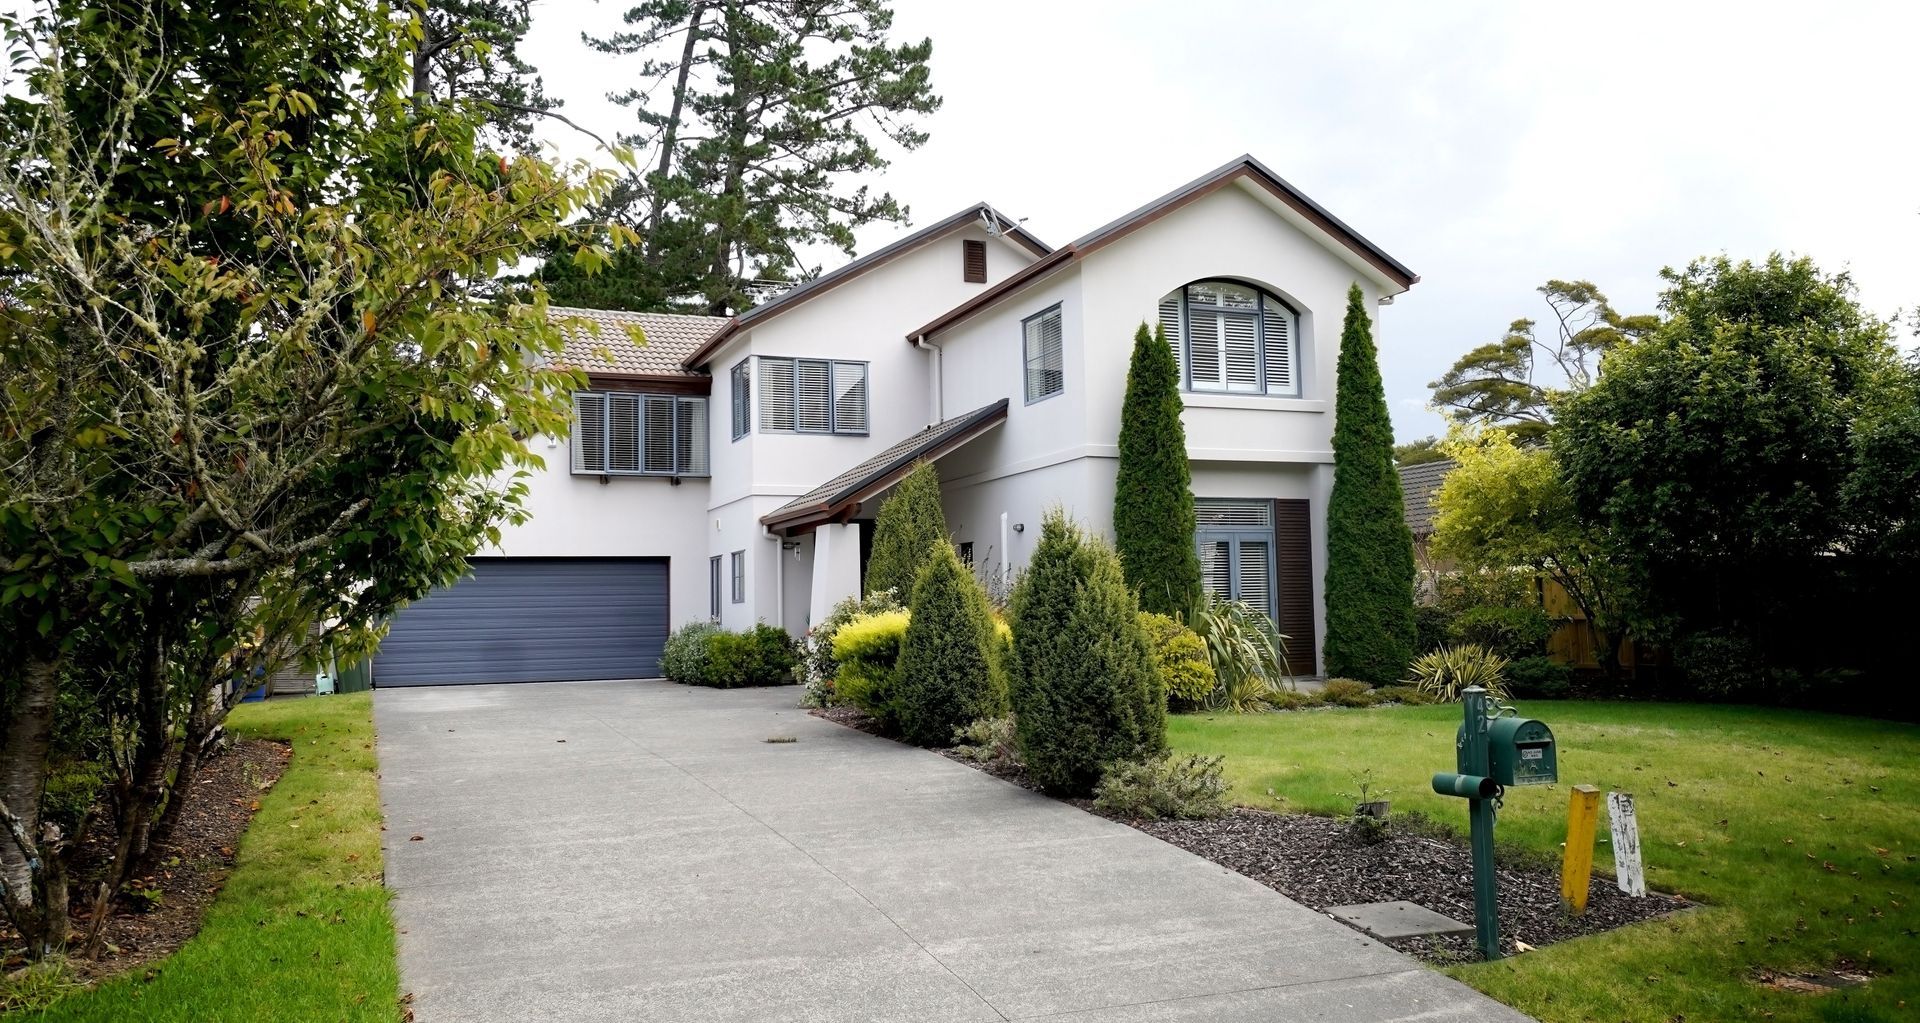
Two pergolas can look identical in the brochure and turn out completely different on your deck. The gap between them is made in the weeks between the first phone call and the day the builders pack up. If you're lining up pergola builders in Auckland, the most useful thing to know is what each stage of the build should produce, because a stage that's skipped or rushed is where the problems start. A site visit should end with measurements and notes on your ground. A quote should list what's in and what's out. Handover should come with paperwork, not just a wave from the ute.
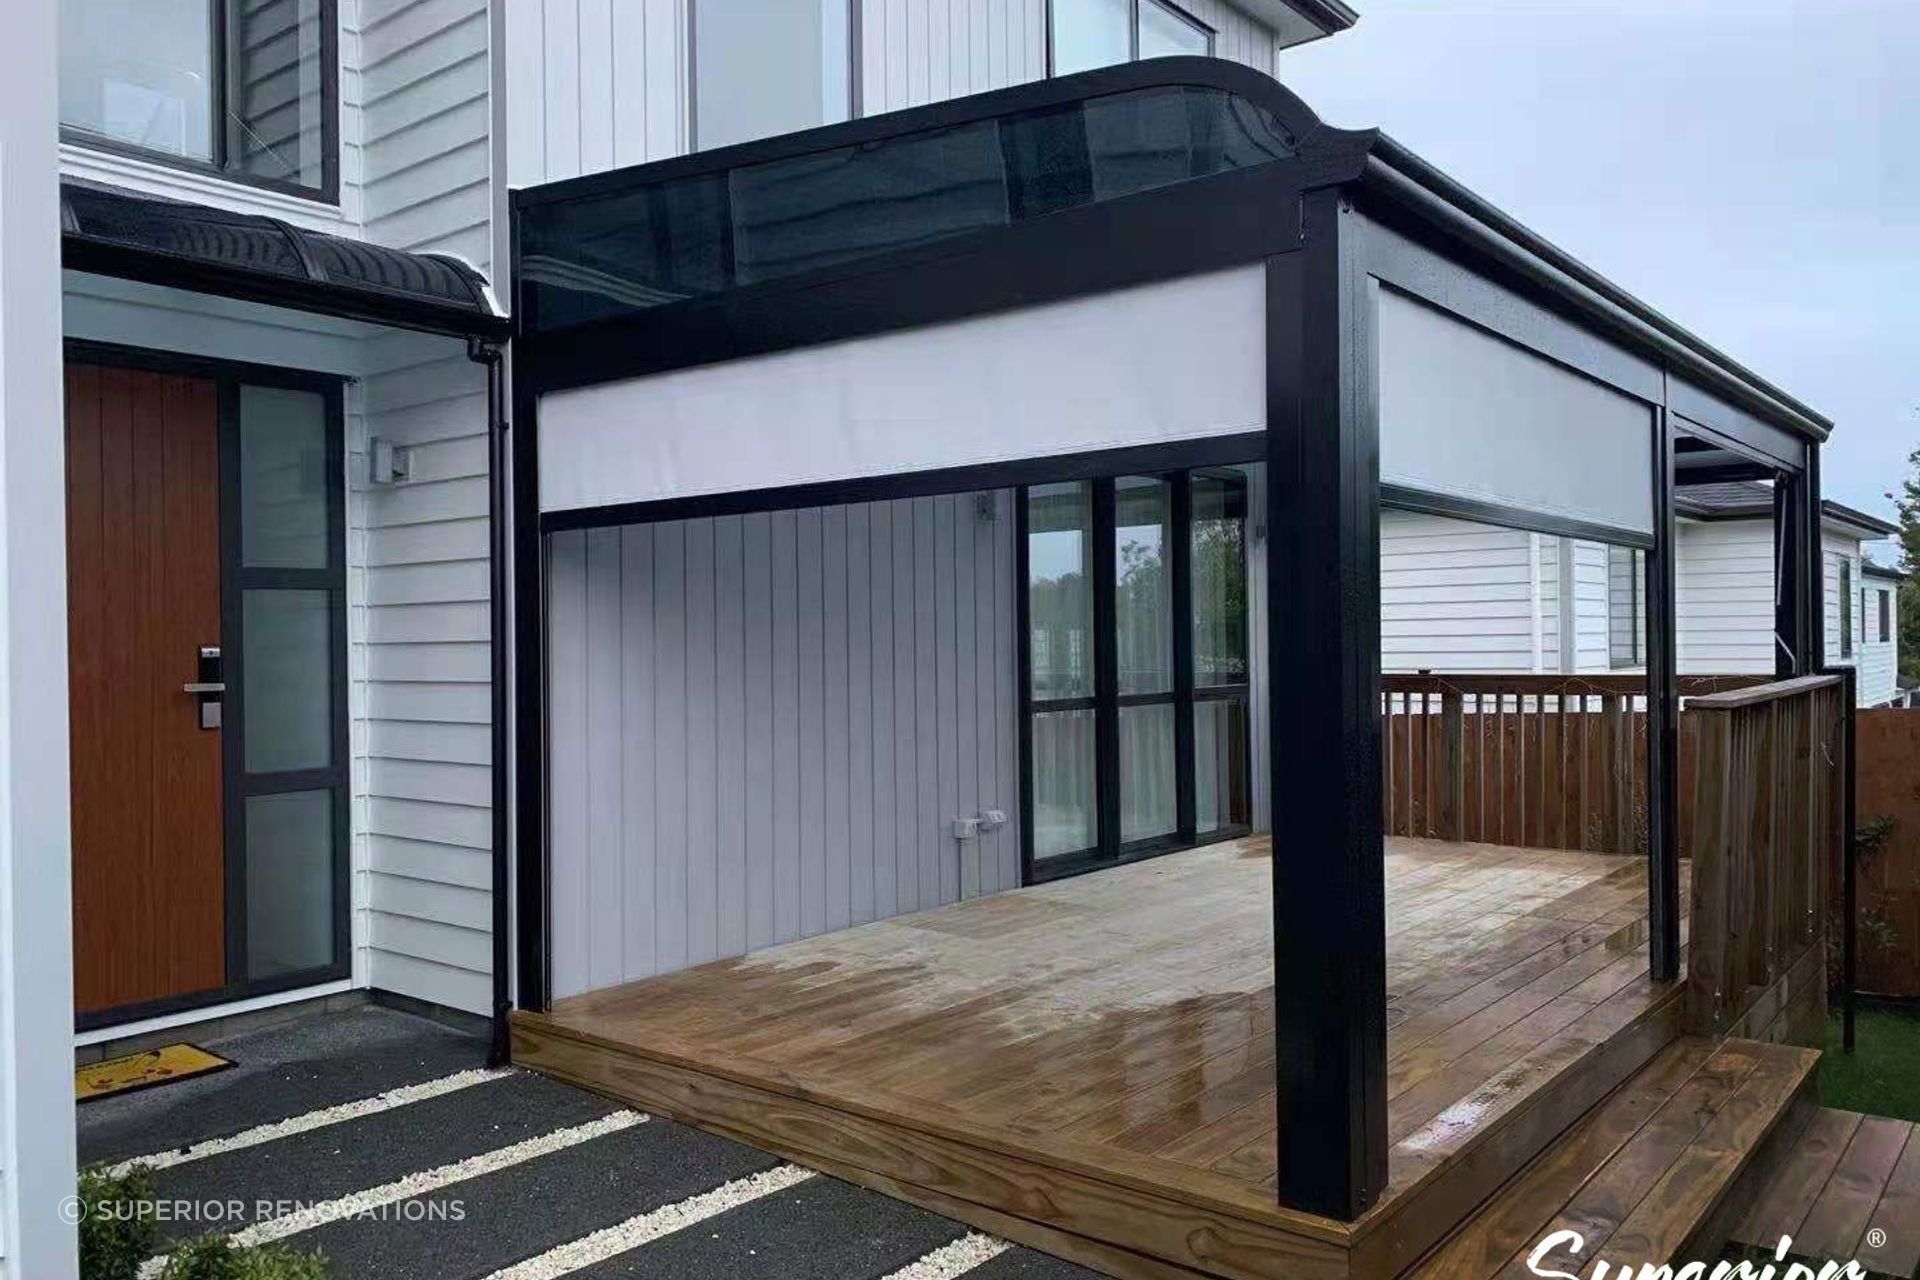
At Superior Renovations we build pergolas as part of our outdoor work across Auckland, and this is the sequence we follow, stage by stage, with what to check at each one. If you're still choosing between aluminium, timber and steel, start with Superior Renovations' pergola guide to materials, roofs and wind zones. If you want to see the whole outdoor service, here's how our outdoor team runs a pergola build from site visit to handover.
Stage one: the site visit that shapes the quote
A pergola quote written from photos and a phone call is a guess with a letterhead. The site decides more of the price than the frame does: how the ground behaves, how exposed the section is, how materials get from the street to the back of the house, and where water will go once there's a roof over the deck.
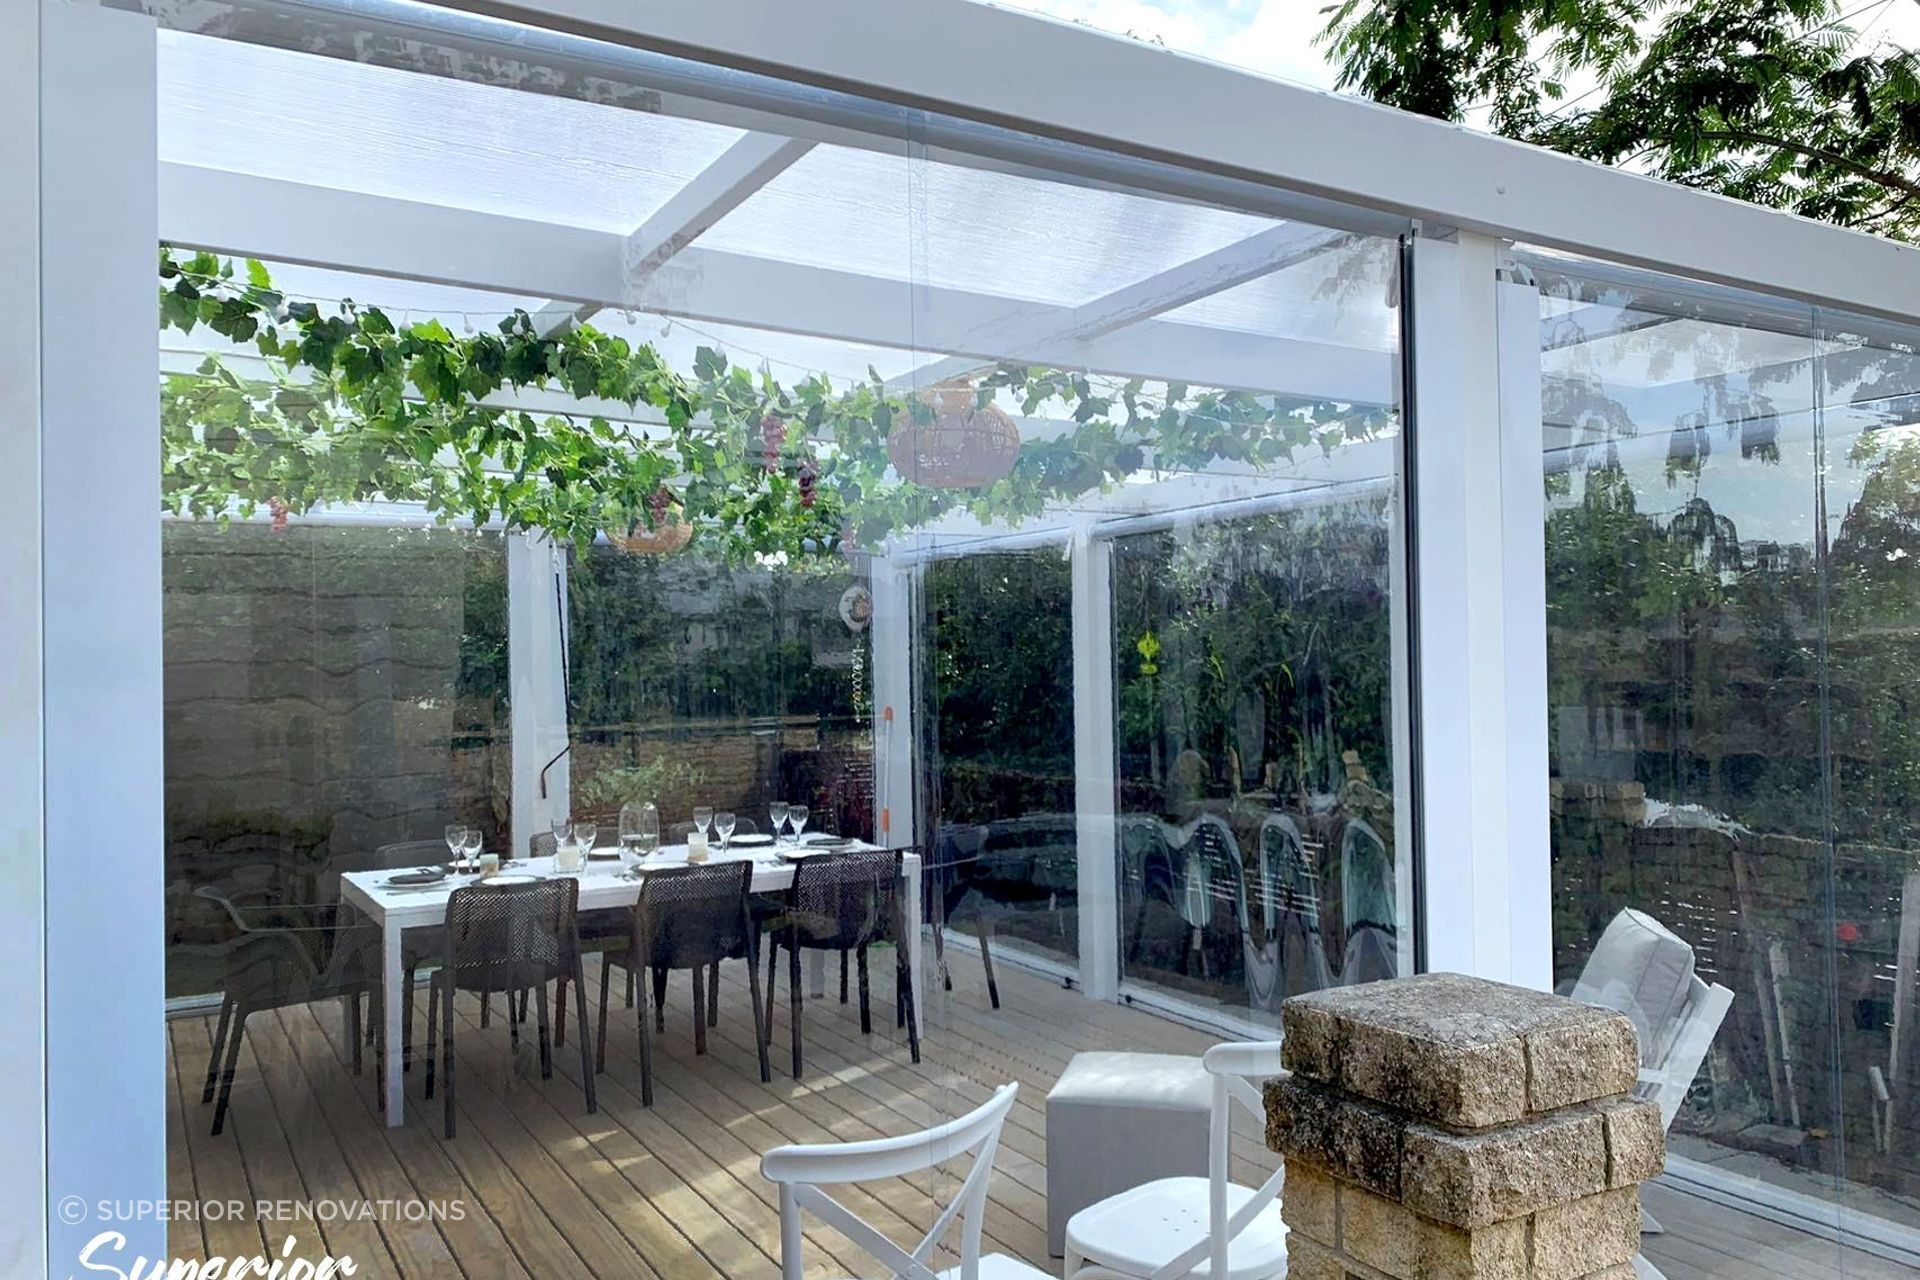
We always walk the site before we quote. Two sections that look the same on Google Maps can have totally different cost profiles once you stand on them. — Eunice Qin, Designer, Superior Renovations
What a builder should be looking at on site
Our outdoor process starts with a meeting on site to talk through the brief, and the team assesses terrain, existing planting, sun exposure and drainage while they're there. For a pergola, a thorough visit covers:
- Ground and footings. Clay slopes in Titirangi or West Harbour need deeper footings than flat sand in Albany, and volcanic-fringe sites near Mt Eden can mean breaking rock on the way down.
- Wind exposure. Most central Auckland suburbs sit in a medium wind zone, while coastal Takapuna, exposed Westmere or hilltop Titirangi can be high or very high. That changes post size, footing depth and bracing.
- Access. A flat Hobsonville section with driveway access is a different job from a Grey Lynn villa courtyard reached by a 60cm side passage, where everything moves in and out by wheelbarrow.
- The house connection. If the pergola attaches at the fascia or a wall, the builder needs to see the cladding and how the flashing will work.
- What's already there. An existing deck or patio, and whether it can carry posts or whether new footings go down beside it.
What to have ready before they arrive
You'll get more out of the visit with a rough idea of footprint, which sides need screening, and whether you want lighting or a motorised roof. If you'd like a figure in your head first, get a ballpark from our free pergola calculator before anyone comes out. It prices a custom aluminium frame with a clear roof, supplied and installed on a standard Auckland section, and lists what it leaves out. A builder who never asks about your ground, your wind or your access is pricing a different pergola from the one you'll get.
Stage two: design, 3D and the final quote
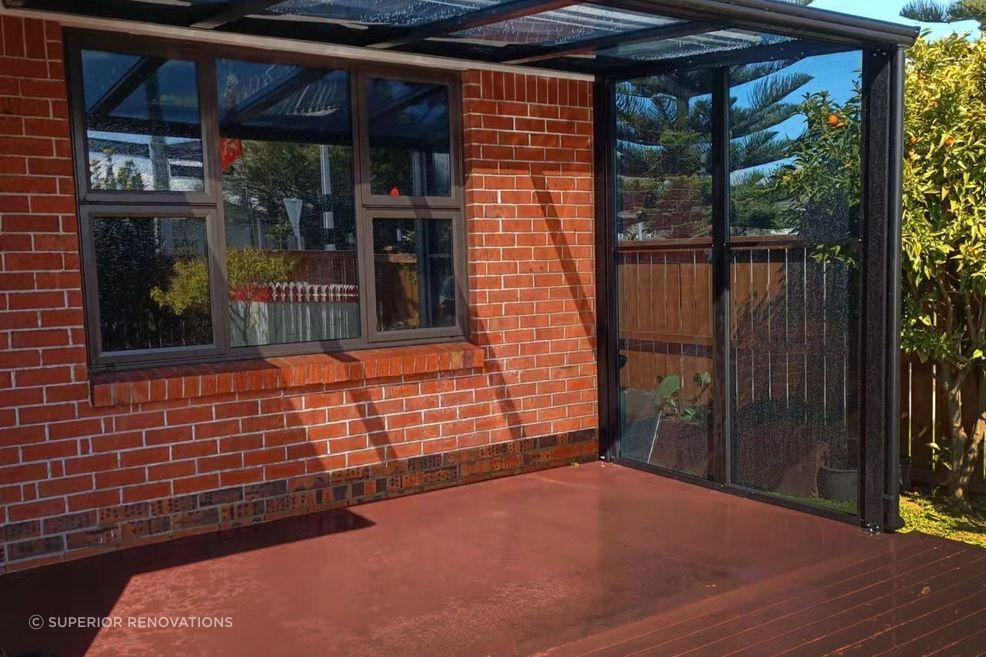
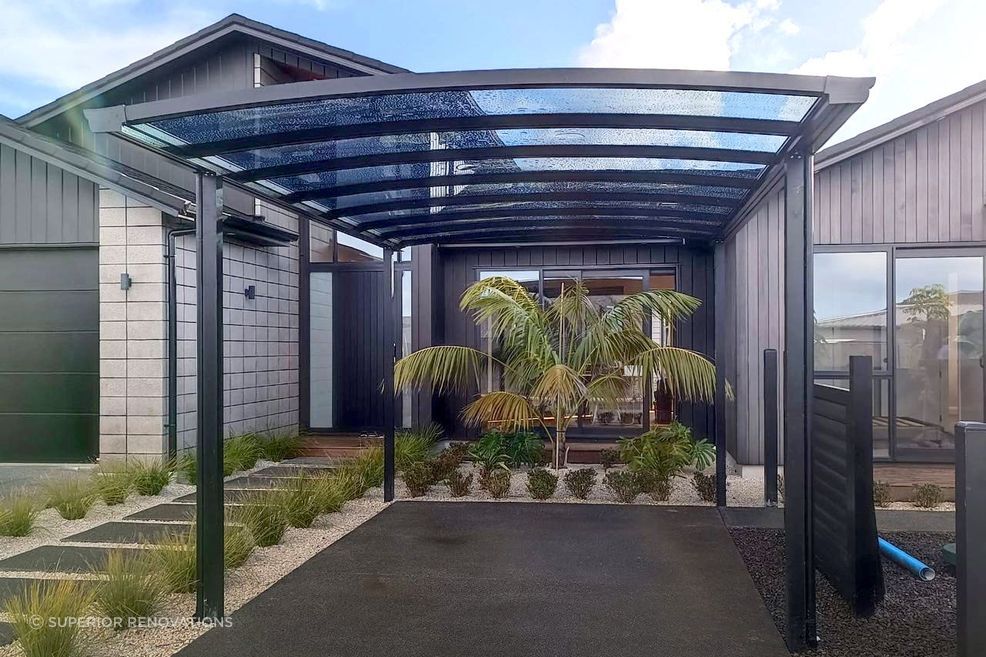
After the visit, the next thing you should see is a drawing of your pergola. On our outdoor projects the team turns the brief into a concept with 3D imagery, so you can see how the frame, roof and screens sit against the house before anything is ordered. Once the concept is settled, detailed plans cover the materials, and the final quote comes with that stage.
For pergola projects we're invited to quote on, 3D design is free. Whoever you use, ask to see the structure drawn before you sign. A drawing settles arguments before they happen: post positions, roof fall, where the downpipe runs, and how high the beam sits above the door.
How to read a pergola quote
A gap of $5,000 to $10,000 between two quotes for the "same" pergola is normal. Two quotes for a 24m² aluminium pergola can come back at $26,000 and $34,000. The job is working out what's different, and the difference usually hides in a handful of places. Our pergola cost page sets these out in detail, so read our pergola cost page's line-by-line quote checks alongside each quote. The short version:
- Beam size and post spacing. A 240x90mm beam spanning 3m is a different product from a 200x50mm beam spanning 4m, even if both quotes just say "pergola".
- Footing depth and spec. Ask for depth, diameter and concrete spec. On a high wind zone site you should see footings of 600mm to 900mm deep at minimum.
- Fixing grade. Marine-grade stainless or hot-dip galvanised fixings cost more than zinc-plated ones, and on a coastal site they decide whether you're replacing brackets in seven years.
- Consent and engineering. Some quotes leave these out and expect you to handle them. They can be $1,500 to $3,000 line items, so get it in writing either way.
- The quiet extras. Footing preparation, removing an old structure, anchoring to an existing deck, and gutter and downpipe work are the items thin quotes tend to skip.
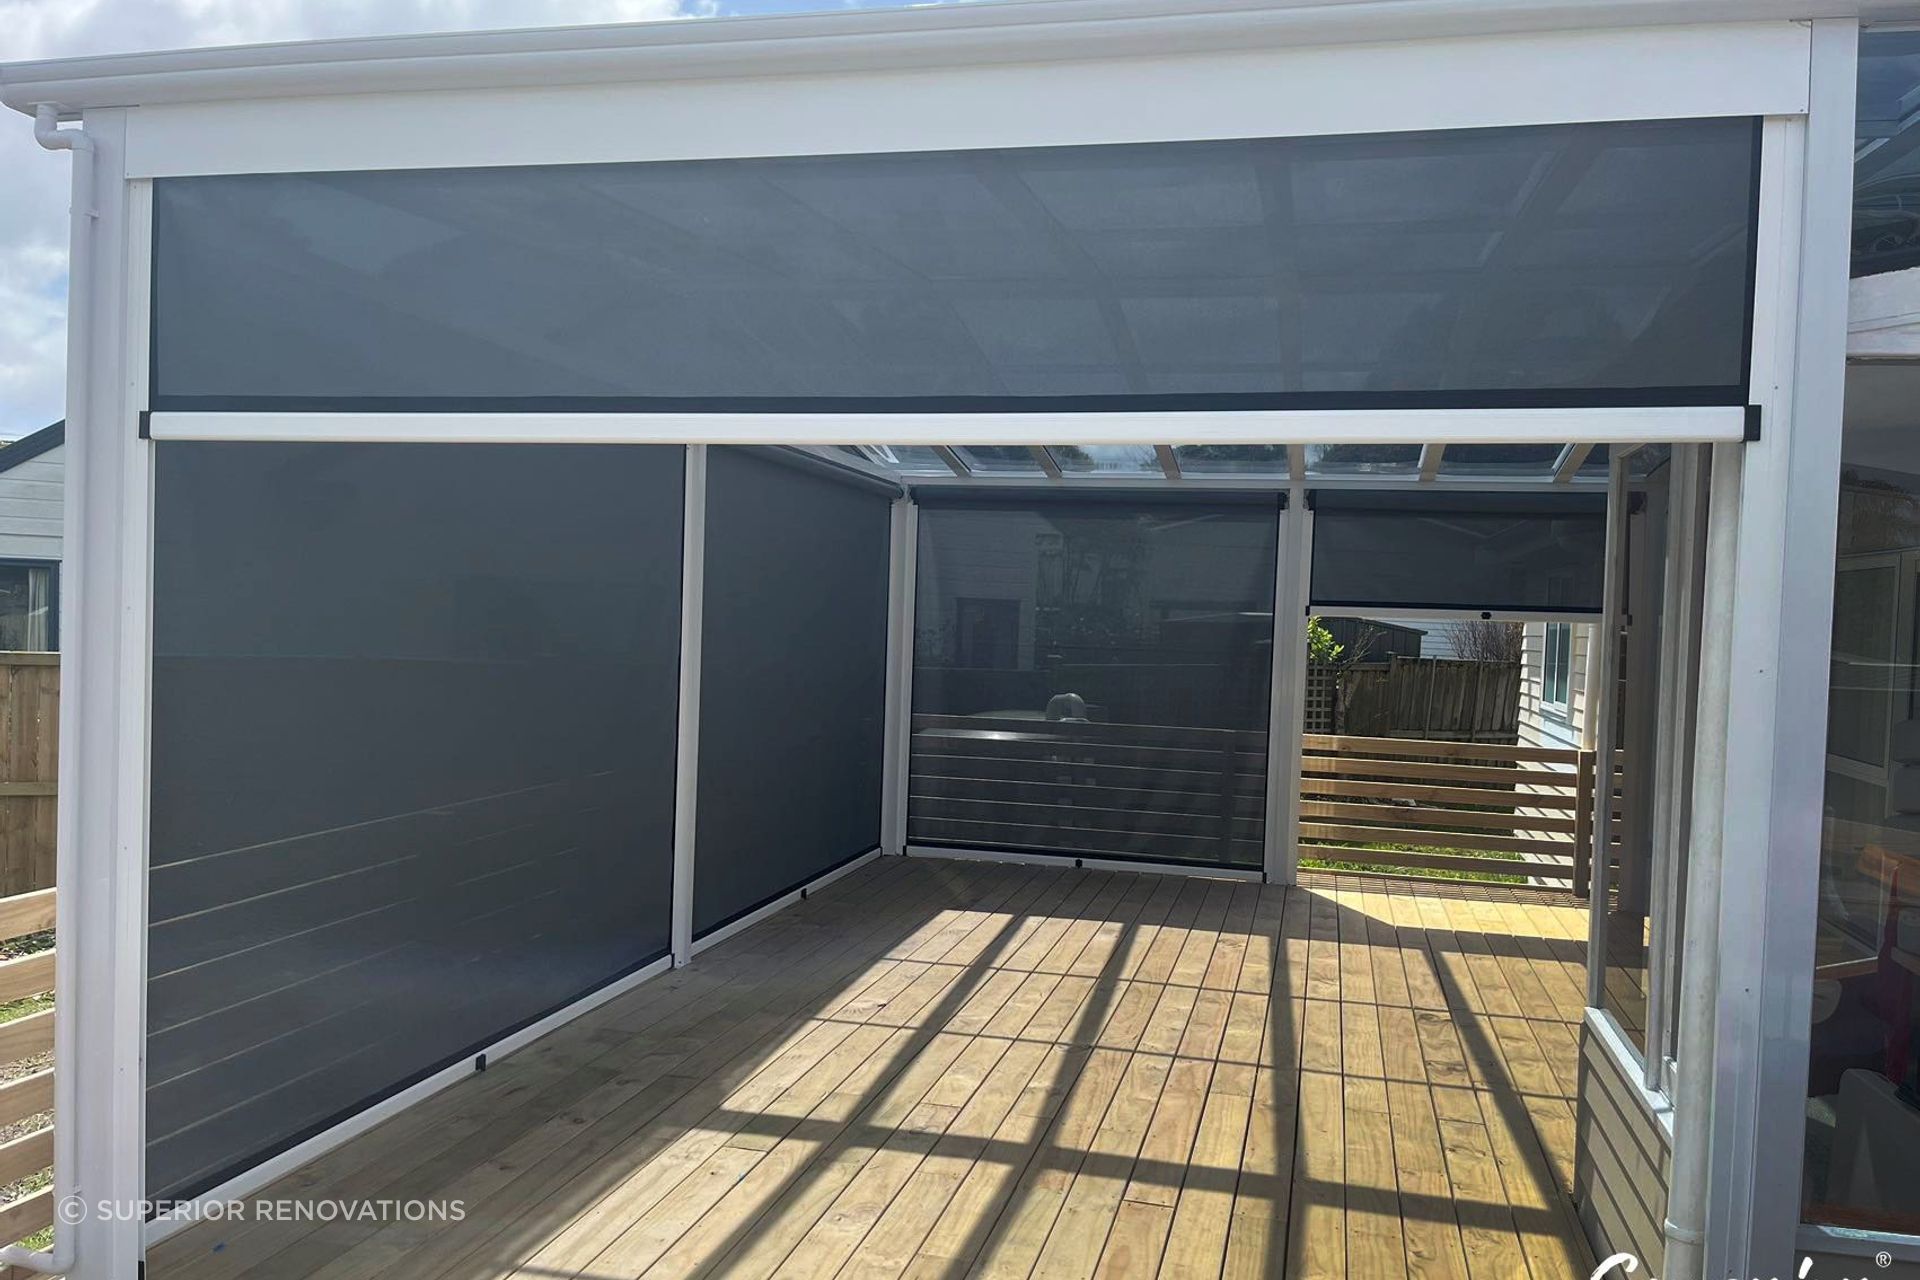
Site conditions move the number too. Tight access can add $2,000 to $4,000 on its own, ground conditions alone can swing footing costs by $1,500 to $2,500 between two builds, and cutting into an existing patio or deck for new footings typically adds $500 to $1,500. That's the site talking, and a good quote spells it out.
Check who is doing the structural work
Ask each builder for their Licensed Building Practitioner number and look it up on the public LBP register at lbp.govt.nz. Our own outdoor work has in-house LBP oversight (LBP #BP156911) on process, documentation, workmanship and compliance. If a builder can't give you an LBP number for the structural work, keep looking.
Stage three: the contract and the paperwork you're owed
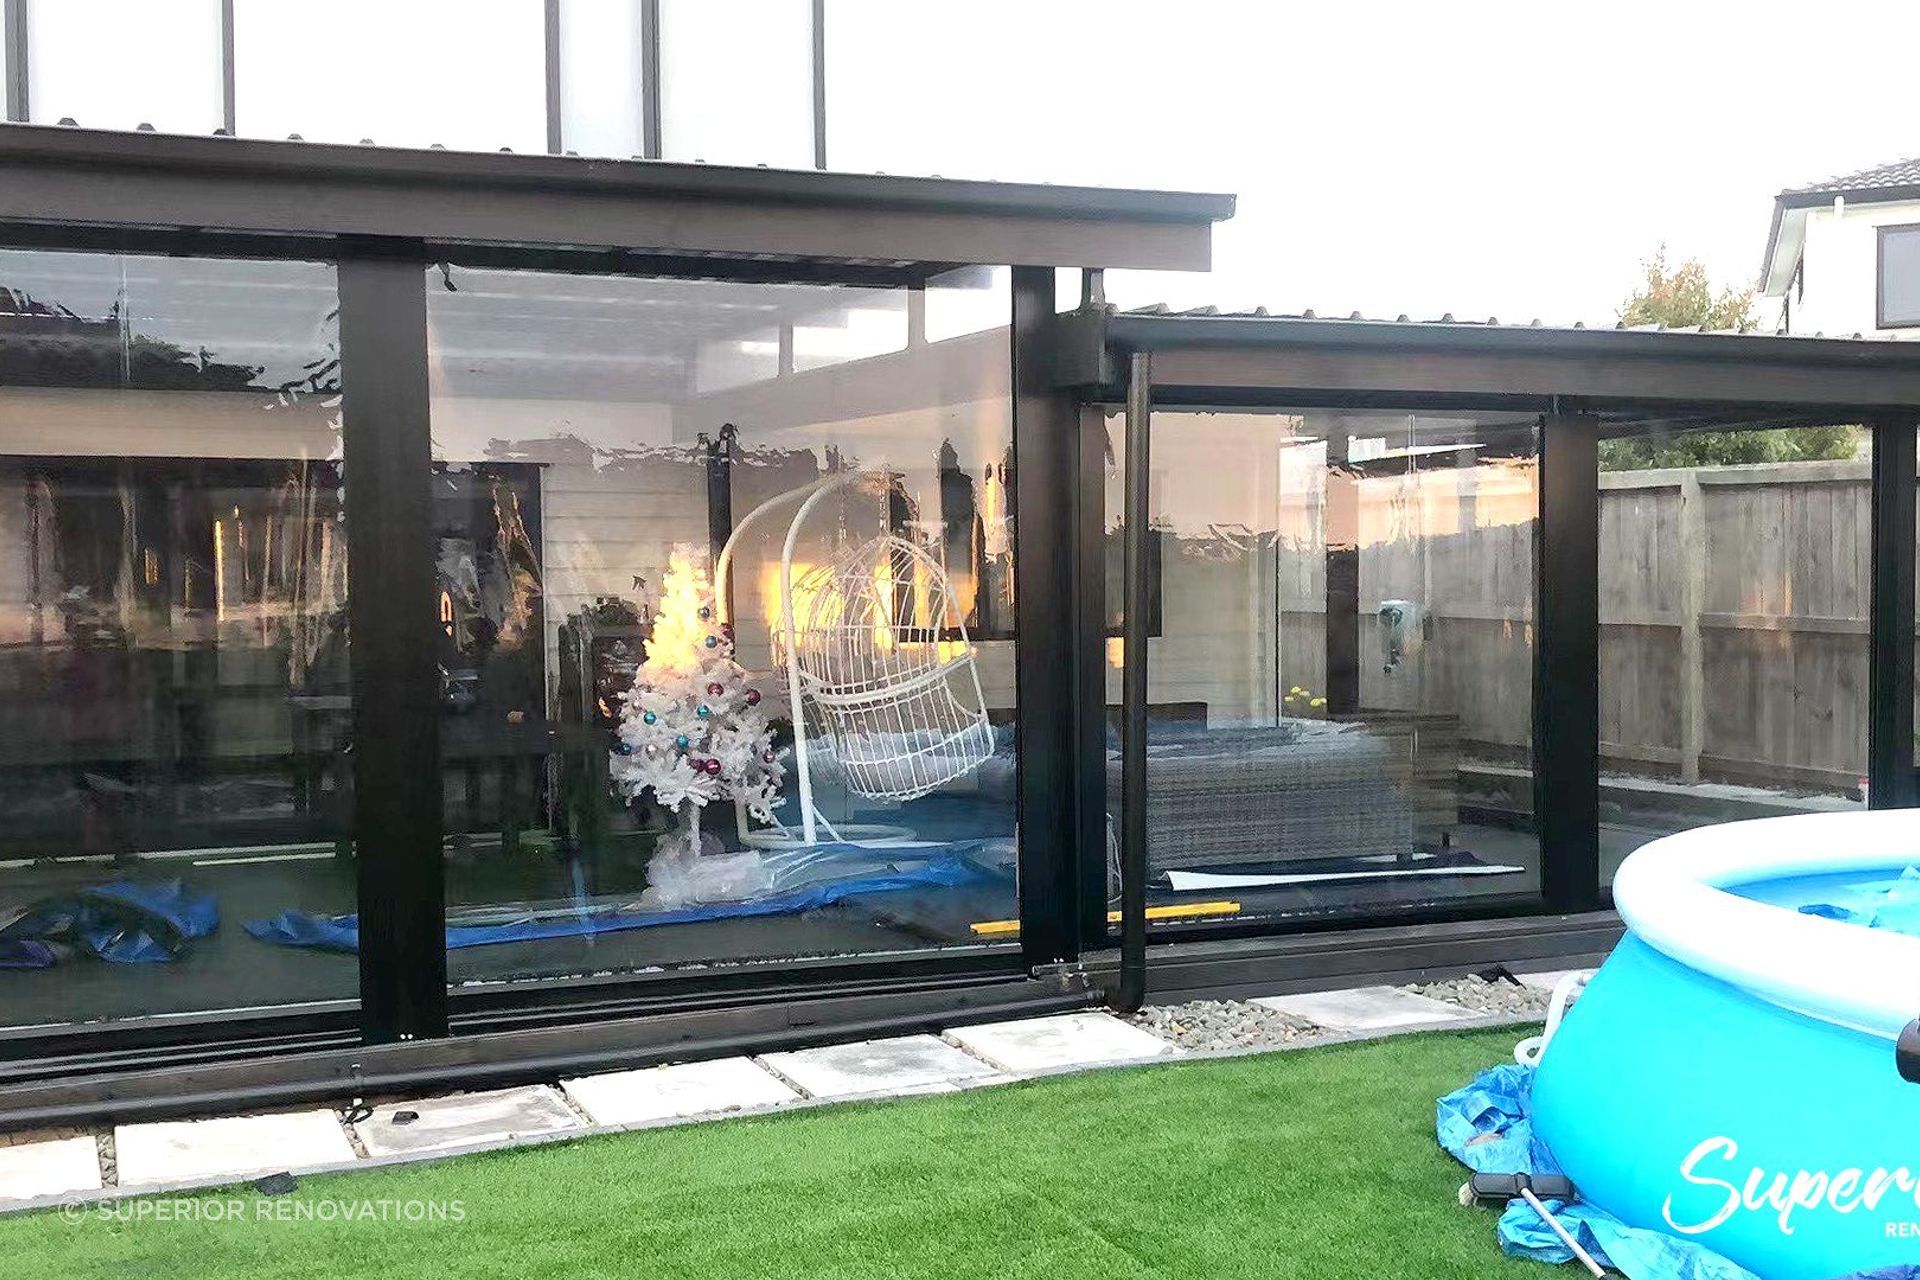
Most professionally built pergolas in Auckland land between $10,000 and $45,000, and a fully specced louvred outdoor room can pass that. Once residential building work costs $30,000 or more including GST, the law requires a written contract, and the builder has to hand you a disclosure statement and a prescribed checklist before you sign. Our explainer covers the disclosure statement and checklist a builder owes you on a $30,000 job, and the obligation sits with the builder, not you.
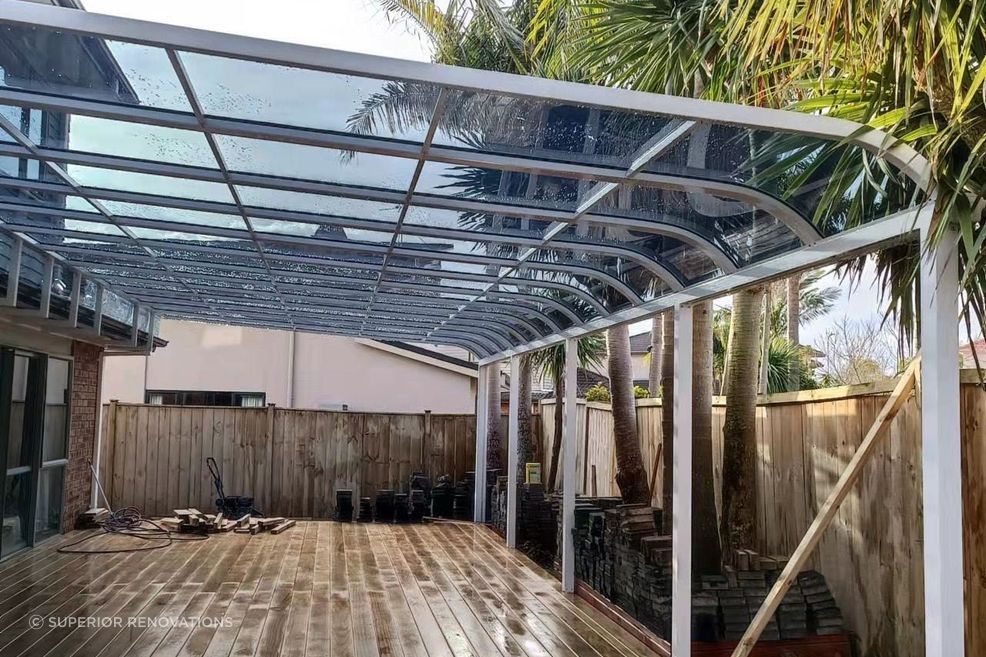
Below that threshold, get it in writing anyway: a one-page scope listing frame, roof, fixings, footings, gutters, screens and electrical is what you'll check the finished job against.
Payment terms worth reading twice
Look at how the price is staged: deposit, progress payments and the final payment. The retention money rules in the Construction Contracts Act don't reach a homeowner's contract, but the payment claim and payment schedule rules do, and they matter if you ever disagree with an invoice. Our explainer on payment claims under the Construction Contracts Act sets out what the Act says and when to get your own advice. The time to understand the payment rules is before the first invoice, not after it.
Consent: check your plan with Auckland Council
Whether your pergola needs a building consent depends on the design and the site: a roof, the size, whether it attaches to the house and how close it sits to a boundary all come into it. Auckland Unitary Plan rules on yards, height and special character areas can apply even where no building consent is needed. We won't give you a blanket rule, because there isn't an honest one. Confirm your specific plan with Auckland Council or a Licensed Building Practitioner before any posts go in, and check who is lodging the application if one is needed. Where consent is required on our projects, we handle the paperwork and documentation.
Stage four: materials, ordering and lead times
Once the design and quote are signed off, you pick the finishes and everything gets ordered. Nothing visible happens on site, but this is where most of the waiting sits.
In our typical Auckland builds, a retractable canopy system carries about a three-week lead time and a motorised louvre roof about six weeks. On a cedar frame, the machining is the step most likely to run long. Ask each builder for the lead time on every component that isn't cut on site, and plan your summer around the longest one.
Decisions to lock in at this stage
- Frame colour and finish. Standard Resene powder-coat colours such as black, white, Grey Friars and Ironsand are included on our builds. A custom colour adds $400 to $1,000.
- Roof sheet. Clear or tinted polycarbonate, PVC, glass, fabric or louvres, and which way the roof falls.
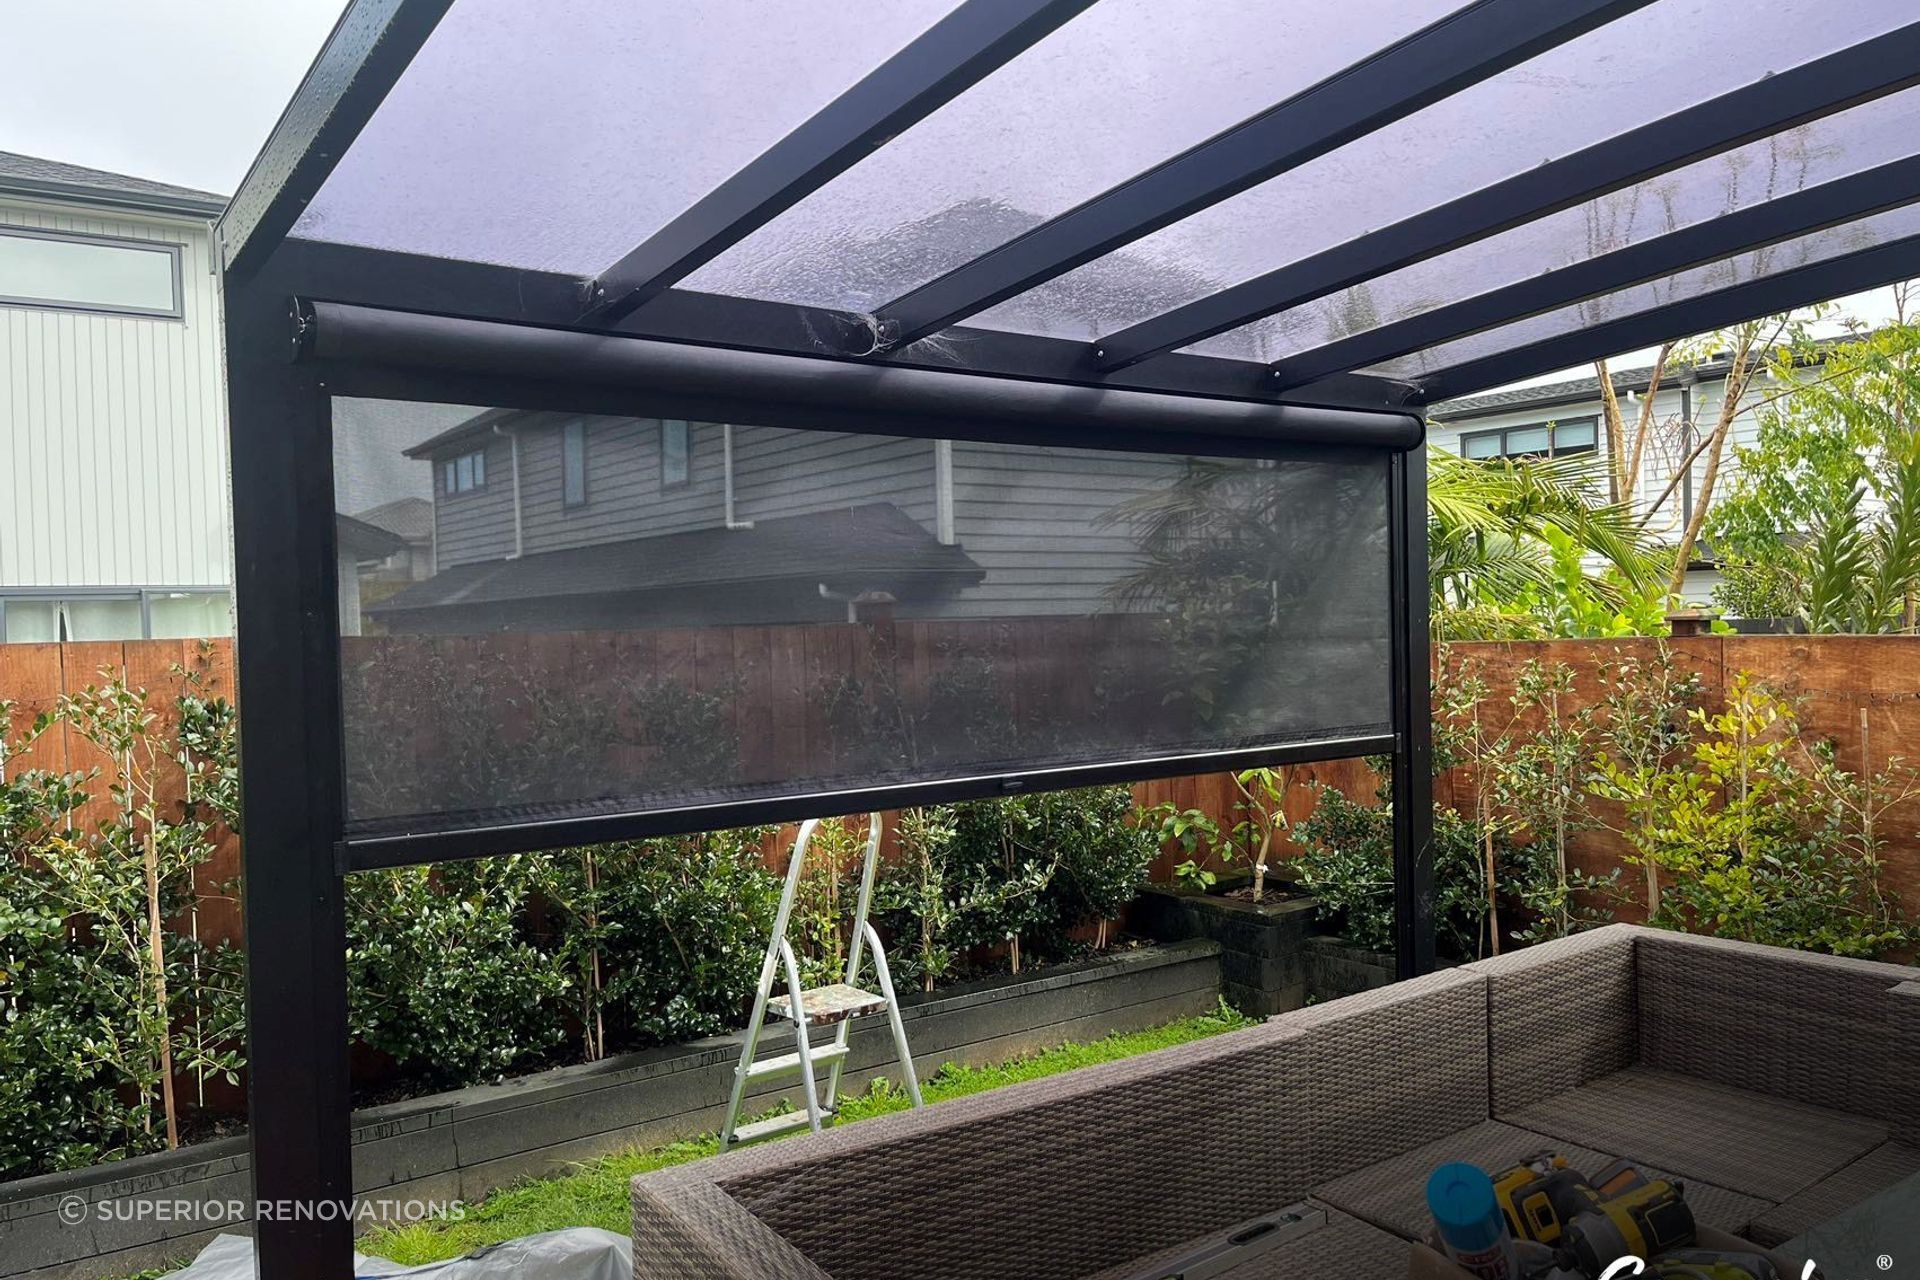
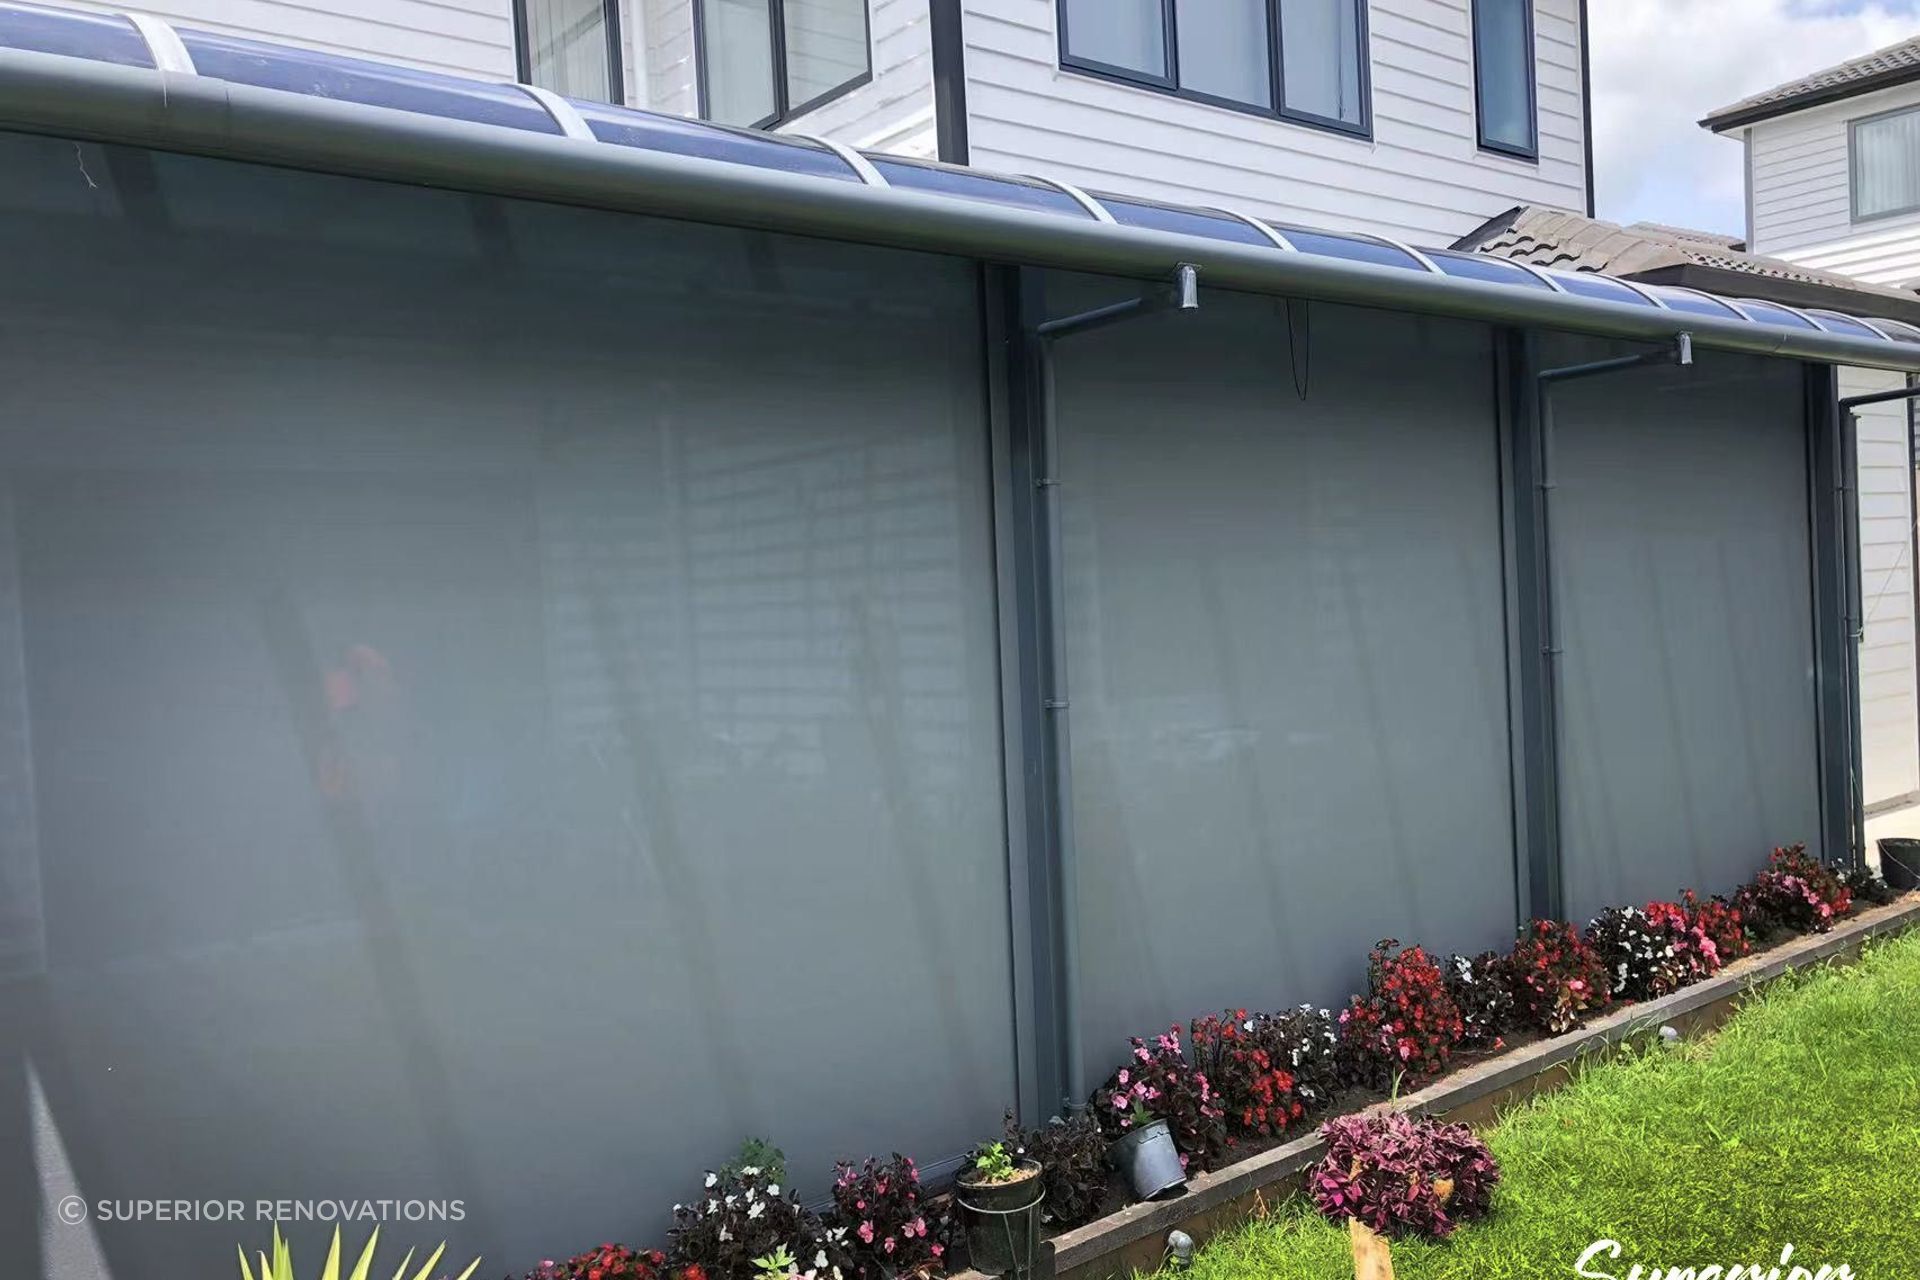
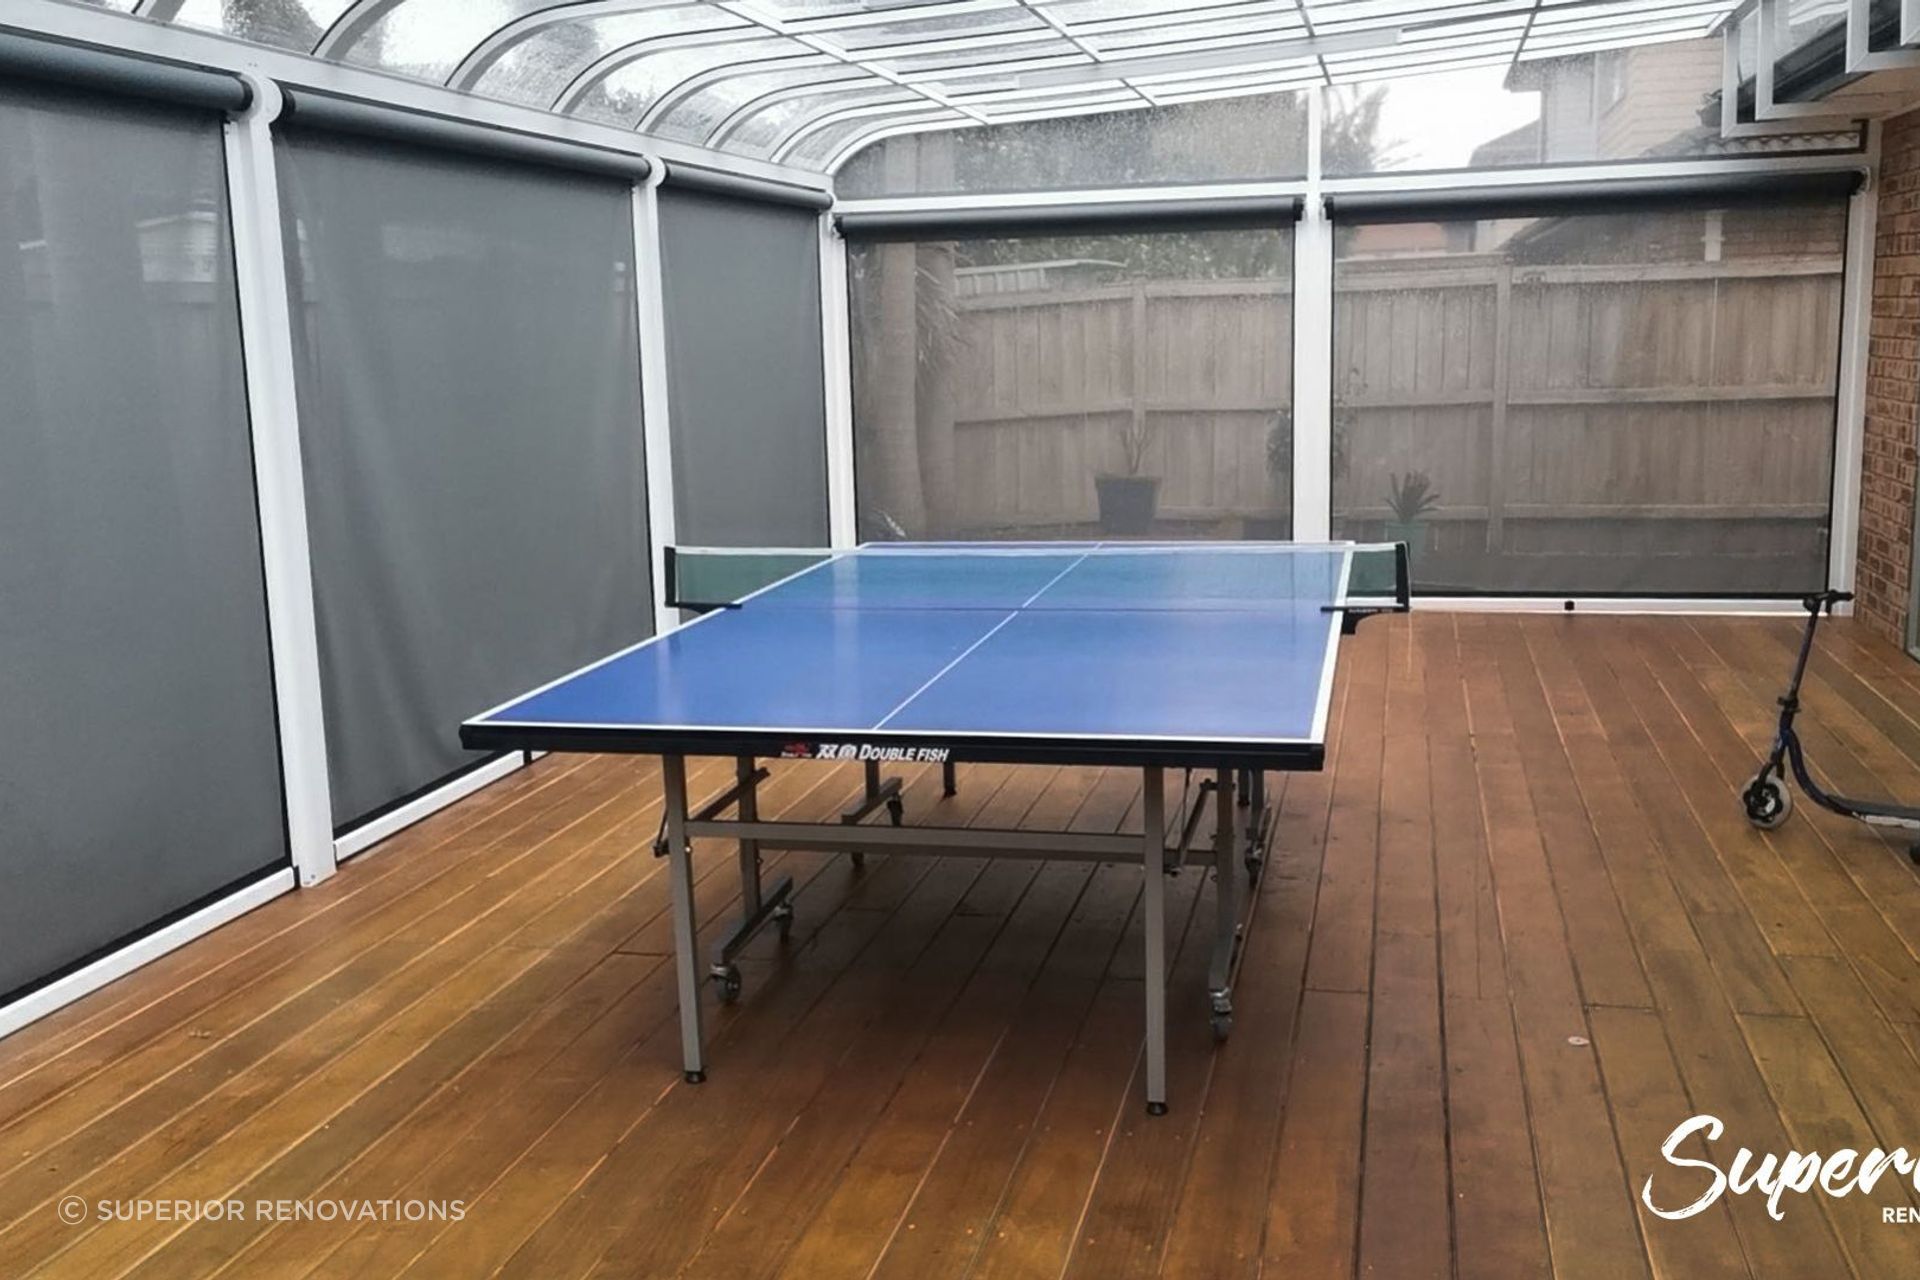
- Screens. Our cost page puts screening blinds at $3,000 to $8,000 per blind, manual or motorised. Decide now, because fixings for a blind are far easier to plan into the frame than to add later.
- Power. Lighting, a louvre motor or heaters need an electrical run from the switchboard, which our cost page puts at $800 to $2,000 depending on distance and how well the cabling is hidden. Infrared heaters run $600 to $1,200 each plus install.
Stage five: what happens on site, day by day
The on-site part of a pergola build is shorter than the wait for materials. A standard 20m² pergola takes two installers about two to four days, depending on footing requirements and access. More involved specifications take longer: in our typical builds, a coastal aluminium pergola with a retractable canopy over an existing deck runs about four days on site, a cedar pergola on a character bungalow about six, and a louvre-roof outdoor room with blinds on two sides about eight.
The usual build sequence
- Site preparation. Any old structure comes out and the area is cleared and protected.
- Set-out and footings. Post positions are marked from the drawing, holes are dug to the specified depth and concrete goes in. On clay, rock or a tight site, this is the day most likely to run long.
- Posts and beams. The frame goes up and is checked for level and square. On an attached pergola, the connection to the house and its flashing happen here.
- Roof. Rafters, sheets, canopy or louvre blades, with the fall set so water runs to the gutter.
- Gutters and downpipes. Water is taken somewhere sensible, never onto the middle of the lawn or hard against the house foundations.
- Screens, electrical and finishing. Blinds, lighting and motors are fitted and tested, followed by any planting or decorative detail.
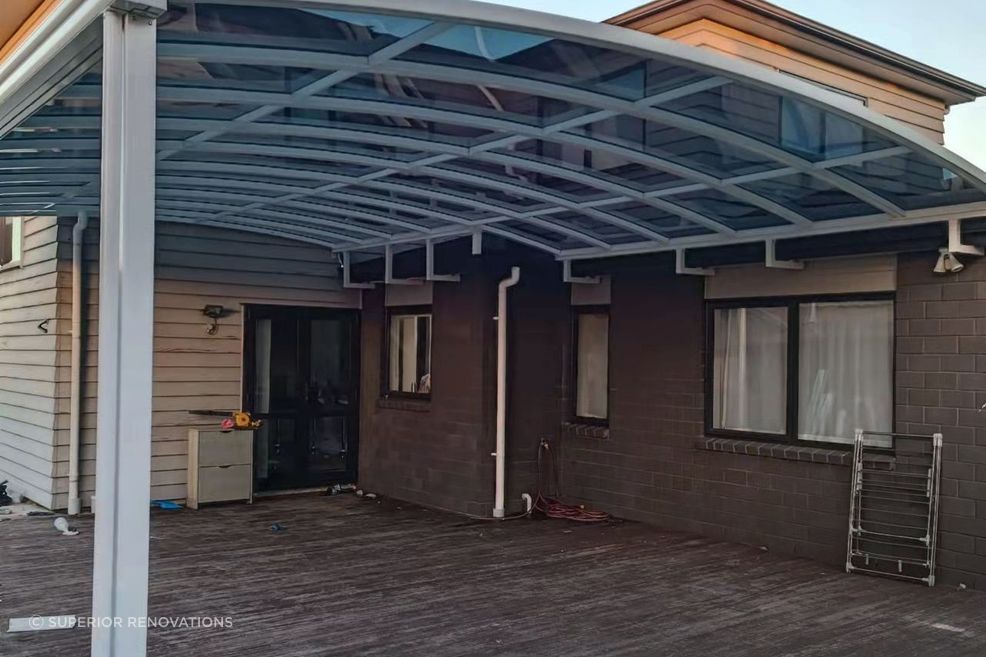
The one day worth being home for is the footing day: it's the only time you'll ever see what's holding your pergola up. Ask to see the hole depths before concrete goes in.
Coastal and exposed sites
Near the water or on an exposed ridge, watch the fixings as they go in. Salt air finds cheap bolts first.
On coastal sites in Takapuna or Mission Bay, we overspec posts and use marine-grade fixings throughout. It adds maybe 8% to the build cost and triples the structural lifespan, that's the trade-off we wish every kitset buyer understood before they ordered. — Jeff Zhang, LBP & Site Manager, Superior Renovations
Stage six: inspection and handover
A pergola is finished once it has been checked against the plan and you've signed it off. On our projects, every job goes through a 147-point quality assurance checklist across three stages, checked by the team member, the team leader and the project manager, before you do your own final sign-off.
Your handover checklist
Walk the finished pergola with the builder and work through this list before you sign:
- Level and fixings. Posts plumb, beams straight, every bracket and bolt the grade that was quoted.
- Water. Run a hose over the roof. Water should reach the gutter, go down the downpipe and discharge where the plan said.
- The house join. On an attached pergola, look at the flashing where the structure meets the cladding.
- Moving parts. Open and close louvres, canopies and blinds. Test sensors and remotes, and check the lights.
- Finish. Powder-coat free of chips and scratches, and timber stained evenly with no raw ends.
The documents you should receive
Handover should include your warranties and guarantees, any compliance certificates that apply, plus a maintenance plan and care guide. Keep them with the house records. Under the Building Act 2004, residential building work carries implied warranties and a twelve-month defect repair period, so note anything that comes up in the first year and report it in writing.
Stage seven: the first year of looking after it
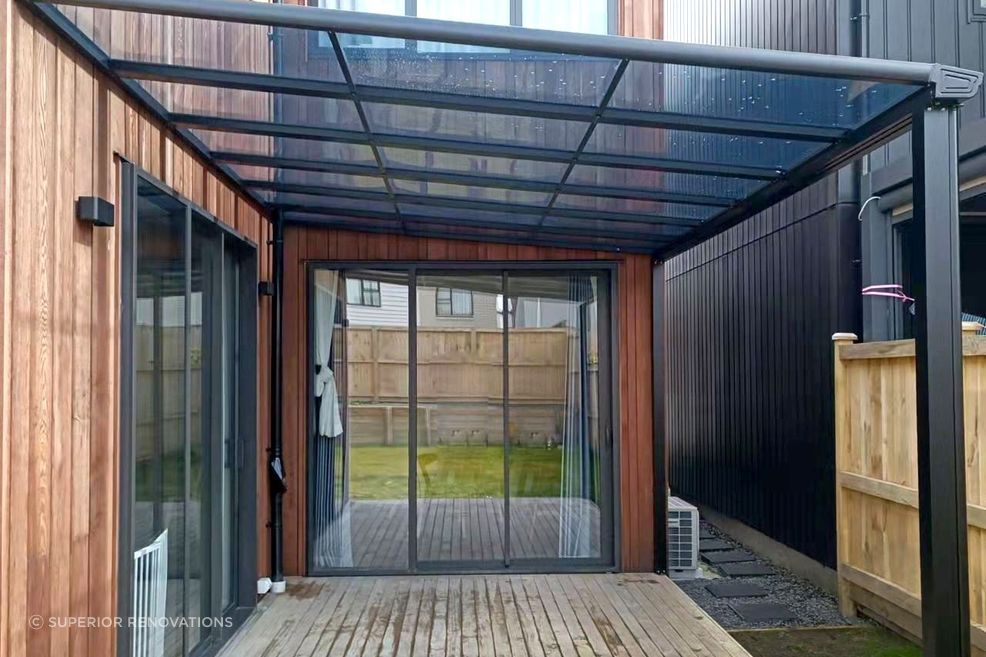
Teething problems tend to show up in the first year: a gutter that overflows in a downpour, a blind that catches in a southerly, a chip in the powder-coat from a ladder. Each one is a small fix if it gets reported early, and a bigger one if it waits.
Low maintenance isn't no maintenance. Aluminium and steel want a hose-down every six months, a yearly check of the fixings, and quick touch-ups on any chips, especially on coastal sites, where rust spreads fast once it gets under the coating. Timber wants a soft wash rather than a pressure washer, and restaining on the schedule in your care guide. Retractable canopies should come in during storms. The pergola guide linked above covers the care routine for each material in more depth.
Pergola builders in Auckland: common questions
How long does it take to build a pergola in Auckland?
The on-site work is short. A standard 20m² pergola takes two installers about two to four days, and more complex builds with louvres and blinds run about eight. Lead times usually take longer: about three weeks for a retractable canopy system and six weeks for a motorised louvre roof.
What should a pergola quote include?
Beam sizes and post spacing, footing depth and concrete spec, the grade of fixings, roof material, gutters and downpipes, and any screens or electrical. It should also say whether consent, engineering, site preparation and removal of an old structure are included. Ask line by line what's in and what's out.
Why do pergola quotes vary so much?
A $5,000 to $10,000 gap for the same-looking pergola is normal. The difference usually sits in beam size, footing depth, fixing grade, and whether consent and extras are included. Site access and ground conditions add real cost too, which is why a builder should visit before quoting.
Do I need a written contract for a pergola?
If the residential building work costs $30,000 or more including GST, a written contract is required by law, and the builder must give you a disclosure statement and checklist before you sign. Below that, a written scope is still the simplest protection. For consent questions, check with Auckland Council or an LBP.
A well-built pergola comes from a builder who walks the site, draws the structure, prices it line by line and hands over the paperwork at the end. Superior Renovations has completed more than 1,000 Auckland projects, and you can talk the options through at our showroom at 16B Link Drive, Wairau Valley, or book a free consultation with our outdoor design team. More of our outdoor work is on superiorrenovations.co.nz.