Level-Entry Wet Rooms: Your Floor Decides, Not Your Tile

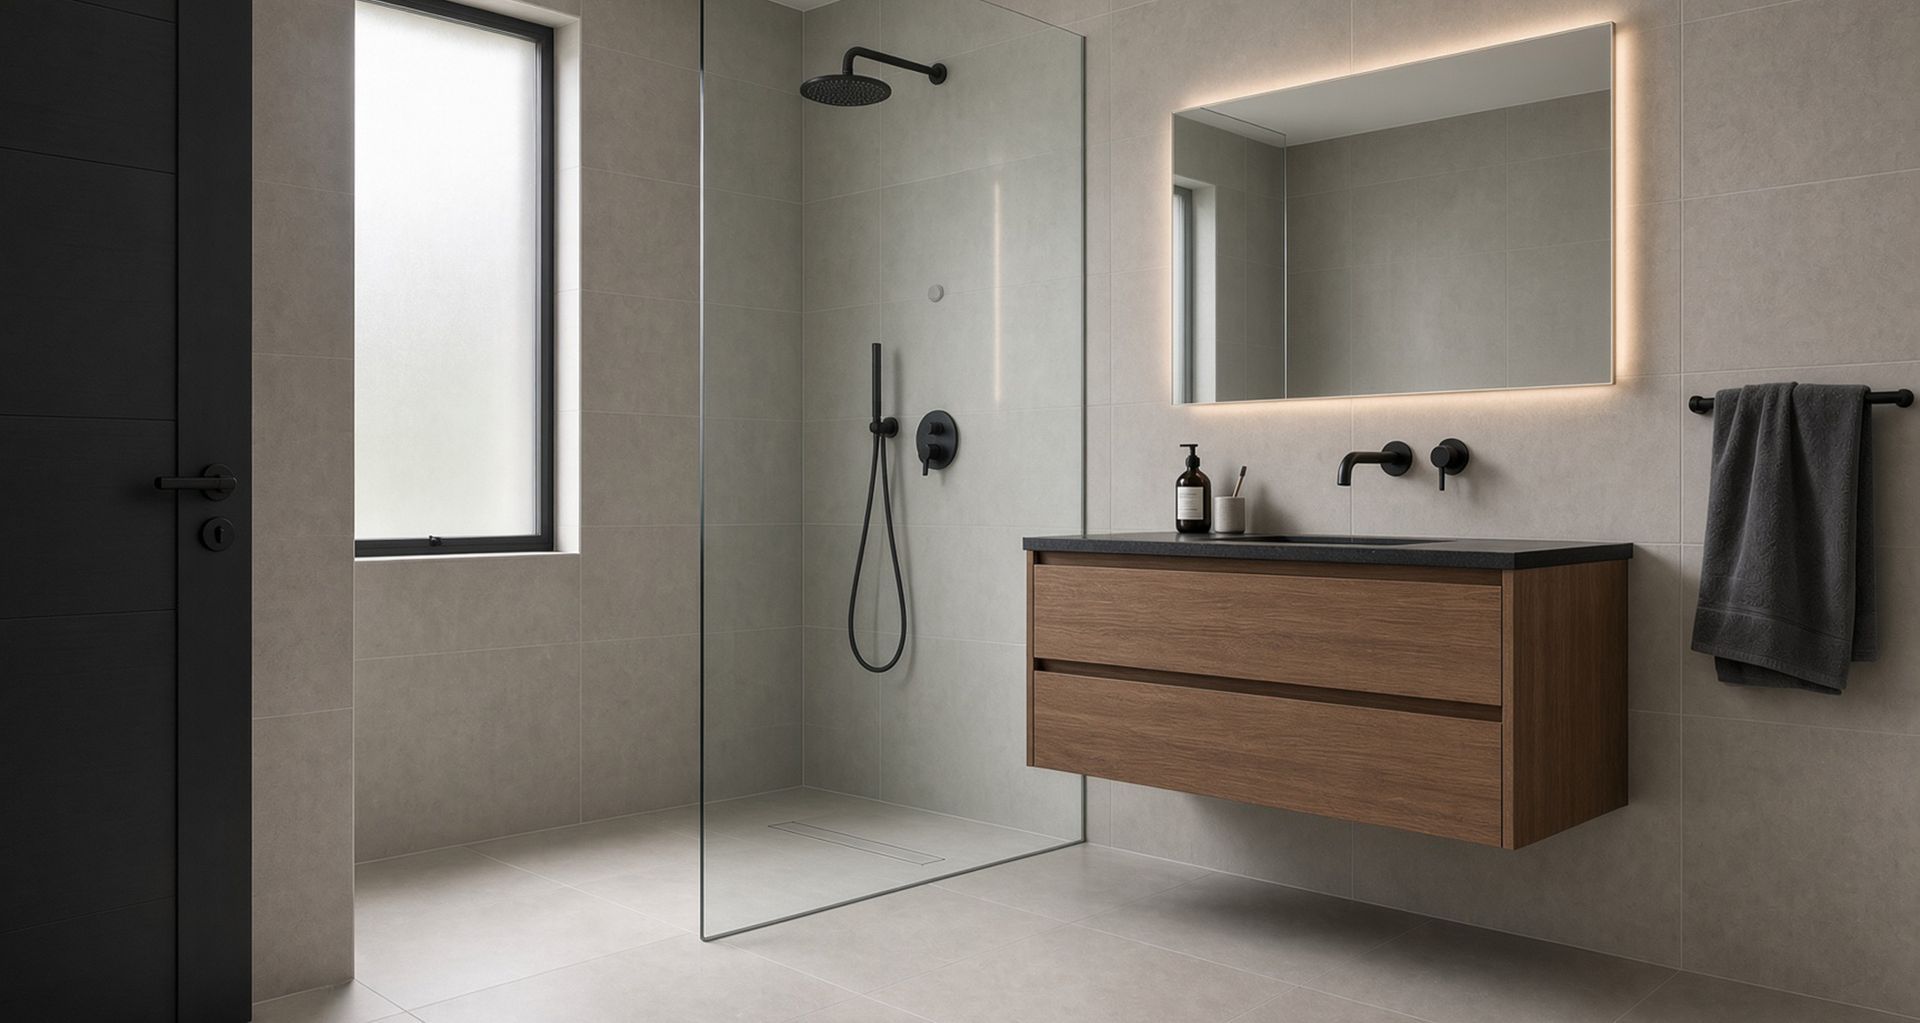
Look Under the Floor First: What Auckland Subfloors Allow for a Level-Entry Wet Room
Whether you get a true level-entry wet room comes down to something you can't see in any of the photos you have saved. It's the wet room floor, or more precisely the depth sitting underneath it. A wet area needs a fall built into the floor so water runs to the drain, and that fall has to be cut out of the structure, not packed on top of it. Get the depth and the tile runs unbroken from the door to the shower wall. Miss it by 20 millimetres and you are back to a hob you step over.
Almost every wet room article written for New Zealand homeowners starts with the finished look and works backwards to a price. This one starts under the floorboards, because that is where the answer already exists. At Superior Renovations we scope a lot of Auckland bathrooms, and the floor is the first thing our team looks at once the old room is out. Here is what we look for, why a Grey Lynn villa gives a different answer to a Howick brick-and-tile, and what you get instead when the numbers don't stack up.
The 40 millimetre question
One clause shapes the whole room. BRANZ summarises Acceptable Solution E3/AS1 clause 3.3.2.3 this way: the floor of open showers must have a fall of no less than 1:50 towards the floor waste, within a radius of 1500 millimetres taken from a point vertically below the shower rose, or from any wall within that radius. A 1:50 fall means 20 millimetres of drop per metre of floor.
Auckland drainage manufacturer Allproof Industries turns that into arithmetic you can use. Allow 20 millimetres for the channel, then 20 millimetres per metre for the fall, and a one-metre shower needs a 40 millimetre set-down in the floor before level entry is even on the table. Stretch the shower to two metres and the set-down grows with it. Allproof puts the constraint bluntly: the main limitation on shower area design is the subfloor.
There is one more rule, and it closes the obvious loophole. The Code of Practice for Internal Wet-area Membrane Systems, referenced by E3/AS2, requires that falls be formed in the substrate or in a screed built into the substrate, and never by the membrane itself. You can't pack a slope out of waterproofing goop. The floor has to be shaped to drain before anything waterproof goes near it. If you want the room itself covered off first, cost, waterproofing, consent and all, the Superior Renovations guide to wet room bathrooms in New Zealand is the place to start.
"When someone shows me a photo of a wet room they love, my first question is never about the tile. It's how deep the floor is. That one measurement decides whether I am drawing the room they want or a very good version of something else." — Cici Zou, Designer, Superior Renovations
Timber floors: easy to re-plumb, hard to fall
Most of Auckland's pre-1960s stock sits on timber. Villas through Ponsonby and Westmere, bungalows across Mt Eden and Sandringham, state-era do-ups in Avondale and Papatoetoe. Suspended timber floors on piles, joists carrying the load, a crawl space underneath.
BRANZ sets out the trade-off plainly. Timber wet area floors easily accommodate sanitary plumbing and drainage changes and allow easy alteration or retrofitting of that plumbing, but they are difficult to lay with falls and they need protection from water damage. That's the inversion nobody warns homeowners about. The floor that lets you put the drain almost anywhere is the same floor that fights you on the fall.
Your depth budget is the joist depth, and it isn't yours to spend freely. Cutting or notching joists to win a set-down changes how the floor carries load, which makes it a structural question for a chartered engineer and a Licensed Building Practitioner rather than something to sort out on site with a circular saw.
The waste body itself eats into the same budget. Allproof notes the older squat "easy clean" bodies were popular precisely because they normally fit a 140 millimetre joist space. The catch is the removable bucket inside them, which owners tend to pull out over the years. Out comes the water seal, in comes the sewer smell. The floor waste gulley is the current answer: better flow rates, no maintenance ritual, and it takes passive fire solutions properly.
What sits on top of the joists is prescribed too. Where the flooring will be covered with a waterproof membrane and tiles, BRANZ says the substrate should be compressed fibre-cement sheet, fibre-cement sheet tile underlay, or plywood treated to H3.2 with CCA rather than LOSP. Flooring-grade particleboard is not permitted as a new substrate in any wet area under the Code of Practice. So if your 1970s bathroom has particleboard under the vinyl, and plenty of them do, it's coming out whatever you decide about the shower.
BRANZ also recommends every bit of timber framing in a wet area floor is treated to H1.2 boric as a minimum, whatever the Code strictly requires, and that framing surrounding or supporting a shower goes to H3.1 as insurance if the waterproofing is ever compromised. Small line on a quote. Large one on a repair bill.
Concrete floors: easy to fall, hard to re-plumb
Head east and south and the stock changes. Brick-and-tile homes through Howick, Botany, Pakuranga and Papakura, 1990s subdivisions around Albany, and nearly every townhouse built across Auckland in the last decade. All concrete, either slab-on-ground or a suspended concrete floor in apartments and some multi-level builds.
Concrete flips every constraint. BRANZ notes concrete wet area floors can be laid with falls and set-downs, take a wide range of finishes, and can be insulated and heated. The catch is that drainage has to be planned before the pour, because sanitary drainage pipes must go in before the concrete does, and concrete floors are not easy to alter or retrofit for plumbing afterwards.
In an existing house, the fall is usually achievable. A slab can be cut and re-poured, or ground and screeded to a gradient. Moving the waste is the expensive part. That position was fixed the day the slab went down, and shifting it means cutting through structural concrete and chasing new pipework, with an engineer involved if the slab is post-tensioned or carrying load.
Suspended concrete adds a second problem. BRANZ points out the floor and ceiling space below has to be deep enough to take the pipe falls and bends, and that a floor waste should be incorporated. In an apartment, that ceiling space belongs to the neighbours downstairs.
Which reverses the practical advice completely. In a villa, design the room you want and expect an argument about the fall. In a brick-and-tile, design around where the waste already sits and the fall will look after itself.
Moving the drain is cheaper than moving the floor
Before anyone starts cutting structure, there is a lever most homeowners never hear about. The drain doesn't have to sit where habit puts it.
Allproof sets out three variations, and each one changes the depth you need. Move the channel to a different wall and you shorten the run, which shortens the fall, which shrinks the set-down. Put the channel at the entry to the shower and the build-up happens against the far wall instead of at the threshold, so it never touches the flooring outside the wet zone. Or drop a point drain in the middle of the shower, which cuts the longest run in every direction.
The point drain has an aesthetic cost. A channel only needs a fall from one direction, so the tile can run in clean, uninterrupted planes. A centre drain needs diagonal cross-cuts to build a fall from four directions, and on large-format tile that shows up as a visible set of facets underfoot. Whether it bothers you is a design call, not an engineering one. It's also the cheapest way to rescue a level-entry wet room in a floor that is 15 millimetres short.
What you get when the floor says no
Sometimes the depth is not there and cannot be bought at a sensible price. That's a different detail, not a failed project, and there are three honest answers.
A hob, done properly
A hob or step-over shifts the whole build-up above the floor instead of into it, which Allproof describes as removing any interference with the construction of the floor entirely. It also does something a flat wet room cannot. It keeps water inside the cubicle instead of letting it track across the room, and in a family bathroom used four times before school, that's arguably the better result.
Detailing matters more than the decision itself. BRANZ is direct that hobs must be built from material unaffected by moisture and specifically not timber, and that the membrane must be carried over the hob. Leaks are commonly traced to floor-to-wall and hob-to-wall junctions and to the area around drains. The one case where a hob is the wrong answer is step-free access, which is a different brief entirely and one we cover in our guide to designing a bathroom for ageing in place.
A tile-over tray
Where the floor sits over another dwelling or over living space below, Allproof recommends a tile-over stainless steel tray with threaded BSP fittings running into glued PVC. You get a durable, fully enclosed catchment under the tile, the tiled look, and a level threshold. If a membrane ever fails, the consequence lands in a steel tray instead of somebody's ceiling. It's standard in apartments and increasingly common in attached townhouses.
A partial screen instead of a fully open room
A fully open wet area in a large bathroom leaves the whole floor wet after every shower. One pane of custom-cut glass keeps the vanity and toilet dry and still reads as a single continuous space. That's the call we made on a rustic wet-room bathroom we completed in Westmere, where the wet zone is divided by custom-cut glass rather than a bulky enclosure, under a raking ceiling with a skylight dropping light straight into the shower. The vanity in that room floats off the floor, which is the other half of the trick. A custom bathroom vanity built to hang off the wall keeps cabinetry out of the wet zone completely and makes the floor far easier to keep clean.
The membrane has to match the floor, not the tile
One more decision follows straight from the subfloor, and it gets made backwards all the time. Waterproofing membranes are graded by how much substrate movement they tolerate. BRANZ describes Class I as the least flexible, suited to substrates with little movement such as concrete slabs, and Class III as the class that copes with the greatest movement and suits timber-framed construction. Class II sits between them. Choosing a membrane for the tile instead of for the floor is one of the more common ways a beautiful wet room starts leaking in year three.
The rest of the specification is worth knowing before you read a quote. Waterproofing under wet area tiling has to have a durability of at least 15 years. AS 3740-2010 requires the entire floor to be waterproofed where the substrate is timber, particleboard or plywood, and BRANZ recommends waterproofing the whole tiled floor with membrane upstands of at least 150 millimetres around the perimeter regardless of substrate.
Moisture content matters before anything goes down. Concrete slabs should sit at a relative humidity no greater than 75 per cent, plywood at no higher than 18 per cent. Floor waterproofing should be flood tested before a single tile is laid, and building consent authorities commonly require an inspection after the membrane is applied and before tiling starts. On tile selection, E3/AS1 sets a maximum water absorbency of 6 per cent, and BRANZ notes 3 per cent or less is preferable. That last one is worth checking against how the different bathroom floor finishes behave in Auckland's humidity before you sign off a tile schedule.
Consent is not a question to settle from an article. BRANZ states that installing a tiled wet area shower requires a building consent, and what your specific job needs is a call for Auckland Council or your Licensed Building Practitioner. Ask early. Sonder Architecture, the architectural practice in our group, has written a fuller piece on when a tiled shower needs a building consent in New Zealand if you want the background before making that call.
"The clients who end up happiest are the ones who let us open the floor before we finalise the drawings. It's an uncomfortable week, and it saves a redesign. You can't draw a level-entry wet room honestly until you know what is under there." — Dorothy Li, Design Manager, Superior Renovations
What this means for the budget
A mid-range bathroom renovation in Auckland runs $25,000 to $35,000, and a full overhaul with retiling, a new layout and premium fixtures reaches $40,000 to $60,000. Those are the figures we publish for the bathroom renovation work we do across Auckland, and they hold for a wet room the same as for a conventional bathroom.
What we won't do is put a number on the floor works, because there's no honest one. Whether your joists need trimming and stiffening, whether the slab needs cutting, whether the waste has to move and how far. None of it is knowable until the old room is out and someone competent is standing in the cavity looking at it. Nobody can. Anyone quoting a fixed price for that sight unseen is either carrying a very large contingency or about to write you a variation.
For a realistic starting range on the rest of the room, our bathroom renovation cost calculator will give you a band to plan against.
The cheapest hour you will spend on a wet room is the one where somebody lifts a floorboard or checks the slab before the design is locked. Everything downstream, the drain type, the membrane class, the threshold, the tile format, follows from what that hour finds.
Frequently asked questions
How much floor depth do you need for a level-entry wet room?
As a rule of thumb, allow 20 millimetres for the drainage channel plus 20 millimetres per metre of fall, so a one-metre shower needs roughly a 40 millimetre set-down. Longer showers need more. That depth has to come out of the joist space or the slab, never out of the waterproofing membrane.
Can you build a wet room on the timber floor of an old Auckland villa?
Often yes, though the fall is the hard part rather than the plumbing. Timber floors make it easy to move drainage and difficult to build a gradient, and any cutting or notching of joists is a structural question for an engineer and a Licensed Building Practitioner. The substrate also has to be fibre-cement or treated plywood, never particleboard.
What happens if the floor will not take the set-down?
You have three good options before you give up on the look. Move the drain to shorten the run, switch to a hob so the build-up sits above the floor, or use a tile-over stainless tray. All three keep the tiled finish, and only the hob costs you the flush threshold.
Do you need building consent for a tiled wet room in New Zealand?
BRANZ states that installing a tiled wet area shower requires a building consent. What your particular job needs, and who signs it off, is a question for Auckland Council or a Licensed Building Practitioner rather than for an article. Ask before the demolition, not after.
Is a hob really worse than a fully level wet room?
Not necessarily. A hob keeps water inside the cubicle instead of letting it track across the floor, which suits a busy family bathroom. It only becomes the wrong answer where step-free access is the whole point, such as designing for mobility now or later.
The floor is the least glamorous part of a wet room and the part that governs everything else. If you are weighing one up, come and see us at our design studio at 16B Link Drive, Wairau Valley. Bring photos of the existing bathroom and whatever you know about the house, and we'll tell you honestly what the structure allows before you fall in love with a drawing. There is more on how we work at superiorrenovations.co.nz, or book a free consultation and we will start with the floor and we'll take it from there.