Wall framing: the Mackit way!

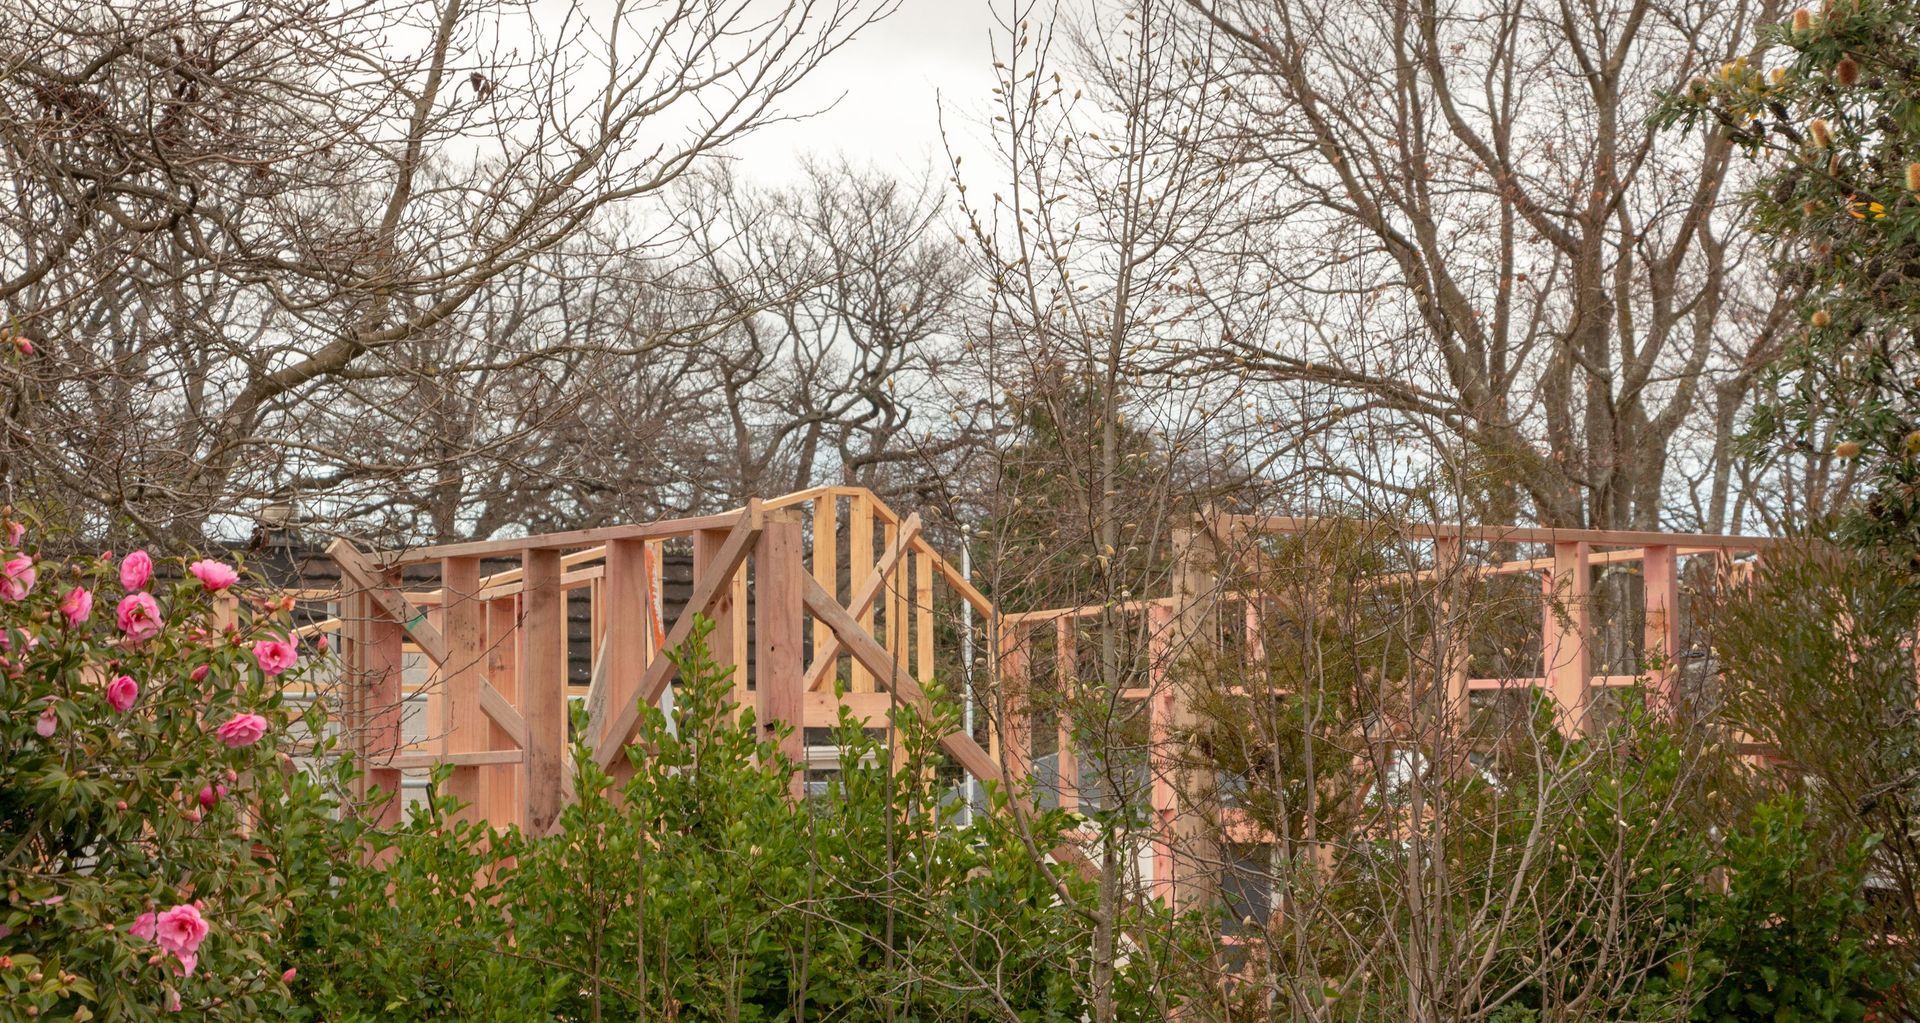
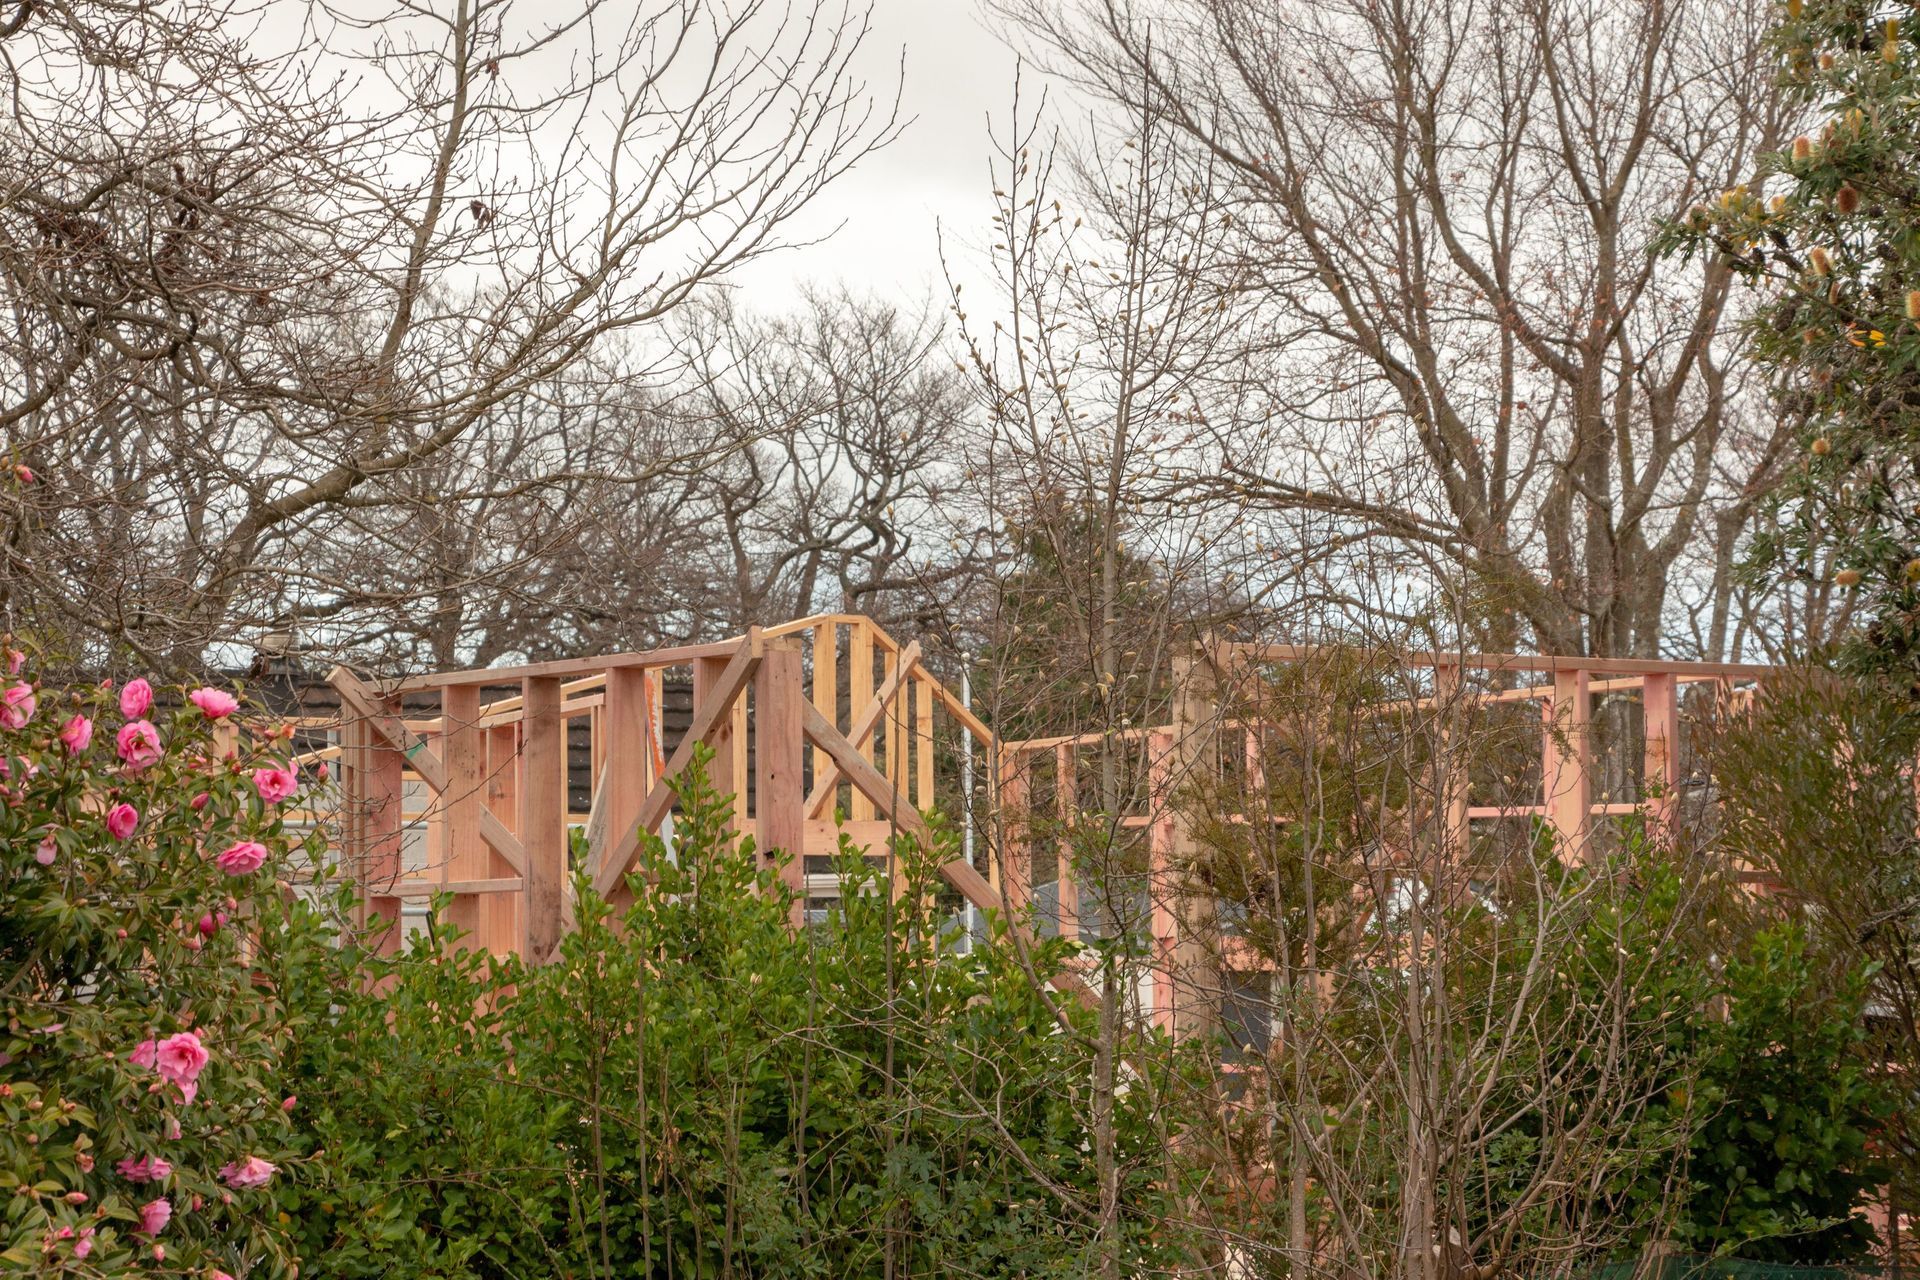
The floor is down so next comes the walls! While our last update showed the completed subfloor structure and a portion of flooring laid in the downstairs bathroom, progress has been swift and we can now walk the entire lower floor of Habitat! Being able to experience the full scale of the dwelling is thrilling, and with the wall framing now going up and peaking through the trees - Habitat is quickly beginning to feel like a house rather than an assembly of building materials. Check out our latest progress photos below!
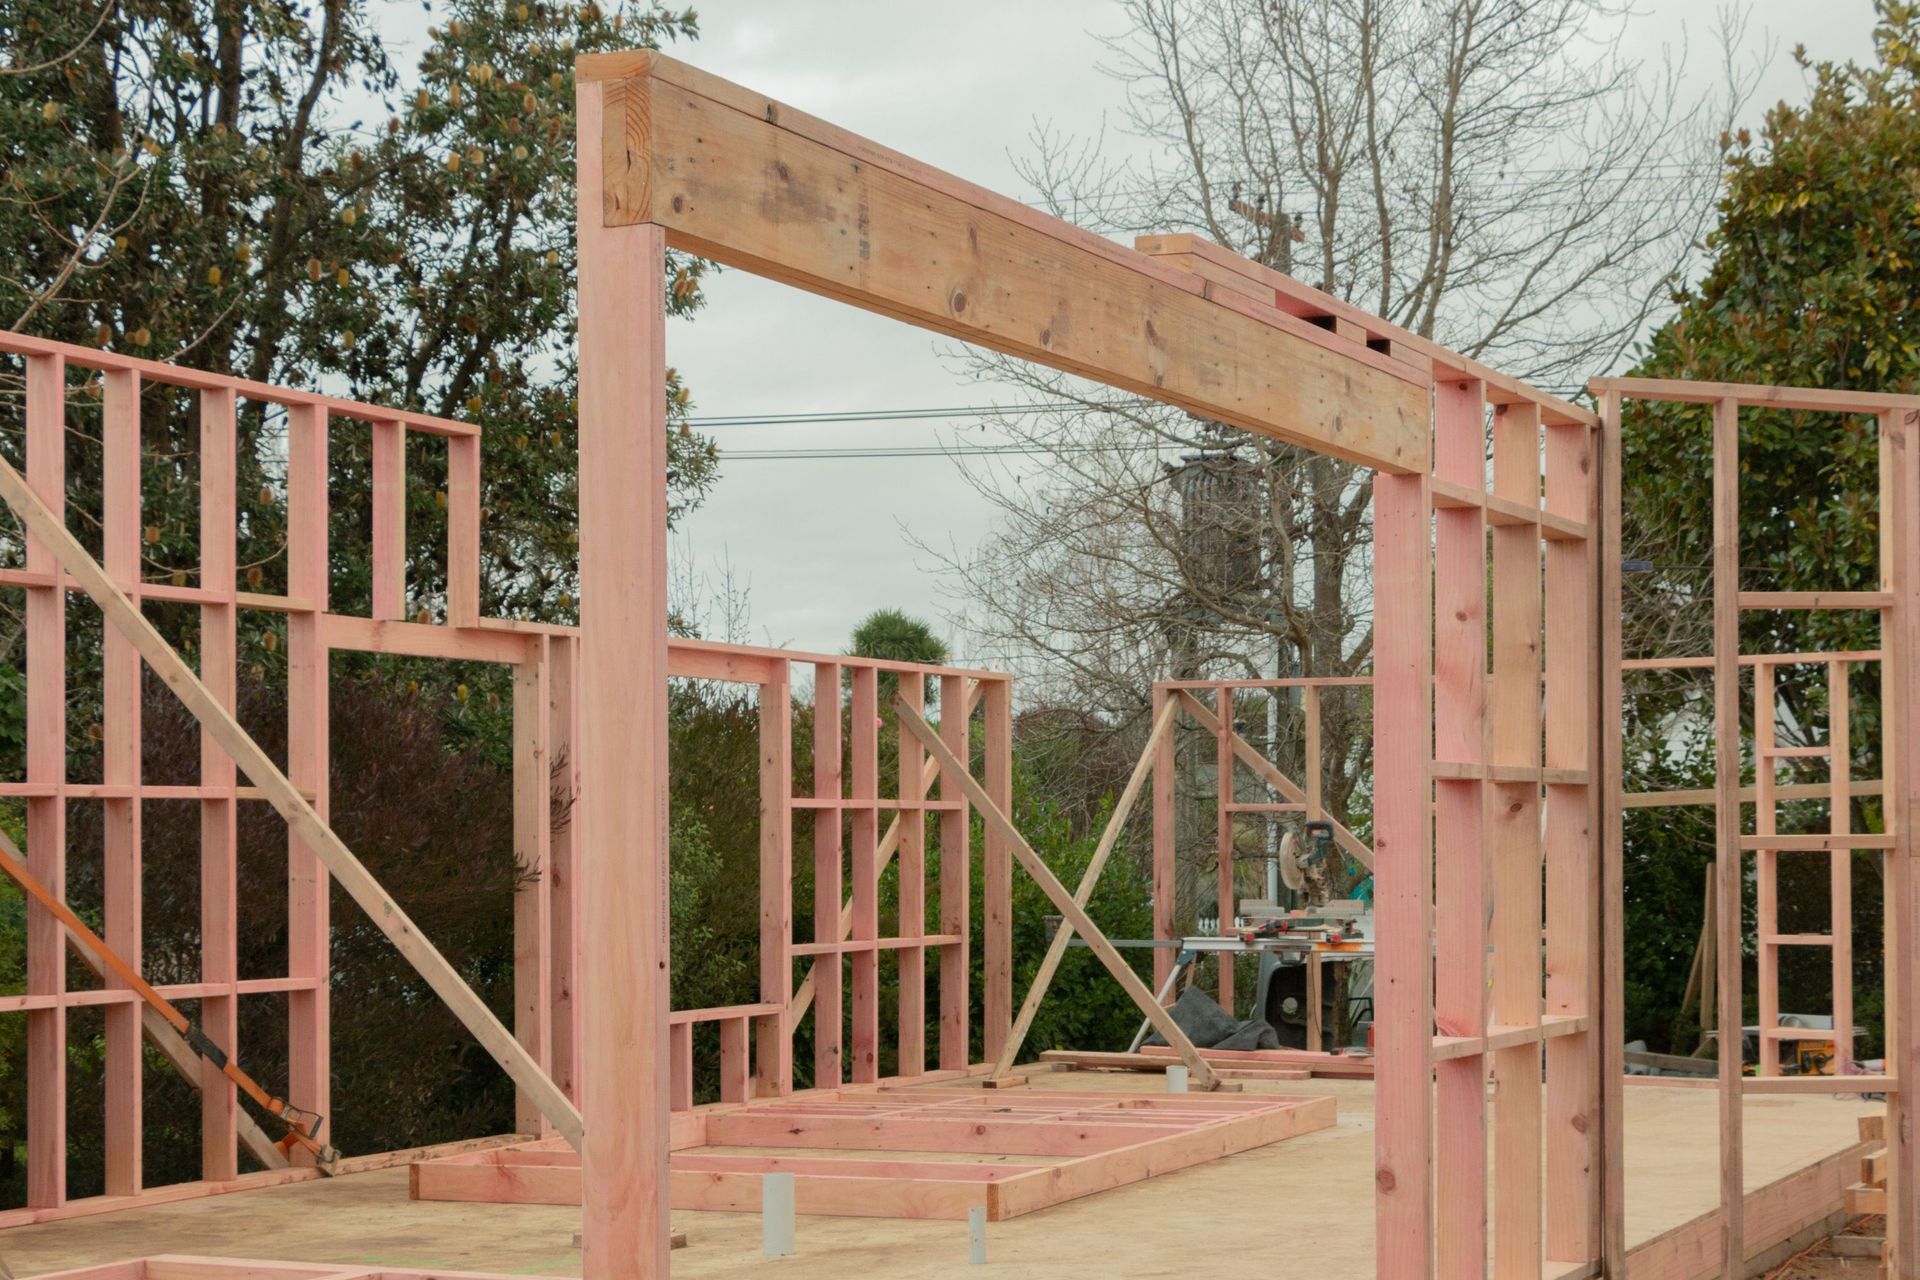
Timber framed walls are the most commonly found system in New Zealand residential building. Timber is renewable, strong and is adaptable as a building material - which is a critical factor when it comes to bespoke architectural design. Standard wall framing is 90mm thick, however we generally go above and beyond 'standard'. For all external walls we have used 140mm timber which gives us:
- Increased structural strength.
- Better thermal value - 140mm wall frames have much more space available to fill with insulation, and also require less studwork, which in turn means less thermal bridging.
Interior walls don't need to benefit thermally from 140mm wall framing, so we are using 90mm J-Frame engineered timber, a Structural Laminated Veneer Lumbar (LVL). The manufacturing and treatment of J-Frame provides a reliably strong, durable and straight timber product, manufactured from 100% renewable Radiata Pine from a plantation forest. It also just happens to be milled locally at the Juken New Zealand (JNL), Wairarapa Mill.
It is quite common for building companies to get what are called “pre-nailed” frames from a factory. The advantage is that it is quick to utilise a sub-contractor to manufacture the frames offsite, while the builders prepare the foundations. The disadvantage is that when working with complex shapes, lots of angles, and super particular designers, there are lots of areas that can be misinterpreted causing inaccuracies. These can be a hassle to deal with and can end up wasting a lot of time (and money) to rectify.
On work like this especially, we prefer to spend our own time in the design studio and on-site utilising our comprehensive computer building model to produce our own very accurate framing plans. We can then produce our own frames on-site to the highest standard with complete control over the process.
Most importantly, we have the ability to be very accurate in the construction of the frames right from the outset, in order to holistically account for the specific requirements of each wall - including member location and spacing for insulation, cladding and all interior fit-out requirements. This way, once we are ready
to stand the frames we know there won’t be any hiccups, and wewon’t need to cut anything out or pull anything apart. We built all our wall frames on site earlier in the year during the dry summer weather, then stacked and covered them ready to stand after the floor was completed.
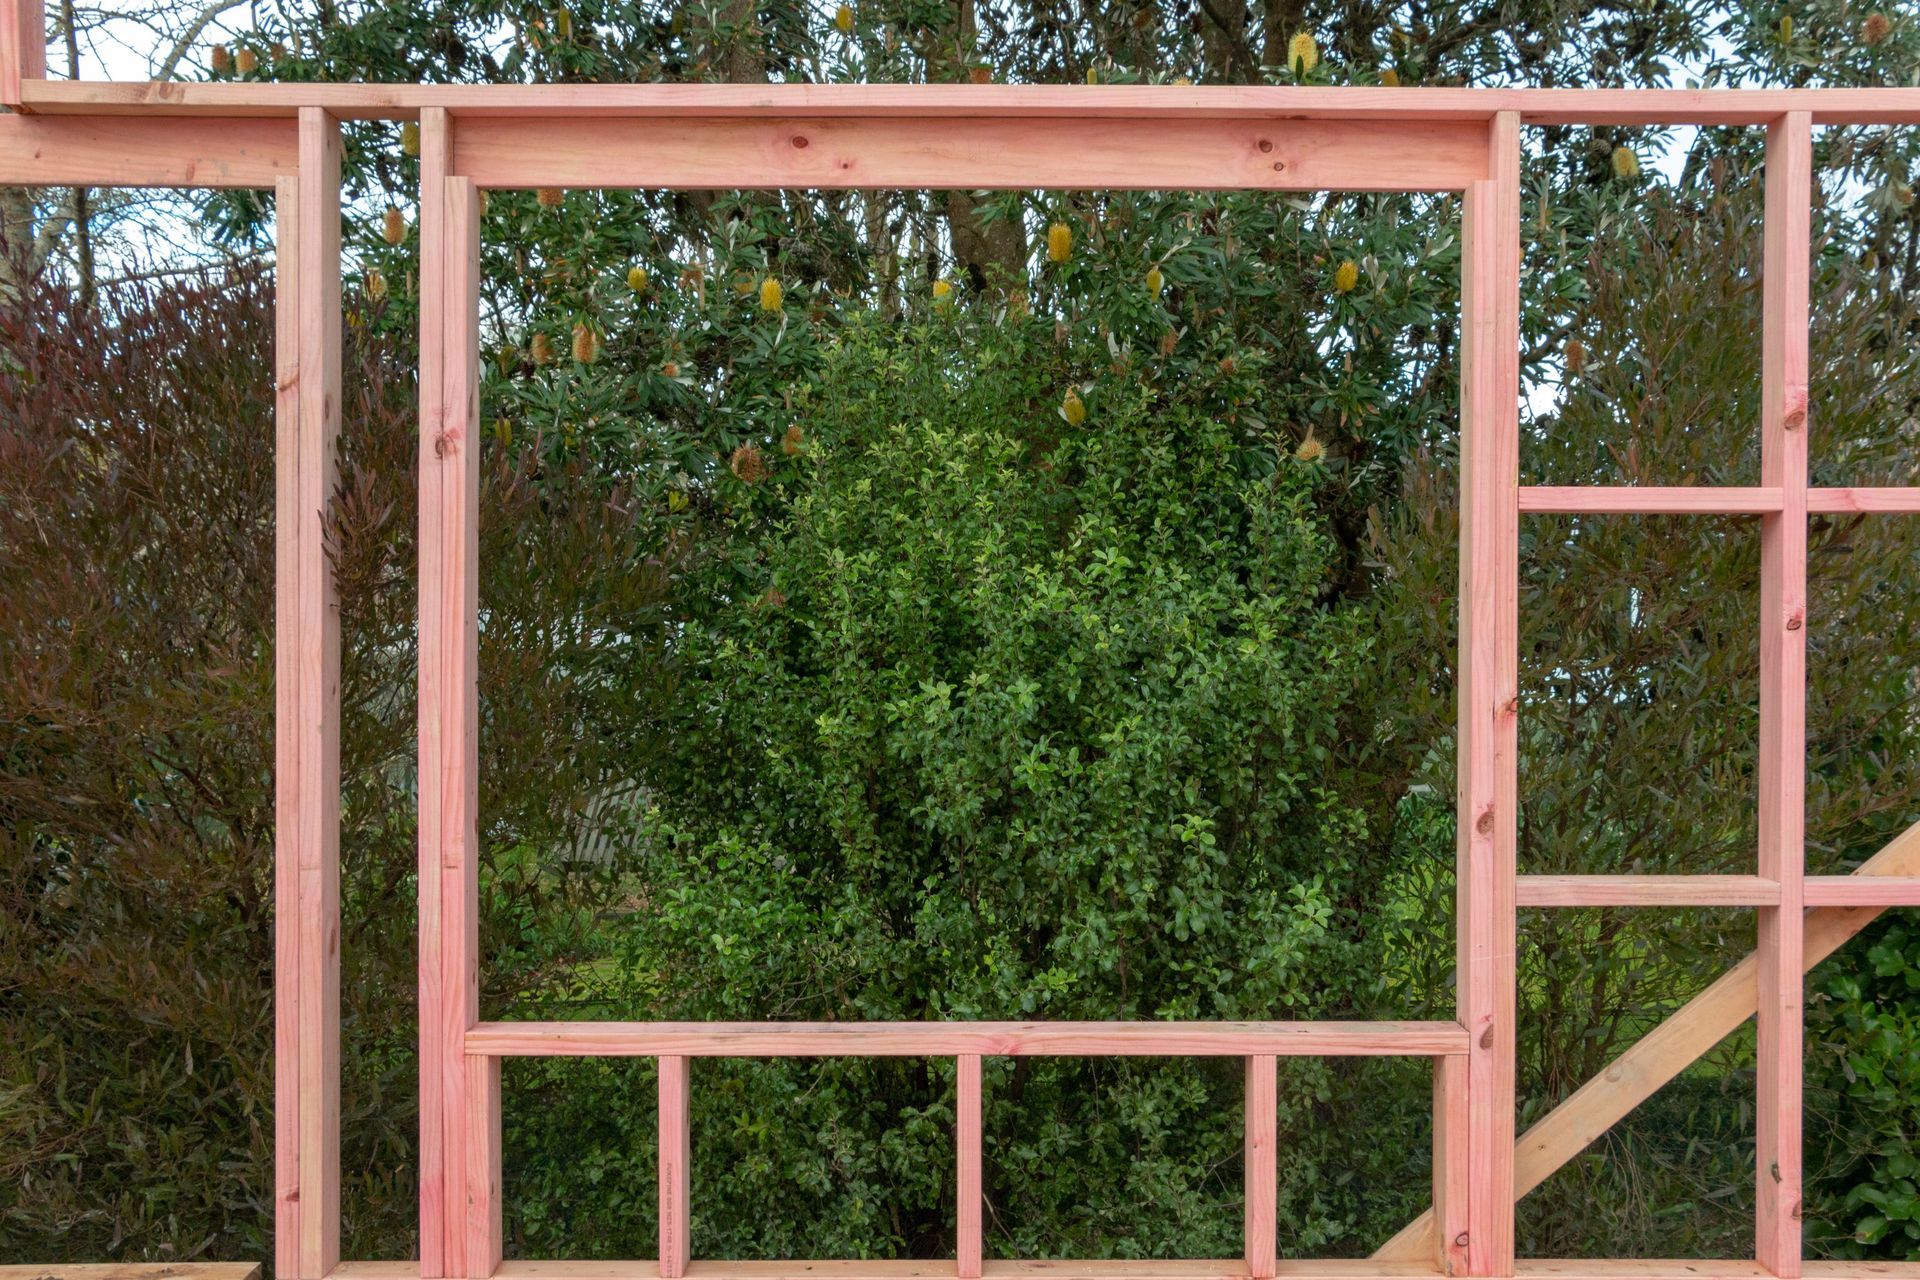
Now with most of the exterior frames up, we can fully walk through the lower level of the house, and appreciate the different views framed by the windows and doors. We are especially appreciating the native planting down the north boundary, which not only provides privacy but a lush verdant outlook for the lower bedrooms, bathroom and kitchen.
Adjacent to the garage, at the street front end of the house, will be the aforementioned bedrooms with a bathroom between them. Walking through the house, towards the north-west boundary, you pass through what will be the hallway leading to the open plan kitchen (with scullery), dining and living area. This area will flow through to the outdoor space with a large glass slider leading to floating concrete steps down to the back garden.
While all this has been going on, we have been cracking on selecting things like appliances and floor coverings. Next time we will share how and why we selected our floor coverings for Habitat.