The Ultimate Guide to Downlights

When you're building a new home or renovating a space, lighting will form a big part of your plans. LED downlights nearly always play a role as a cost-effective, sleek form of recessed lighting. However, there are few tips and tricks for using them correctly and it's something you'll want to get right to avoid creating an overlit or underlit space.
What are downlights?
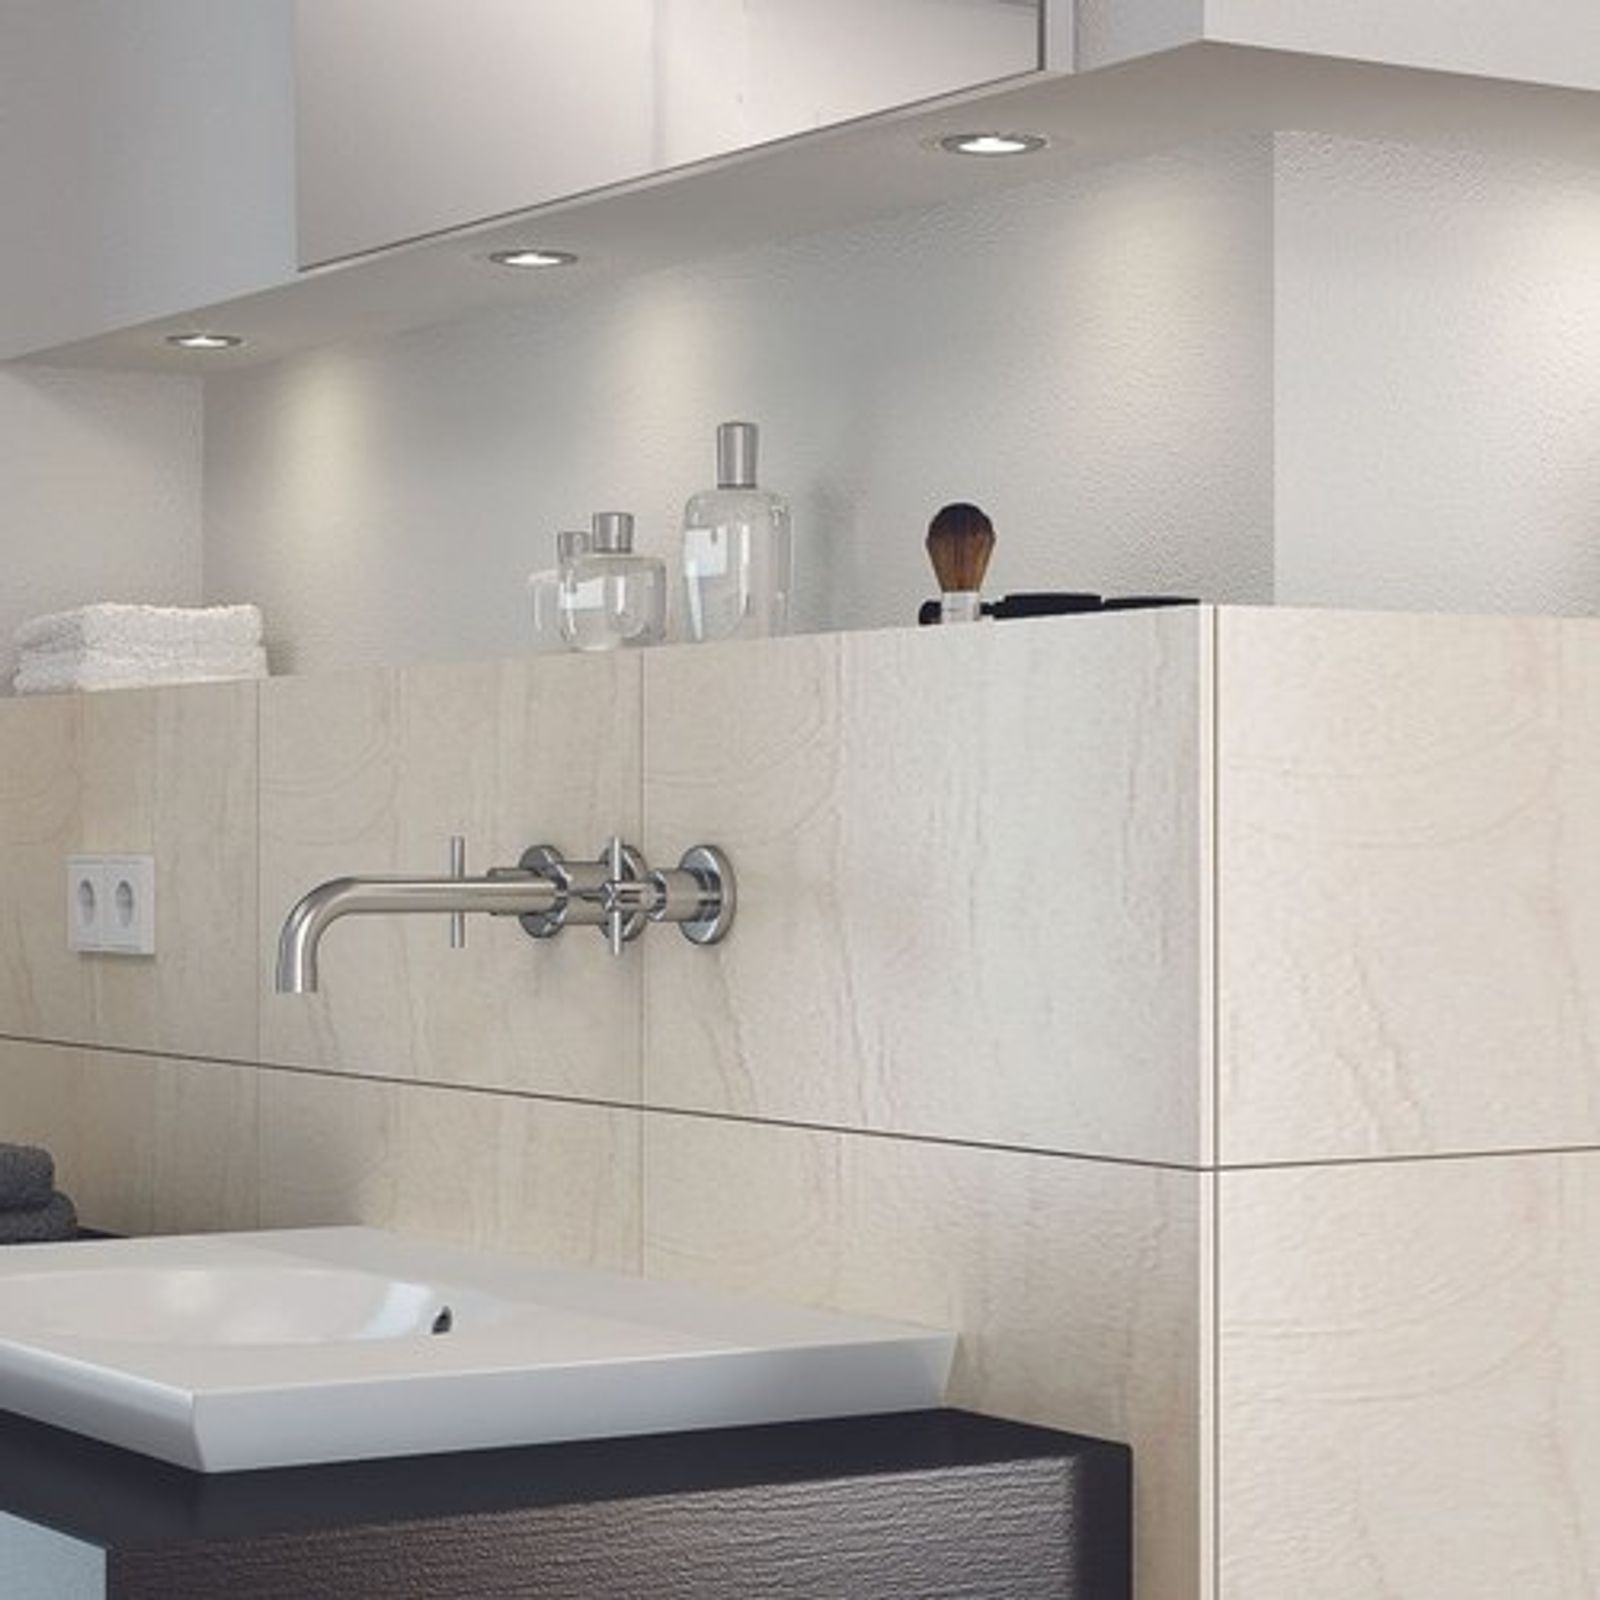
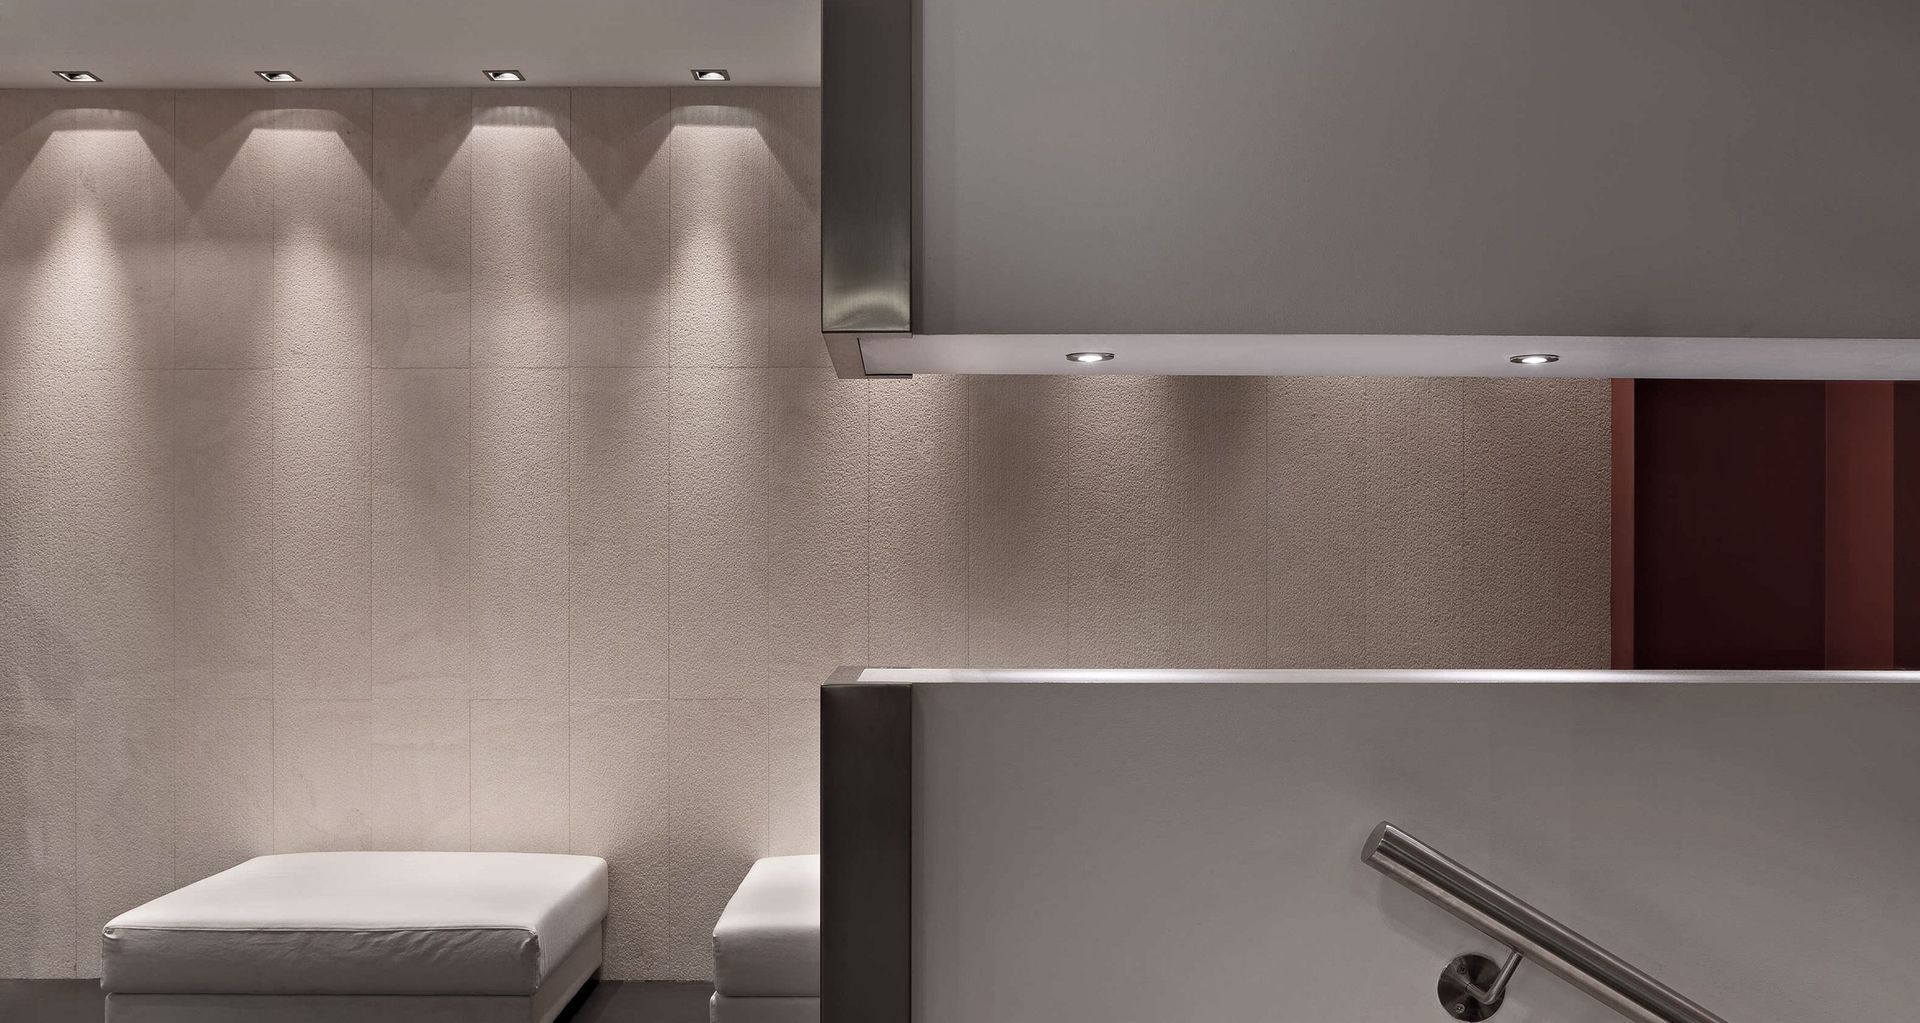
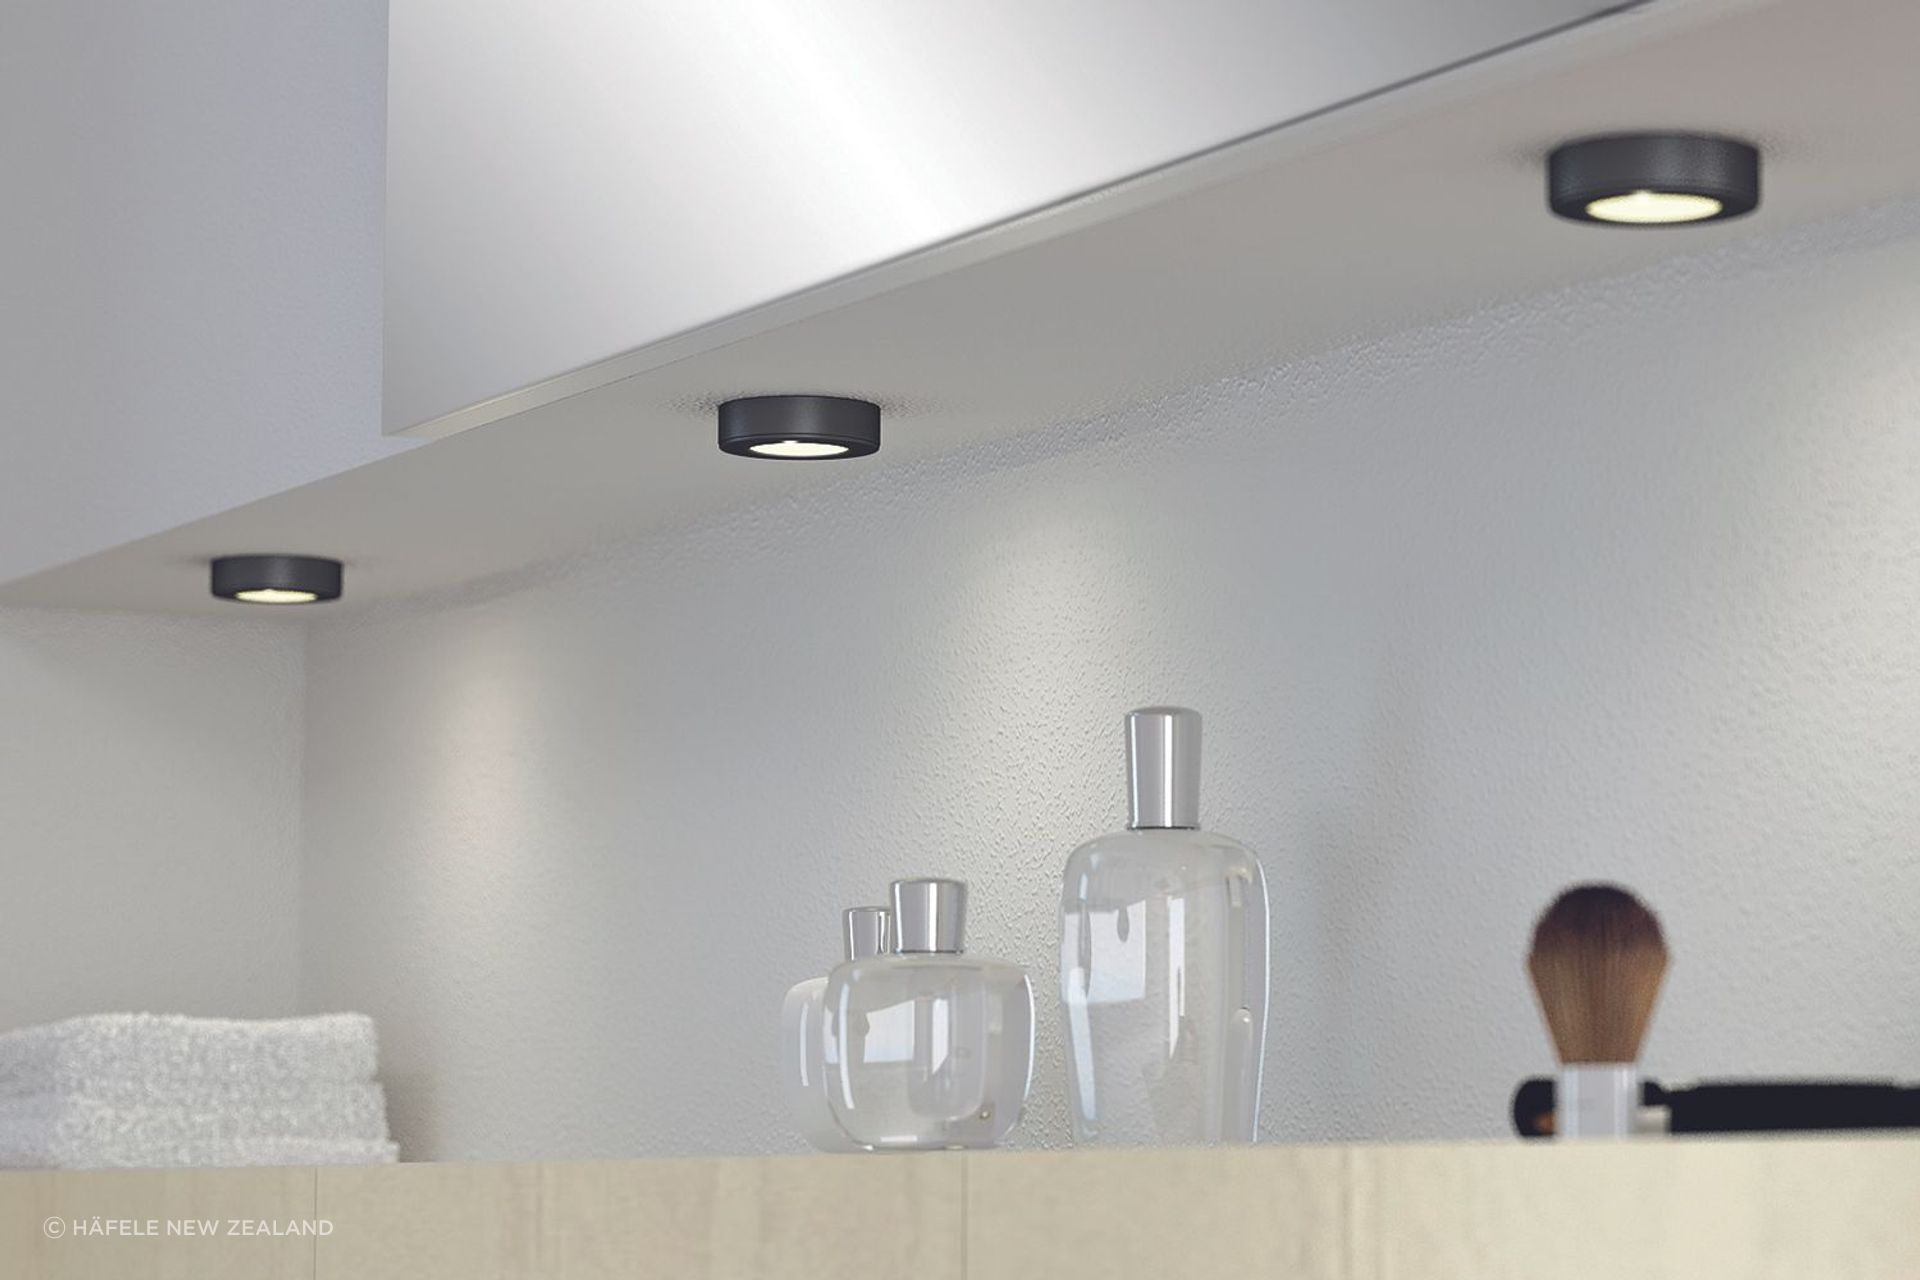
Before we get started, it's important to first describe exactly what downlights are. Downlights, also called recessed lights, are a light fixture designed to illuminate one specific item or area. They are recessed into the ceiling with no exposed light fixture, and typically cast a narrow beam of light into a space.
You'll often see downlights in areas where you need a little extra illumination for tasks. They’re one of the most popular types of ceiling lights used in kitchens as a way to light up countertops and workspaces, and are effective at lighting larger rooms too as a form of ambient lighting.
Related article: The complete guide to ceiling lights
Important downlight layout considerations
The first thing you need to do is figure out the layout of your downlights. This involves answering a number of specific questions to get you through the process.
How many downlights do you need per room?
The number of downlights required for a space can vary but generally, you'll need one downlight for every 1.5 to 2 square metres of ceiling area.
The calculation on this basis is fairly simple. You first measure the length and width of your room (to get the area) and divide that number by 1.5 or 2.
For example, if you have a room that is 3m x 3m, the total area would be 9m2.
You then divide 9m2 by 1.5 to get 6 downlights.
It's important to note that this is a guide as there are a few other factors that can impact this, like high ceilings, bulbs with high lumens, and your personal preference for how much light you want in the space.
Where should I place downlights?
Positioning is crucial when it comes to the layout of downlights as you want to ensure you light up the right areas effectively. Placements that are too close will result in harsh shadows while lights that are too far from one another will result in patchy uneven lighting.
The first thing you should do is ensure even distribution across your ceiling. This will help you achieve even lighting and make the space look well balanced too.
You should also make sure that you place them at least half a metre away from your walls. If they're too close, they will create a 'washing' effect and shadow lines along the edges of a room.
Sometimes, downlight placement is about being strategic too. For example, if you have an area which requires a little bit of extra task lighting, like a kitchen island, then be sure to position them over the space accordingly so they can serve this specific purpose.
What is the best beam angle for downlights?
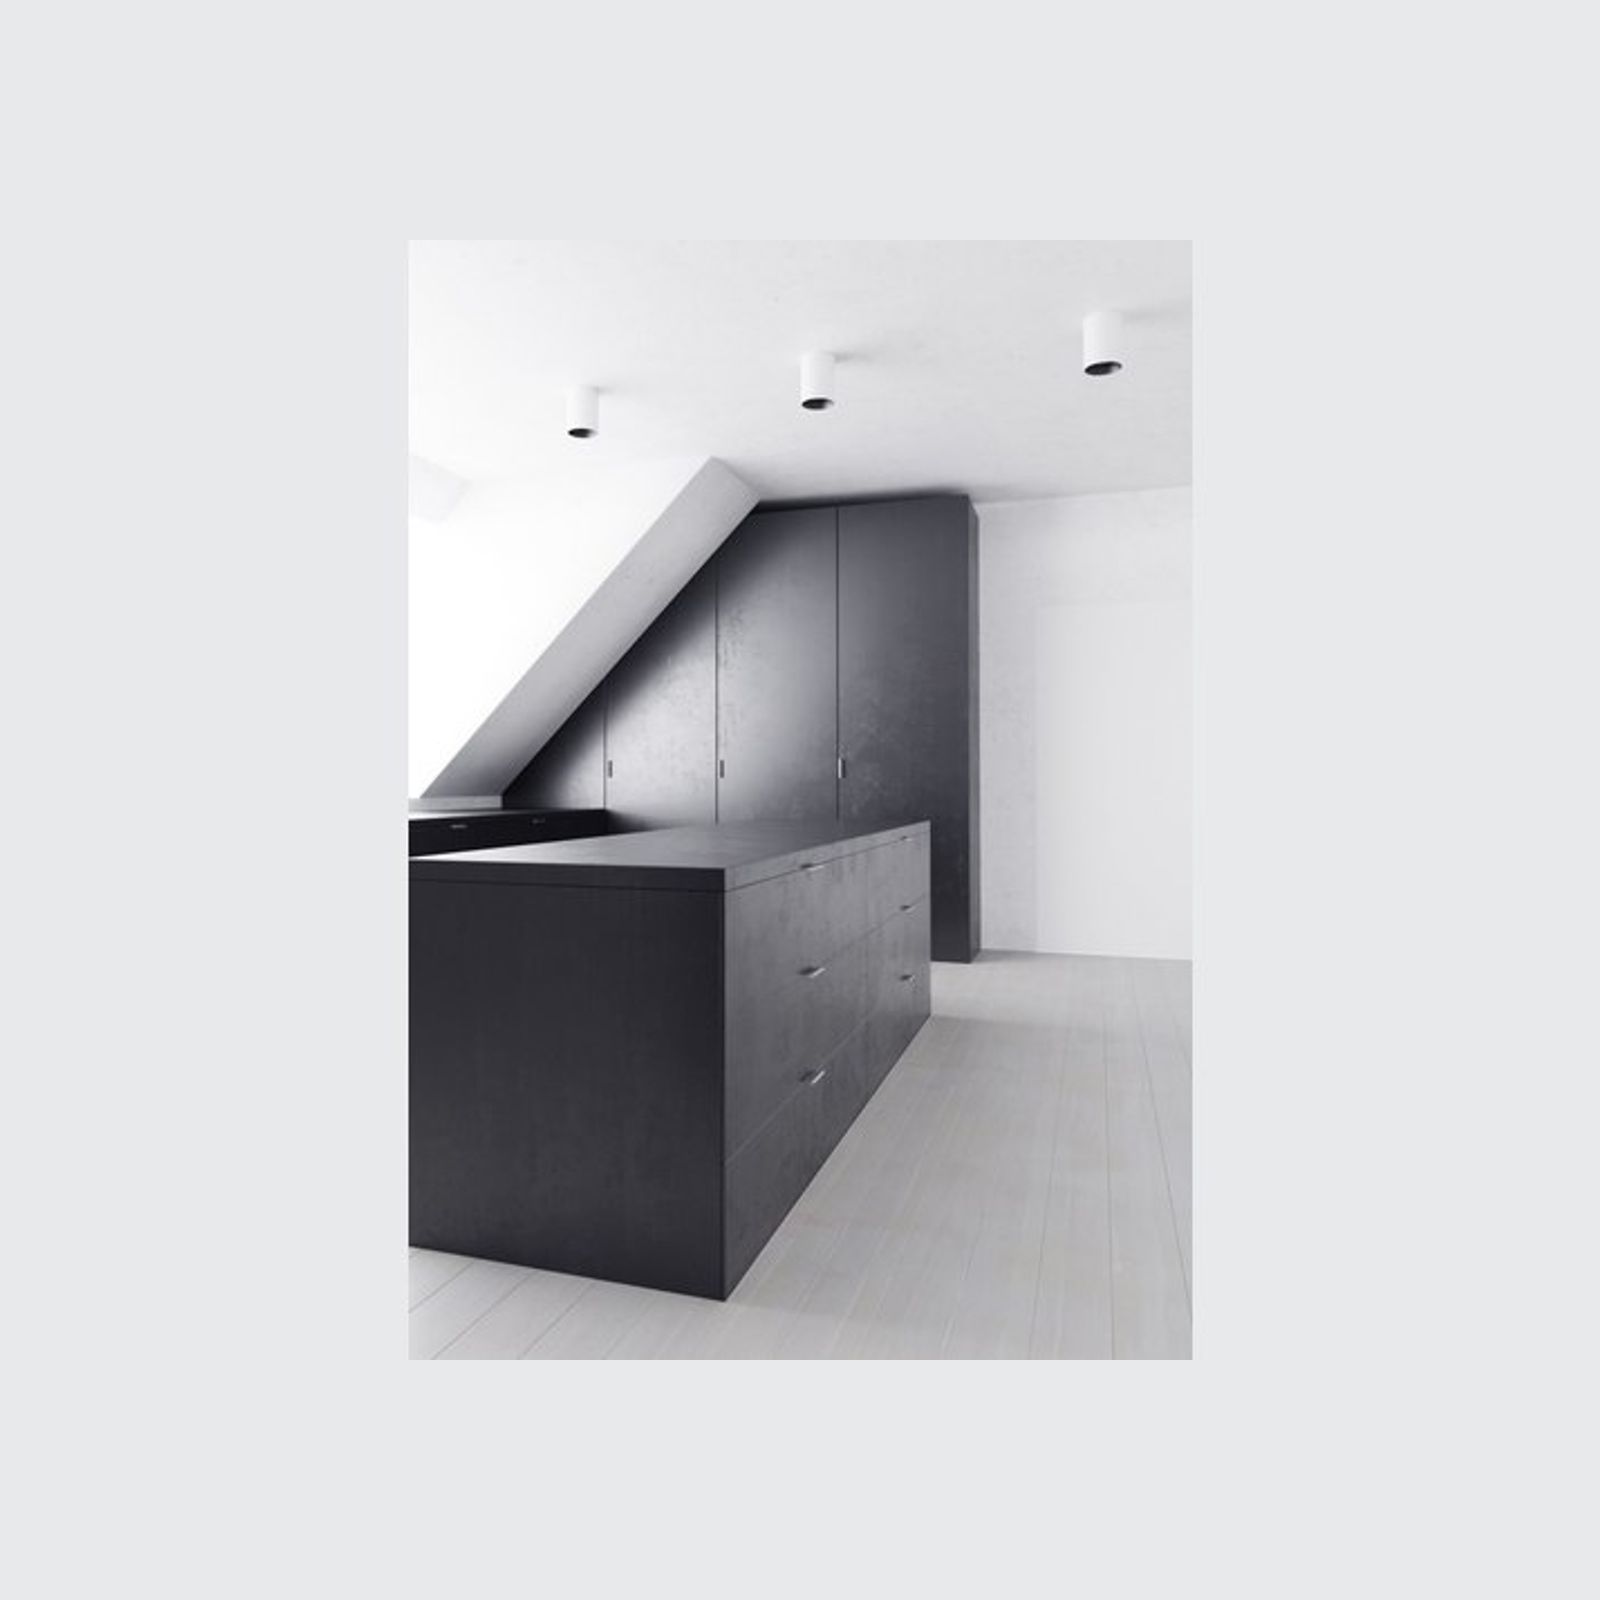
The beam angle of a light source refers to the spread of light emitted from it and is measured in degrees. For example, a bulb hanging from a ceiling with no lampshade has a beam angle of 360 degrees.
Due to the recessed nature of downlights, most have a beam angle of 45 degrees. However, you'll find some downlights have a slightly wider beam angle of around 60 degrees which can be a good choice for ambient lighting in a large room.
You'll also find LED downlights with a narrow beam angle of 25 degrees. These are great if you need a more concentrated form of light, like spotlighting on a kitchen bench or highlighting a sculpture.
Does colour temperature make a difference?
Colour temperature is more about aesthetics and mood than layout specifically, but is important nevertheless. The colour temperature you choose will depend on what your preference is for the look and feel of your space. You might choose a 7,000K cool blue for a sun-flooded space, a 5,000K natural white to create the look of natural light or a 3,000K warm white to make a space appear warmer and cosier.
There’s no right or wrong choice when it comes to choosing colour temperature, but consider how each will make your space feel.
Related article: Colour temperature and lighting — 5 tips to help you choose
What about light dimmers?
Light dimmers are great for offering a bit of flexibility when it comes to functionality and styling. Having the ability to reduce the intensity of the light in a room allows you to manipulate the mood of the space.
Dimmers are available in analogue and digital options, but they need to be paired with dimmable bulbs. There are dimmable versions of most types of downlight bulbs available. Non-dimmable bulbs can be used in dimmable light fittings, but they will only turn on when 100% voltage is applied.
The only layout consideration to bear in mind is to space out your dimmable downlights according to the power level they'll set at most of the time.
Common mistakes to avoid
There are a few common mistakes you should watch out for when choosing downlights including the following:
Don't expect them to do everything
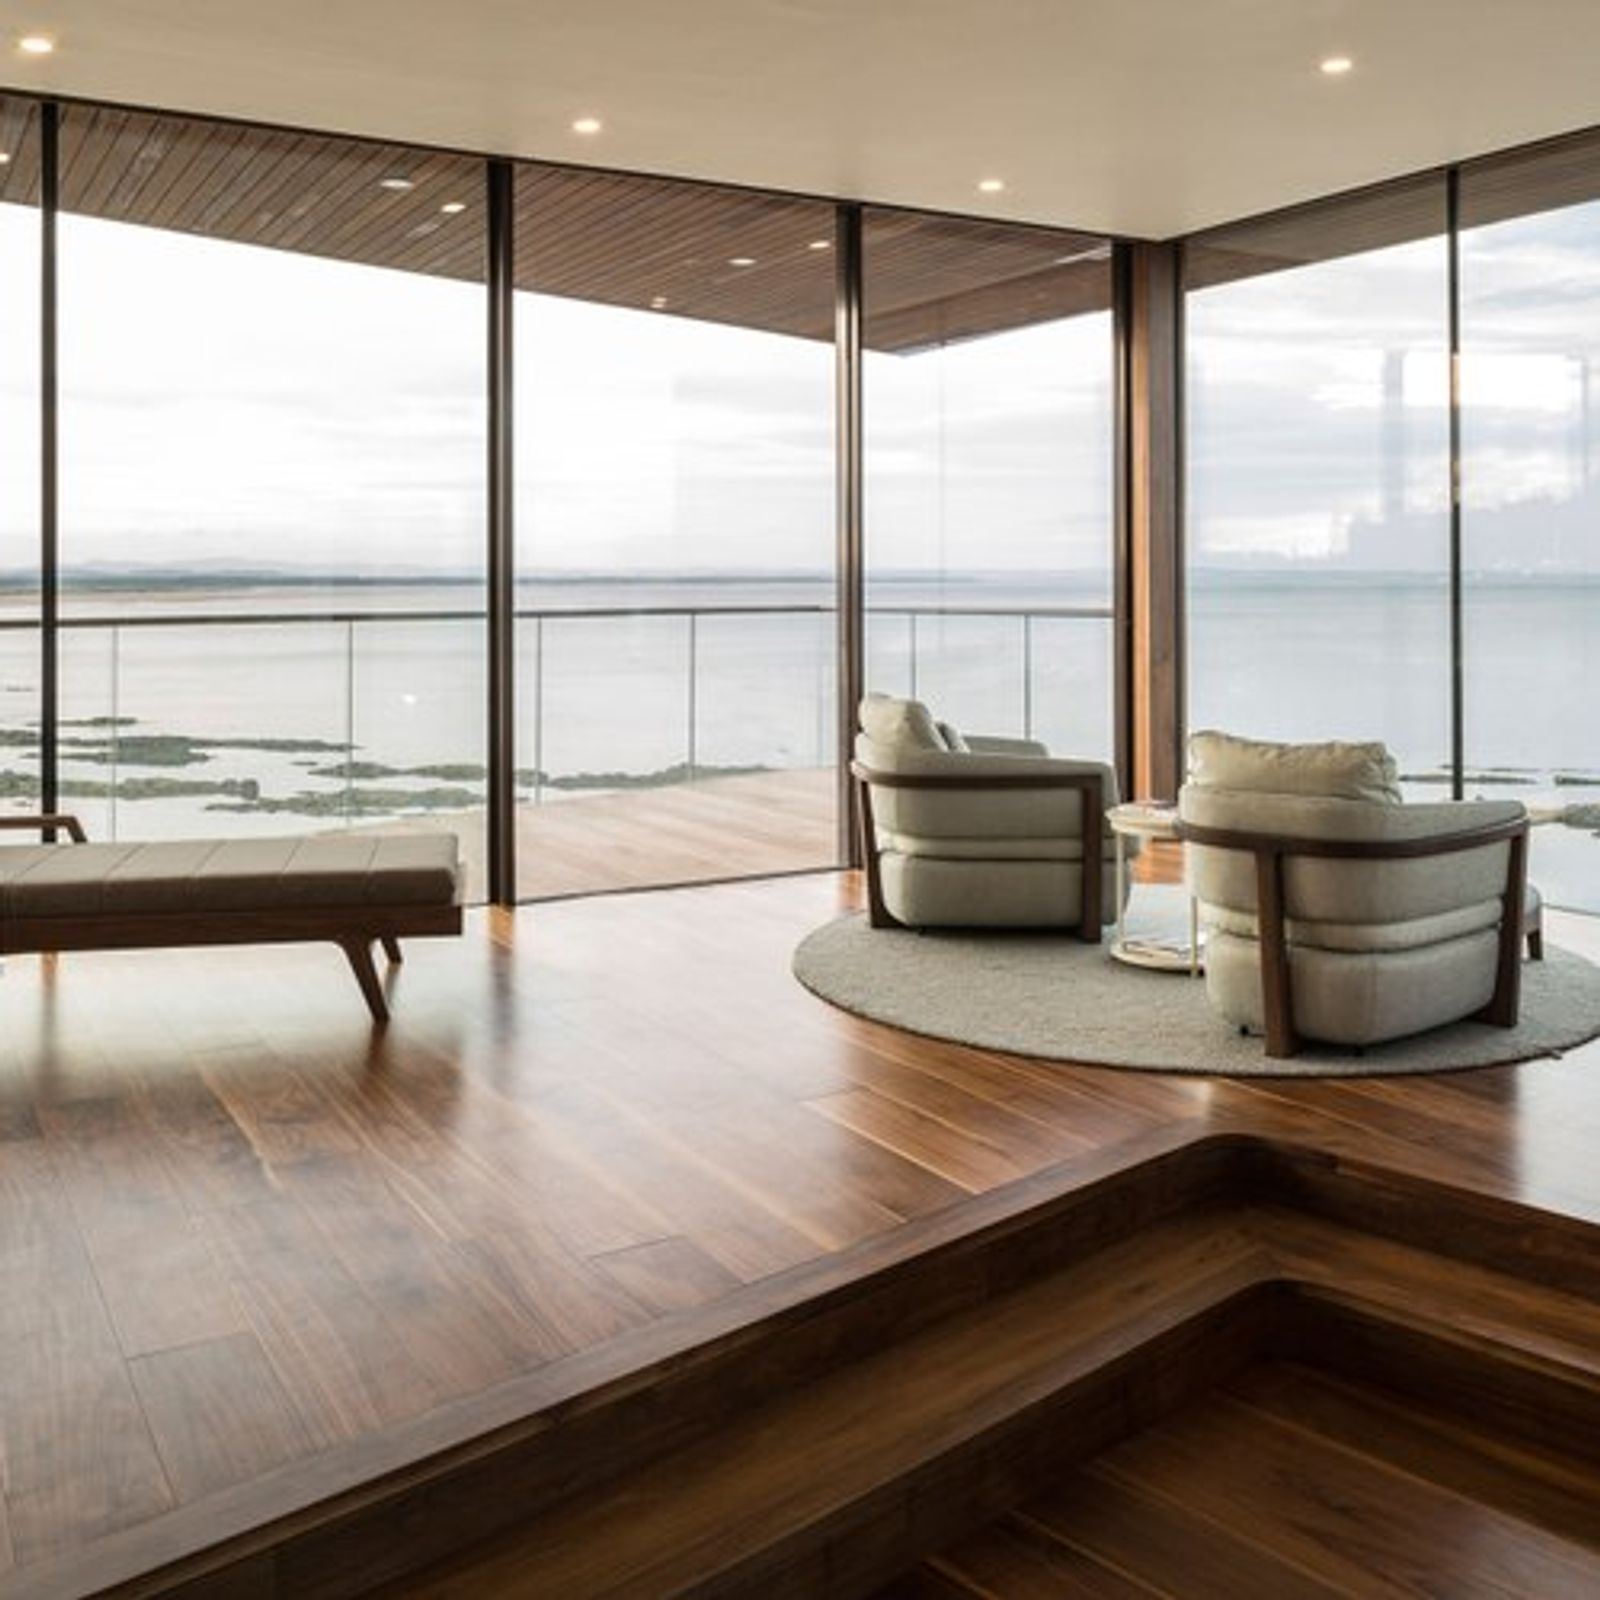
First of all, people often rely too heavily on downlights to handle all their lighting needs in a space. In most rooms, a layered lighting approach works best which typically includes other fixtures like wall lights and lamps.
Don't overblow a space with light
Often, it can be tempting to solve your lighting challenges by cranking up the wattage on your bulbs or filling the ceiling full of downlights, but this can leave a space feeling stark and the lighting overblown. Be sure to use the formula mentioned earlier for guidance and consult a lighting professional if you're in any doubt before making a final decision.
Don't ignore energy efficiency
Sustainability is an important issue for us all in the modern world and thankfully there are plenty of energy-efficient LED bulbs on the market to choose from. The higher upfront cost can put people off but you do tend to save money in the long run from lower electricity bills and longer lasting bulbs.
Don't get too close to the walls
We discussed this earlier, but it's worth reiterating, considering how often it pops up as an issue. You need to ensure you have at least half a metre of space from your walls. Doing so will create distracting aesthetics with your lighting which will negatively impact your space.
Related article: Everything you need to know about LED lights
A quick note about ceiling insulation and downlights
Since new insulation standards were introduced, homeowners are required to insulate all new houses, but increasingly owners of older homes are also installing it in their ceiling cavities. In response to the new insulation standards, downlights compatible with insulated roof cavities were developed.
The two insulation-compatible downlights are called Insulation Contact (IC) and Insulation Contact - Fire Resistant (IC-F). If you have an insulated ceiling cavity, you will need to install these two types of downlights.
Older versions of downlights required a gap of 150mm between the ceiling insulation and the light fitting, with the cans (inside the ceiling) not able to be in contact with the insulation. The reason for this is the output of heat from the halogen and incandescent light fittings was high and posed a fire risk.
In addition, the big holes that needed to be cut into the ceiling insulation rendered the insulation inefficient as the warm air and moisture from the room below were drawn up into the ceiling cavity.
Fortunately, the new technology in IC and IC-F fittings means the heat output of downlights is reduced dramatically and the light cans can either be in contact with insulation or only require a small gap.
Just be aware, IC-F downlights are not necessarily fire-rated, so check with the manufacturer first if you need fire-rated lights.
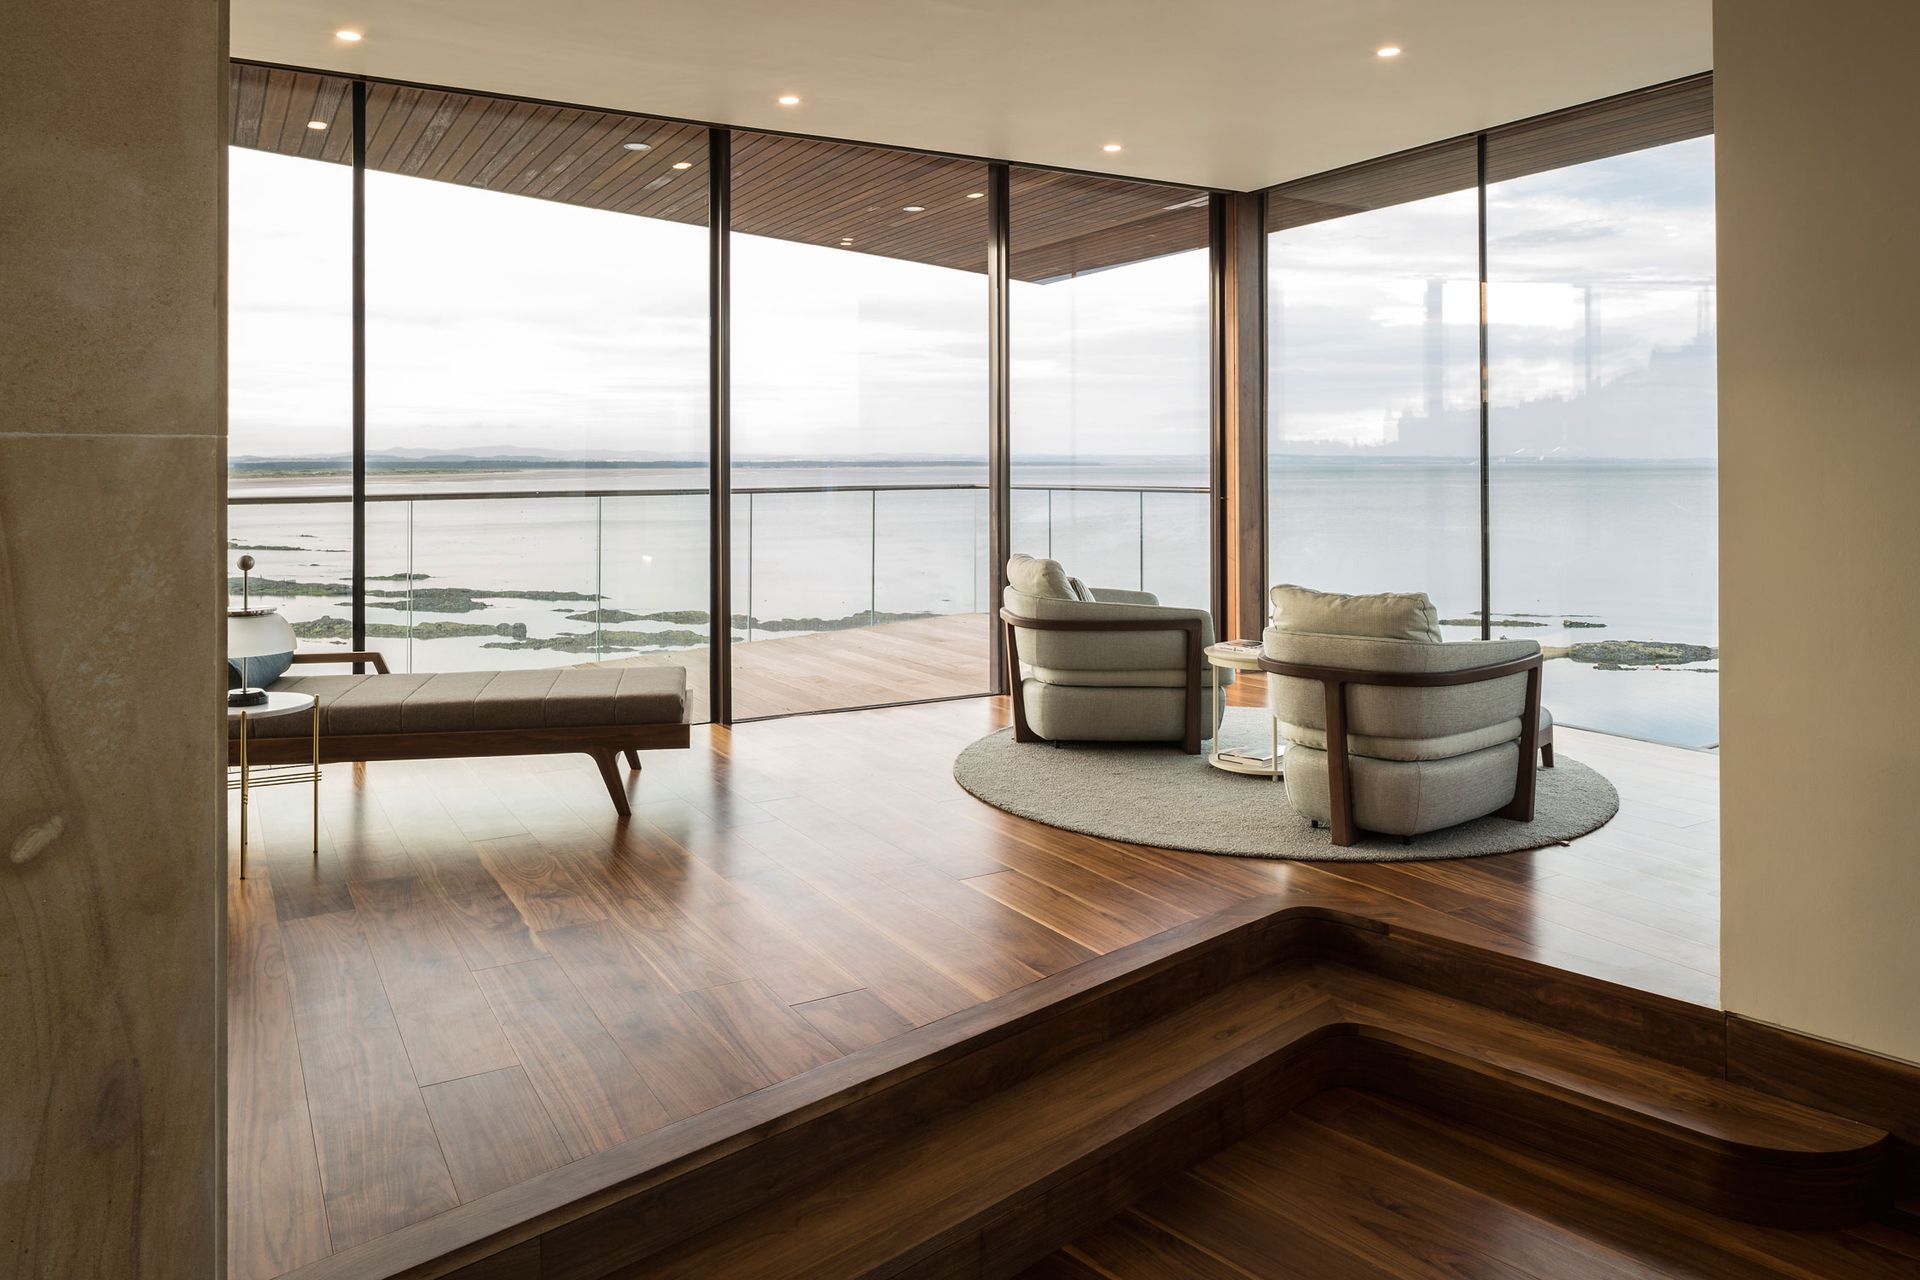
Light your space with style using downlights
As you can see, downlights are a great solution for lighting living spaces when used in the right way. By following the guidance above, you'll be able to find the perfect downlights that will enhance the look, feel and functionality of every area of your home.
(This article was updated on 28th November 2024)
Browse an extensive range of high-quality downlights on ArchiPro
Featured products