Are mosaic tiles hard to install? A look at the installation process

A question many have, however, surrounds the installation process of these tiles: Are they difficult to install? In this quick guide, we'll look to answer that question so you'll know how to install them and whether you should seek out a professional or not.
What is the installation process for mosaic tiles?
The process for installing mosaic tiles is relatively straightforward, as long as you follow the steps closely and take your time. Here are the steps to follow:
1. Gather your materials and tools
Before you start, you need to have all the necessary materials and tools to carry out installation correctly. You’ll need:
- Your chosen mosaic tiles
- Tile adhesive (thin-set mortar)
- Notched trowel
- Tile spacers (if needed)
- Grout
- Grout float
- Sponge and bucket of water
- Tile cutter or nippers
- Level
- Tape measure
- Pencil
- Safety glasses
2. Prepare the surface
The surface where you'll be installing the mosaic tiles should be clean, dry, and flat. Remove any wallpaper, loose paint, or old adhesive. Fill in any holes or uneven areas to ensure a smooth base.
3. Plan your layout
Measure the area and plan your tile layout. For large spaces, it's helpful to lay out the tiles on the floor to visualise the pattern. For intricate designs or smaller areas, consider using tile sheets that keep the small tiles in a predetermined pattern.
4. Apply adhesive
Mix the tile adhesive (thin-set mortar) according to the manufacturer's instructions. Using a notched trowel, spread an even layer of adhesive over a small section of the wall or floor. Work in sections to prevent the adhesive from drying out before you can set the tiles.
5. Place the tiles
Press the mosaic tiles or sheets into the adhesive, gently but firmly. If you're using individual tiles, use spacers to maintain even gaps for grout. For sheets, adjust them so the gaps between sheets match the gaps between tiles. Use a level to ensure the tiles are even.
6. Cut tiles as needed
You may need to cut tiles to fit around edges, corners, or fixtures. Use a tile cutter for straight cuts and tile nippers for curved cuts. Always wear safety glasses when cutting tiles.
7. Allow to set
Let the adhesive set according to the manufacturer's instructions. This usually takes 24 hours.
8. Apply grout
Once the adhesive is set, mix the grout according to the package instructions. Using a grout float, apply the grout diagonally across the tiles, filling in all the gaps. Work in small sections.
9. Clean up
After applying the grout, wait about 10 minutes, then use a damp sponge to wipe off excess grout from the surface of the tiles. Rinse the sponge frequently in clean water. After the grout has fully set (usually 24 hours), you may need to polish the tiles with a soft cloth to remove any haze left by the grout.
10. Seal the grout (Optional)
Depending on the location and type of grout, you might need to apply a grout sealer to protect it from moisture and stains. Follow the manufacturer's instructions for application.
Are mosaic tiles hard to install?
Installing mosaic tiles is generally considered more difficult than installing larger, uniform tiles. The smaller size of the pieces and the necessity for precise alignment make it a more challenging and time-consuming process. Here are some potential issues you should be aware of:
Precision and patience is required
Mosaic tiles often feature complex patterns or designs that require careful alignment. The tiles need to align to ensure the finished result is cohesive. The small size of individual pieces within mosaic sheets can also make them more tedious to work with, especially when cutting is required to fit around corners, outlets, or other obstacles.
Adhesive and grouting needs to be done carefully
Applying adhesive evenly across a surface for mosaic tiles needs to be done carefully to avoid unevenness, which can be more apparent given the small size of the tiles. Because mosaic tiles are typically mounted on mesh backing, maintaining consistent grout lines becomes important. The small tiles mean more grout lines, and ensuring these lines are filled properly requires attention to detail.
Cutting and shaping
Installing mosaic tiles around irregular shapes or in tight spaces often necessitates precise cuts. While the mesh backing can be cut with scissors, individual tiles may need a tile nipper or cutter, demanding more skill.
Surface preparation
The surface onto which the mosaic tiles are to be installed must be perfectly flat and properly prepared. Any imperfections can be more noticeable with mosaic tiles due to their small size and intricate patterns.
Skill level
For beginners, the learning curve can be steep. Aligning the tiles correctly, ensuring the adhesive is applied evenly, and achieving smooth grout lines all require practice.
Is a professional tiler required to properly install mosaic tiles?
As you can see from the installation process laid out above a professional isn't strictly required for installing mosaic tiles. Hiring one however can enhance the quality and speed of the installation, especially if you need a larger area tiled.
You can achieve good results though as long as you plan carefully, ensure you have all the necessary equipment, and pay close attention to detail.
Other tiles worth considering
There are other types of decorative tiles available that can give you similar results and styles to mosaic tiles, these include:
Hand-painted ceramic tiles - Hand-painted ceramic tiles are ceramic tiles that have been manually decorated with designs or patterns before being glazed and fired. This artistic process results in unique, one-of-a-kind tiles that can feature a wide variety of motifs, from intricate floral patterns and geometric designs to scenes or images that reflect cultural, historical, or personal themes.
These tiles can be used in numerous areas around the home or commercial spaces, including kitchen and bathroom backsplashes, wall accents, flooring in small areas, and outdoor spaces such as patios or garden walls.
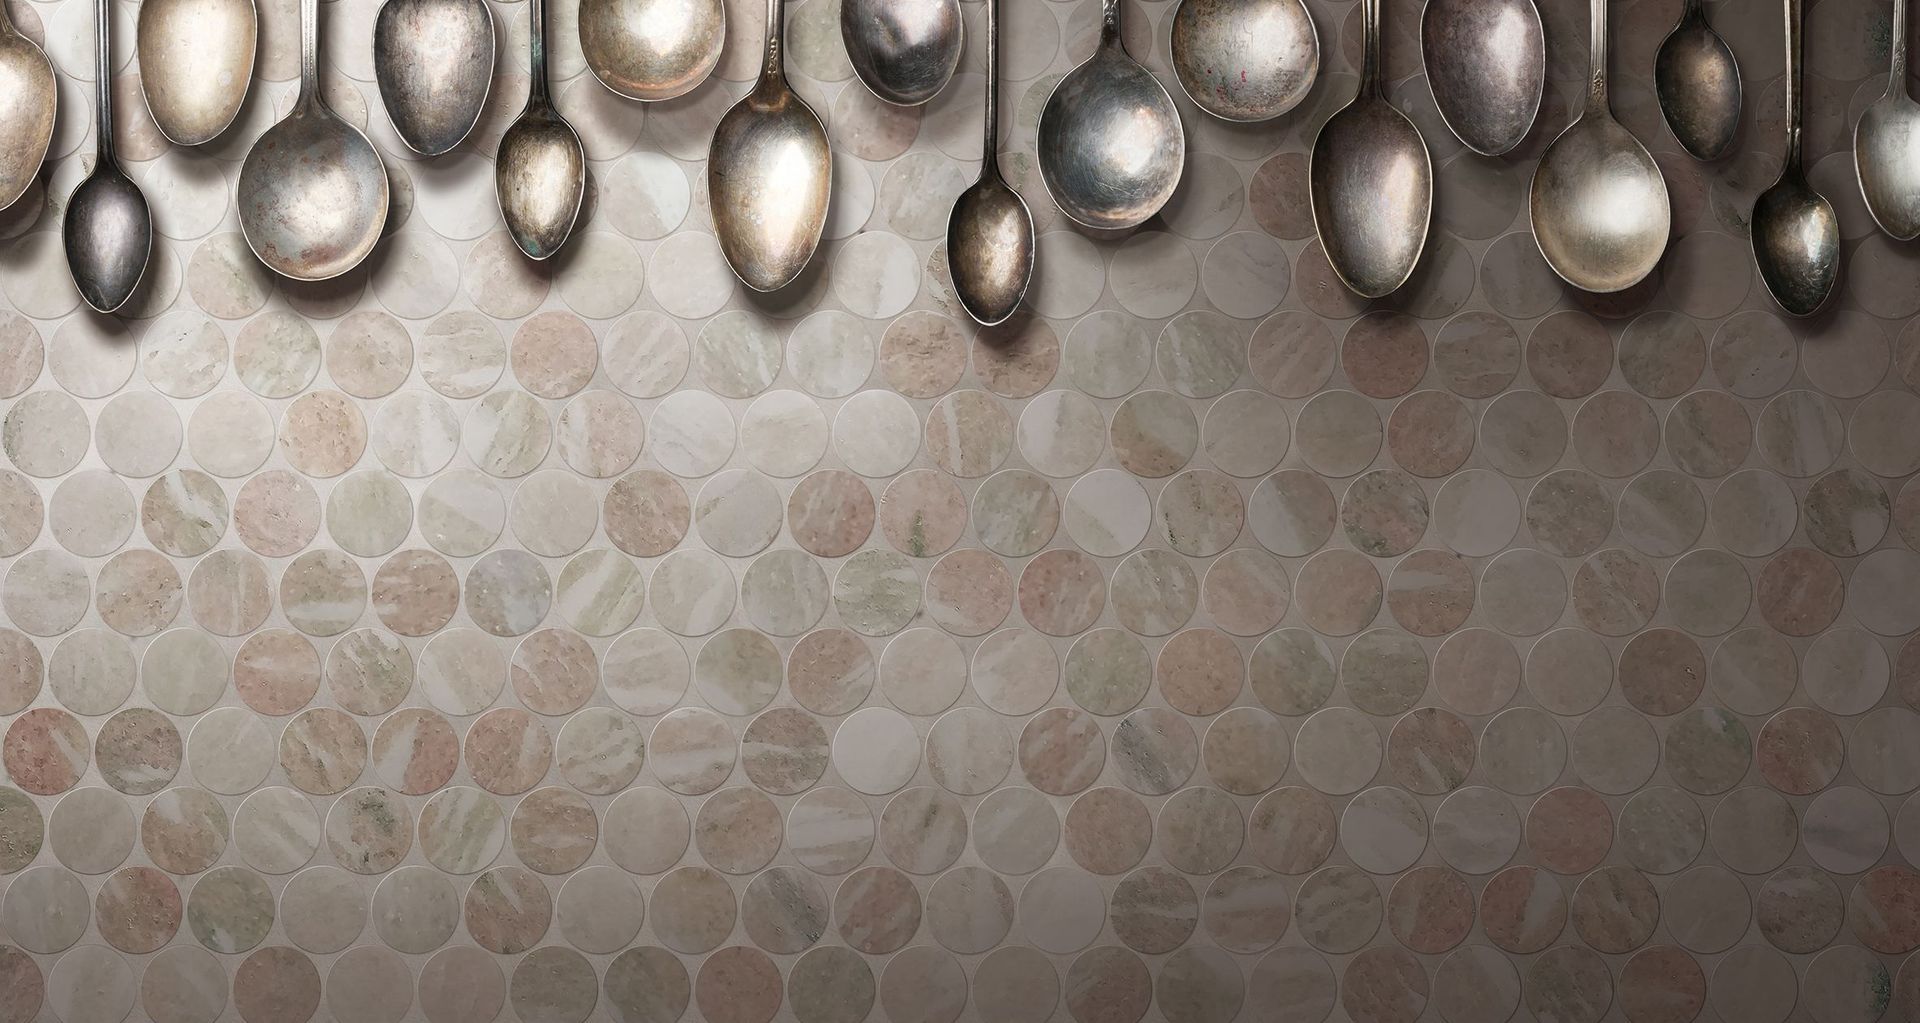
Natural stone tiles - Natural stone tiles are made from quarried stone slabs that are cut to size and finished according to their intended use. These tiles offer plenty of natural beauty, featuring variations in colour, texture, and pattern that are inherent to the stone they are cut from. Common types of natural stone tiles include marble, granite, slate, and travertine, each with its own specific properties and finishes.
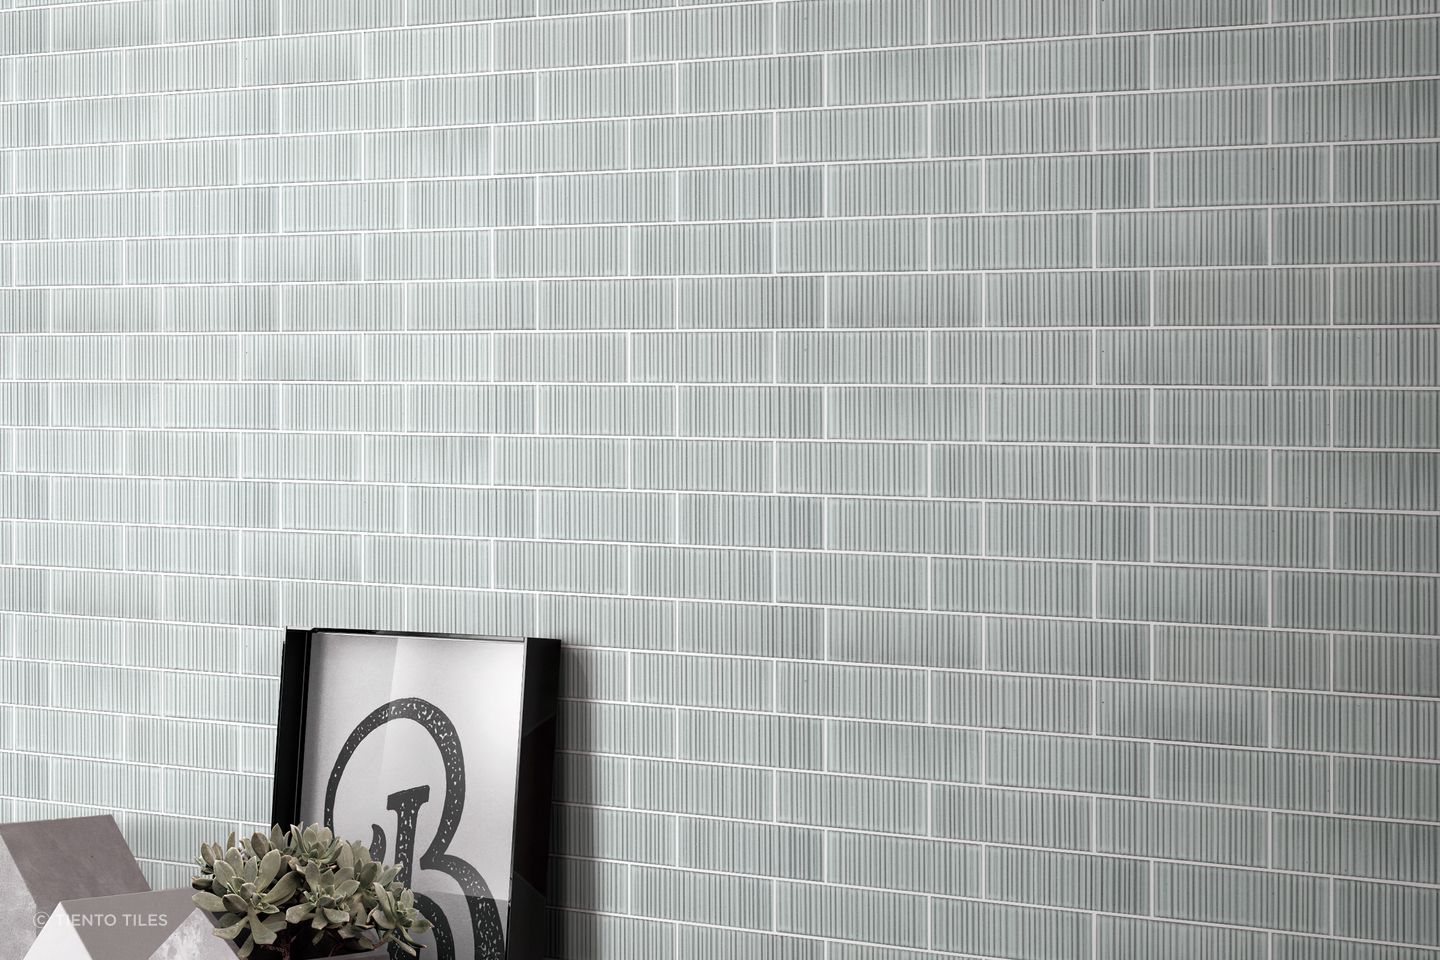
Glass tiles - Glass tiles are made from pieces of glass that have been formed into consistent shapes and sizes. These tiles are known for their reflective qualities, adding light and depth to any space they are used in. Glass tiles come in a variety of colours, finishes, and sizes, and can be used in many areas of the home or commercial spaces, including as backsplashes, in bathrooms, on walls, and in artistic installations. Their translucency and ability to reflect light make them particularly popular for creating a bright and airy space.
Terrazzo tiles - Terrazzo tiles blend chips of marble, quartz, granite, or glass in a binder, polished to a glossy finish. This composite material is appreciated for its unique look, characterized by a mosaic-like effect that can be tailored in colour and chip size. Preferred for flooring in both exterior and interior spaces, terrazzo is celebrated for its practicality and the dynamic visual interest it can bring.
Related article: 18 striking types of tiles to consider for your home in 2024
A stylish type of tile
While installing mosaic tiles can present certain challenges due to their small size and the precision required for pattern alignment, it is certainly possible to undertake the task yourself. If you carefully plan the process, have the necessary tools and materials, and closely follow the installation steps, you can achieve professional-looking results.