Different Tile Layouts
Using tiles on the floor and walls is one of the most popular coverings in homes today. They’re versatile, hard wearing and easy to clean. However, the amount of different tile layouts available can be overwhelming.
Choosing the right tile for your project is important along with the installation, but you also need to consider what design layout will best suit your space.
Did you know that how the tiles are laid will have a huge influence on your room visually and its overall feeling?
Tiles can be subtle and blend into the background or they can make a statement and command the room.
The following patterns are all achievable to do yourself if you take your time to follow instructions and layout guidelines. These days there are downloadable Apps available that can help with measurements as well as calculating how many tiles you will require for your project.
Try to remember when purchasing your tiles to select them from the same batch number, this will ensure there is no variation in colour or size. You can find the batch number on the packaging.
Importantly, should you not feel confident then hiring a professional is always the best course of action. Hiring a trained professional will not only get the job done to a high standard but it will most likely be finished a lot sooner.
So, let us highlight some different tile layouts.
Stack Bond (or Straight Stack)
Stack Bond is the simplest and most common tile pattern. The tiles are laid in straight, repetitive, horizontal or vertical lines and will draw your eyes easily from the top to the bottom of your design.
Consider using a contrasting coloured grout to enhance the effect of the lines and to achieve a more contemporary feel to your space.
Installing the tiles vertically will help make a small room appear taller.
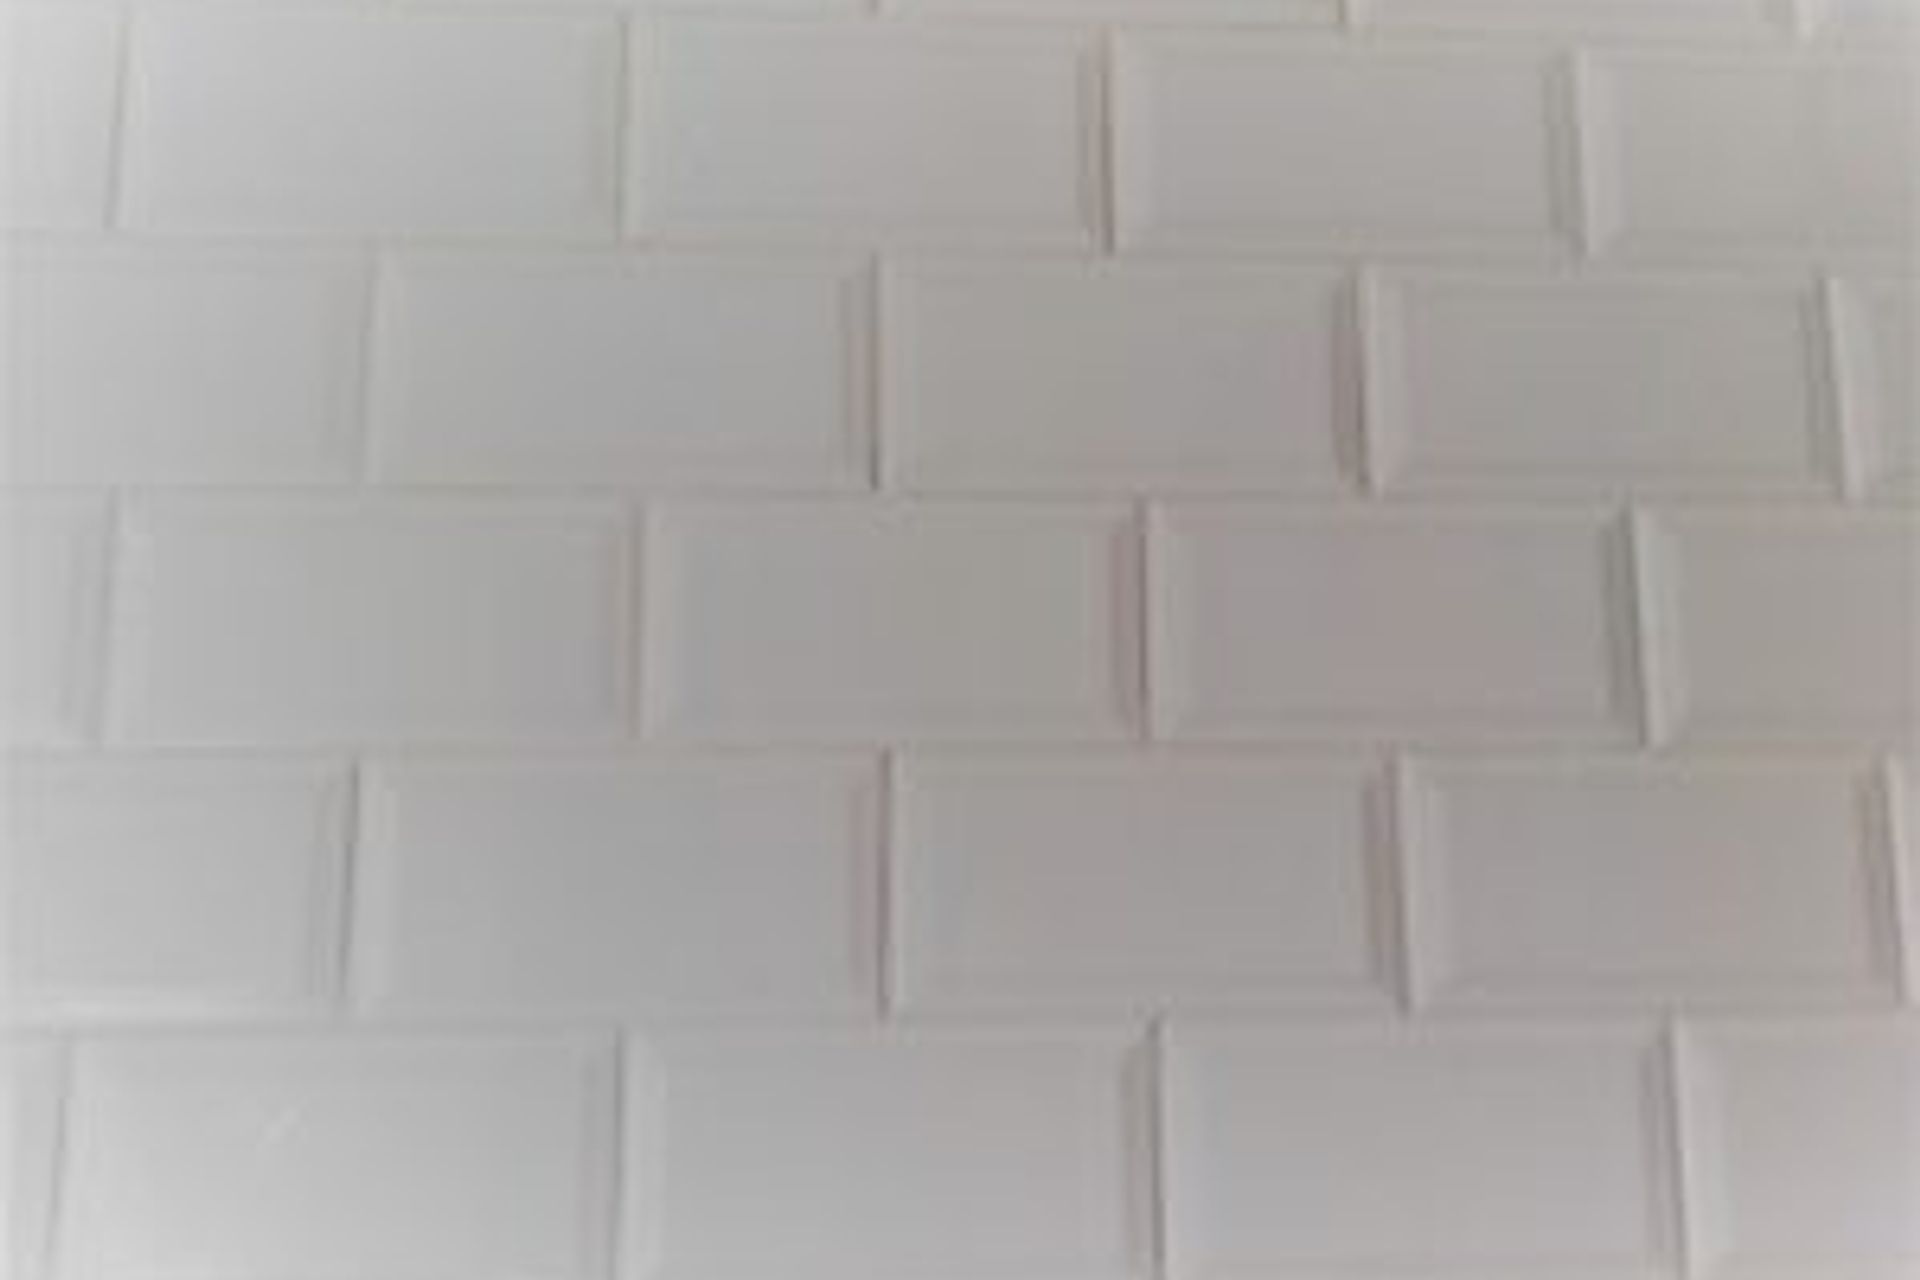
Stretcher Bond (Brick or Running Bond)
Stretcher Bond is one of the most traditional and effective designs which creates a staggered yet unified look.
Rectangular (or square) tiles are laid like bricks in a wall – each row is offset by exactly half the width of the rows directly above and below it.
This clean and classic layout is easy to install, has little wastage and can subtly widen a narrow room.
Keep it simple yet effective by sticking with a single-coloured tile.
Pair with contrasting grout to give a slightly contemporary appearance (for example grey grout with a white tile) or keep with white on white for a more traditional feel.
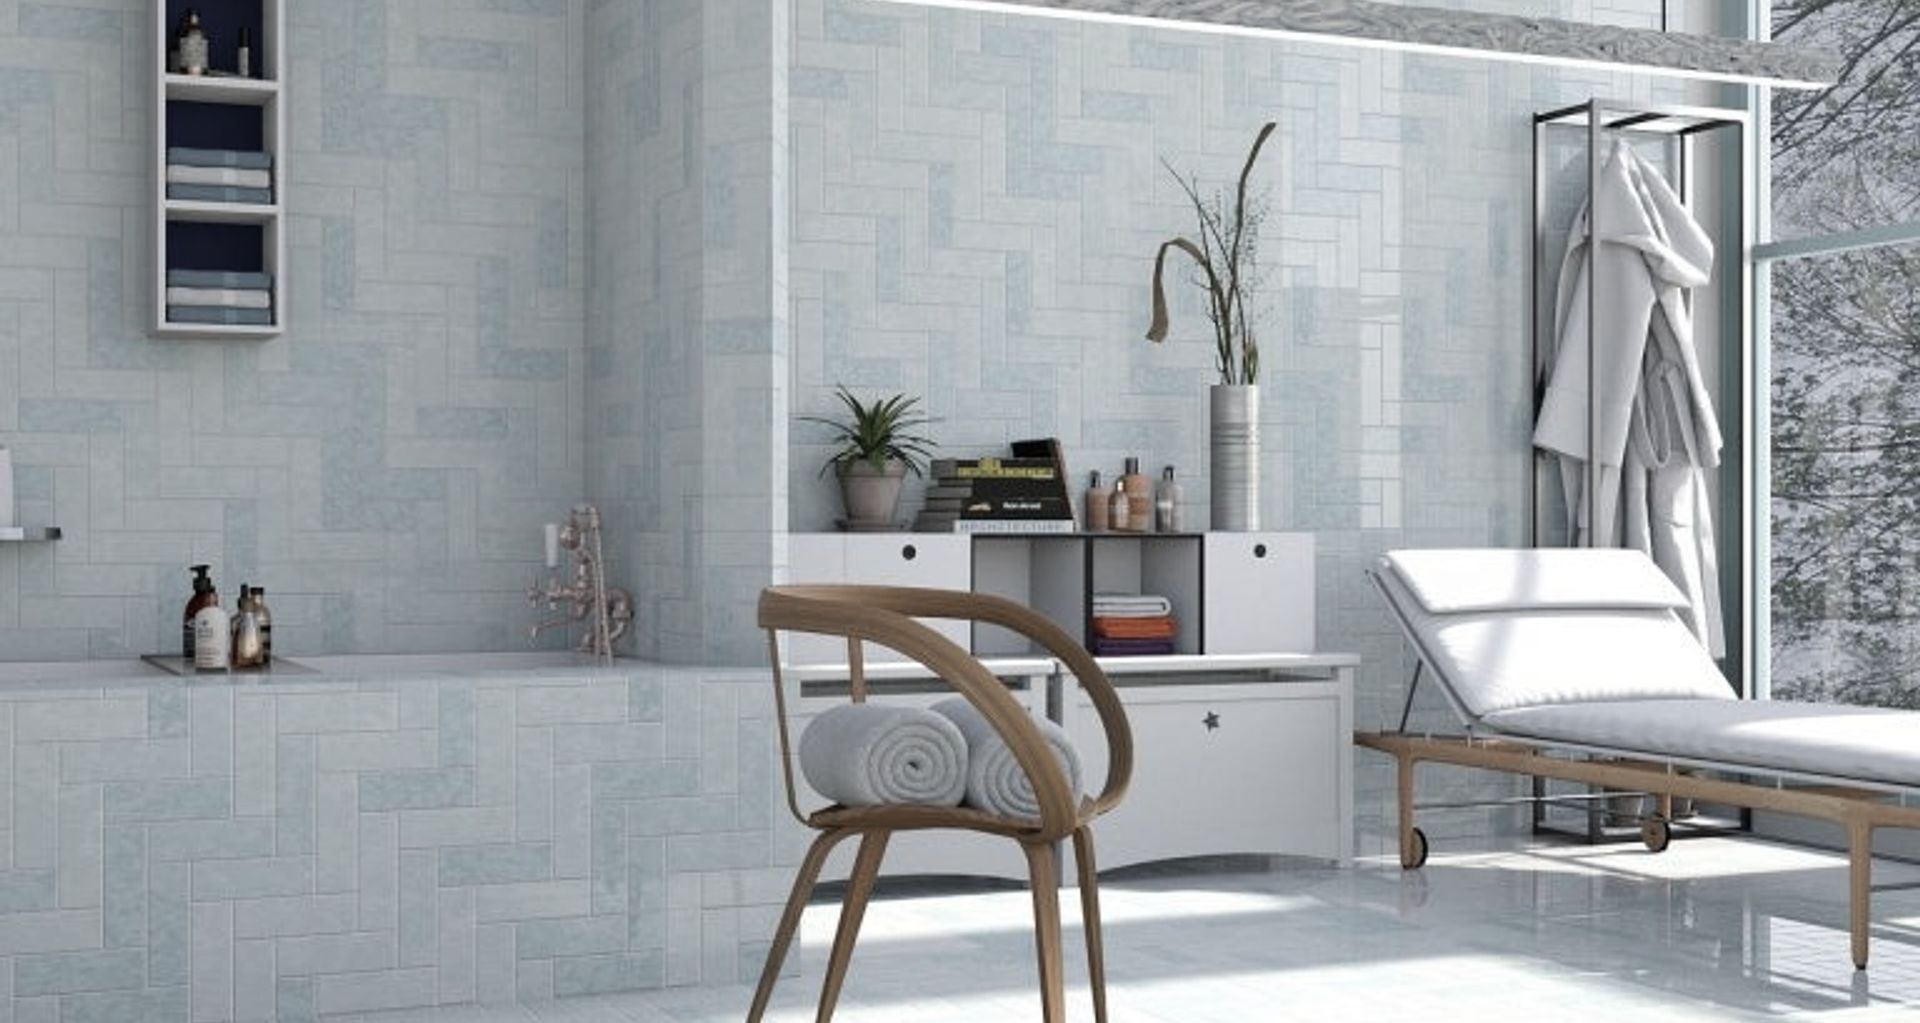
Herringbone
This tile pattern has become more and more popular over the years and has a sophisticated and elegant appearance. More suited to small areas or accent walls as on larger surfaces this pattern can sometimes be visually overwhelming (unless larger size tiles are used to suit the size of the floor/wall space). The pattern can be softened by using a grout colour similar to the tile colour.
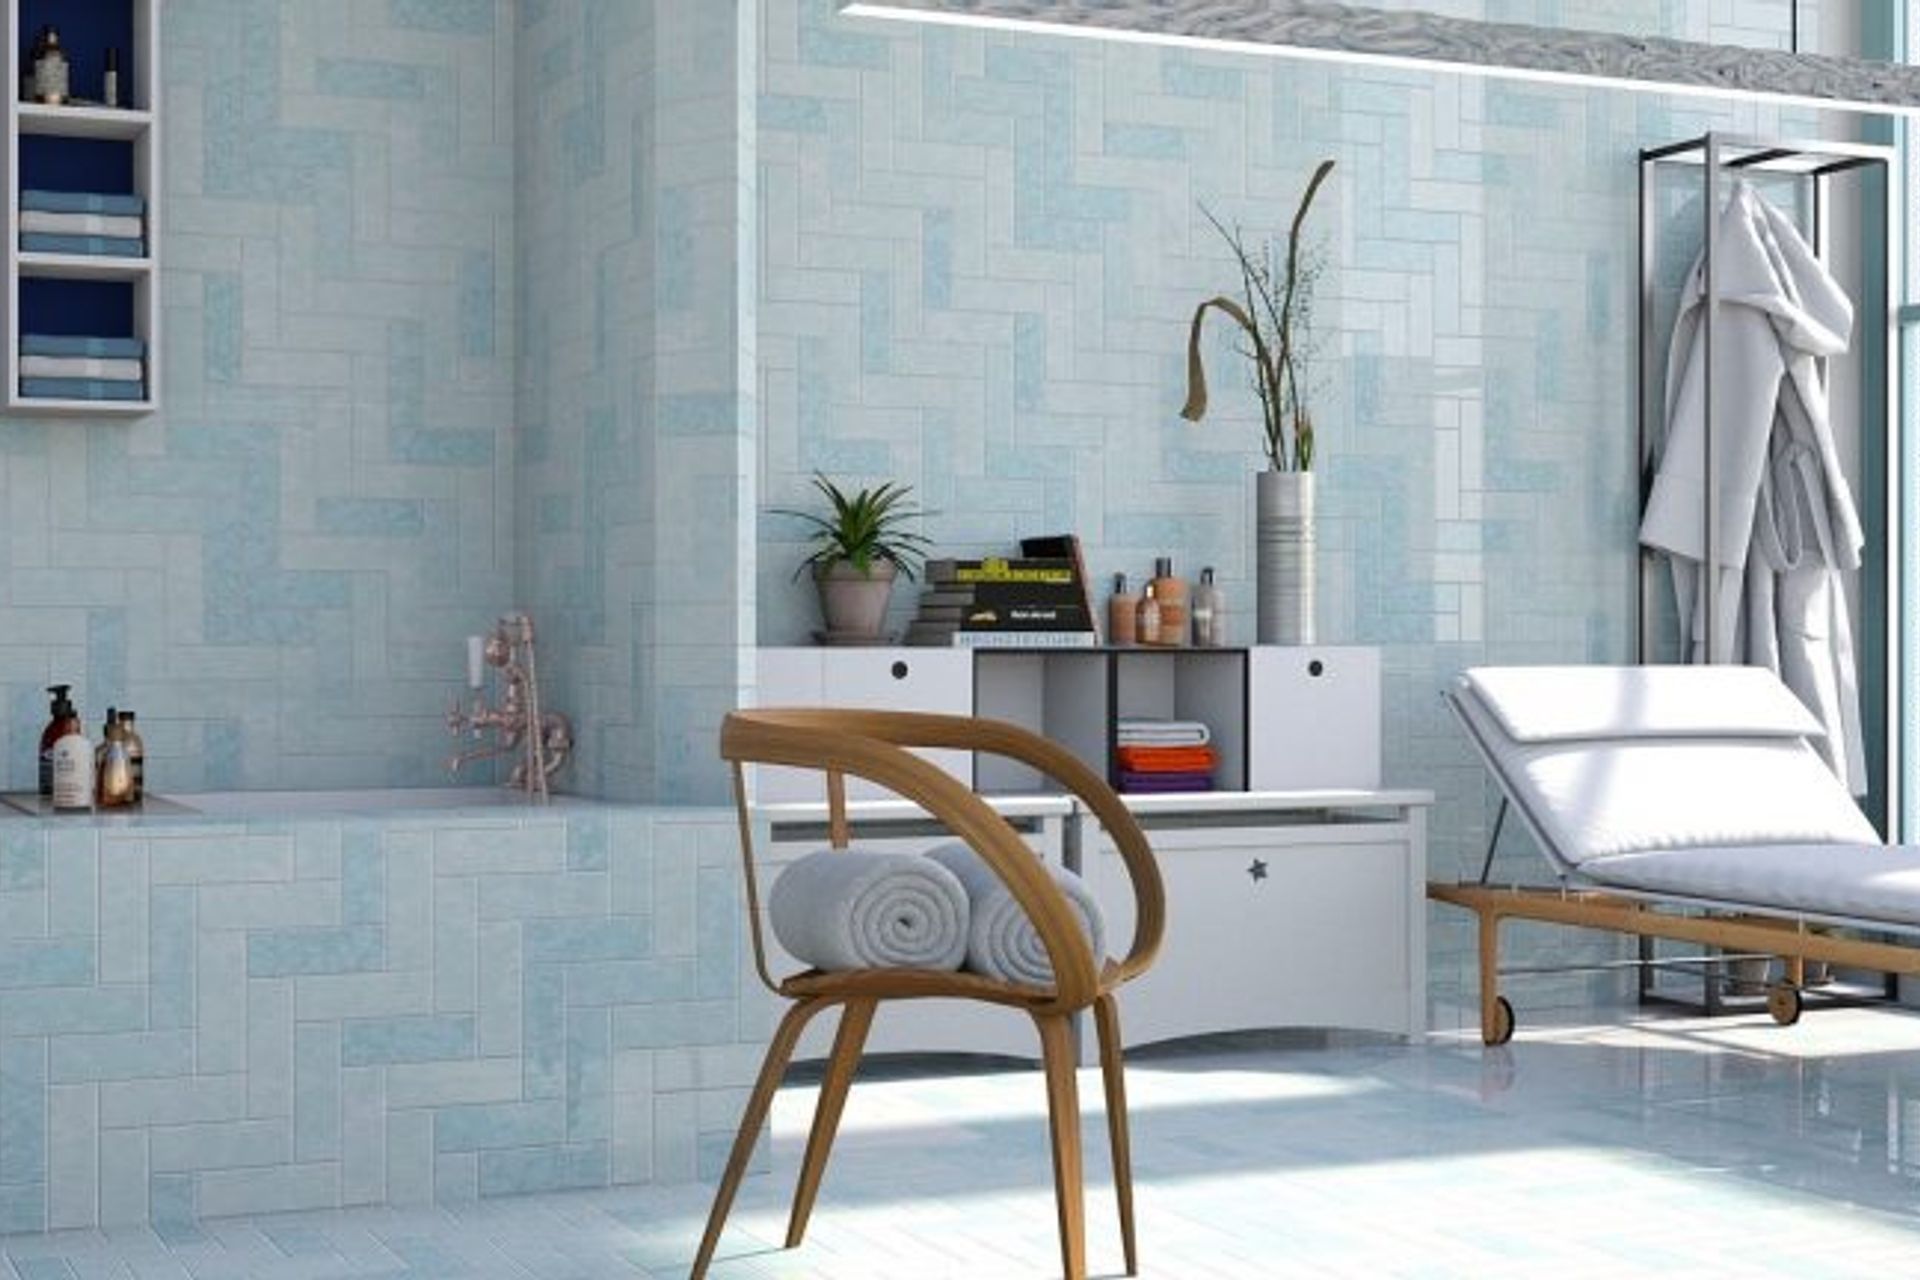
The Herringbone pattern is achieved by laying rectangular tiles at a 45-degree angle to the wall which creates a zigzag effect. Due to the angle the tiles sit on the borders of the room there will obviously be more cutting required and additional wastage.
Very effective when kept simple. But should you wish to intensify the zigzag pattern you could choose a tile which has some colour or tonal variations.
Chevron
This layout is often confused with the herringbone pattern due them both creating a zigzag effect. They are very similar but are not quite the same.
Unlike the herringbone layout the Chevron pattern is created by connecting the ends of the tile. The ends are specifically cut at an angle to form a mitre joint. This shape tile is known as a parallelogram.
Using a chevron pattern layout in soft, muted tones will add quiet and subtle interest to a space.
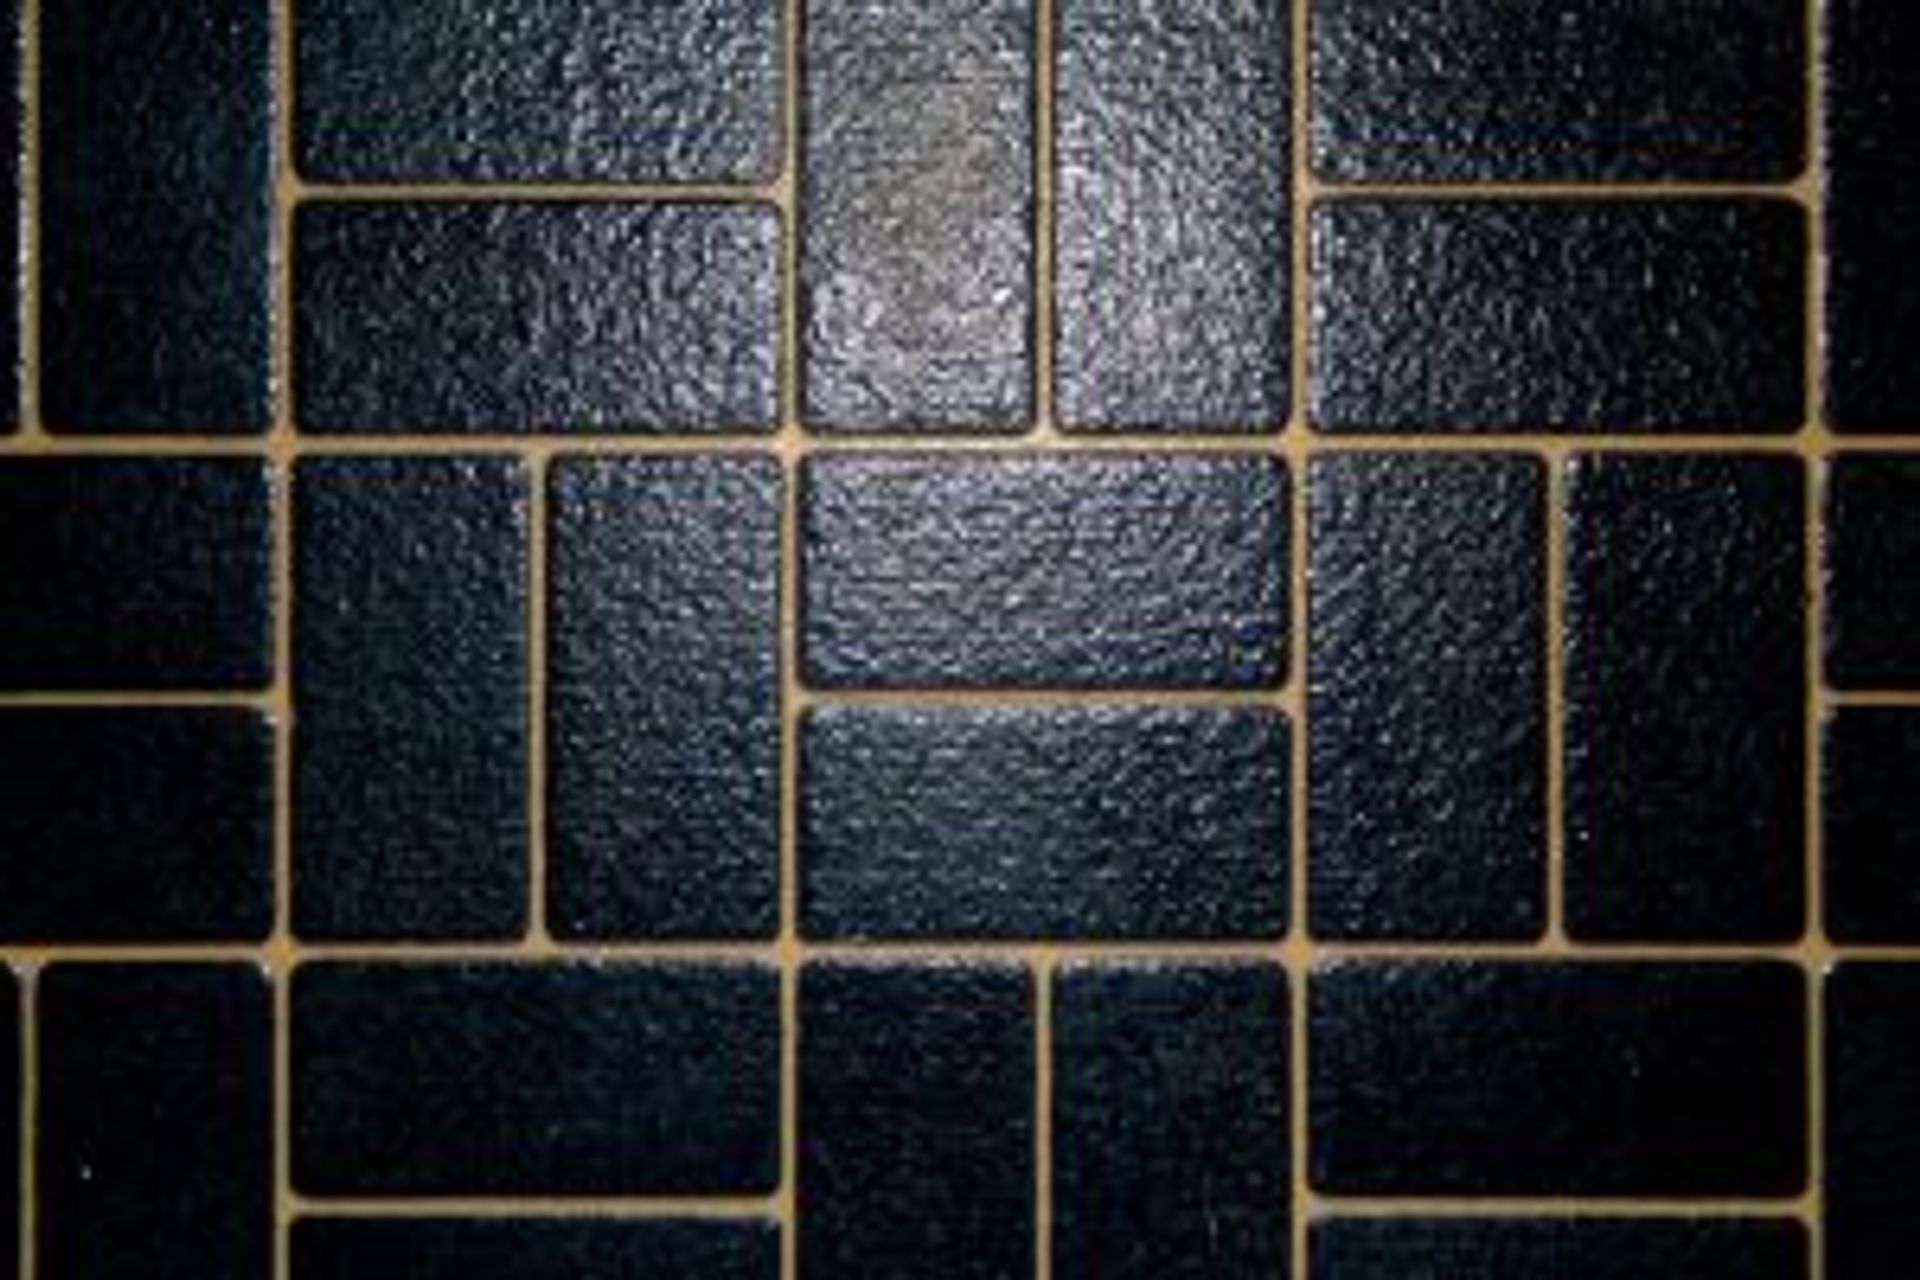
Basket Weave
Another pattern uses rectangular tiles. The basketweave is simple to achieve design but can add a sense of drama to your room.
Positioning two tiles next to each other to form a square. The following pair is then laid at a 90-degree angle to the first pair and so on along the row. This then continues but alternates the horizontal and vertical tiles on the following rows.
This layout gives the impression of a woven basket effect (hence the name).
Pinwheel (or Hopscotch)
The pinwheel layout comprises of two different tile sizes. A small square tile is surrounded by four larger square tiles which creates the effect of a spinning pinwheel.
This pattern is popular in bathrooms or laundries and looks best when the two size tiles are of contrasting colours.
Diagonal
Also known as the diamond pattern, the diagonal layout has the tiles installed on a 45-degree angle. This is another very popular design and will help give the appearance of a wider floor.
Hex
The hexagon is a classic shape that has been used in tiles for hundreds of years. The geometric, honeycomb design suits both classic and contemporary homes and comes in all different sizes.
Which of the different tile layouts is your favourite and which of the different tile layouts will you choose?