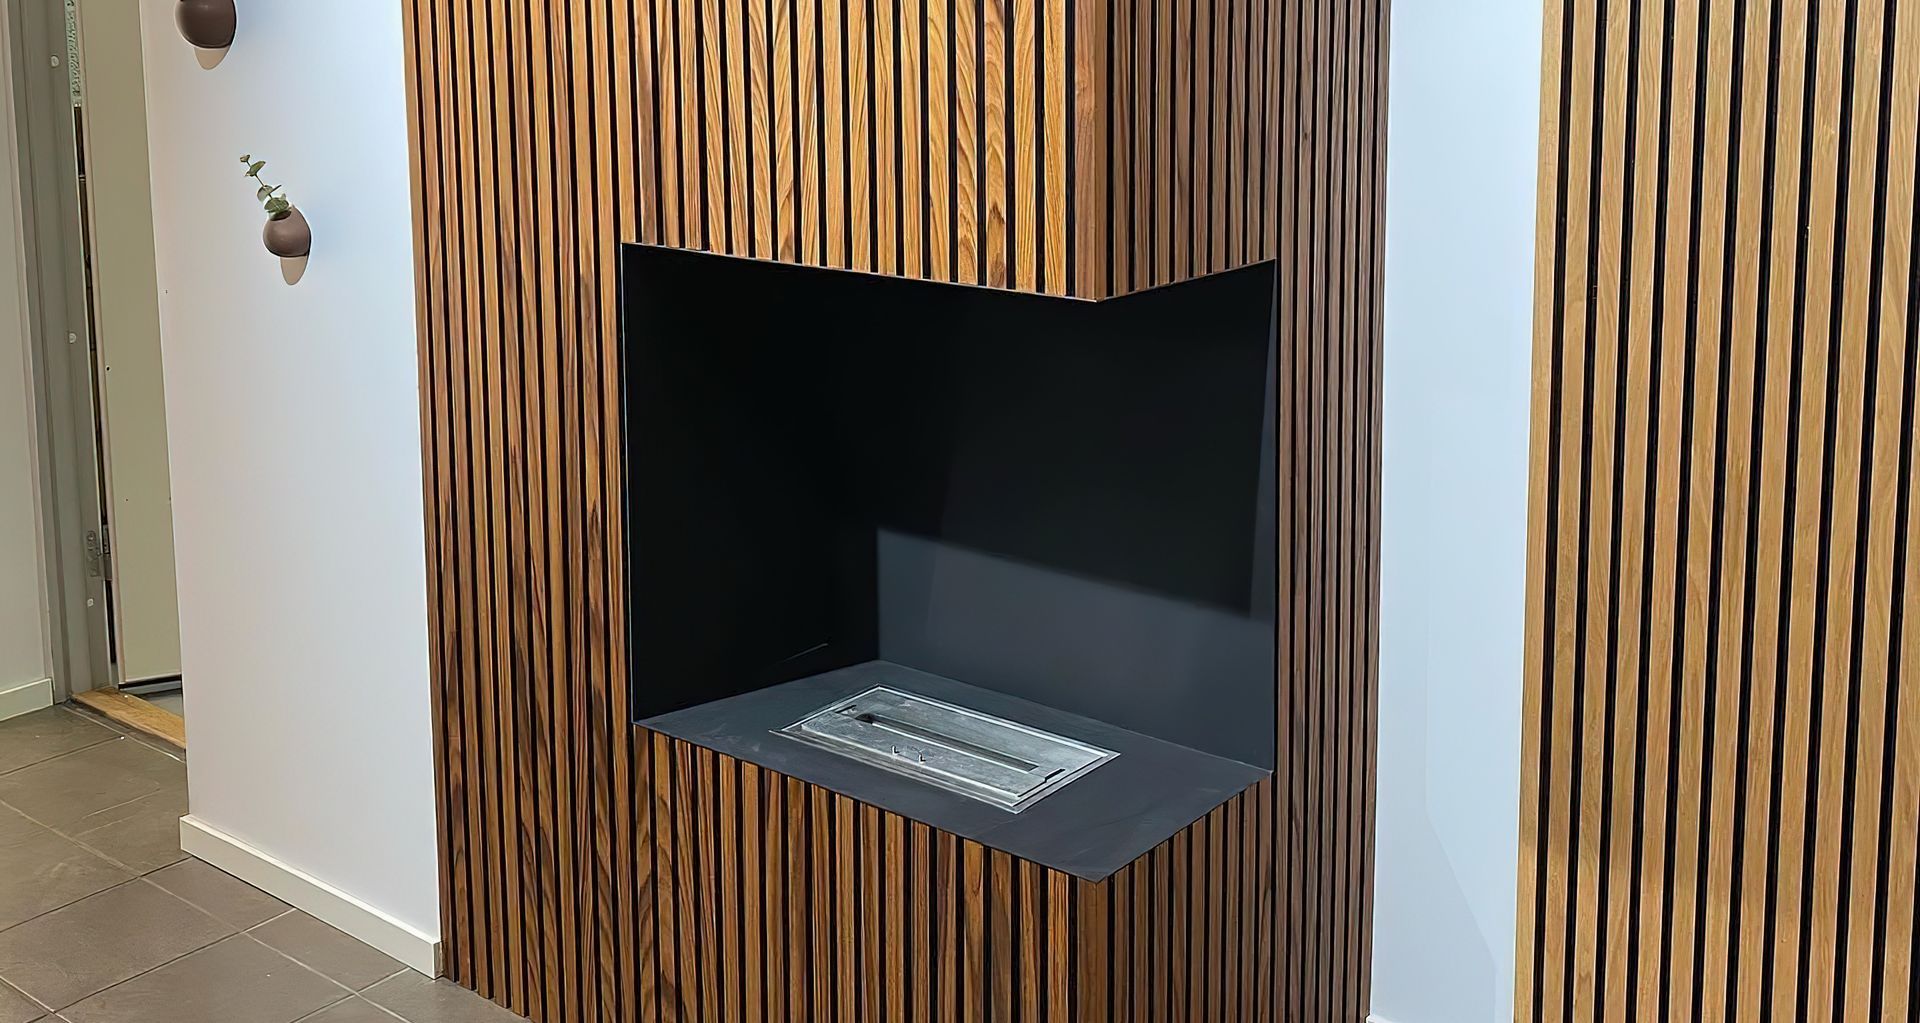
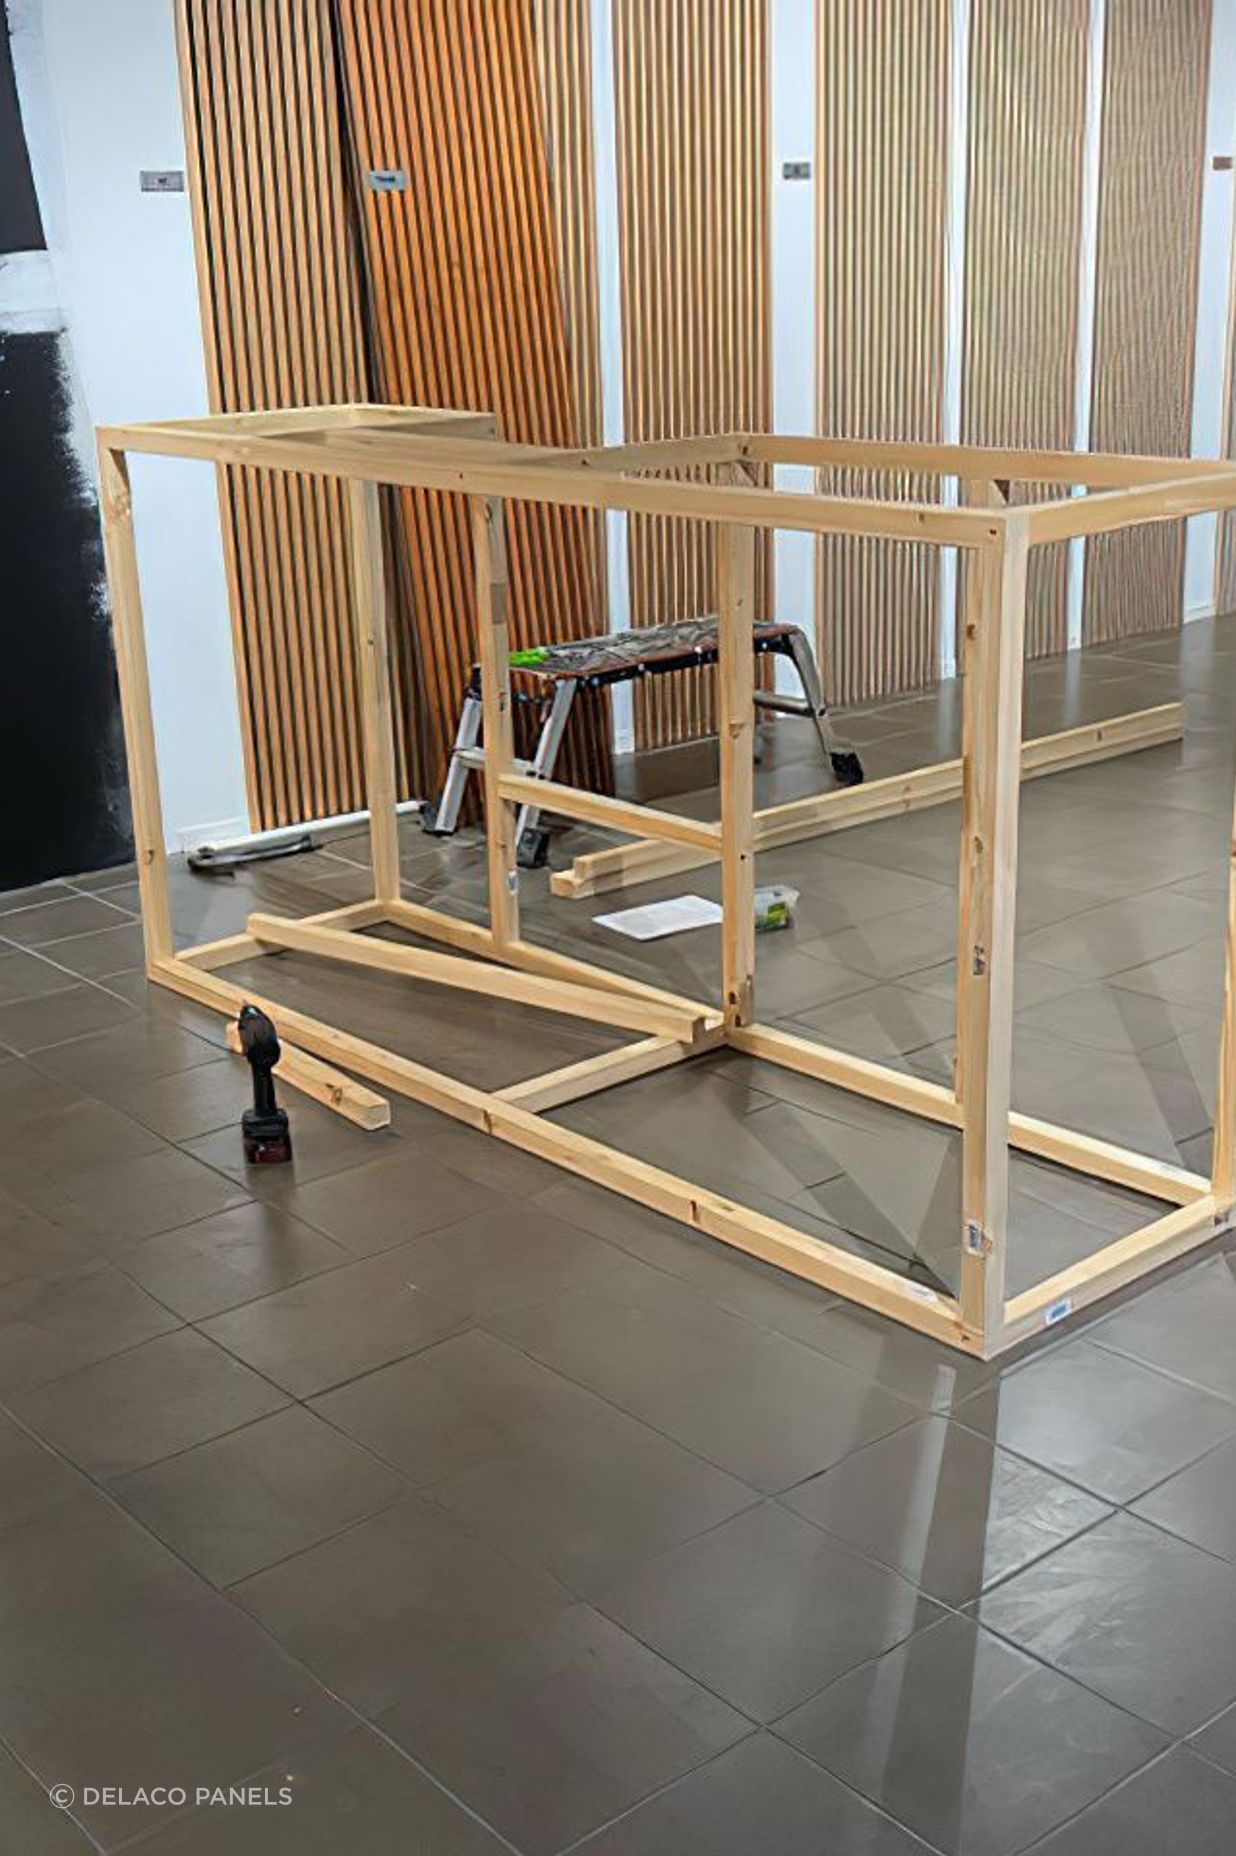
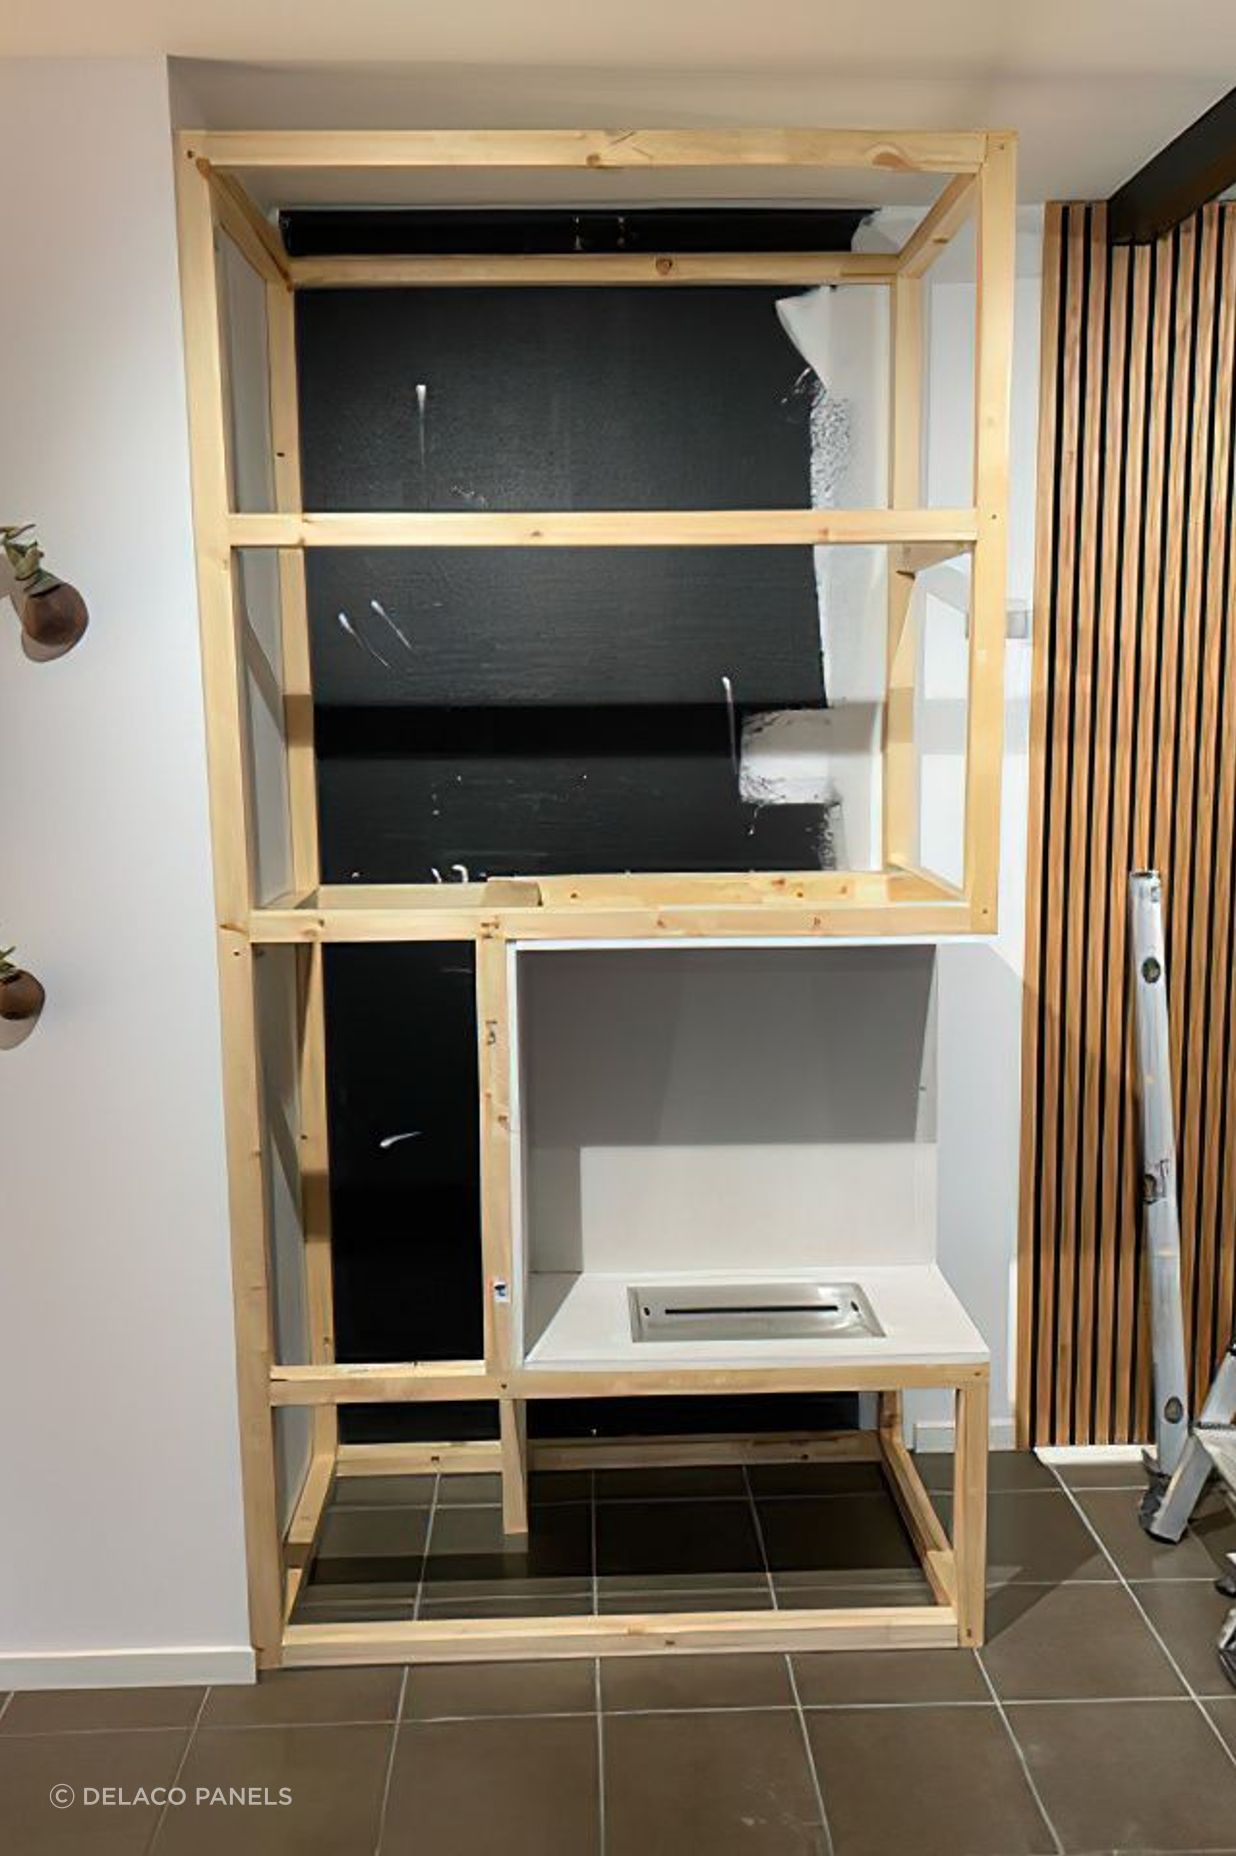
DIY Fireplace Makeover: Transforming Your Space with Delaco Acoustic Panels

Step 1: Prepare Your Space
Before diving into the project, ensure that your chosen location for the fireplace is clear of any obstructions and meets safety requirements. Take accurate measurements to determine the dimensions of your fireplace surround.
Step 2: Gather Your Materials
For this project, you'll need:
- Delaco Acoustic Panels (choose a color and texture that complements your decor)
- Adhesive suitable for your wall surface
- Saw (if resizing panels)
- Level
- Measuring tape
- Painter's tape
- Safety goggles and gloves
Step 3: Plan Your Design
Sketch out your desired fireplace design, considering the size and placement of the panels. You can opt for a traditional brick pattern, sleek horizontal lines, or a modern geometric layout—the choice is yours!


Step 4: Install the Panels
Using a saw, if necessary, cut the Delaco Acoustic Panels to fit the dimensions of your fireplace surround. Apply adhesive to the back of each panel and carefully press them onto the wall, following your planned design. Use a level to ensure that each panel is straight and evenly spaced.
Step 5: Finishing Touches
Once all the panels are in place, remove any excess adhesive and painter's tape. Step back and admire your handiwork! Your DIY fireplace makeover is complete, and your space is now ready to enjoy cozy evenings by the fire.
Step 6: Share Your Creation
We'd love to see how you've transformed your space using Delaco Acoustic Panels! Share photos of your DIY fireplace makeover on social media and tag us @DelacoPanels for a chance to be featured on our page.
With our Delaco Acoustic Panels, you can effortlessly elevate your home's aesthetic while enjoying the benefits of improved acoustics. Whether you're tackling a fireplace renovation or adding a stylish accent wall, our panels offer endless possibilities for enhancing your space.
Ready to embark on your DIY fireplace makeover journey? Explore our range of Delaco Acoustic Panels and get started today!
