Enhance Your Renderings with Renderworks Backgrounds
What Are Renderworks Backgrounds?
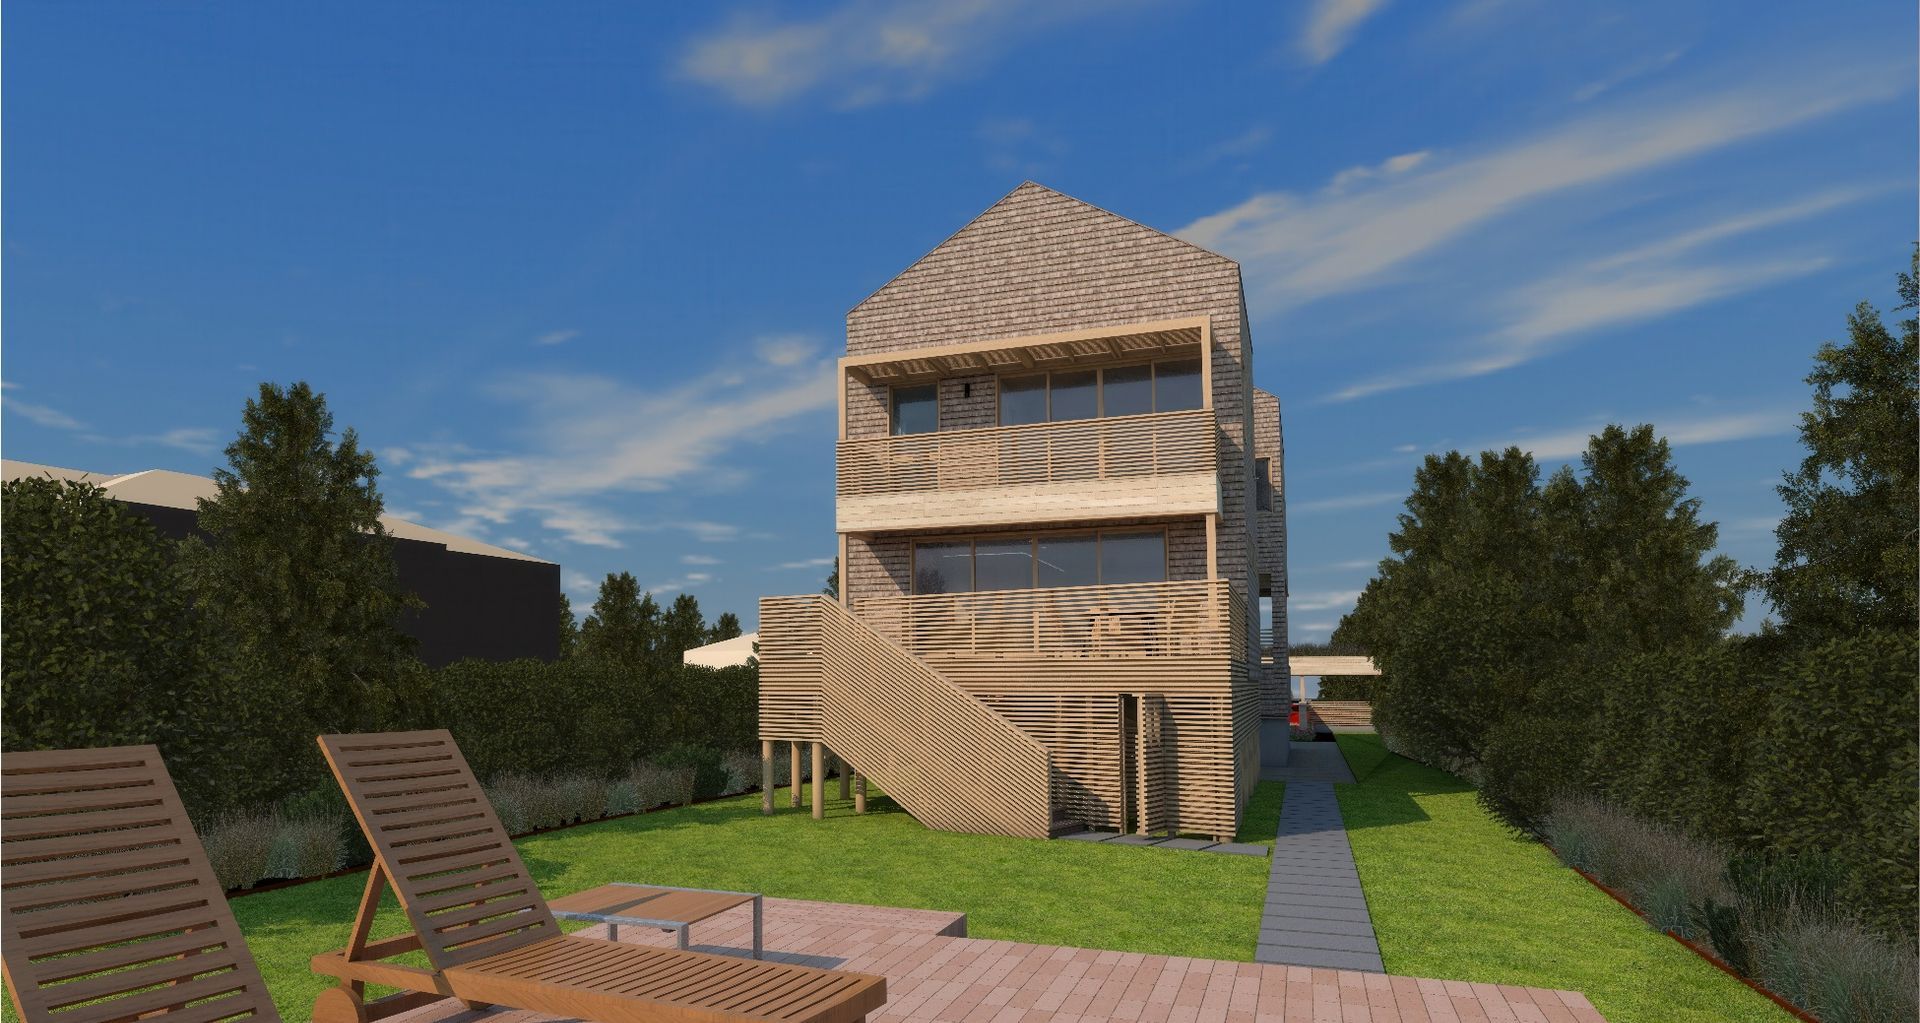
Renderworks backgrounds in Vectorworks offer a variety of options to enhance your project’s environment. These backgrounds go beyond merely adding a scene; they also contribute to the lighting, making your renderings more dynamic and realistic. The types of backgrounds available include clouds, color gradients, imported images, and panoramic views. These backgrounds can be applied both in design layers and viewports, with the latter providing greater flexibility for different views.
Types of Renderworks Backgrounds
Cloud, Color, and Two-Color Backgrounds
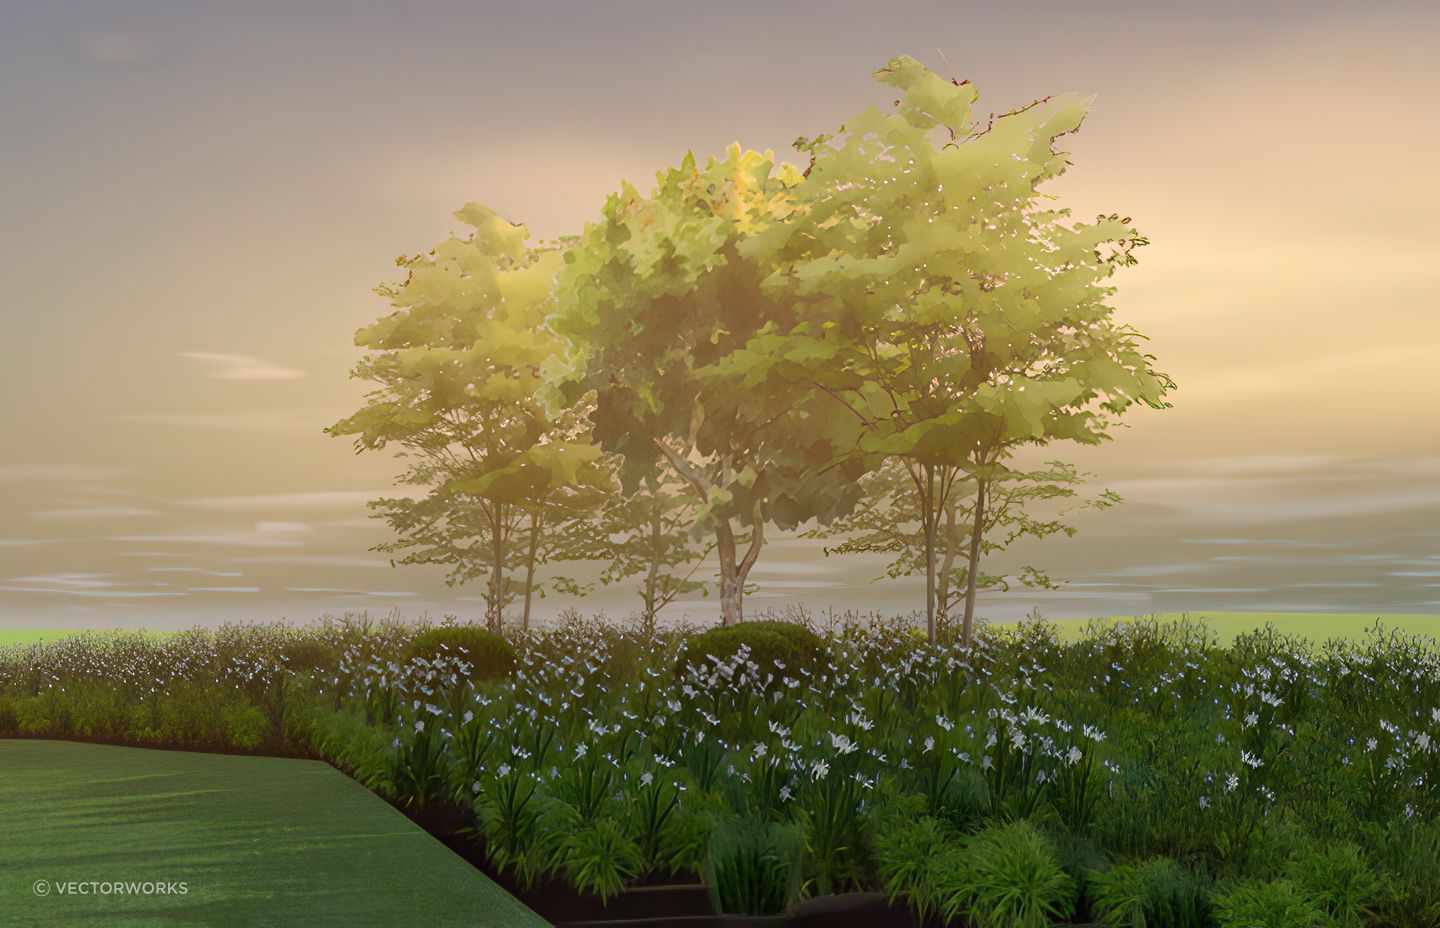
These backgrounds provide simple, horizonless backgrounds. They can set the tone for your scene without being too distracting and are great for more schematic views.
Image Backgrounds
Using a 2D image as a backdrop can create a stage-set effect, perfect for elevations and fixed perspective views, especially when used with the Camera Match tool.
Panoramic Images
Panoramic backgrounds wrap around your drawing like a dome, providing an all-encompassing environment. These are particularly useful for walkthroughs or flyovers, ensuring the background remains consistent. An additional advantage of panoramic images is that they can be used to add indirect environmental lighting and reflections, enhancing the overall quality of your renderings.
A panoramic image in Vectorworks can also consist of .hdr (HDRI), .jpg, and .png file types.
Physical Sky
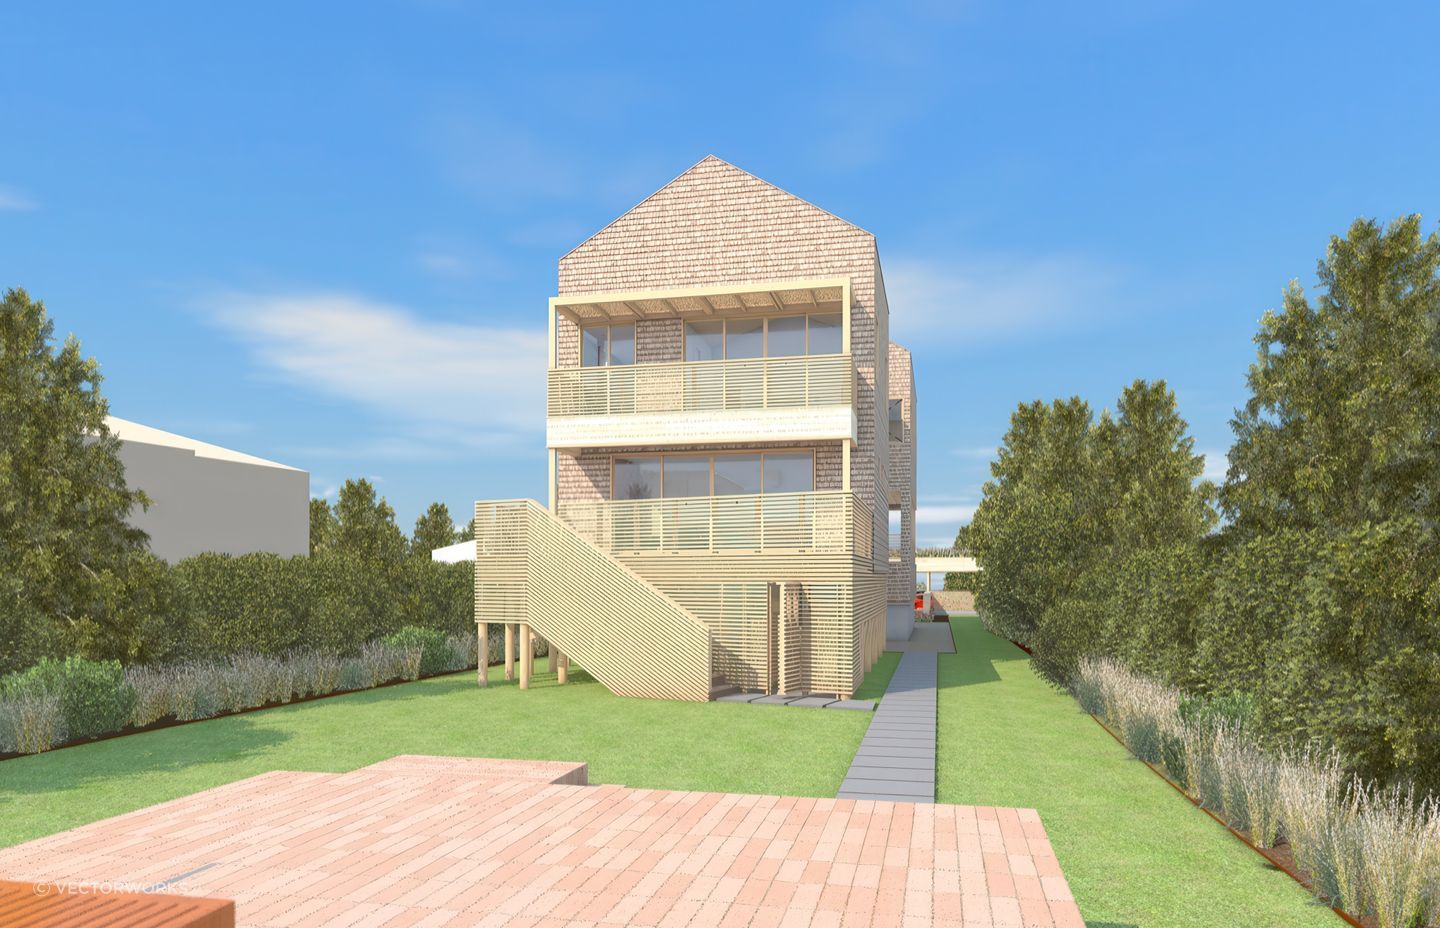
Unlike panoramic backgrounds, this option simulates a real sky in the software, without requiring external images. It surrounds the drawing, providing natural environmental lighting. When combined with a Heliodon object, it can create a background that adjusts according to the five different weather conditions and time of day.
Tips for Working with Renderworks Backgrounds
To achieve the best rendering results, it’s crucial to incorporate light sources that create natural shadows. Here’s a few ways you can optimize your Renderworks backgrounds:
First, to create shadows, you can incorporate a light source with either the Heliodon tool, Directional light, or Ambient Lighting:
Heliodon tool: This tool offers accurate sun positioning based on location and time, ensuring realistic lighting and shadows. Using the tool with a physical sky is also a great way to create a realistic sky background.
Directional light: This creates the same type of directional light as the Heliodon tool but isn’t linked to the time of day and requires manual setup of angle, rotation, and azimuth to match your desired effect.
Ambient lighting: This added setting is great to use after you’ve set up your Background, Environment, and Reflection This will brighten your overall view via an easy-to-use slider. However, it’s best to use this feature sparingly. If you think your renderings are a bit washed out, reducing your ambient level can be quite helpful.
Background selection is also important. It’s best practice to use a physical sky for environmental lighting and reflections while using a panoramic image (HDRI) for your actual background image.
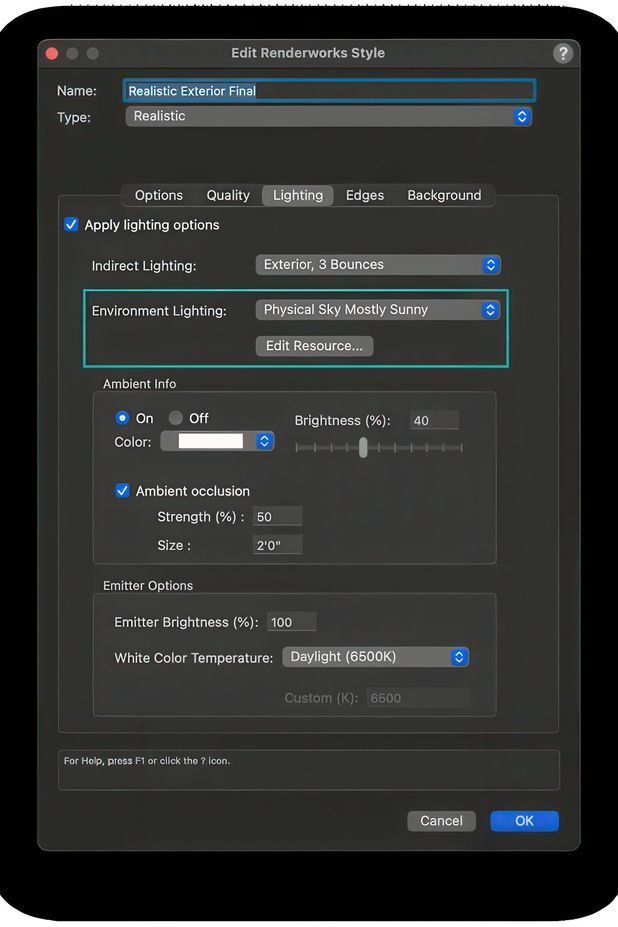
To set all of these background and light settings, first, you should place the Heliodon or Directional light in the model space and edit the settings for Direction, Time of day, etc. Then, set the view and select Create a Viewport. Select the viewport and set the render mode to Renderworks or Shaded. Next, go to Lighting Options to adjust the background, environment lighting, reflections, and ambient lighting.
Creating Custom Renderworks Backgrounds
You can create custom Renderworks backgrounds through the Resource Manager. Your images can be edited for rotation, brightness, saturation, and quality. A key point to remember is to align the direction of light sources in your drawing with the sun depicted in the panoramic image to avoid multiple shadows.
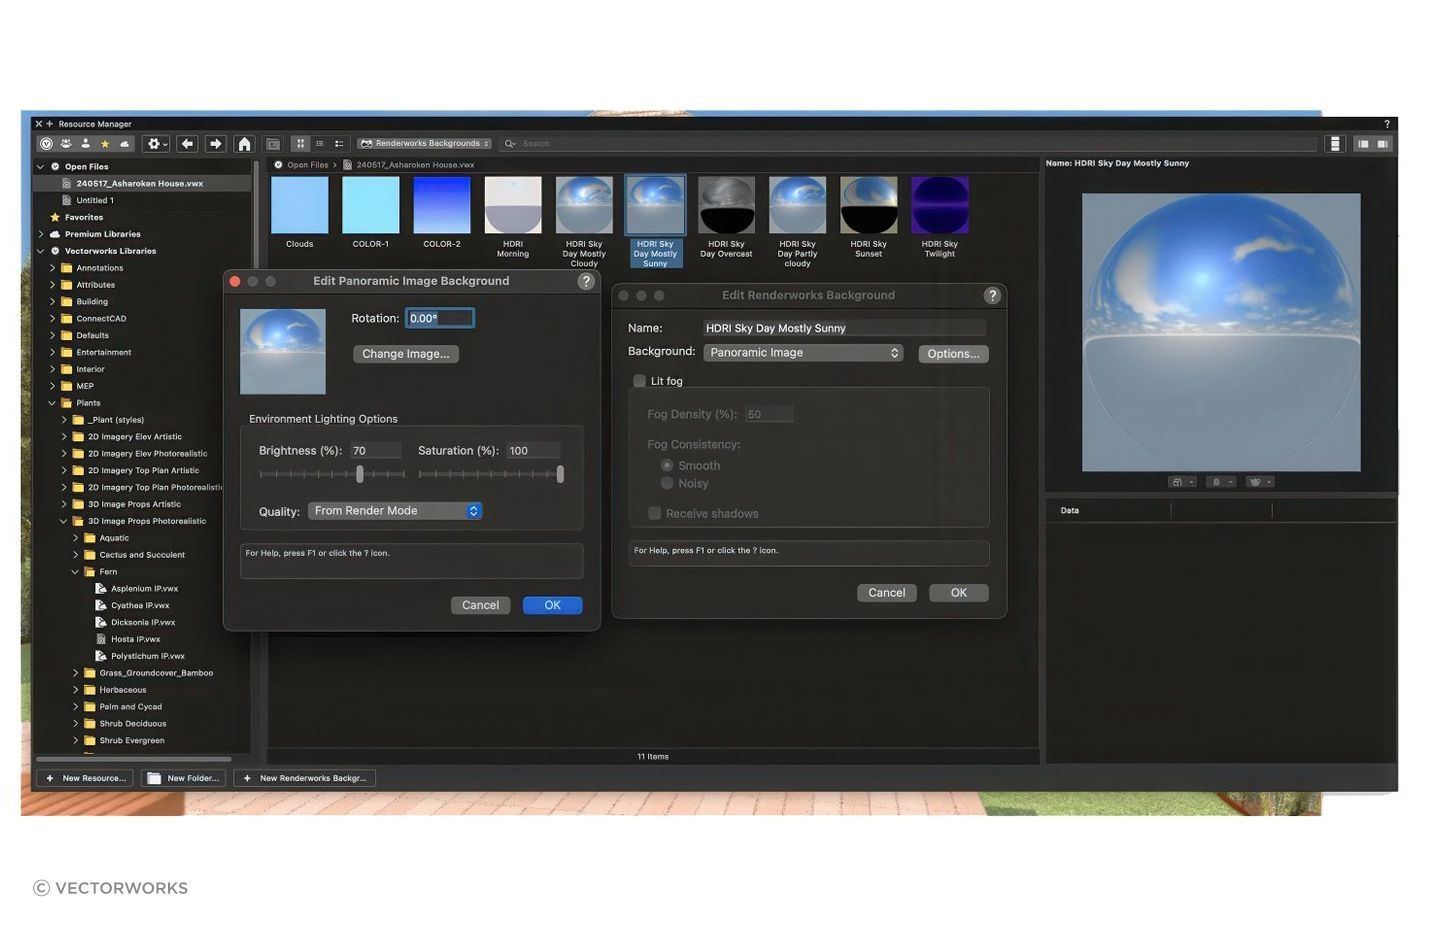
As you can see, Renderworks backgrounds are vital for adding a sense of environment to your renderings. They provide context and also enhance lighting and reflections, significantly improving the realism and appeal of your projects.
By understanding and utilizing the different types of Renderworks backgrounds and their applications, you can take your renderings to the next level.
