Four tips for choosing the right stone for your home


A timeless and beautiful natural product, schist (stone) comes in a range of distinctive colours and textures. Here are some tips on how to choose the stone that best suits the aesthetic you want to create for your home.
1. Select your stone
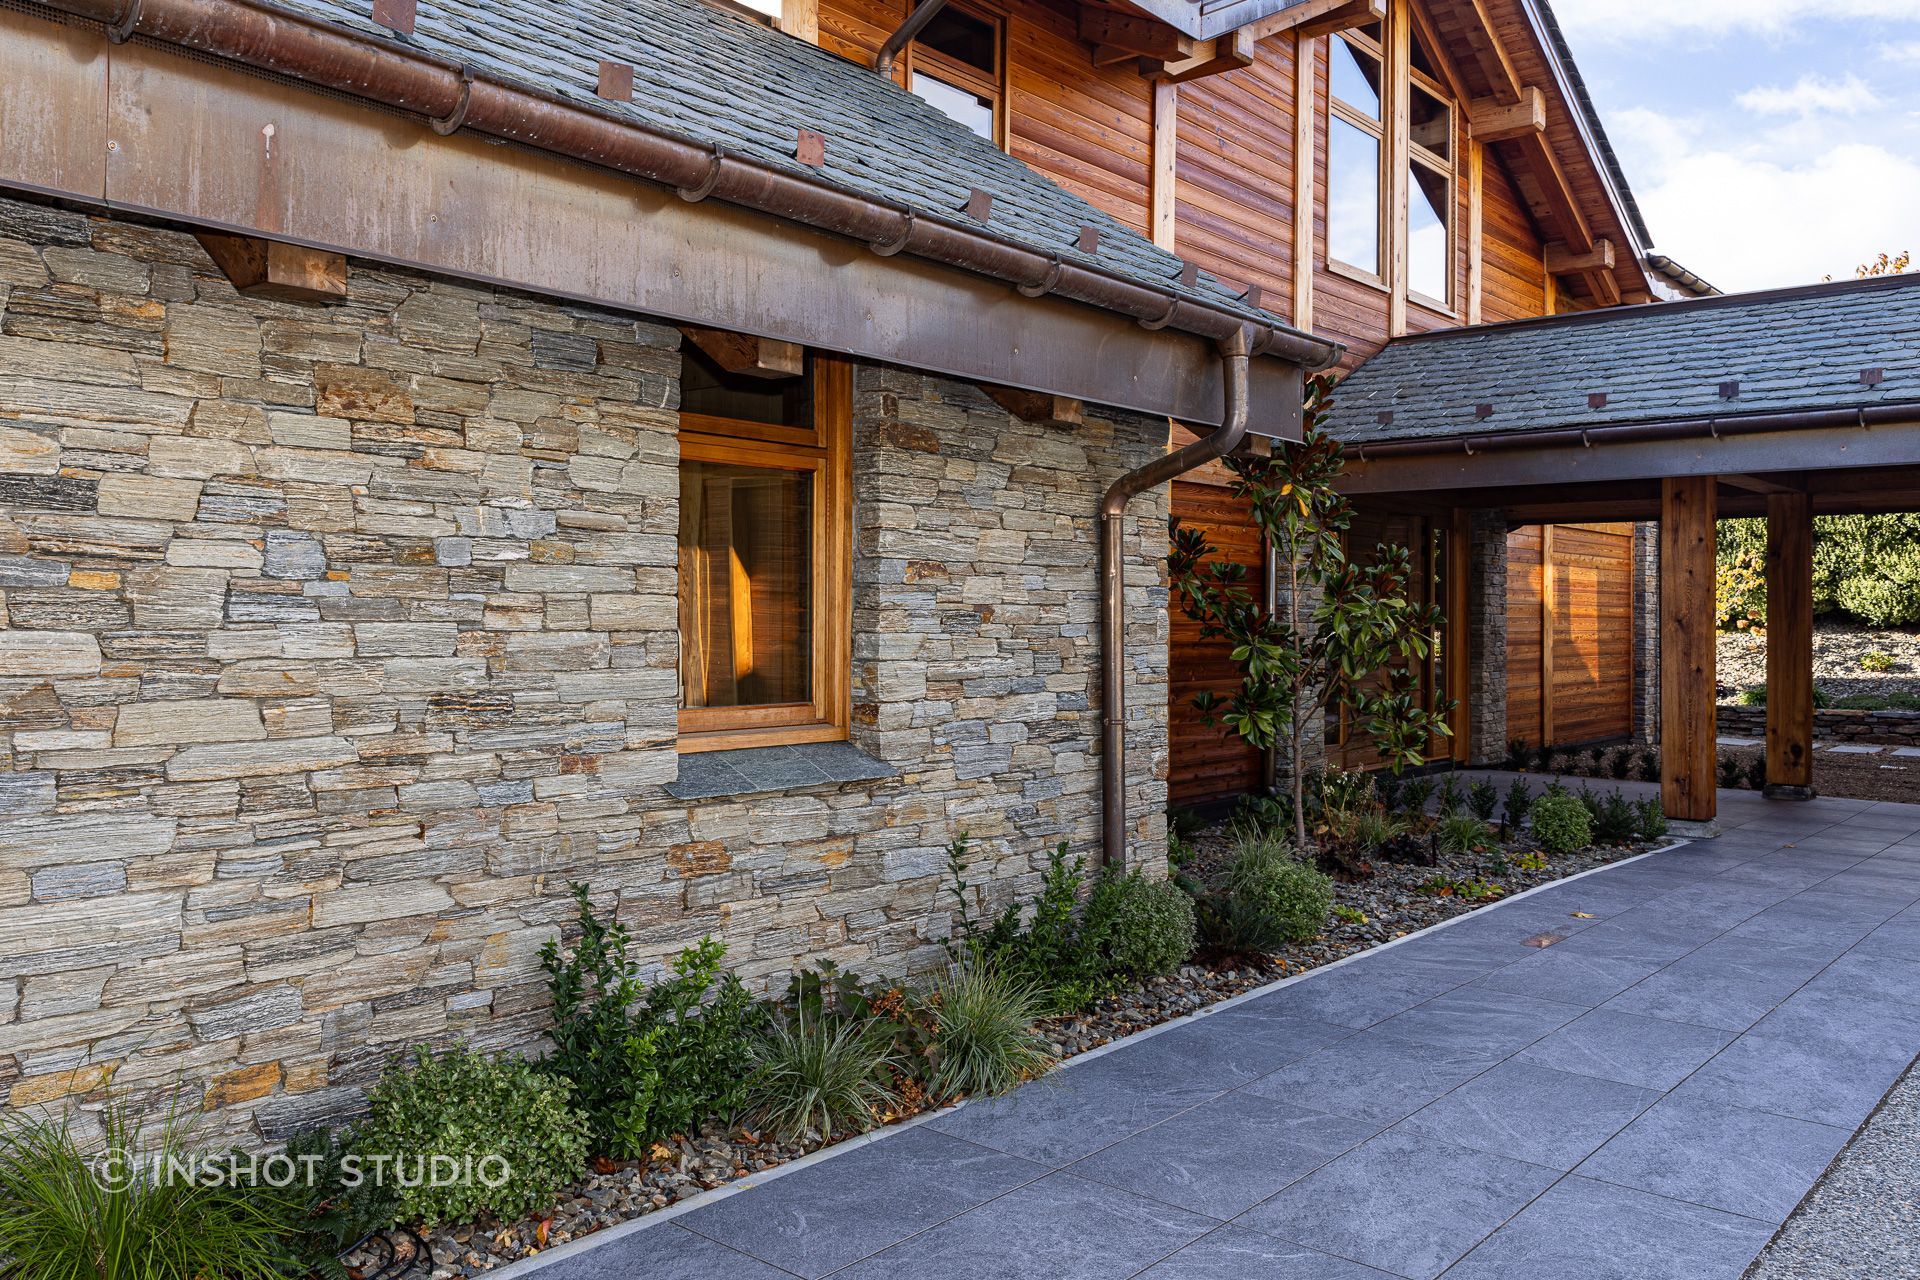
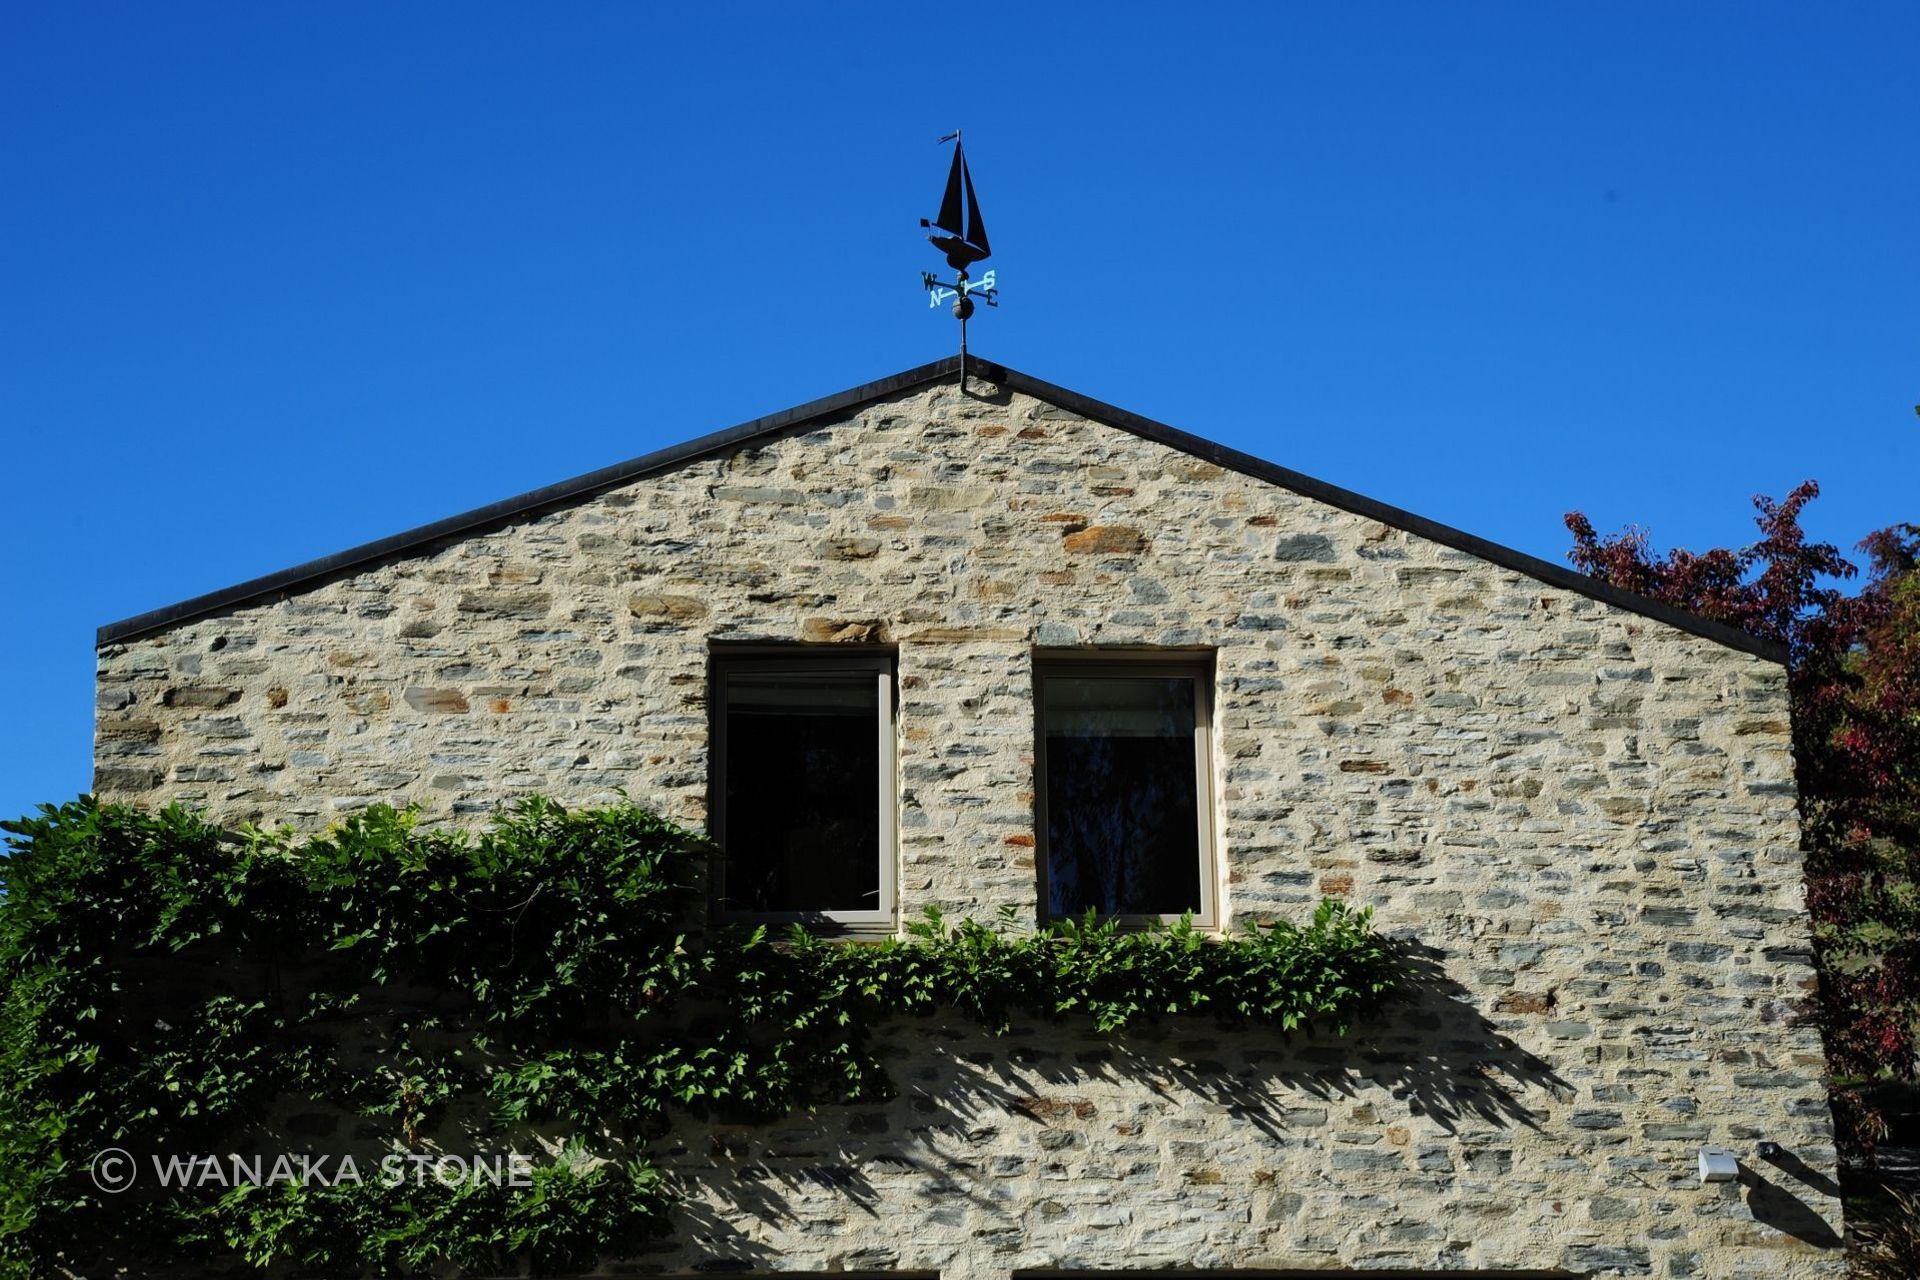
Every piece of stone is unique, with its colour and texture distinctive to the place where it is sourced. Our Poolburn stone quarry is located in Central Otago’s Ida Valley, surrounded by towering tors (rocky outcrops) and wide open spaces. The schist from Poolburn is steeped in history, being the colour and texture of stone used by Central Otago’s early settlers. Its warm, bronze-brown tones and steely grey make it the ideal choice for people seeking refined, rich tones that evoke the natural beauty of Central Otago.
Creating your own colours
We can separate or combine colours to produce a stone with tones that meet your needs and give your home its own distinctive style. We offer three colour tones for you to select from.
Poolburn blend
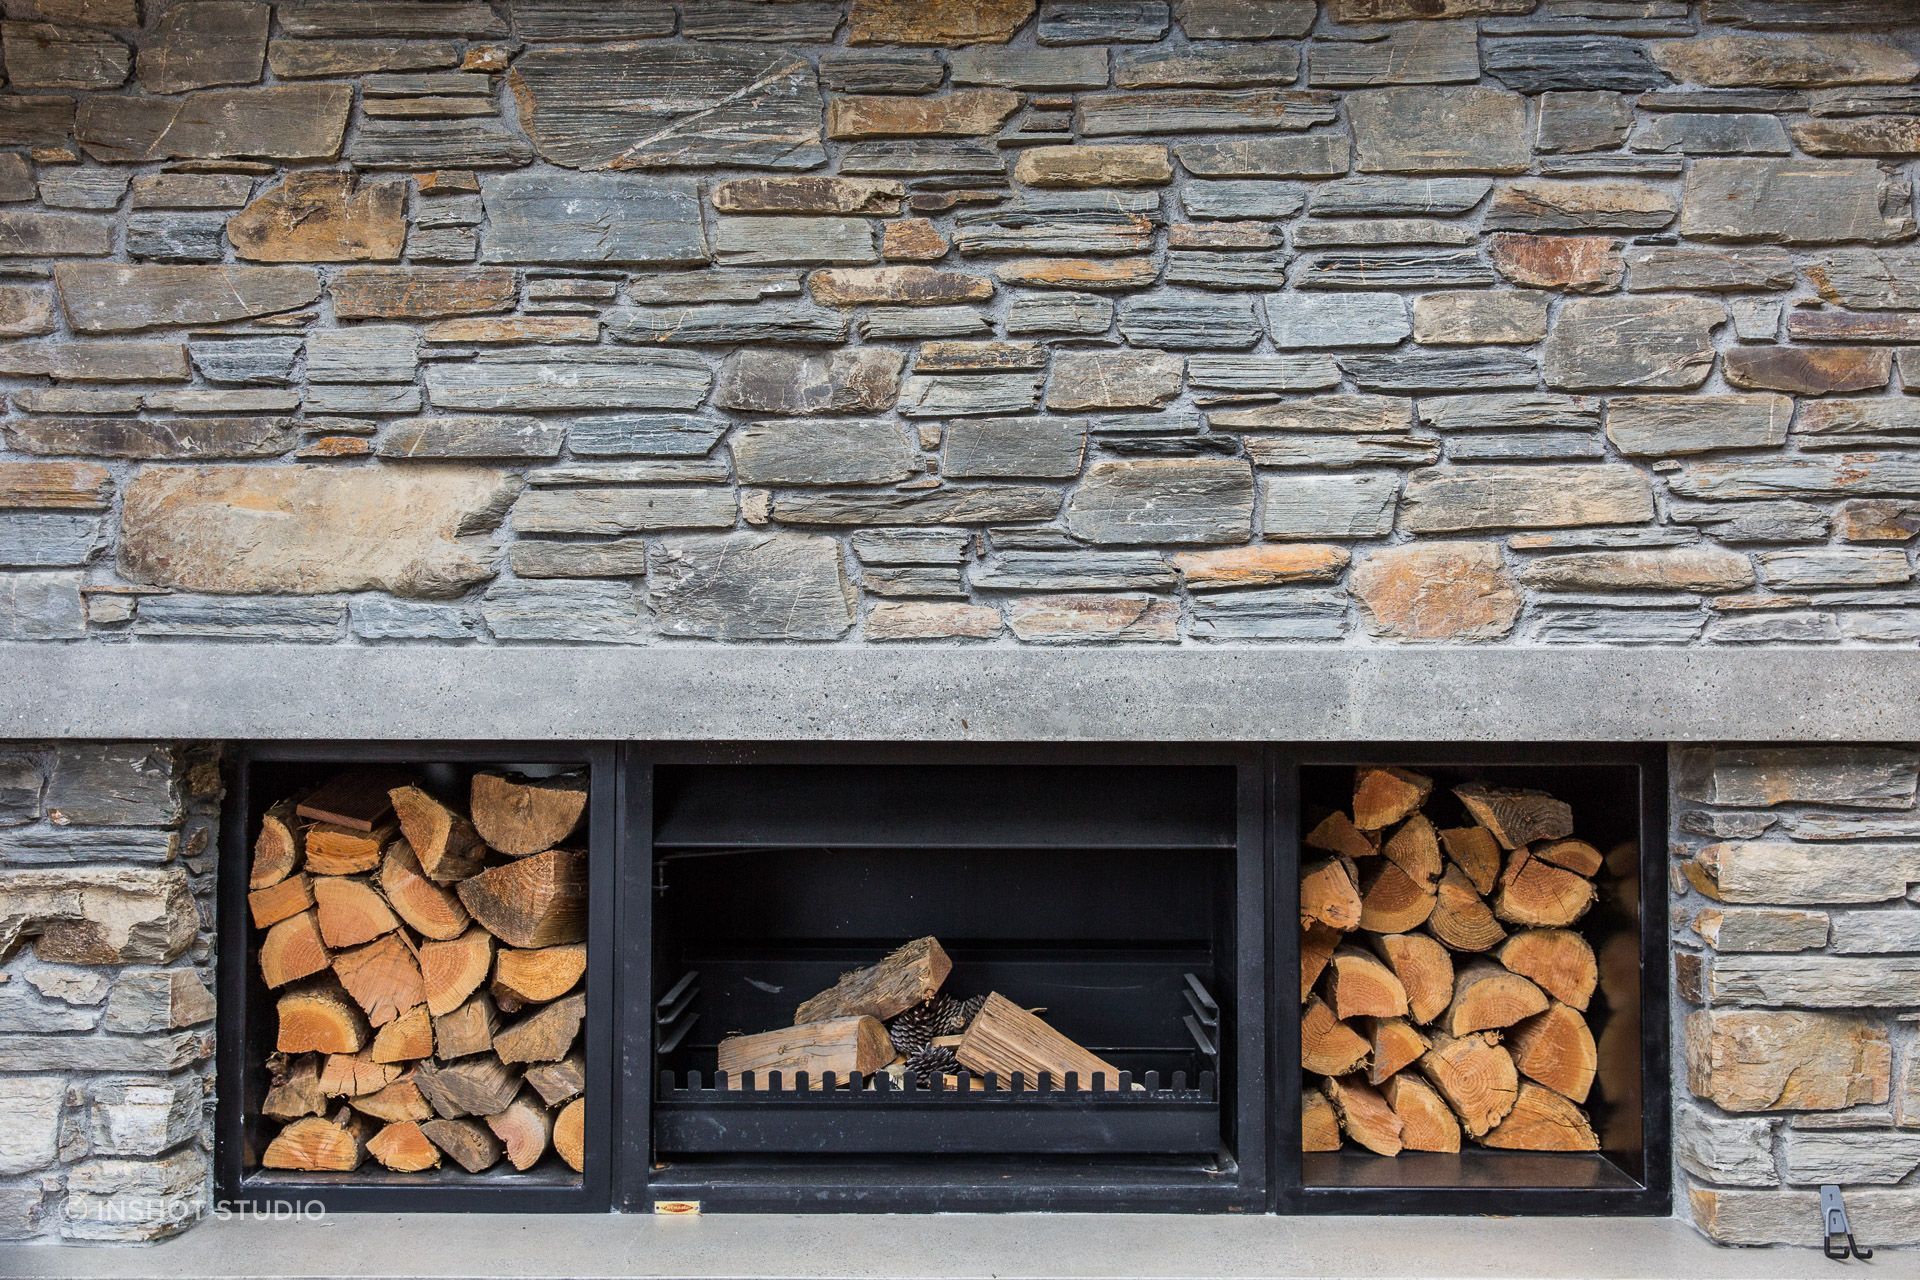
This mixed-colour stone blends grey and brown stone. The ratio of the blend changes depending on the stone’s location in the quarry. In this stone, the brown and grey tones blend to create an instantly recognisable dramatic and quintessential Central Otago stone.
Poolburn naturals
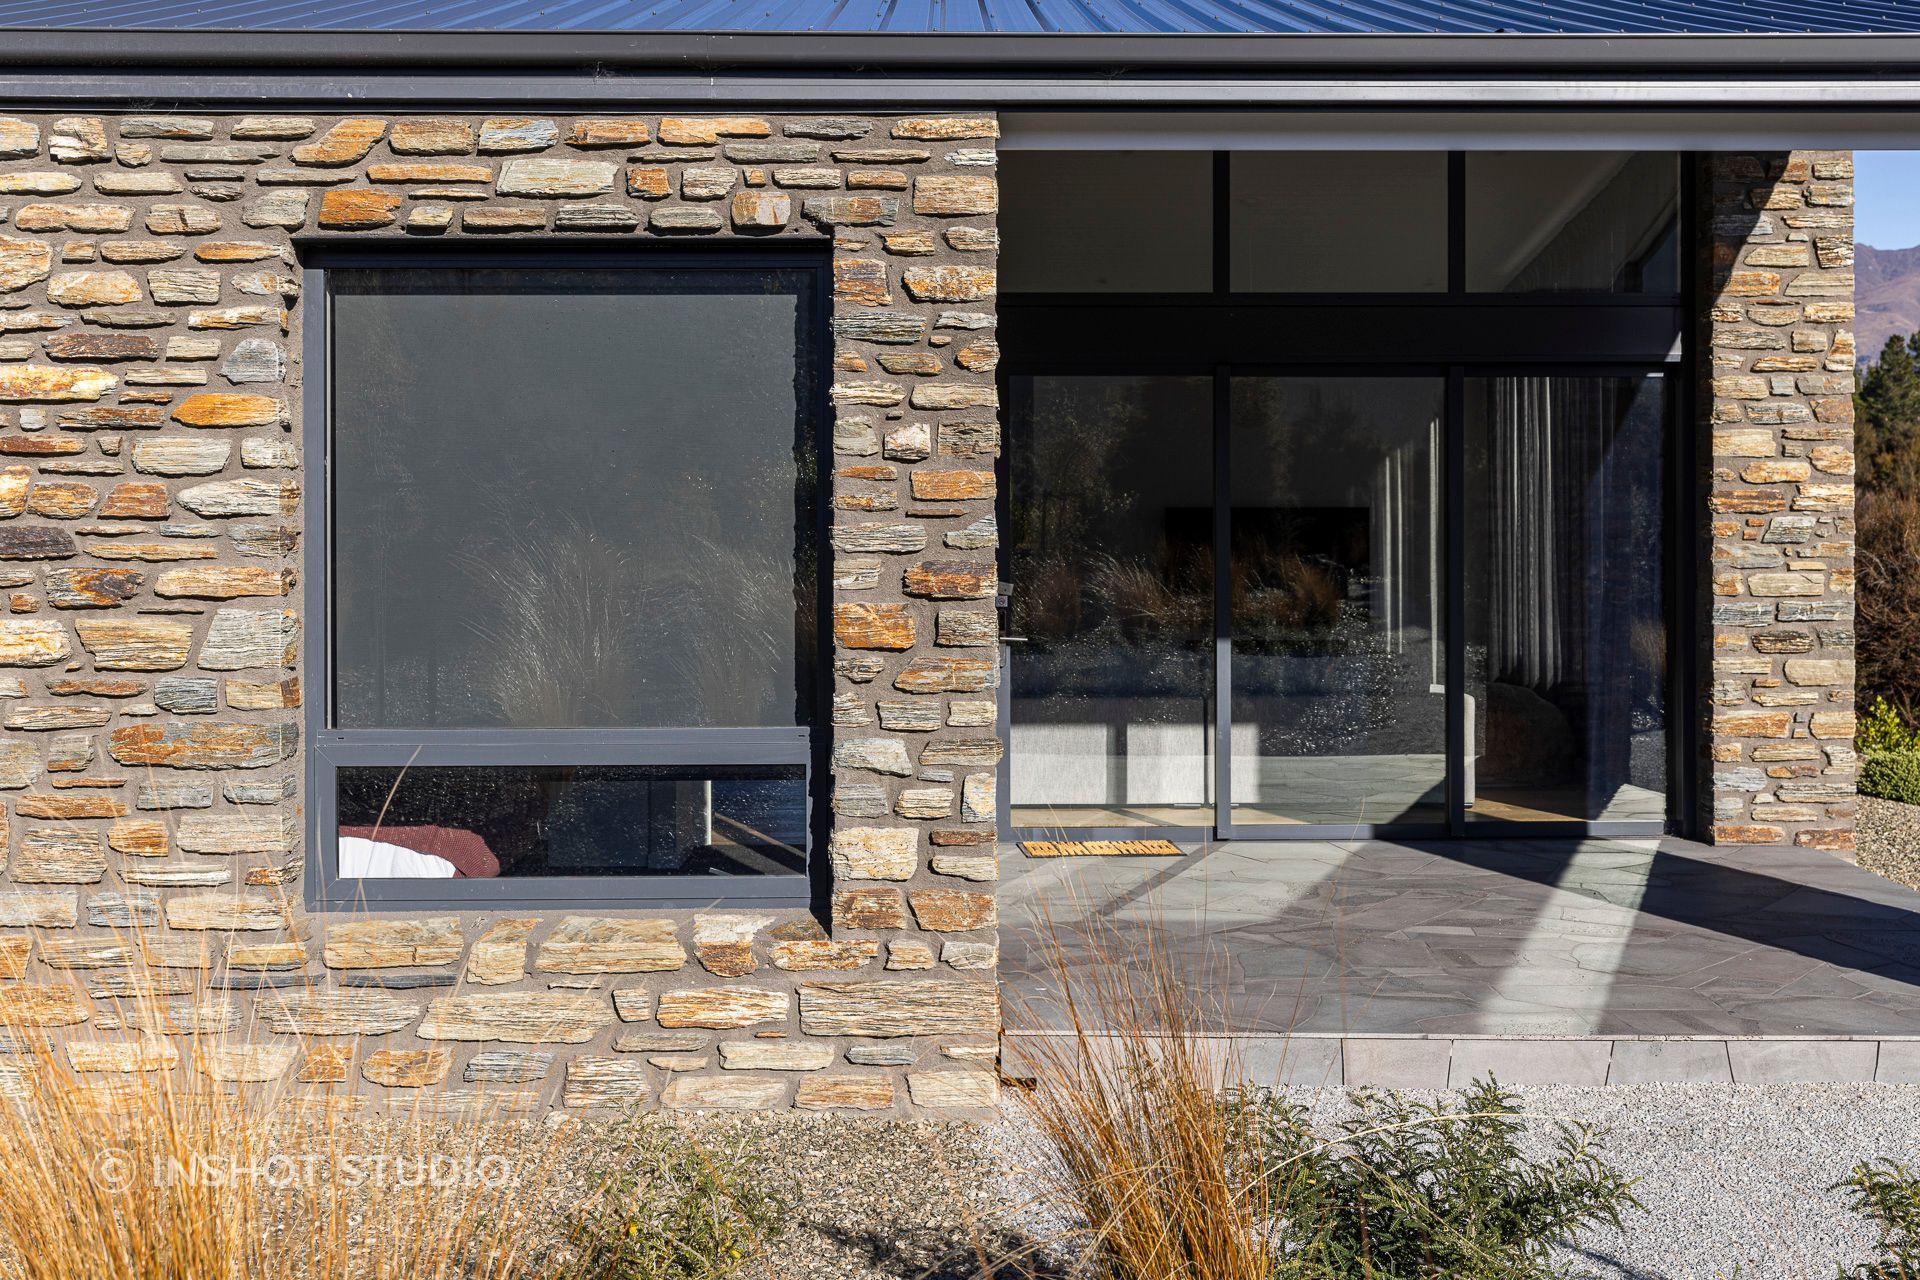
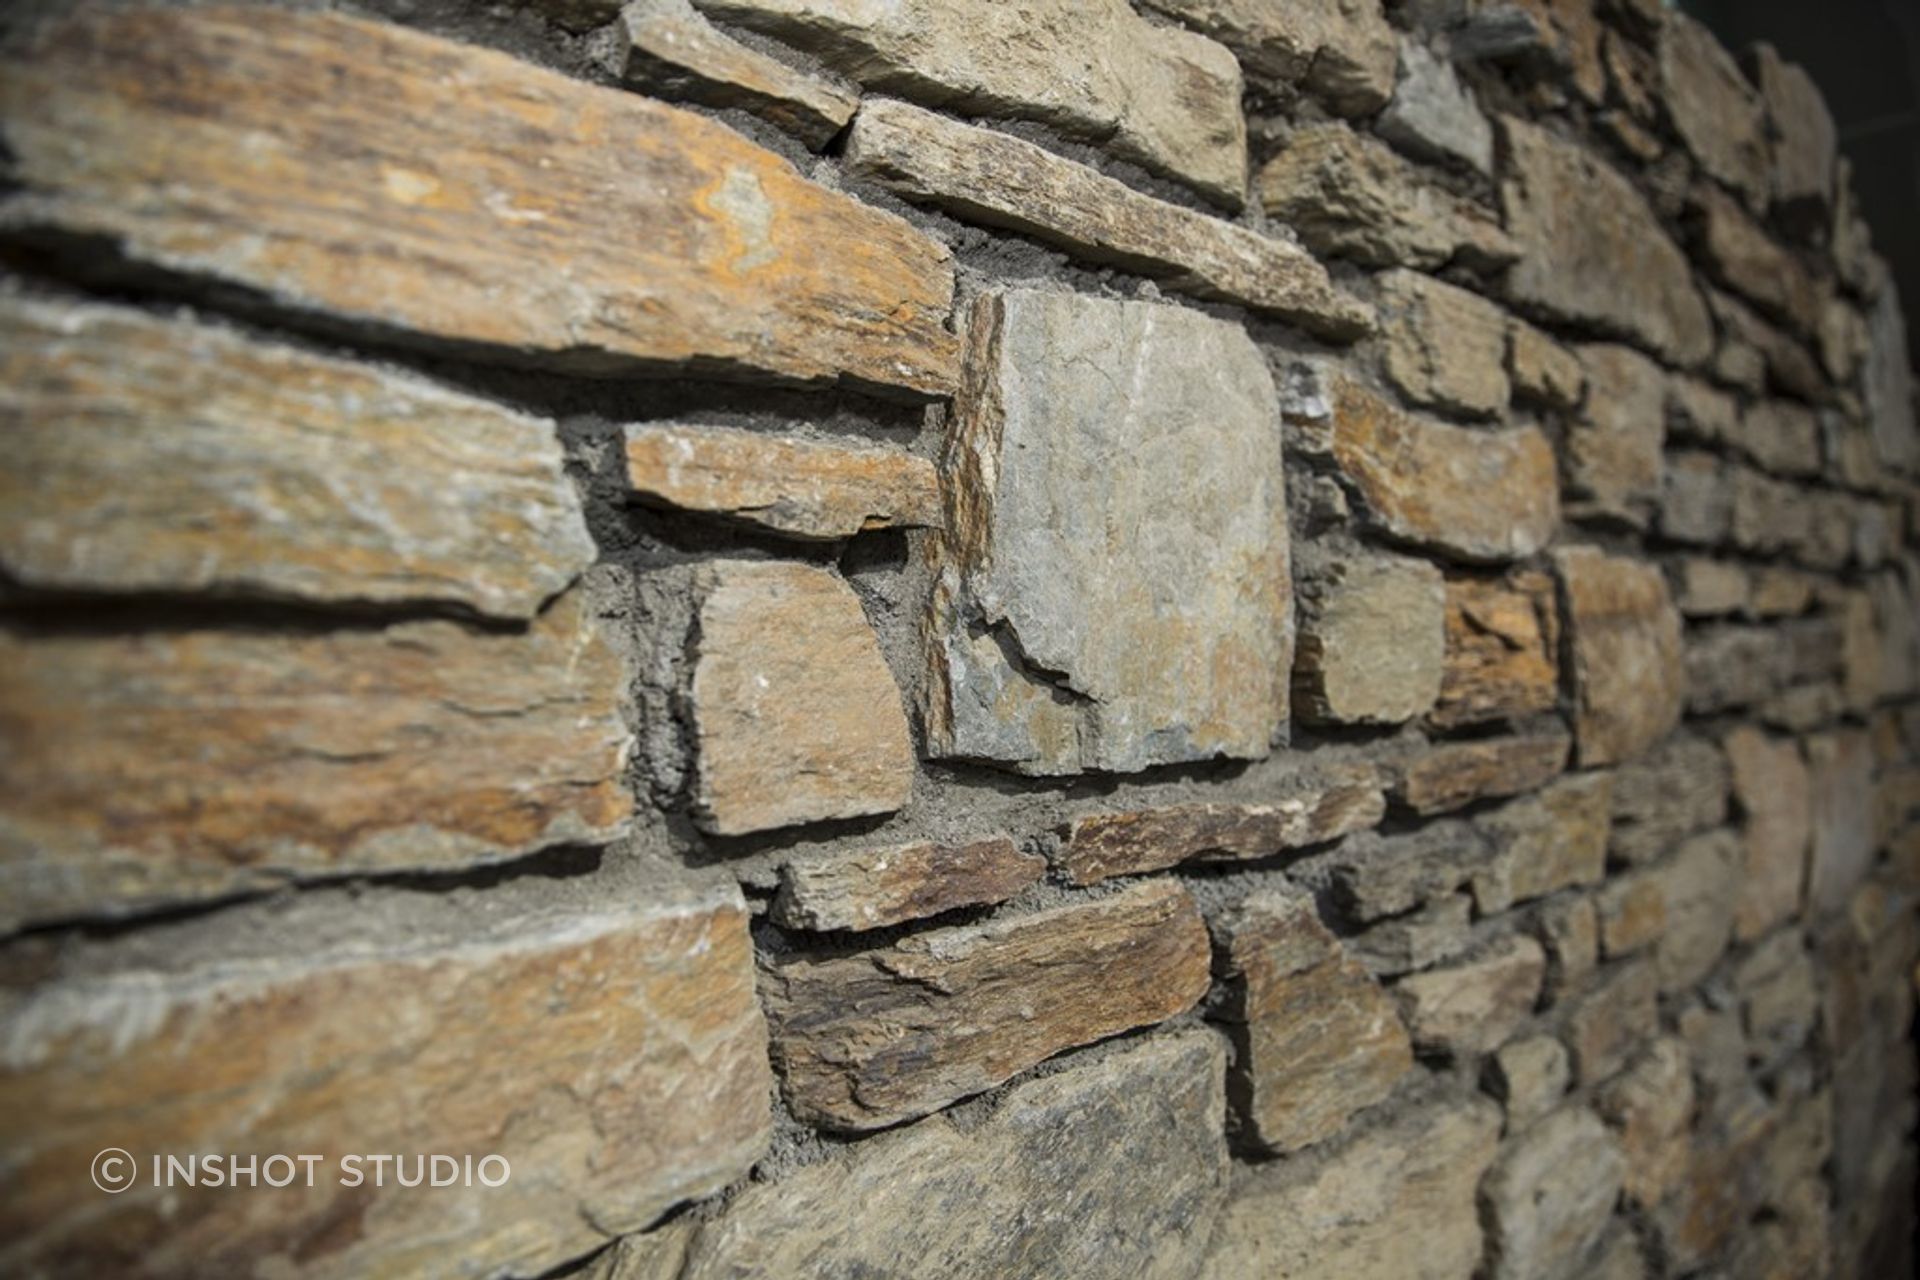
Poolburn naturals are richly toned, mostly rectangular in shape, and full of rustic charm. The stone has natural corners and deep browns-to-beige tones with occasional grey and rusty quartz streaks.
Poolburn grey (limited availability)
Poolburn stone produces a wide range of grey tones. The lighter grey tones feature streaks of brown, while the steely blue-grey stone is a rich mid-grey tone. The blue-grey stone has an attractive mica sheen and green minerals can occasionally be seen in the blend.
Cutting the stone
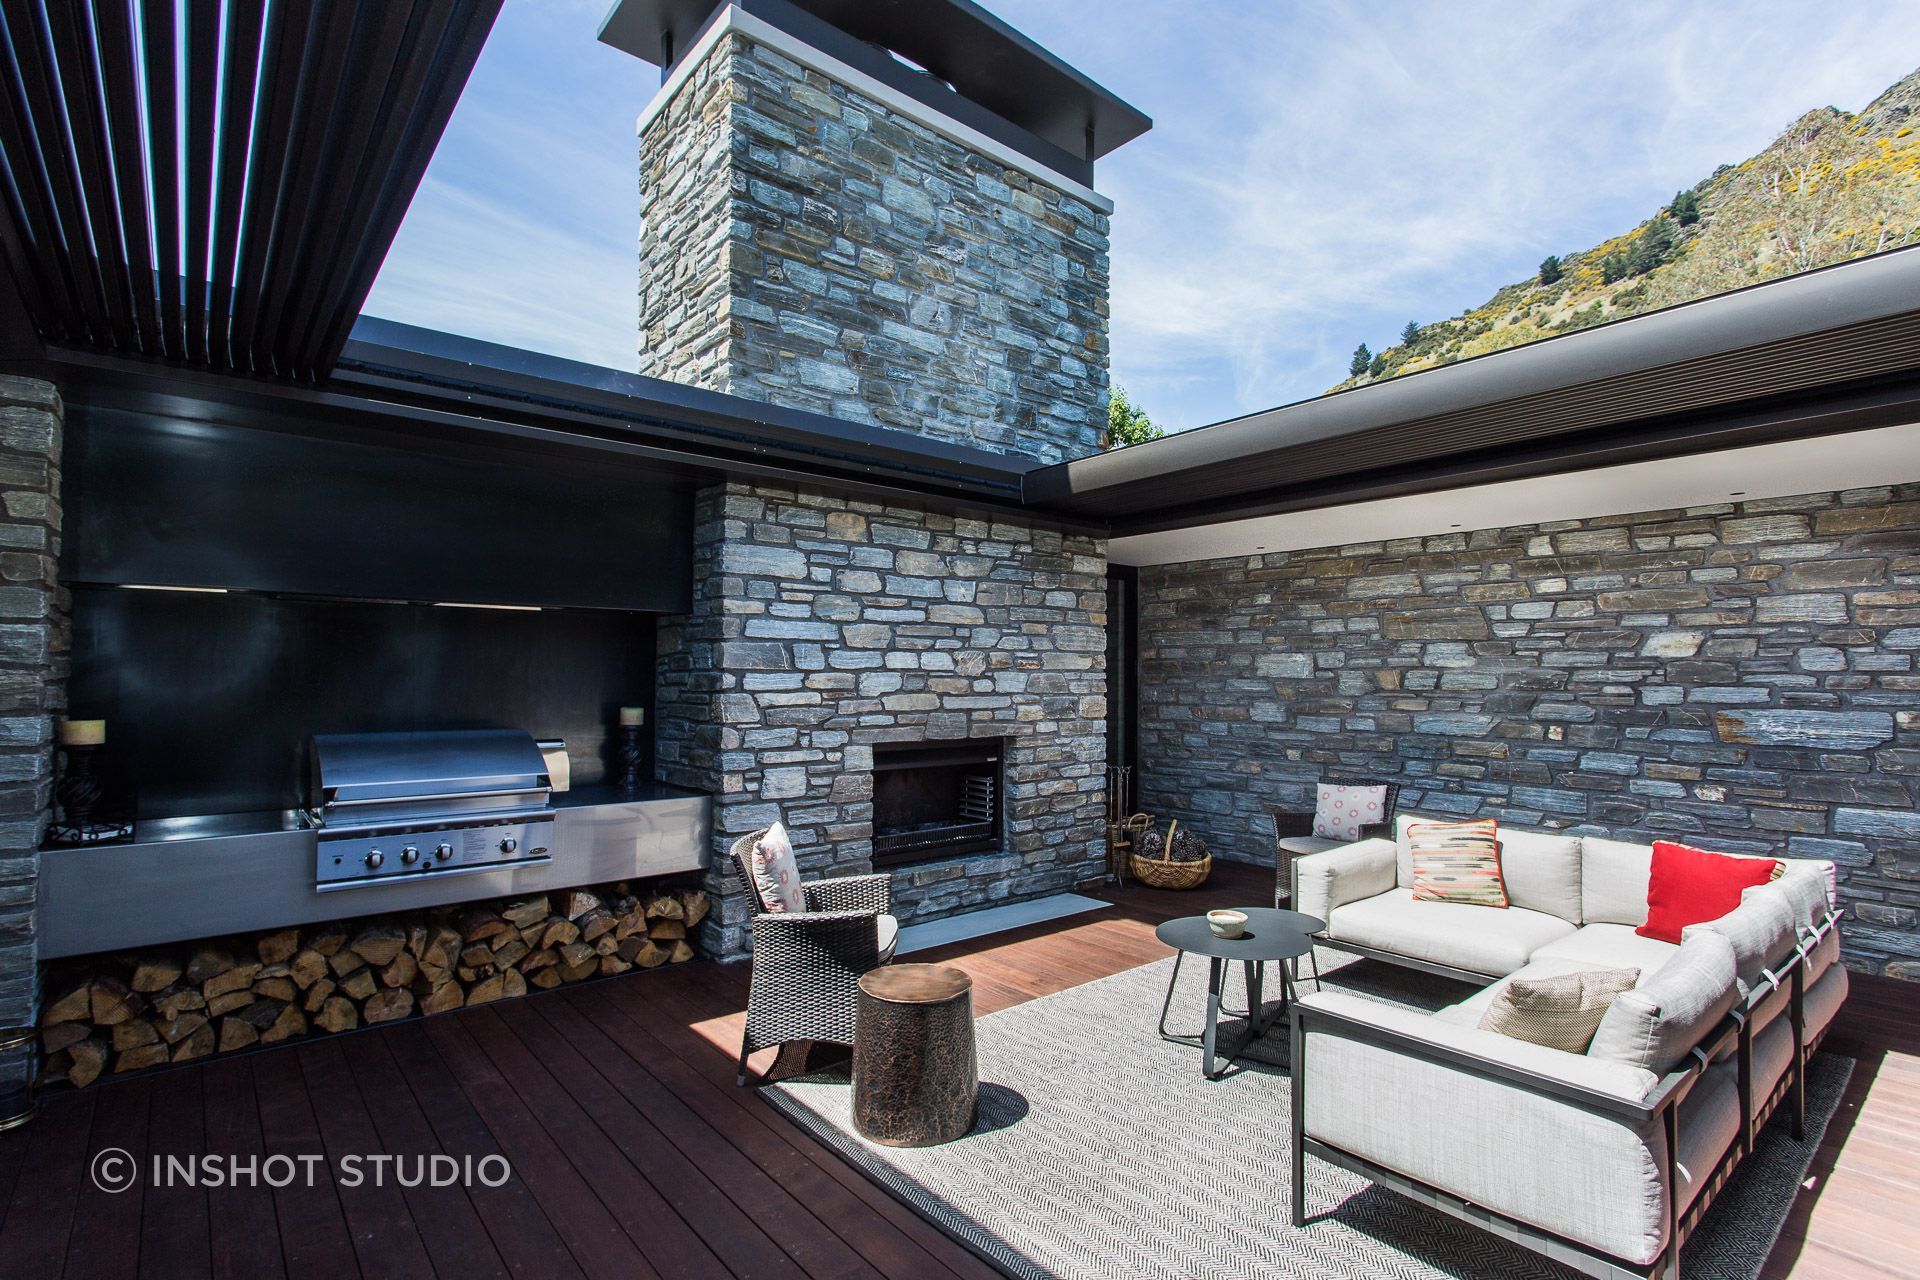
We can cut the stone to almost any width, but our most popular widths are 150mm or 180mm. The 150mm width is most suitable for ease of transporting the stone, or where space is limited. The wider 180mm width allows for longer and taller pieces of stone which is particularly popular for the bagged style where a very large gap is allowed between stones.
2. Choose your stacking style
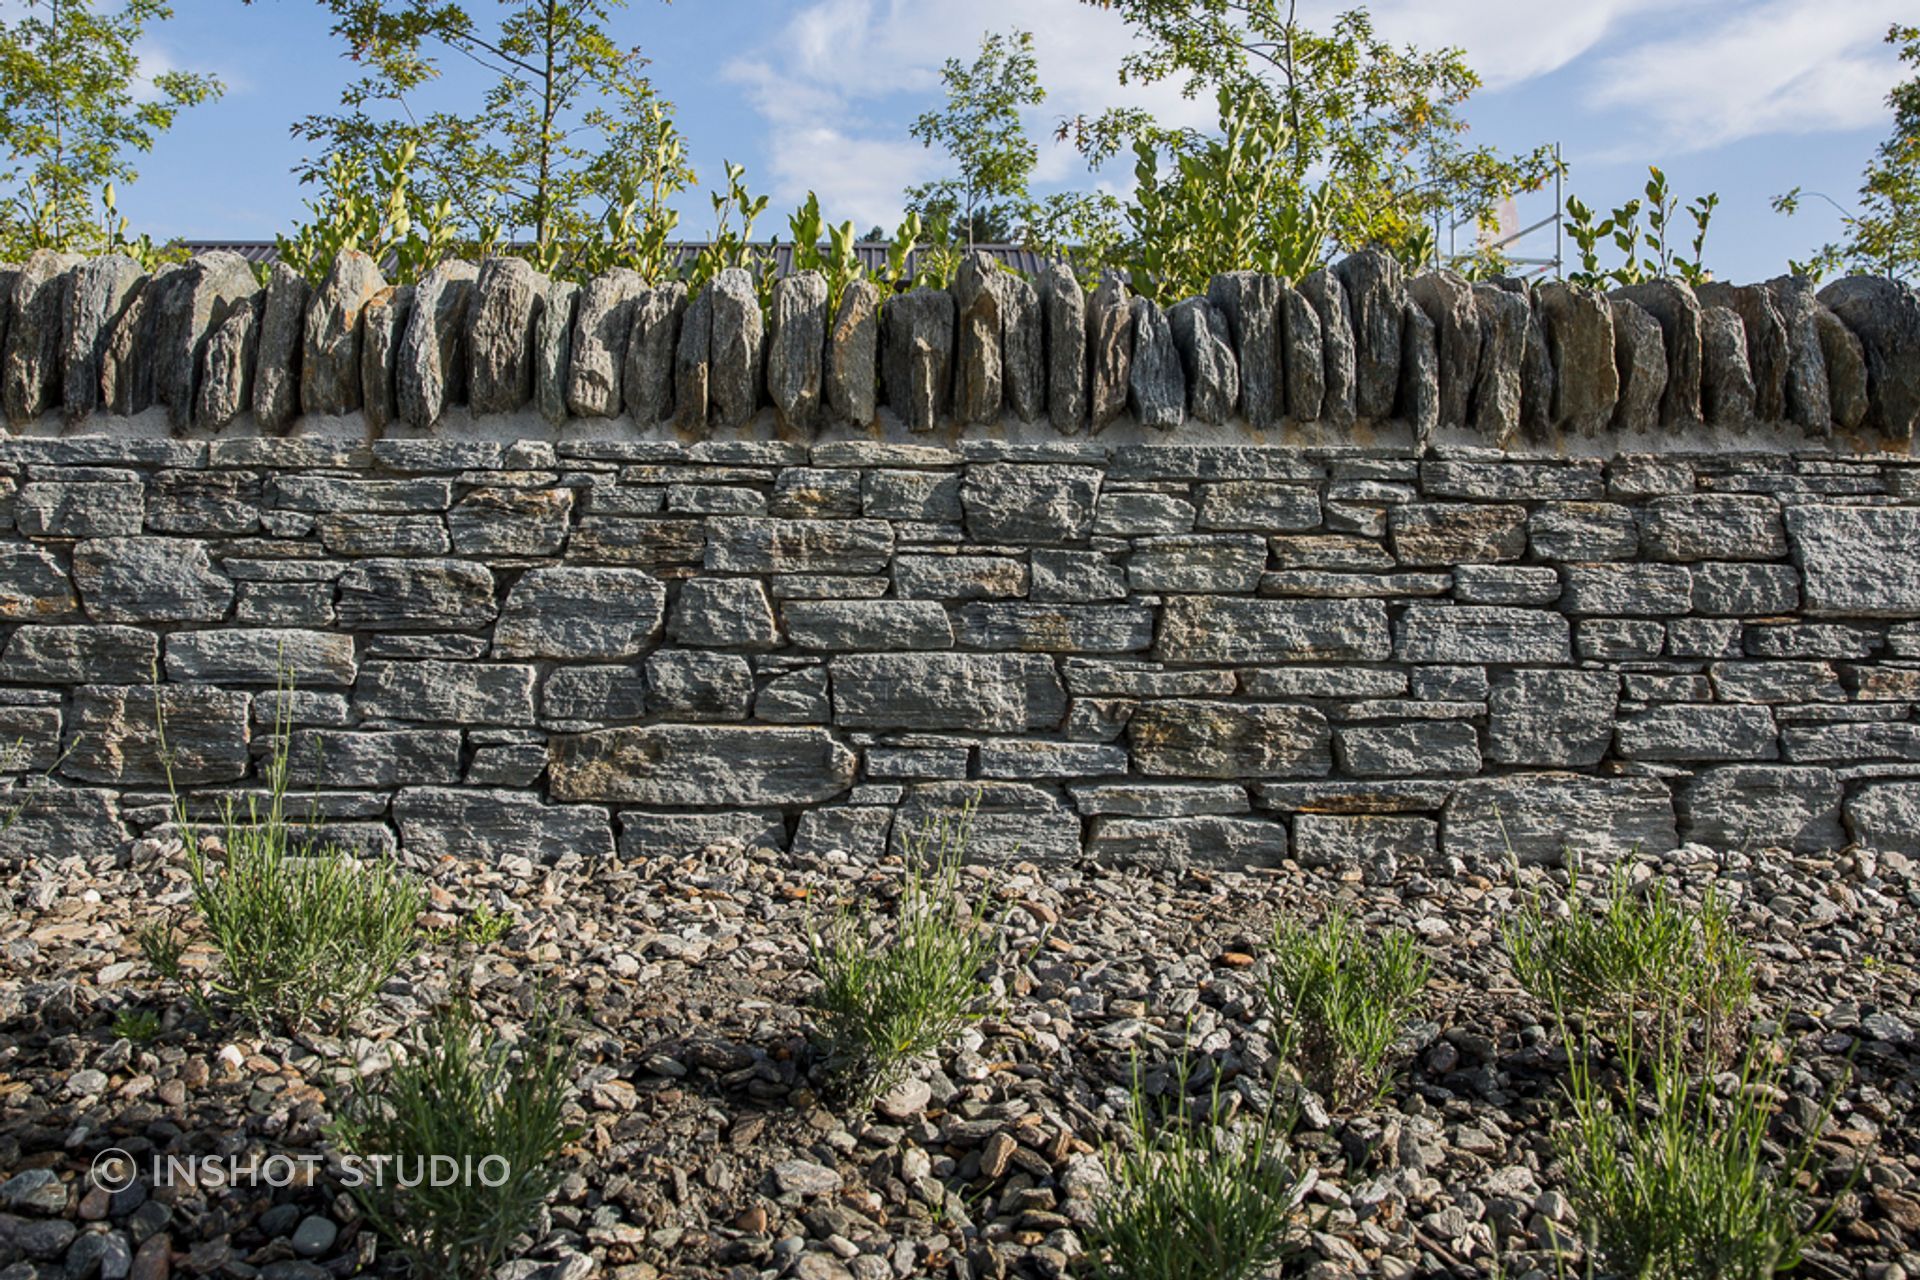
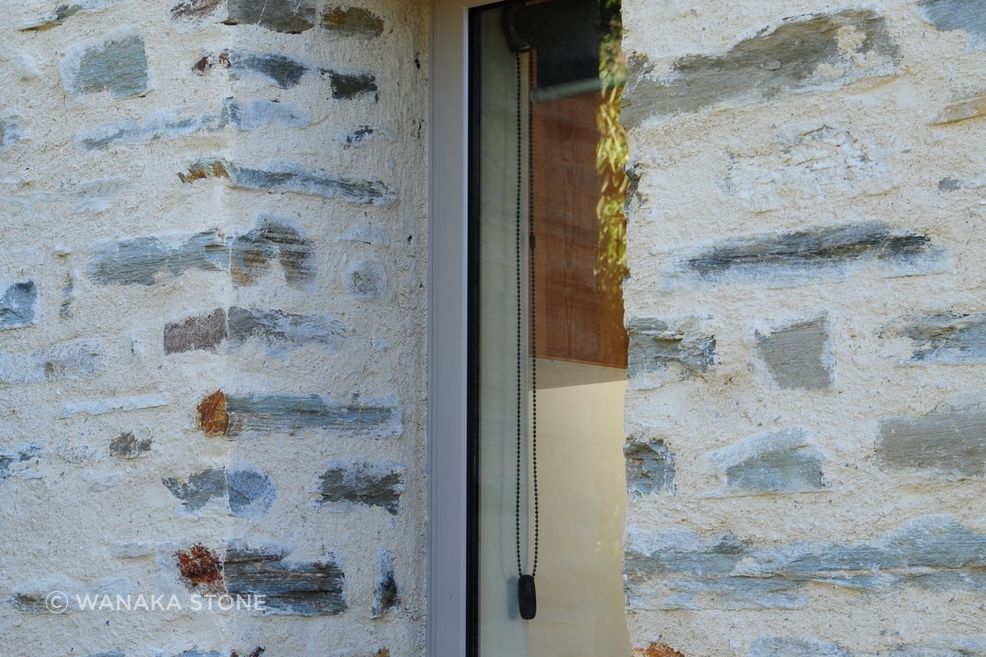
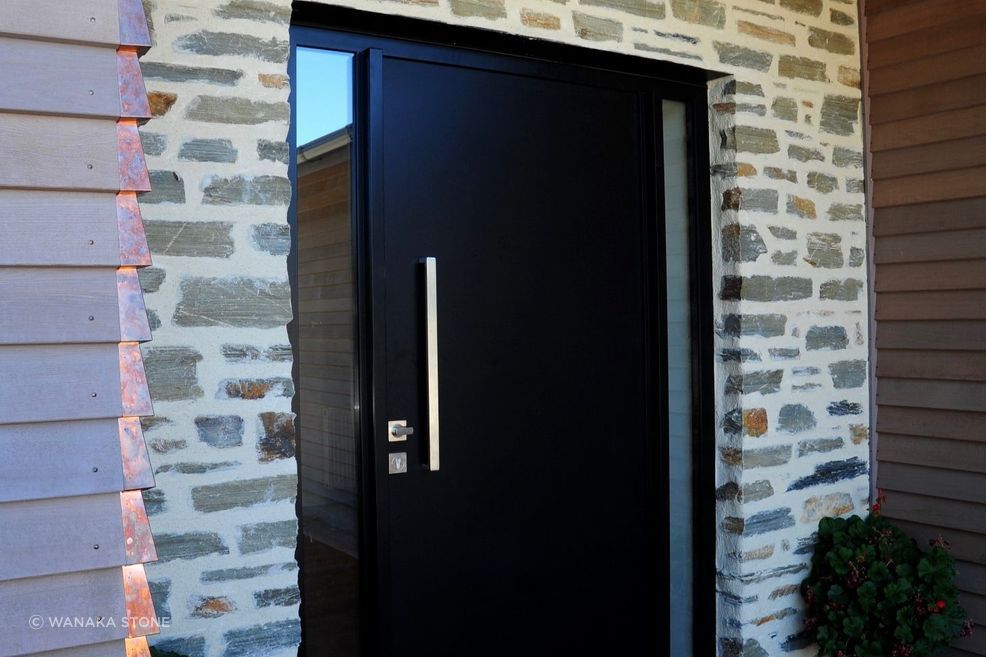
The way your stone is stacked — the amount of mortar that remains visible — has a dramatic effect on the finished appearance of the work, and can completely change its character. Narrow joints can complement the look of the stone and provide a ‘solid’ appearance, while wider gaps can emphasise the individual stone elements.
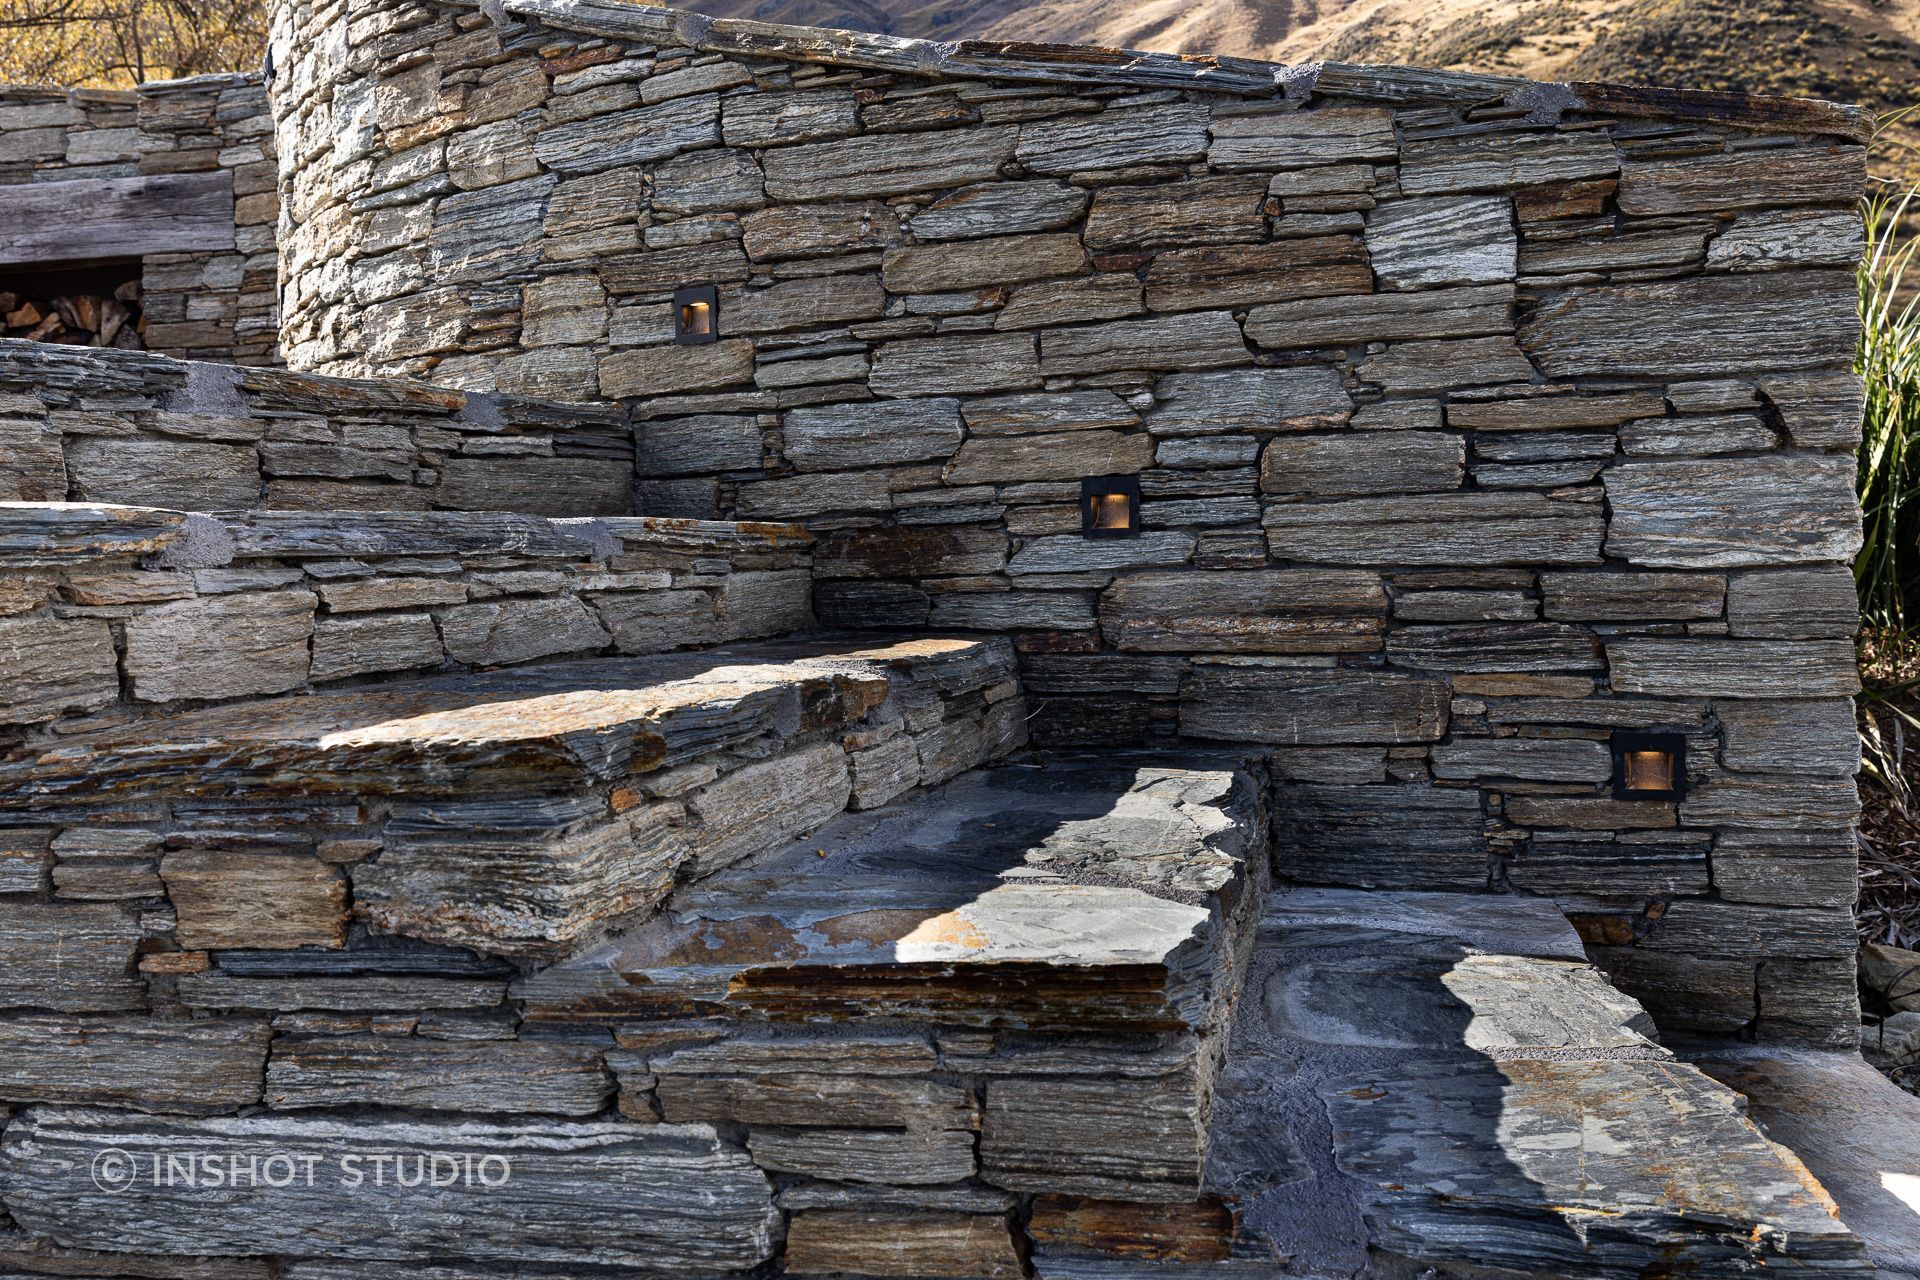
Tight stacked (dry stacked)
Tightly stacked with no mortar visible, this very popular style harks back to ancient dry stone walls, showcasing the stone. Genuine dry-stacked walls contain no mortar at all, but this is not possible when cladding a building, so the tight stacked style provides a very similar look.
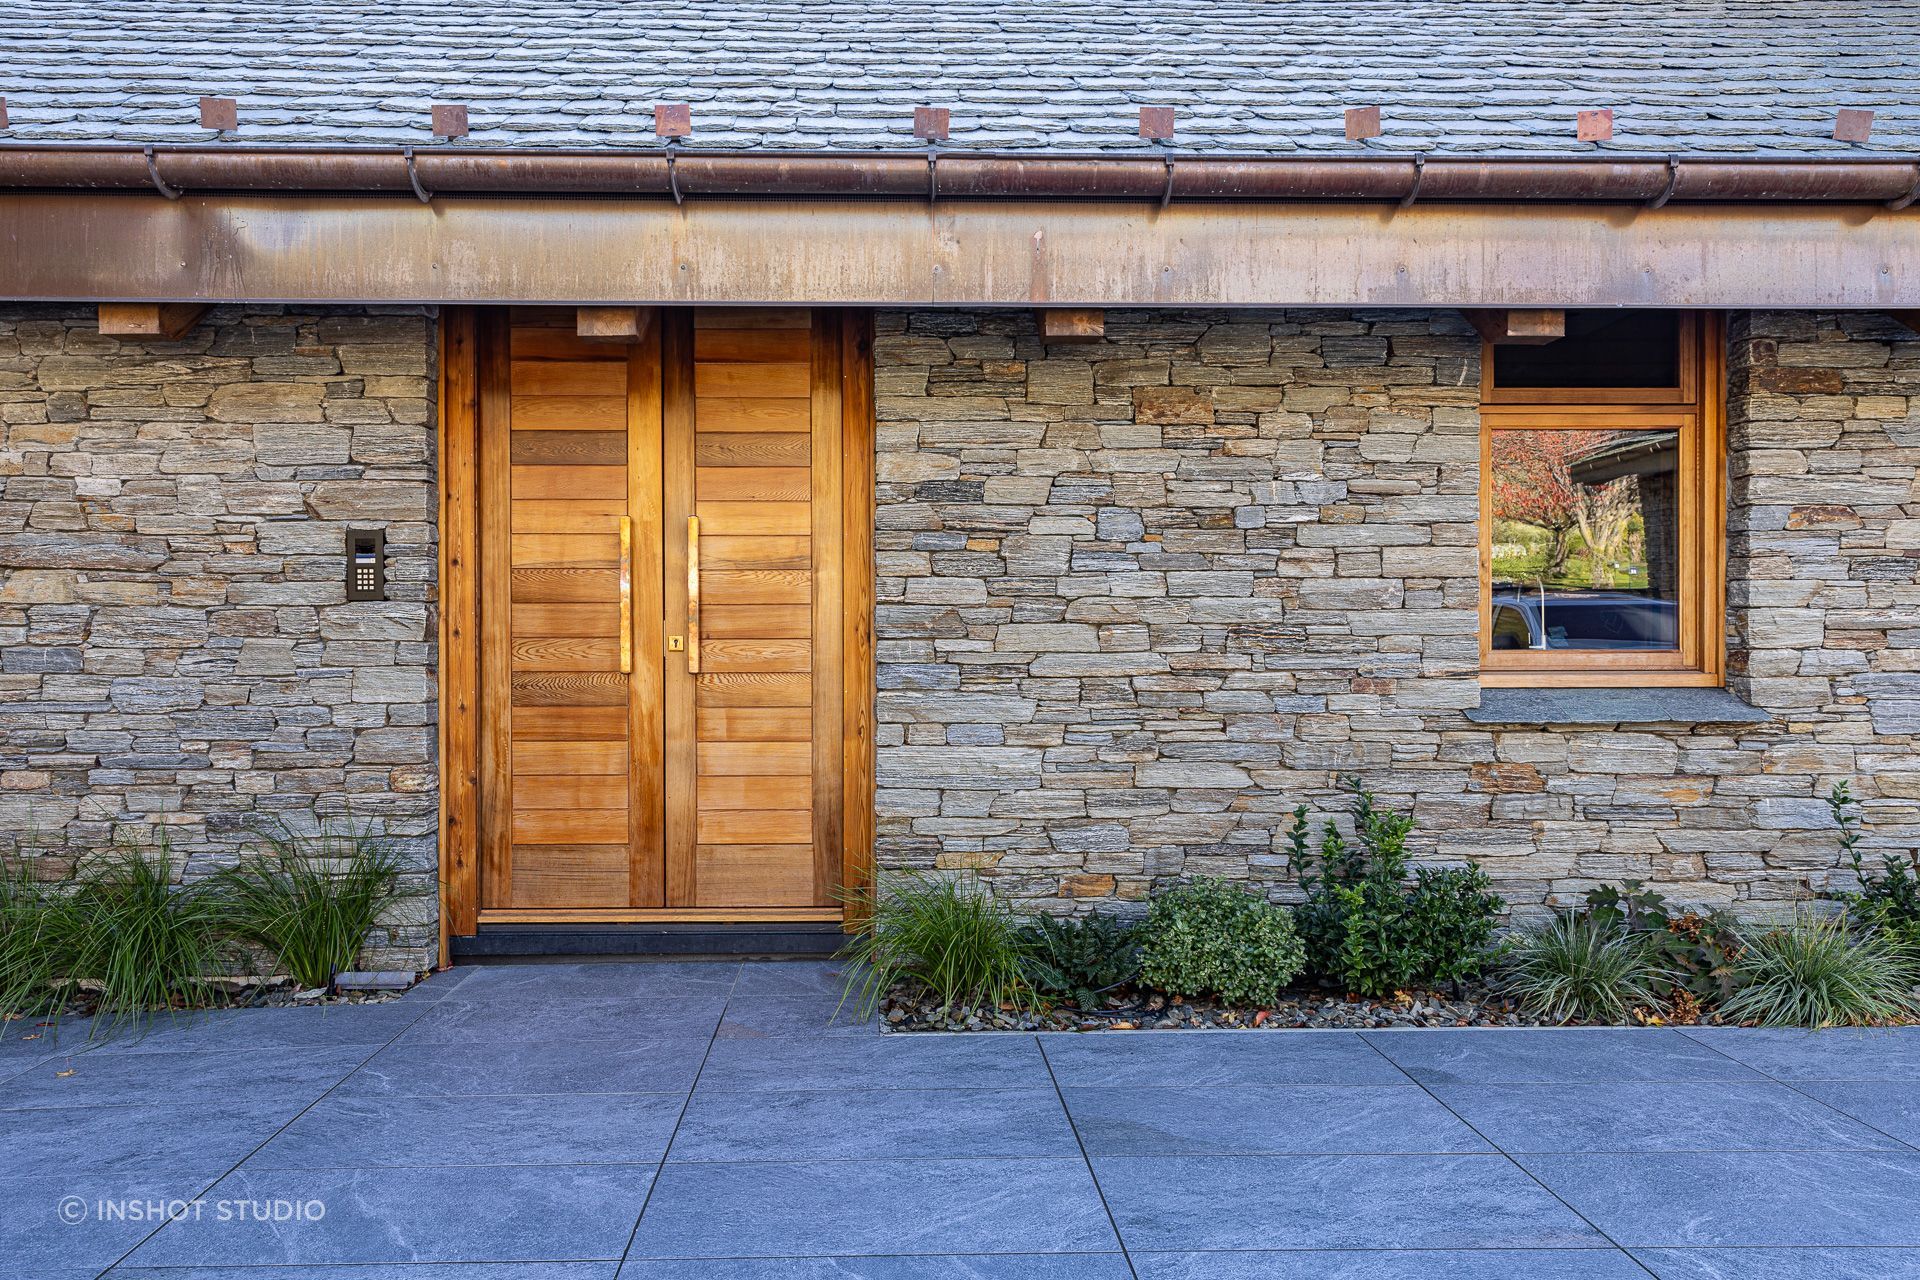
5mm joint
This is a traditional finish for stacked stone walls with a regular 5mm mortar gap between every stone both horizontally and vertically. The mortar can be left flush with the stone or raked (recessed) to create a gap giving a more natural appearance.
Wide joint
This style creates a more rustic appearance where the joint (gap between stones) is widened to show more mortar. This can allow the mortar to become more of a feature with tints, different mixes of sand size and colour, or white cement.

Bagged or rendered
This is a popular contemporary look that originated from traditional stonework. A very wide gap is allowed between stones and filled with mortar to achieve the desired finish. Mortar can be altered with different-coloured sand and cement. The stone can be partially covered or carefully left exposed resulting in distinctive finishes.
3. Design how you want the mortar to look
The appearance of your stone will differ depending on the colour and treatment of the mortar (the mix of cement and fine sand that is used as fill between stones).
Creating the colour
Dyes, cement and coloured sands can be used to create a wide range of mortar colours. Stonemasons will generally lay stone using standard mortar and then carefully mix batches of coloured grout to point the wall. Mortar colours that complement the stone can create a more unified, solid appearance, whereas contrasting mortar colours can emphasise the individual stone elements and be used to break up the appearance of a solid surface.
Treating the mortar
The finishing touch given to the visible mortar is referred to as ‘pointing’, and there are two finishes for you to choose from.
Raked
Recessed (or raked) stone has the mortar gently brushed out of the joints. This creates more shadow and texture in the wall.

Flush
Flush finishes have the mortar level with the stone or even partially covering the stone.
4. Find a stonemason
It’s important you choose a skilled stonemason who can create a beautiful wall with your stone.
Ask around
Seek recommendations from local builders, architects, or homeowners who have successfully created the look you’re after. Ask to see examples of finished work and published customer reviews for any stonemason you are considering engaging.
We are proud to work closely with a range of superb stonemasons and are always happy to recommend quality stonemasons throughout New Zealand. The New Zealand Stonemason Association also has a list of member stonemasons.
Engage your stonemason early
A stonemason can help estimate how much stone you will need and can guide you when choosing your stone. Be clear about the look you want and show them photos of the stone you love. Make sure the stonemason knows how to work with the stone you’ve selected — schist is different to work with compared to basalt, limestone, or brick/block.
Speak up
Once work has begun, if you’re not happy with how your stone looks, talk to your stonemason about it immediately.
Let us help you find your perfect stone
Transform your home with the timeless beauty of Central Otago’s schist from Wānaka Stone. Lucy, Grant and their team can guide you to the perfect stone design. Contact Wanaka Stone through ArchiPro today.