This is a guide to installing concrete pavers. Please remember we offer a professional paver installation service. So the only thing you need to decide on is -
- What colour paver
- What size paver
- What area you want paved
We will take care of the rest for you and provide you with advice and knowledge. We can send out a Q.S. to measure the area and provide you with one price to supply and install concrete pavers to suit your budget. If you are a "hands on" type of person, then the information below will certainly be of interest to you.
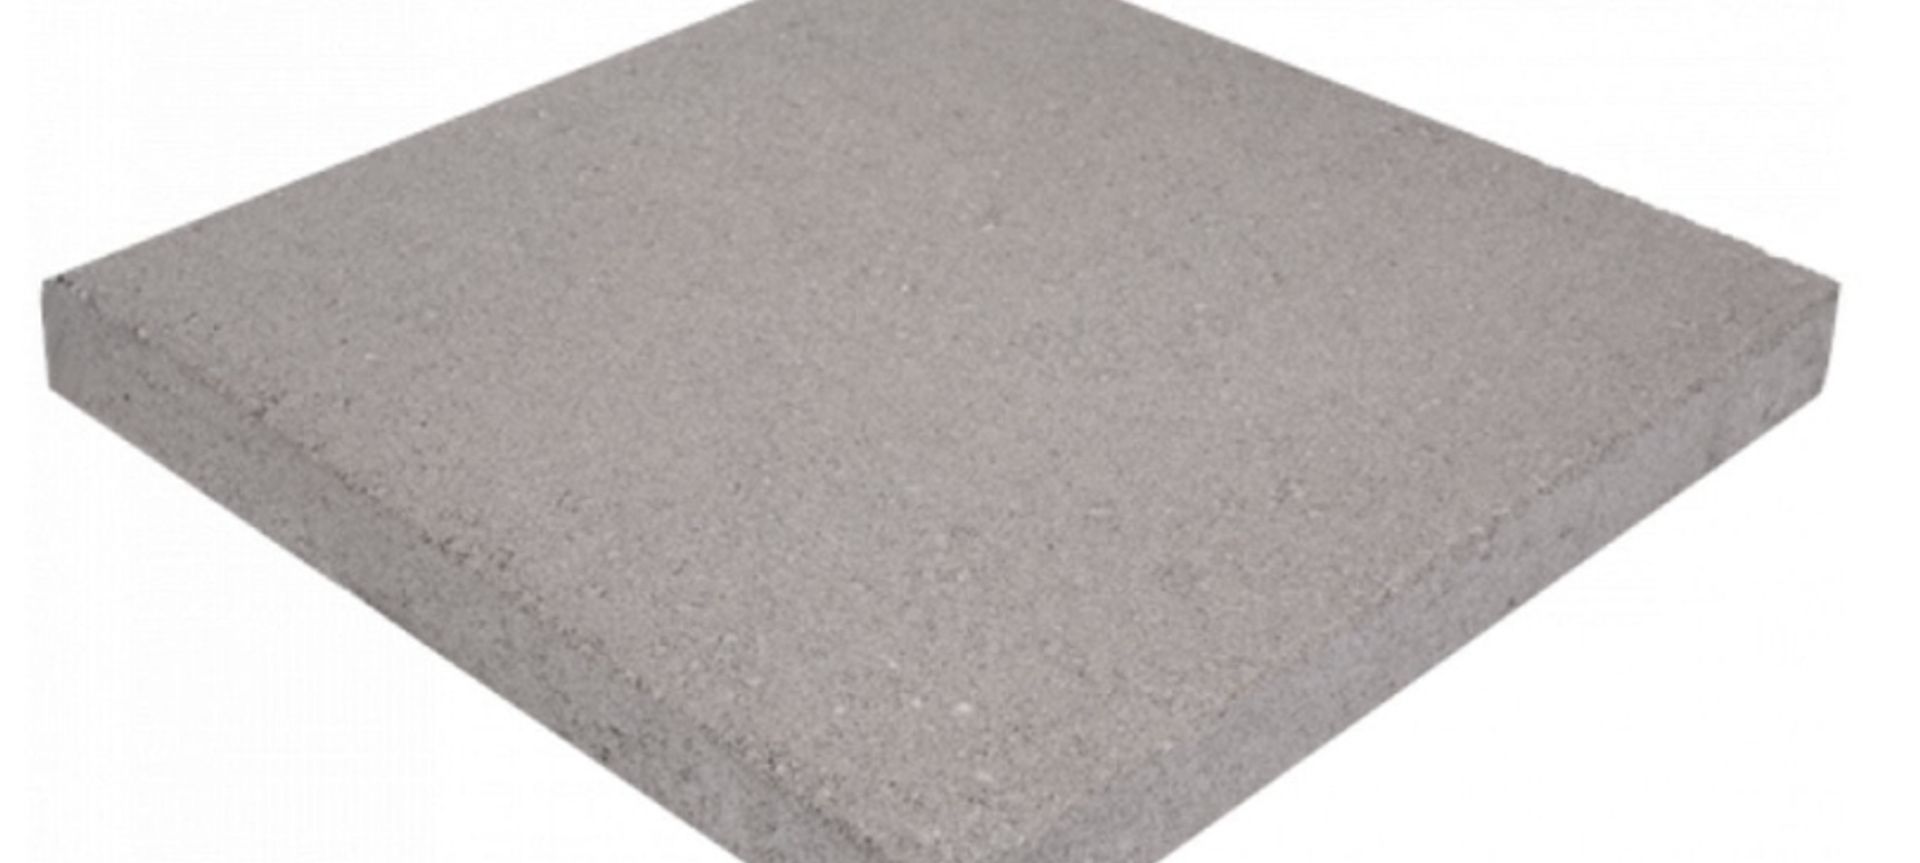
All base prep materials e.g. AP20, Washed Sand, Concrete Aggregate (if required) Pavers and Pavelock can be supplied by Conpavers.
There are two methods of paver installation
- Flexible Base
- Rigid Base
- Flexible Base Laying Method
This is the most preferred method of installing concrete pavers that is fast and cost-efficient. There are 3 basic stages to installing pavers. excavation, base course preparation and the laying and grouting.
Materials Required
Pavers, AP20, Washed Sand, Pavelock, timber for edging or for screed thickness and a bag of cement (depending on size area to be laid). To work out the estimate for your project and what you require please click on the links in this section or call us to assist you with working out quantities and paver prices.
Tools Required
A straight-edge (length depends on area to be screeded), Rubber mallet, Wheelbarrow, Plate Compactor, Shovel, Trowel, Broom, Tape measure, Rake, Stakes, String-line, Level and a Paver saw.
Excavation
Once you have sorted out the general area to be paved the first part is to excavate the existing soil to a depth (depending on paver thickness) of 180mm if using a 50mm paver. It is a good idea to determine the fall required on the subsoil prior to applying the base course and sand i.e. the fall over an area (depending on the size) should typically be a drop of 15mm per metre. Any large holes created during the excavation can be filled using the removed soil but don't fill in no more than 100mm and compact the area. The fall should be more or less the fall of the finished area once paved.
Base Course
Lay the base course AP20 and rake to 100mm thickness and with a hosepipe, apply a liberal but not excessive amount of water to the area. Compact to a uniform dense condition, especially around manholes, kerbs and poles. A petrol compacter will do a good job of this in a short time.
Stakes and Stringline
Hammer in the stakes where you are going to be laying the pavers and use a level and string lines for the finished height of the paved area and check measurements along both length and width and diagonally from both sides to ensure the area is square. Use the level on the string line to ensure everything is level and falling correctly.
Sand Base
Use two or more lengths of timber 25mm thick as thickness guides or rails. These can be placed apart but 200mm in from either end of the length of the straight-edge that is to be used to screed the sand. Barrow the sand and rake the sand over the entire area roughly leaving less on the area being screeded towards. Begin screeding from highest to the lowest point exposing the timber rails, which will act as guides and maintain the created thickness over the AP20 beneath.
Screeding of the sand is done by placing the straight-edge across the area making sure it is over the timber rails and using a side to side motion and raking the sand back using the straight-edge. If there is too much sand to begin, rake back the excess sand and keep going until the timber is seen. The timber will be the guide to level the rest of the area to a smooth even finish of sand, ready for the pavers to be laid. Put sand into these once they have been removed. This can be done once paving has begun.
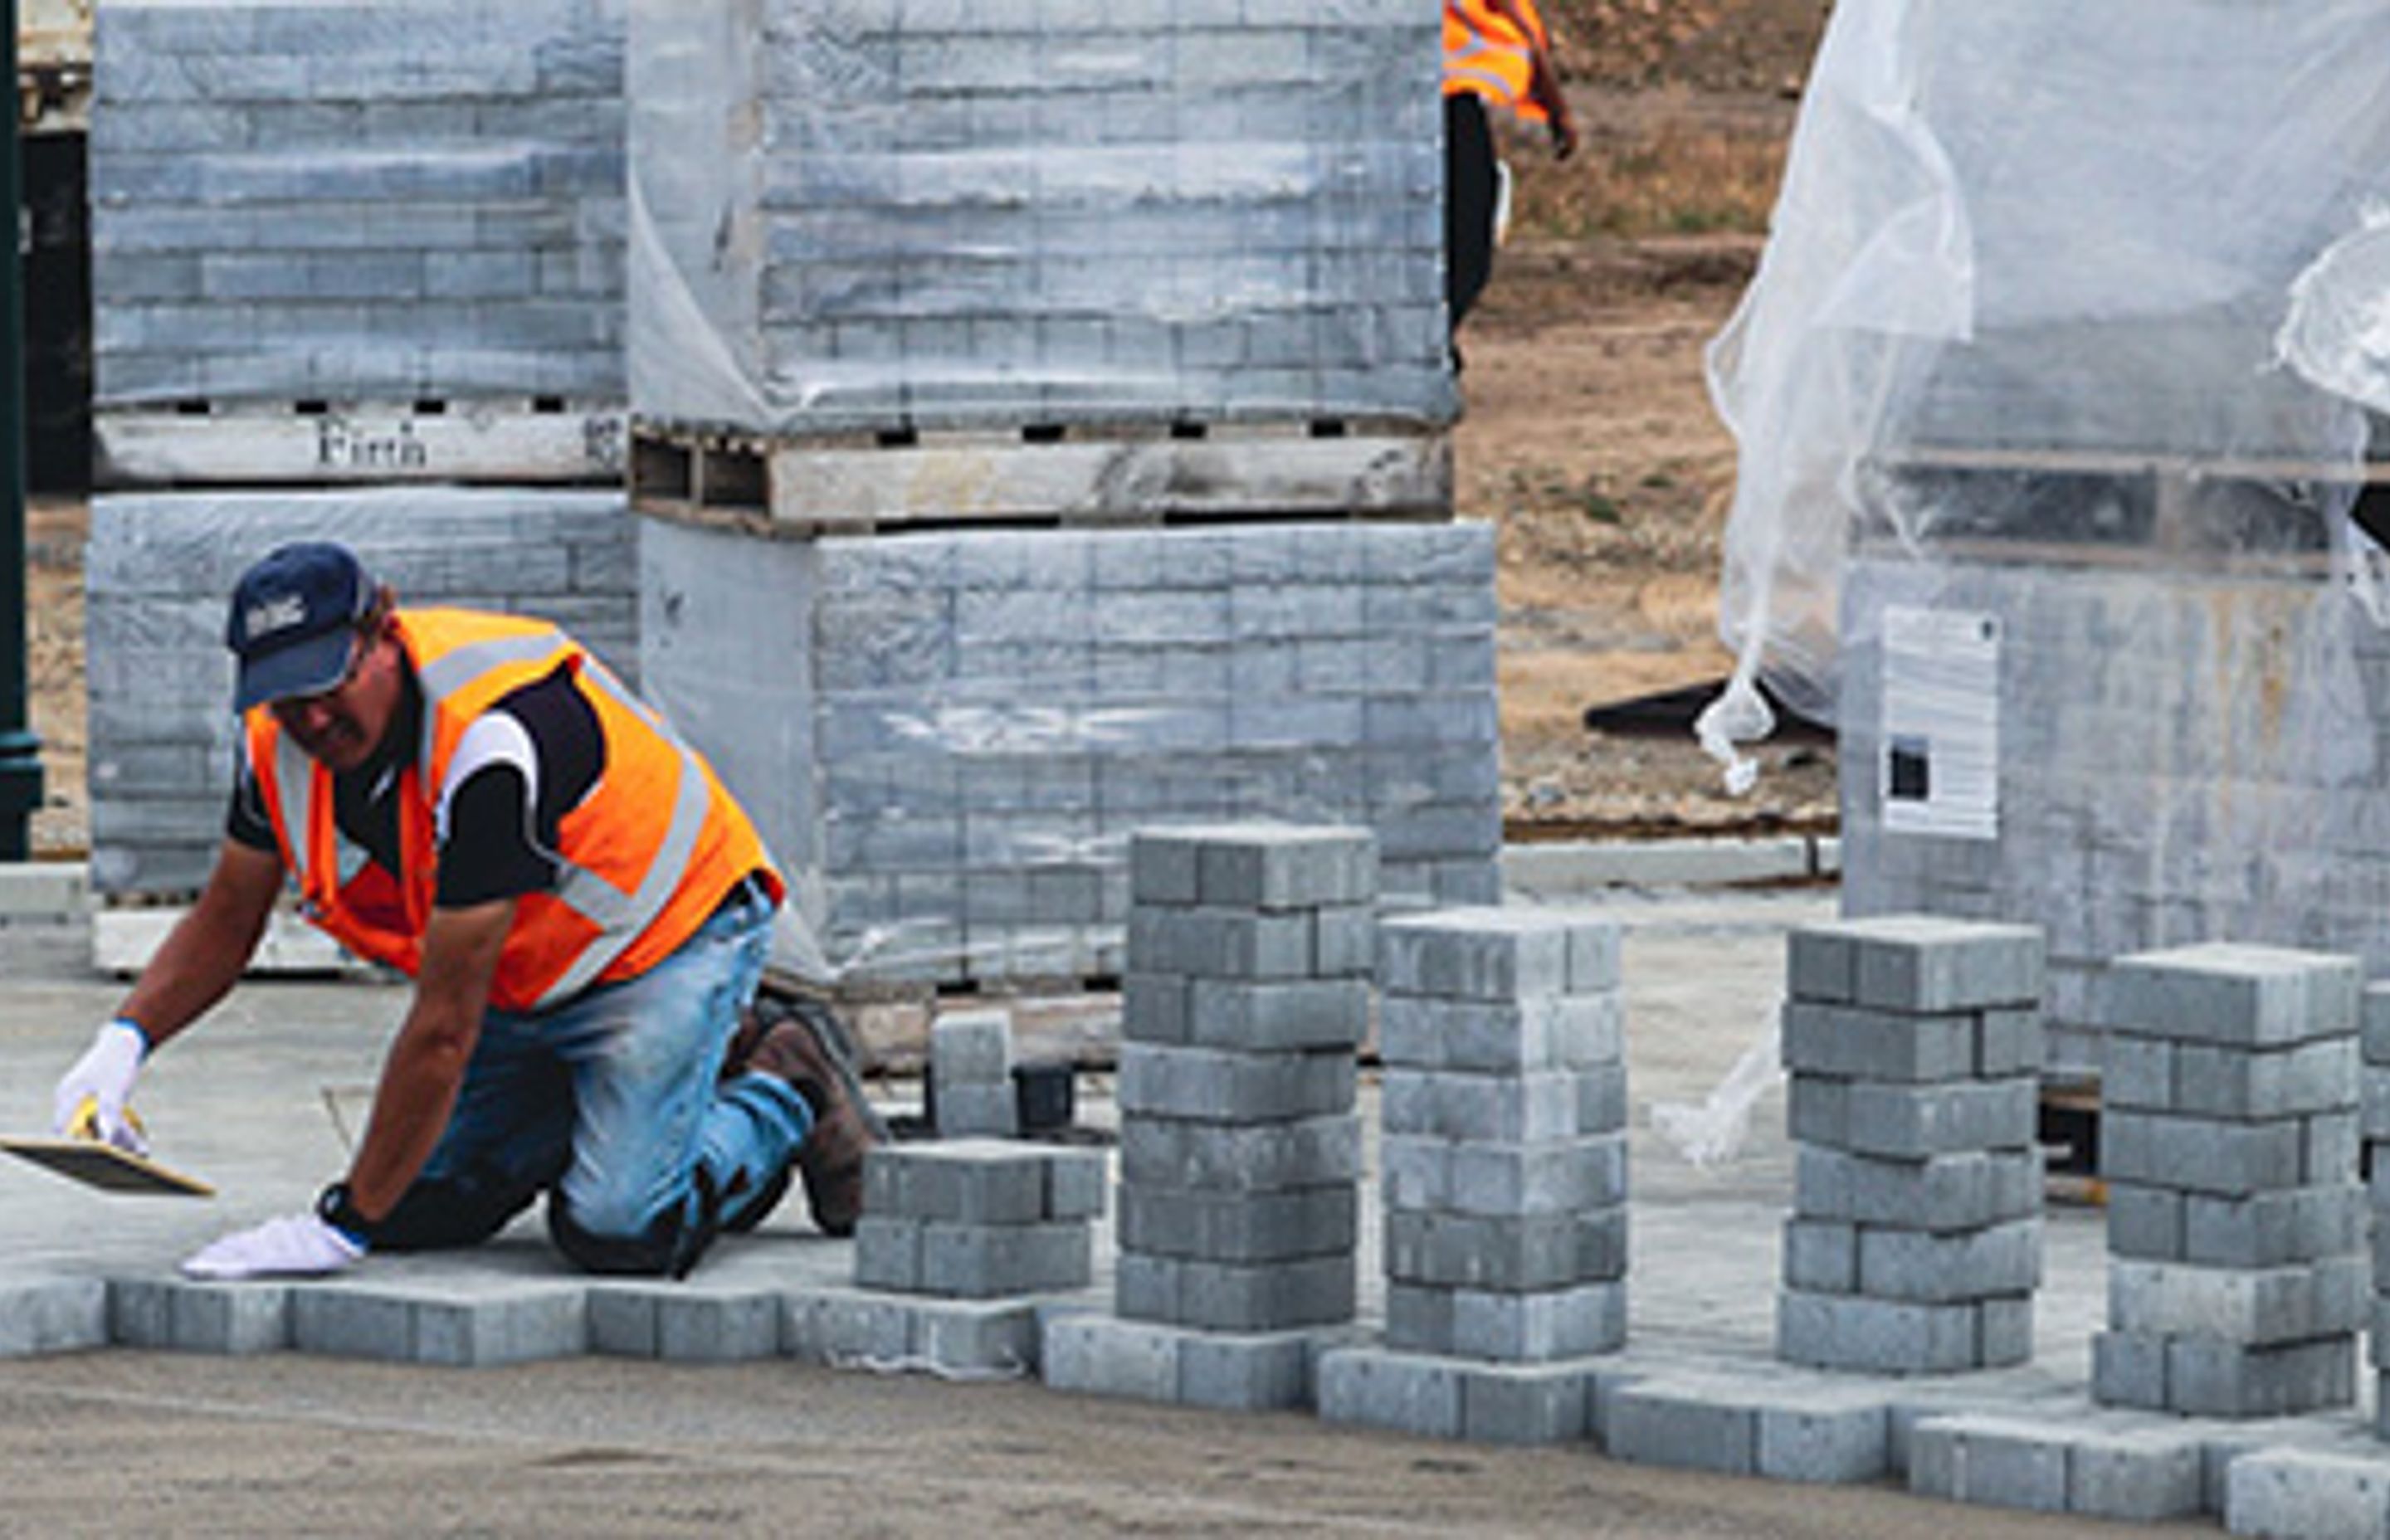
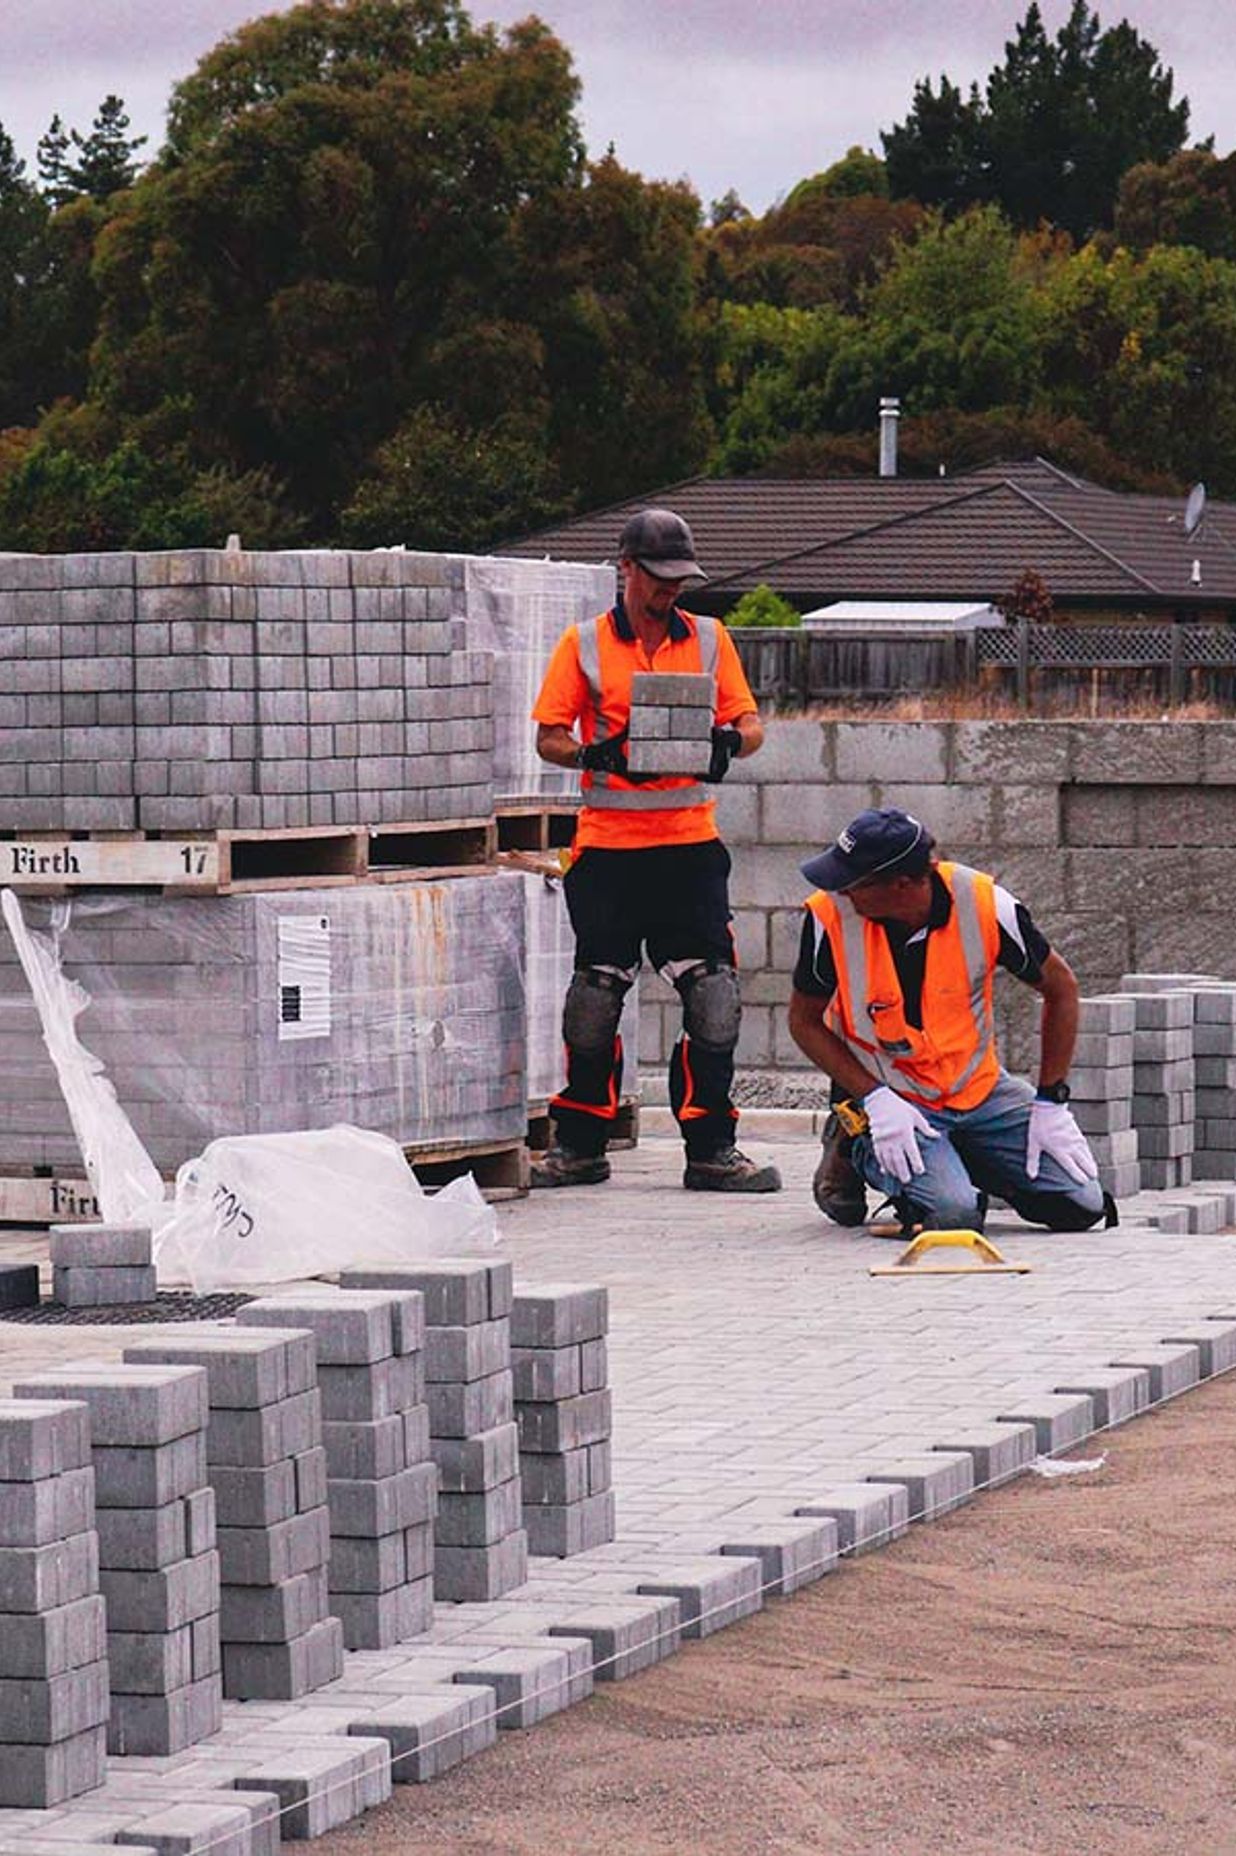
Laying Pavers
If laying against an existing building check all angles are square. Use the straightest length as the starting point to your project. All angles from this edge must be at a 90° angle from there using your stakes and builders lines as done after compacting the AP20 above. You will start laying from the corner of the building straight edge (depending on paver size). Most pavers allow for jointing so there is no need to use spacers when paving. Leave the last row of pavers on the width and length of the outside of the paved area before calling it a day. These two last lines will require a final touch using cement. To do this you will need to scrape off some sand and AP20 of a band 100mm wide of the perimeter of screeded sand. Mix the cement, sand and water to a workable consistency and put it into the created gap of sand. This will anchor the last rows of pavers down and act as a frame holding the paved area together. If you need to cut pavers this can be done using a concrete cutting disc on a wet saw. Or bring in your pavers, marked with a vivid and we can cut them for you. There is a charge for this, so please ask when purchasing the pavers.
Finishing Pavers
Once the pavers are all done and the cement has been allowed to cure, it is time to apply pavelock. This is done using bags of premixed sand (a polymer-based material) that is poured onto the surface and broomed over the paved area and into all the joints until the sand is level with the surface of the pavers. Once this is done it is best to get the compactor with a carpet wrapped around the plate and compact briefly across the entire paved area. This will settle the pavers into the sand beneath and shake all the pavelock into the joints. (Compactor can only be used on 450x450 and smaller pavers) The area can then be hosed down with enough water to penetrate the joints and allow the setting of the joints. Once the joints are dried the job is done and ready for you to enjoy with your friends and family.
If there are any further questions please do not hesitate to ask at the counter and we would be more than happy to advise you further on your DIY paving project.
- Rigid Base
This is the surest method of concrete paver installation. There are less stages to this method than the flexible method but involves the pouring of a concrete base.
Materials Required
AP20, cement, Pavelock, timber boxing timber and stakes
Tools Required
Wheelbarrow, shovel, rake, cement float, builders line, level, hammer, rubber mallet and trowel
Excavation
Excavation will be deeper with this method to at least 250mm. This is based on using 50mm pavers which will require 100mm for base prep of AP20 and 80mm for concrete and 20mm of cement to adhere the pavers.
Base Prep
Once you have excavated the area to a depth of 250mm, ensuring there is a fall away from the house as in the flexible method. Stake out the area and put builders lines in to work out falls and angles of the area to be boxed. Put in timber boxing into the area where the concrete will be poured and once done begin barrowing in the AP20 onto the excavated area to 100mm. rake it to the fall as best as possible trying to get this almost perfectly to the fall. Using a plate compactor compact the wet area of AP20 to uniformed compaction.
Concrete pour
If the timber boxing is worked correctly and the falls are done then screeding the cement will be quick and easy. Once the cement has been poured take the boxing off the next day and allow the pad to cure for at least two weeks before installing the pavers.
Paver install
Using a cement mixer, sand, cement and water to a workable consistency trowel on cement mix on to the concrete pad to at least 20mm thick. Apply the pavers as you go, checking with a level as you go and using a rubber mallet to set the pavers into the slurry.
Finishing Pavers
This is the same method as mentioned above, except that there is no need for the use of a plate compactor. Once all the pavelock sand has been broomed into the joints, use a hose spray and wet the joints sufficiently to dampen them and allow to set. Remove the boxing and your paving project is done. Enjoy!