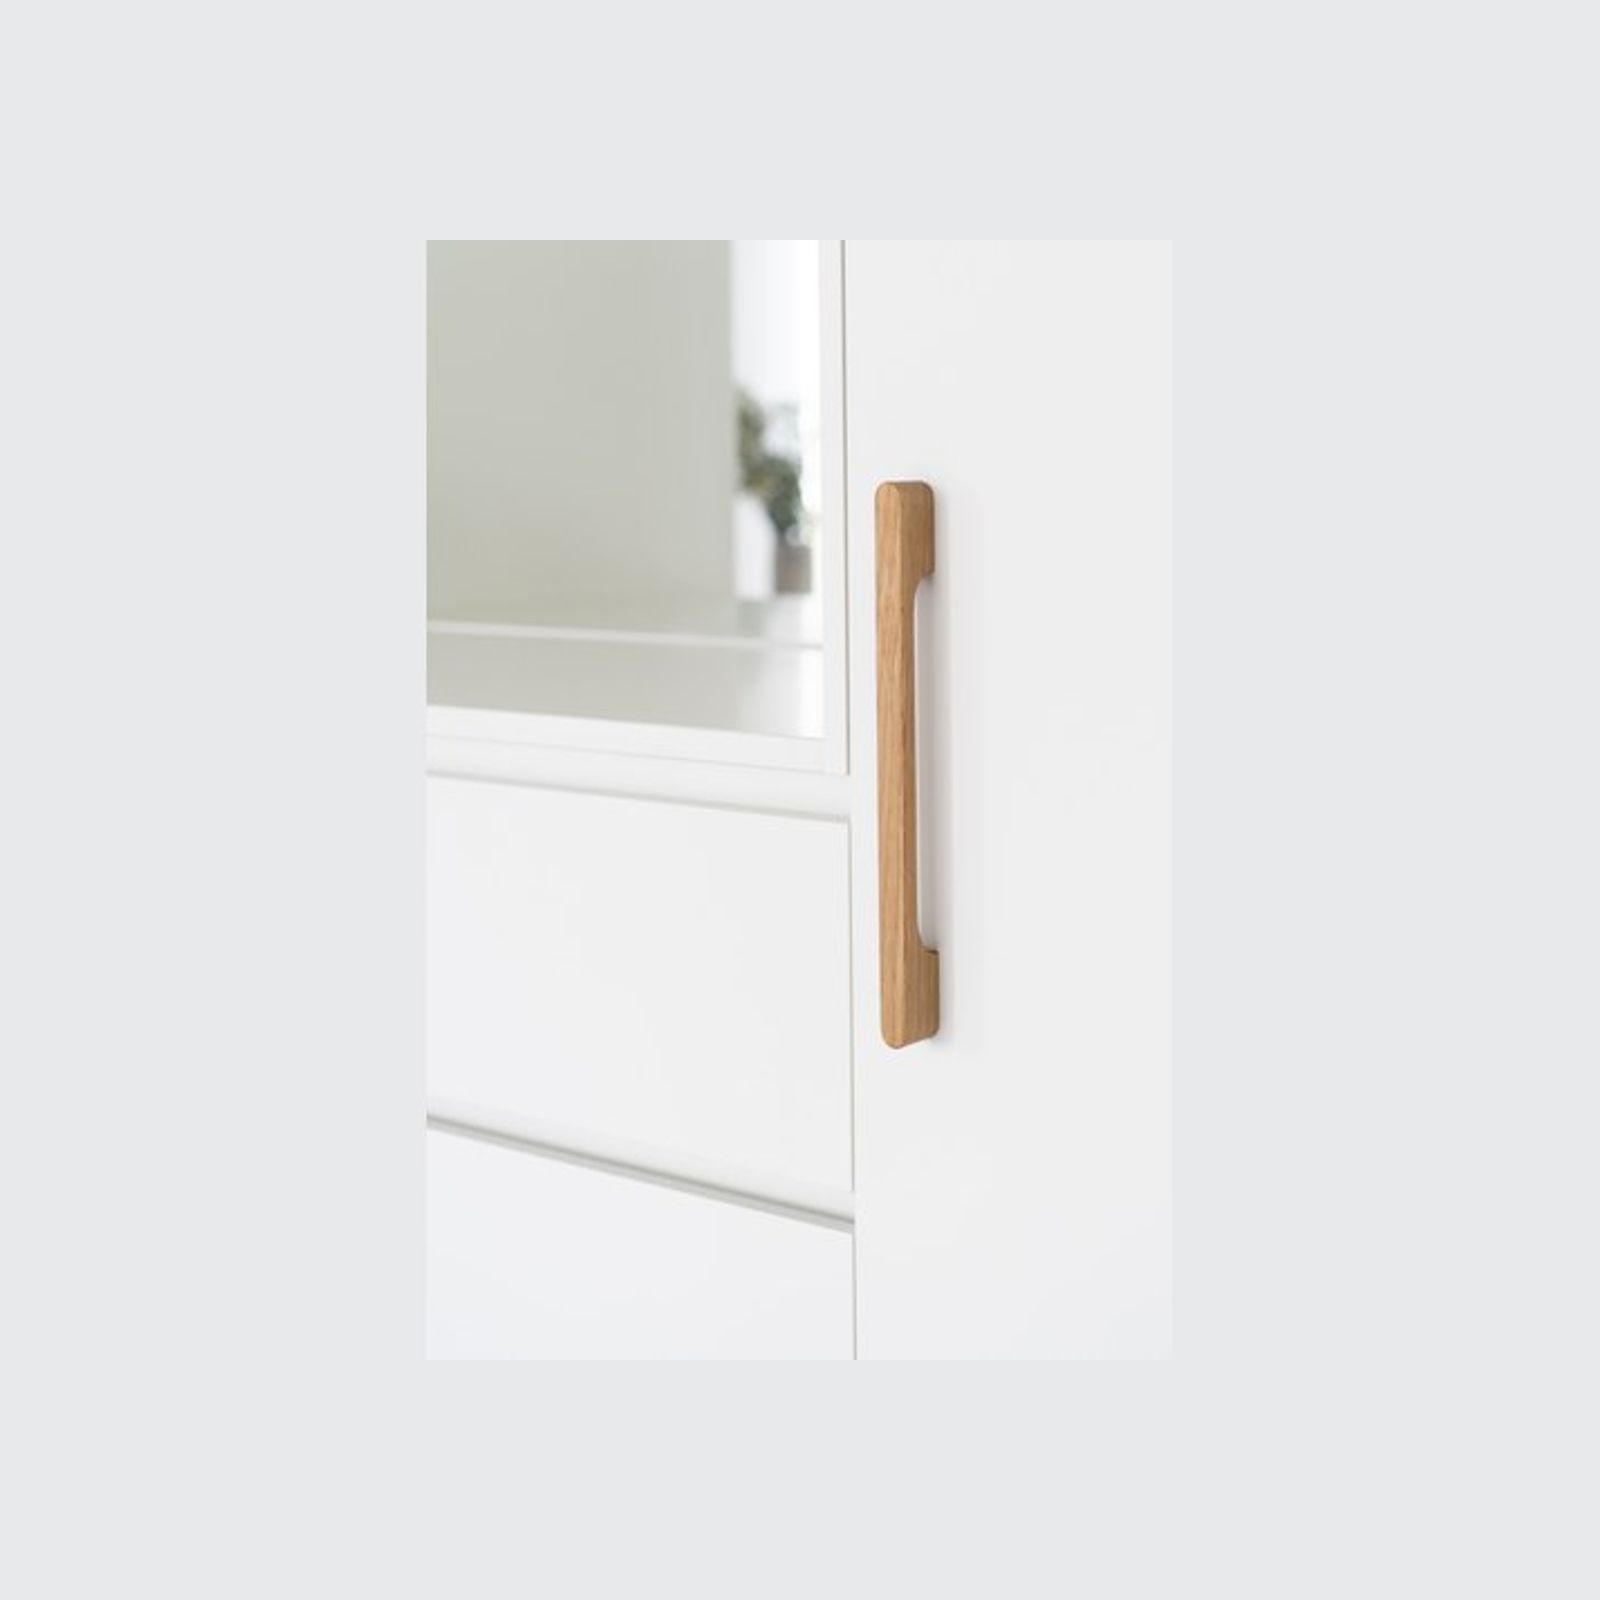
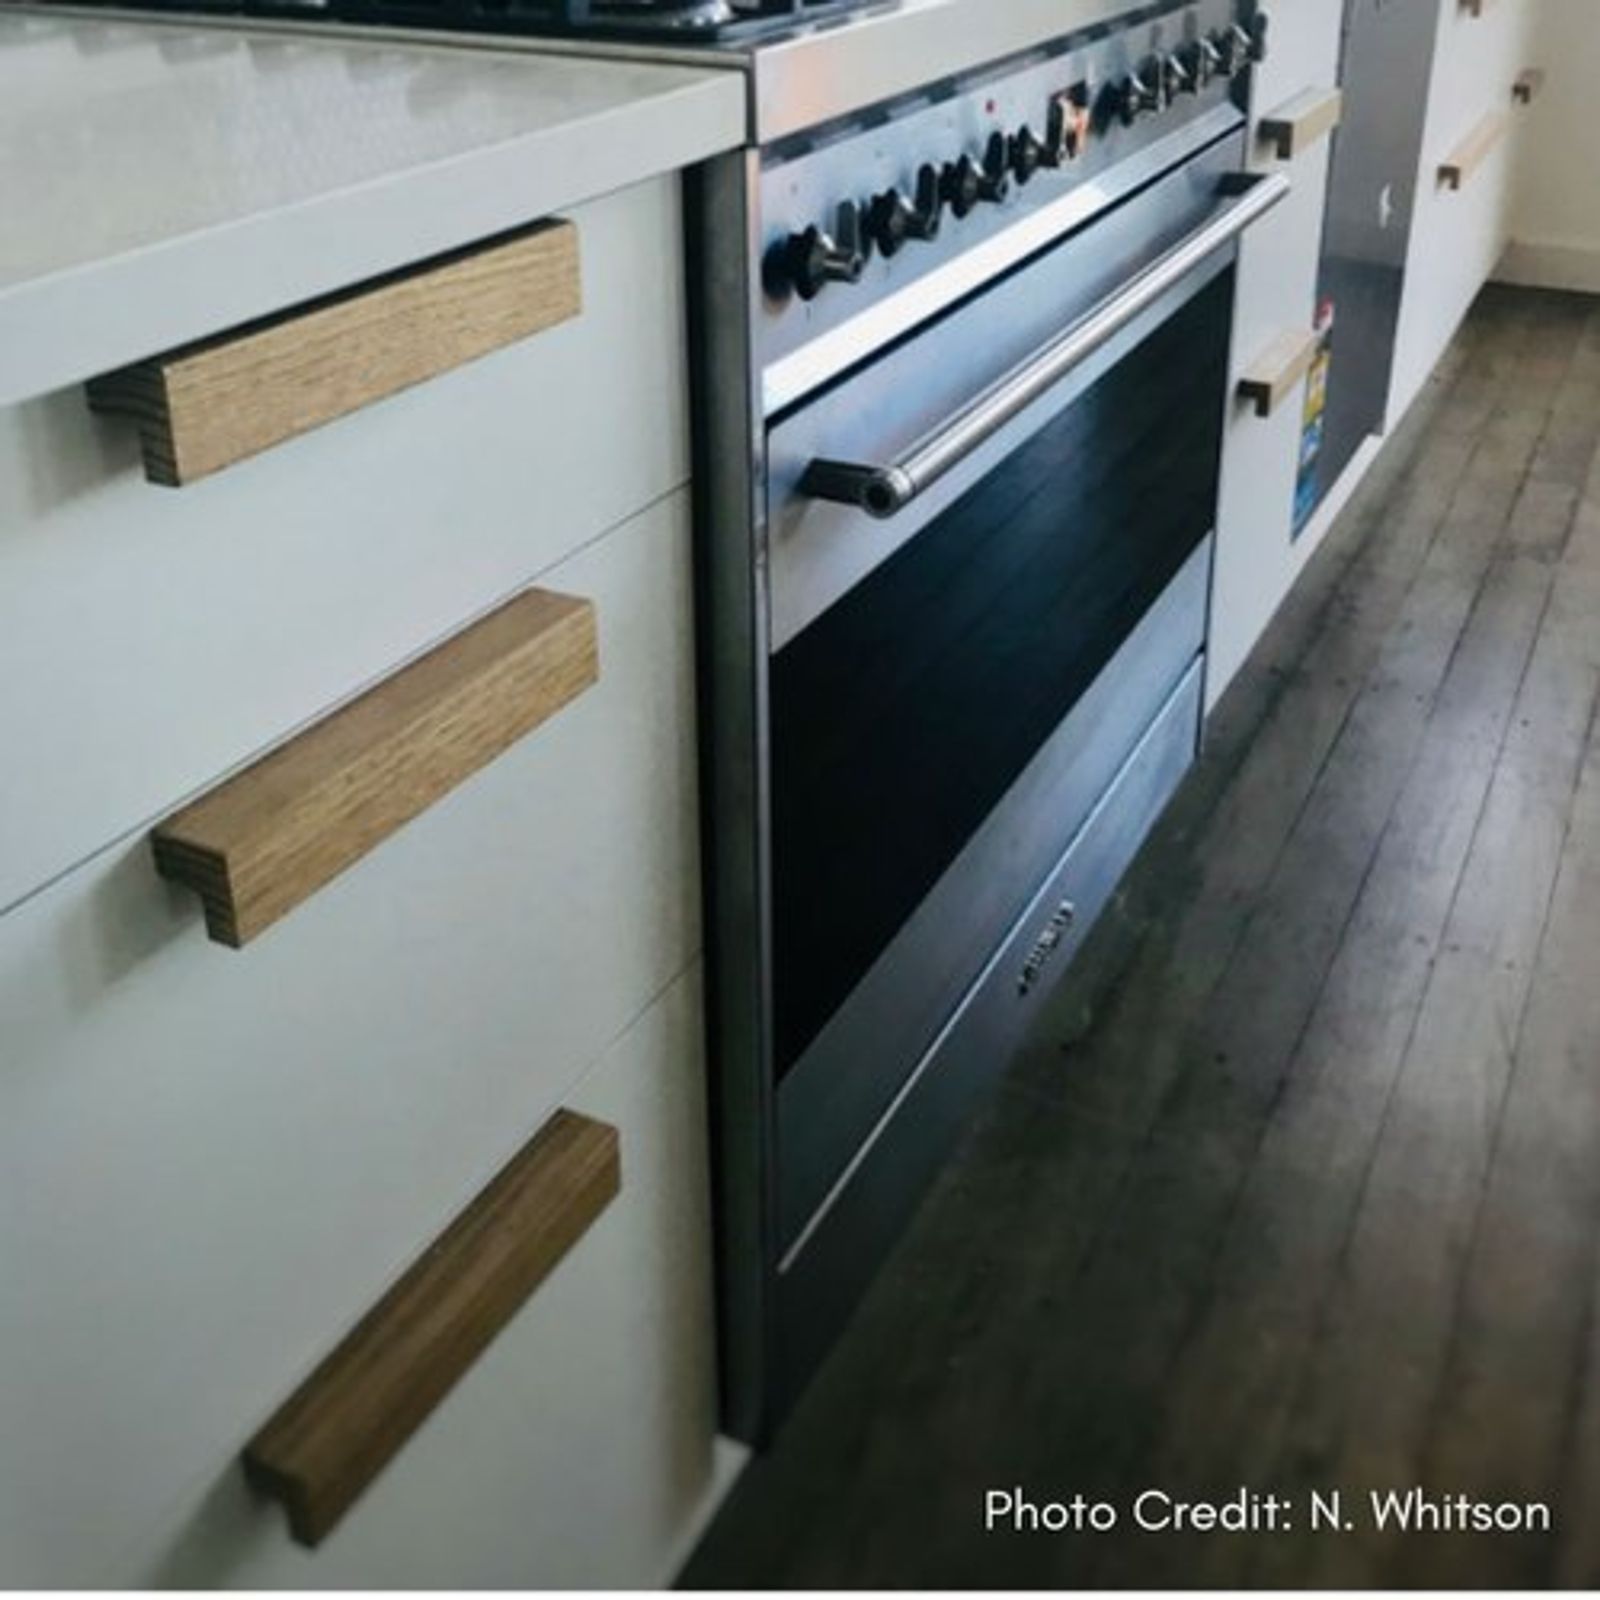
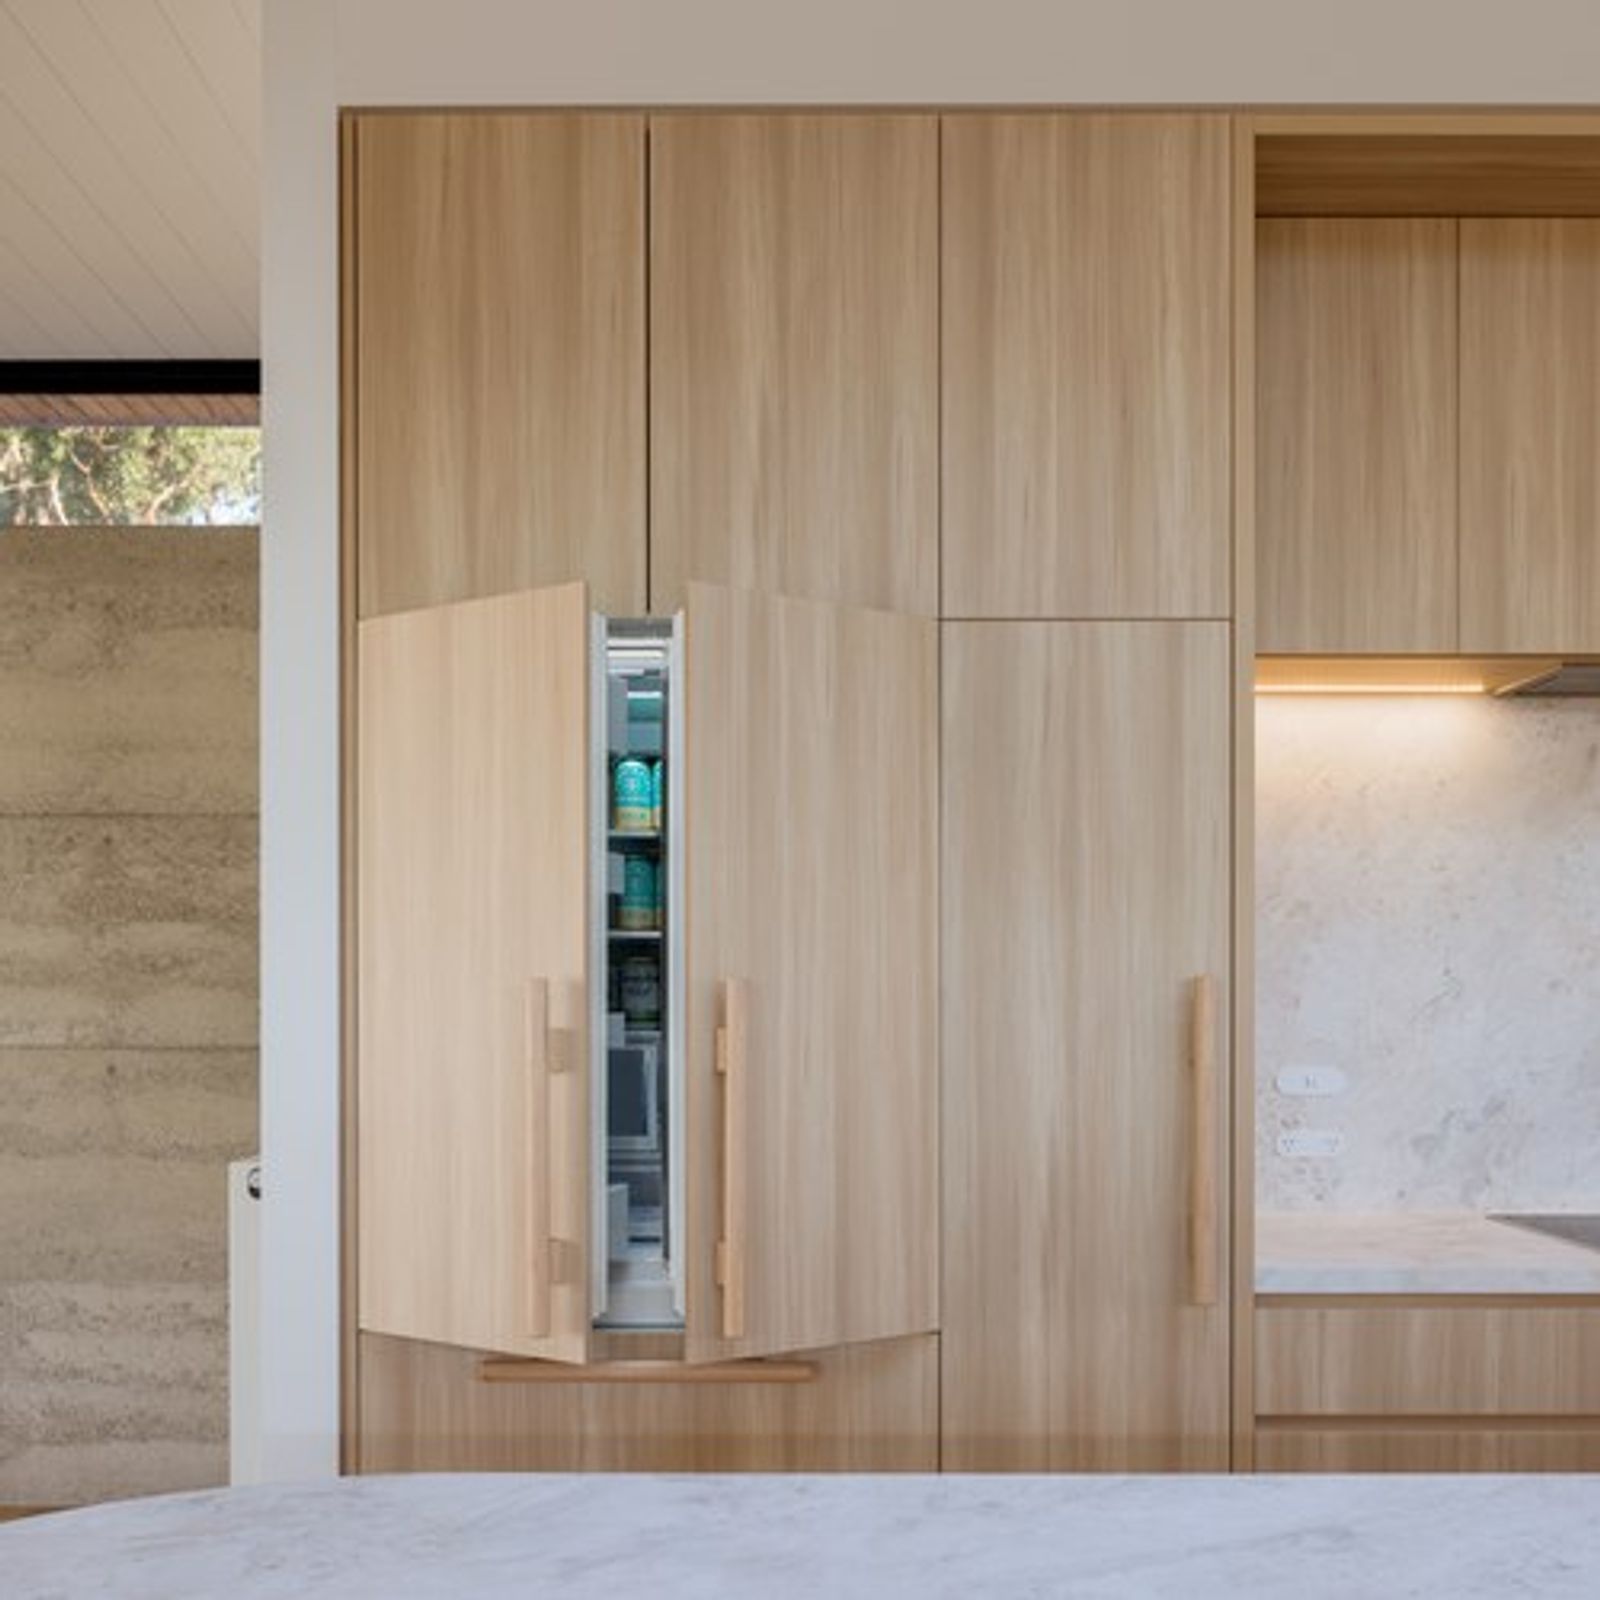
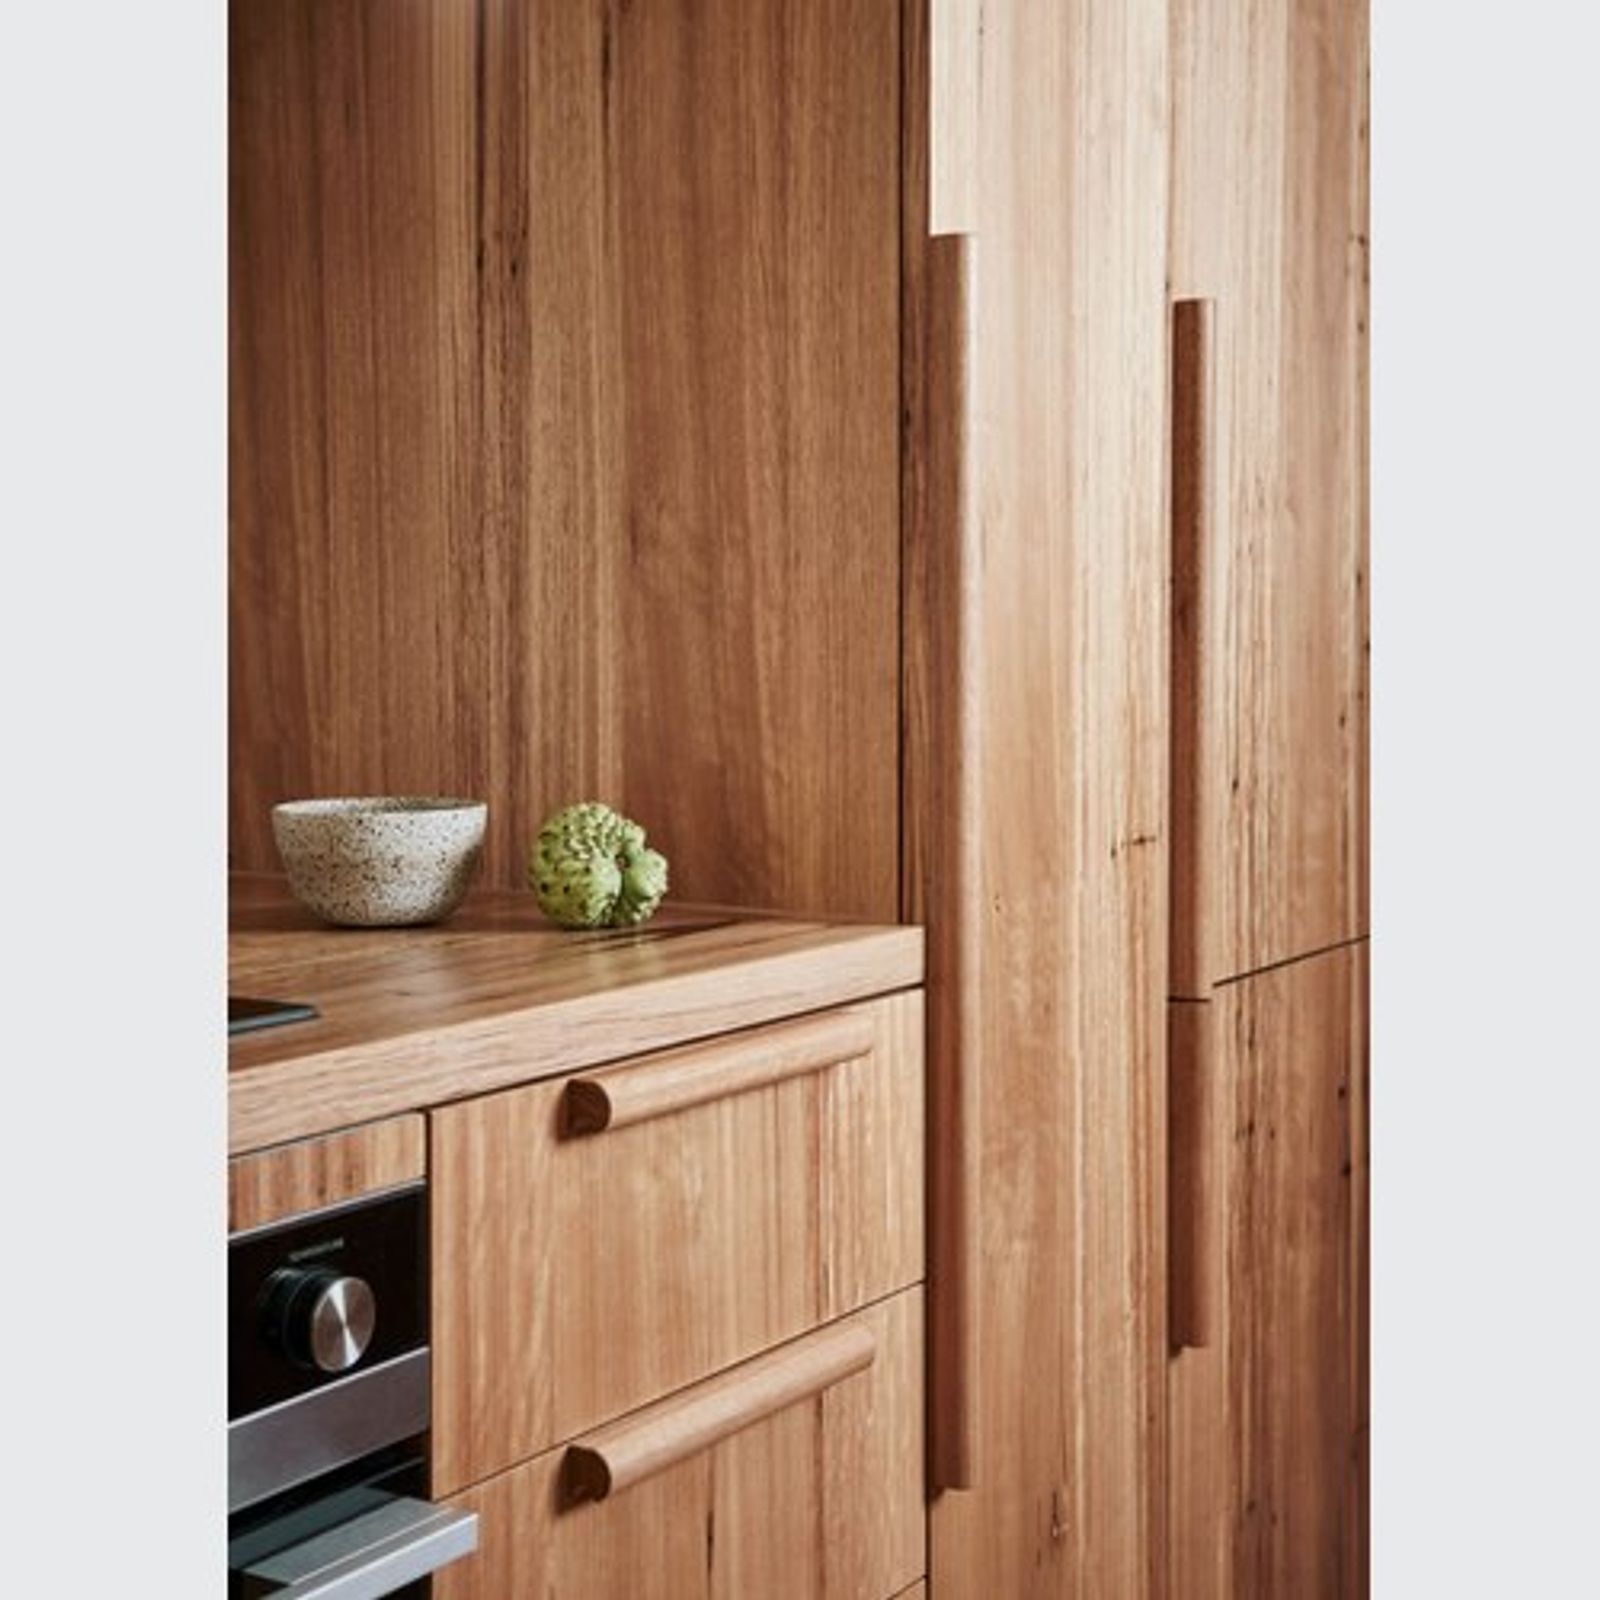
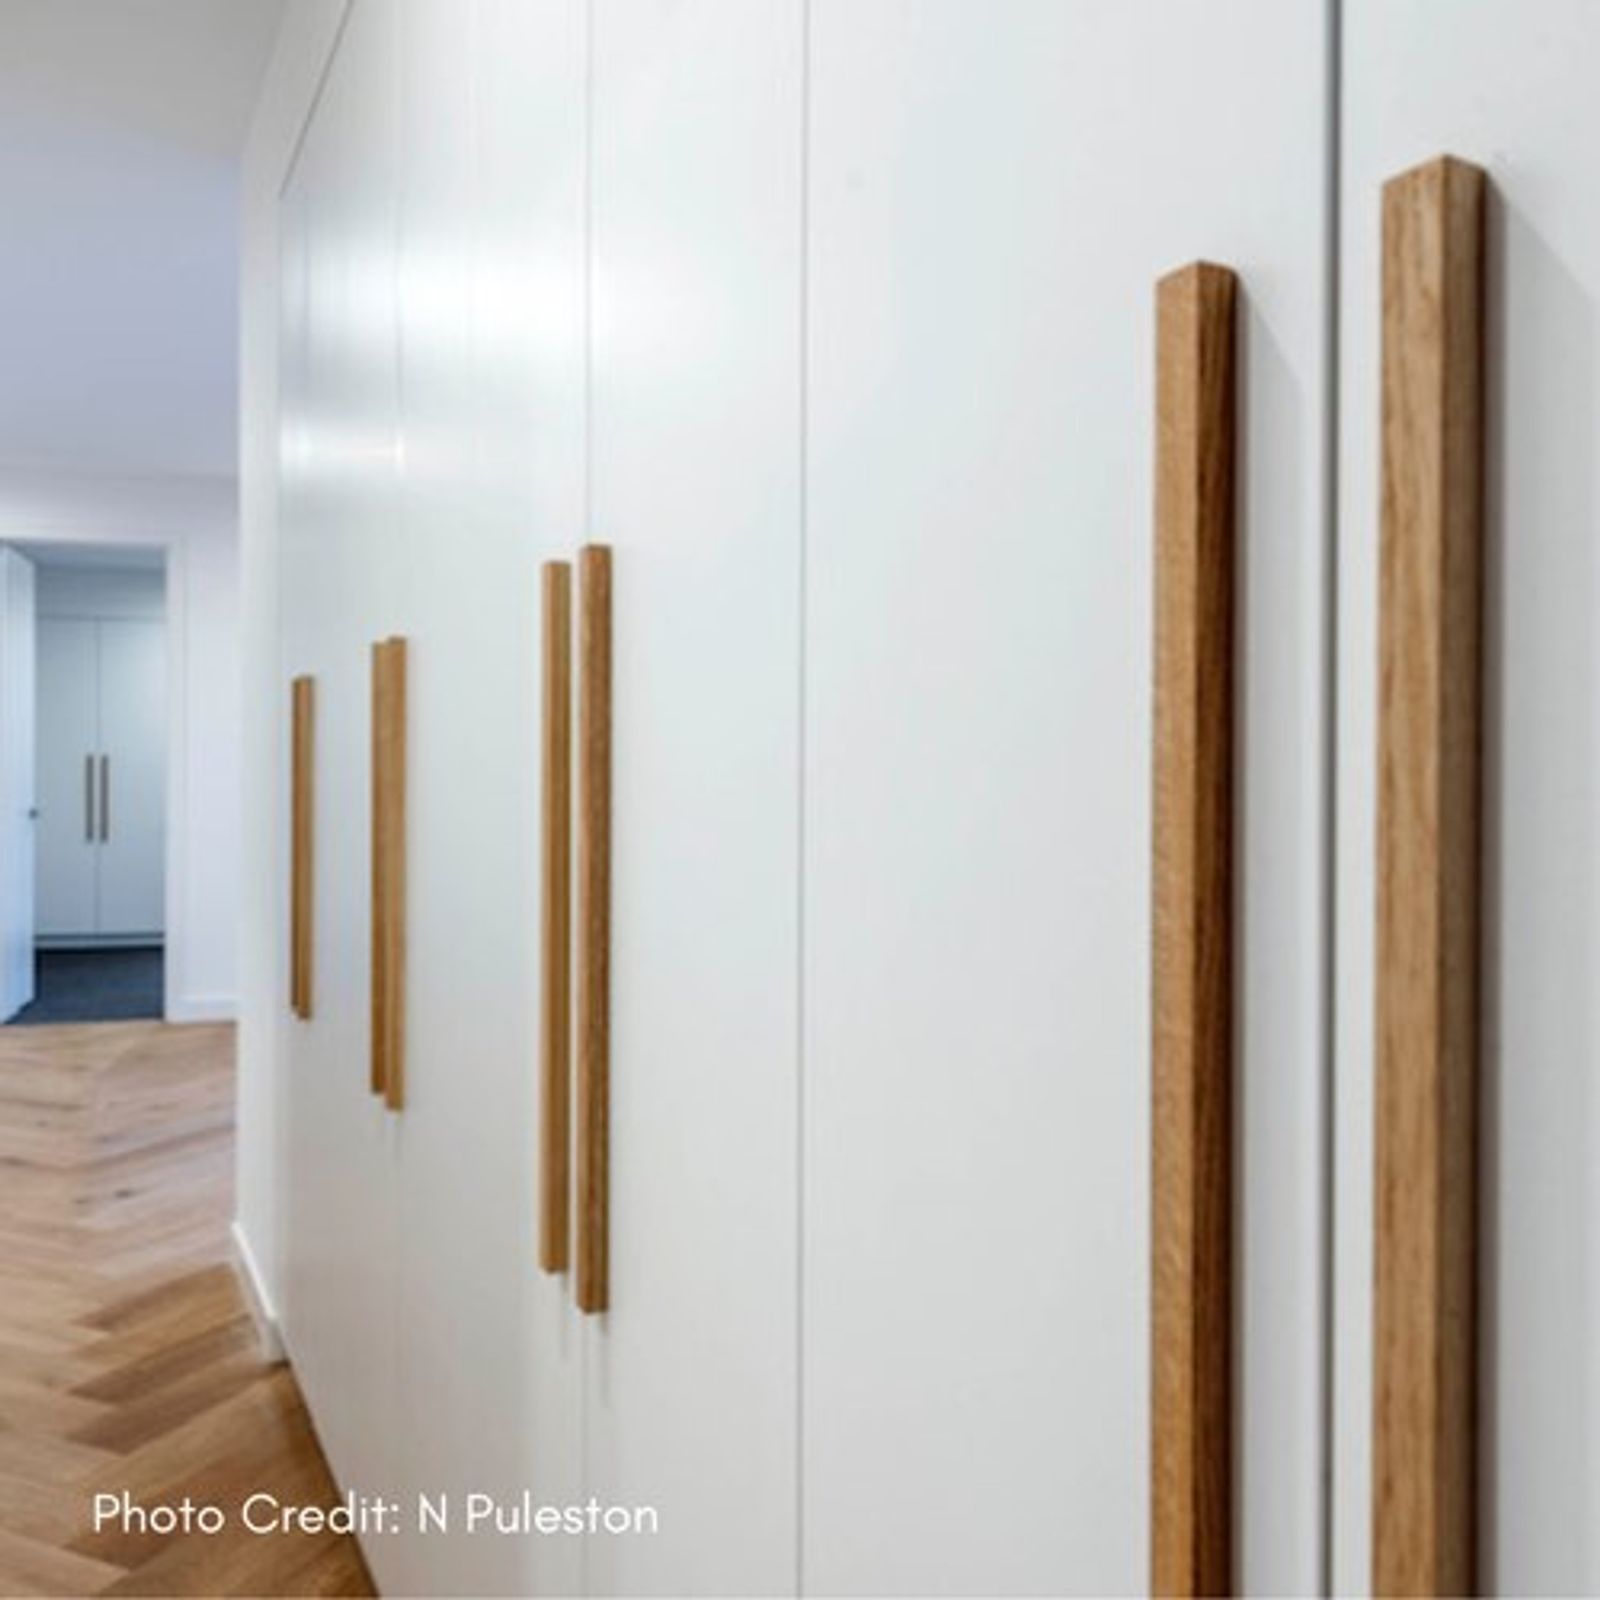
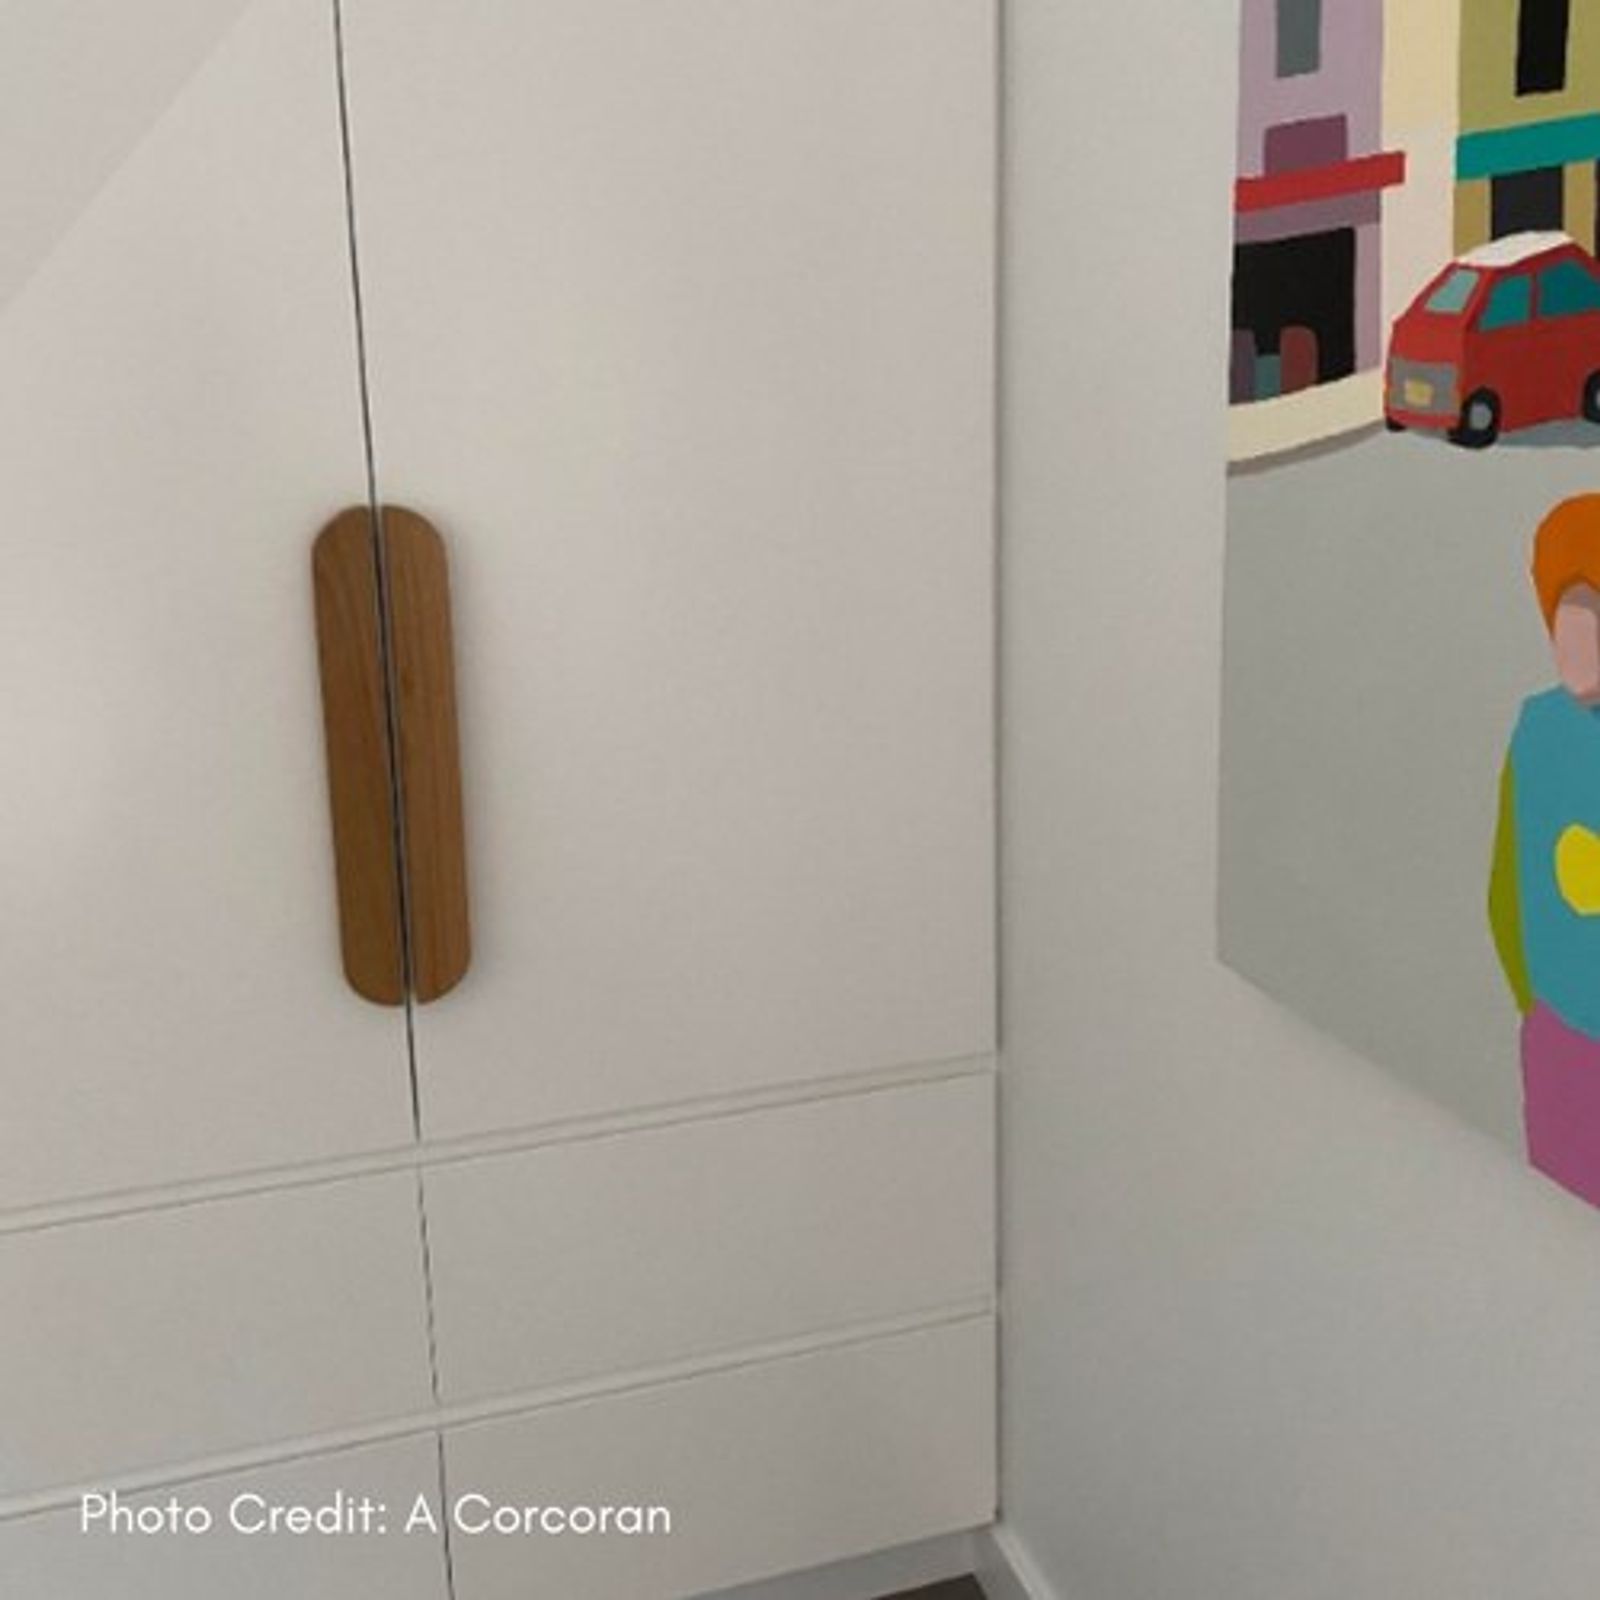
How to Install a Long Front Wooden Door Handle with Button Fix – Easy DIY Tutorial

Installing a stunning wooden door handle not only elevates the look of your door but also adds a touch of natural warmth to your home. In this tutorial, we’ll guide you step-by-step through the process of installing a long front wooden door handle using button fixings. This is perfect for anyone looking to tackle a home improvement project, even if you’re a beginner!
Thanks to Natasha Dickins for sharing the video tutorial that inspired this guide. Let’s get started!
What You’ll Need:
- Wooden door handle with button fixings
- Dowel pins
- Drill
- Screws
- Rubber stoppers
- Keyhole fixings
- Level
- Sealant or varnish (optional)
Step-by-Step Guide to Installing Your Wooden Door Handle
1. Seal the Handles
Before installation, you’ll want to seal your wooden handles to protect them from moisture and daily wear. Apply a coat of wood sealant or varnish and allow it to dry completely. This step isn’t just practical – it also brings out the natural beauty of the wood.
2. Press in the Dowel Pins
Once the handles are sealed and dry, press the dowel pins into the pre-drilled holes on the back of your door handle. These pins will help align the handle with the door, ensuring an accurate fit.
3. Mark the Door with the Dowel Pins
Hold the handle against the door in your desired position. Gently press the dowel pins into the door’s surface to mark the exact locations for drilling. Make sure to check alignment with a level, so your handle sits straight.
4. Drill Starter Holes
Using the marks from the dowel pins, drill small starter holes in the door. This will make it easier to insert the screws later and help avoid splitting the wood.
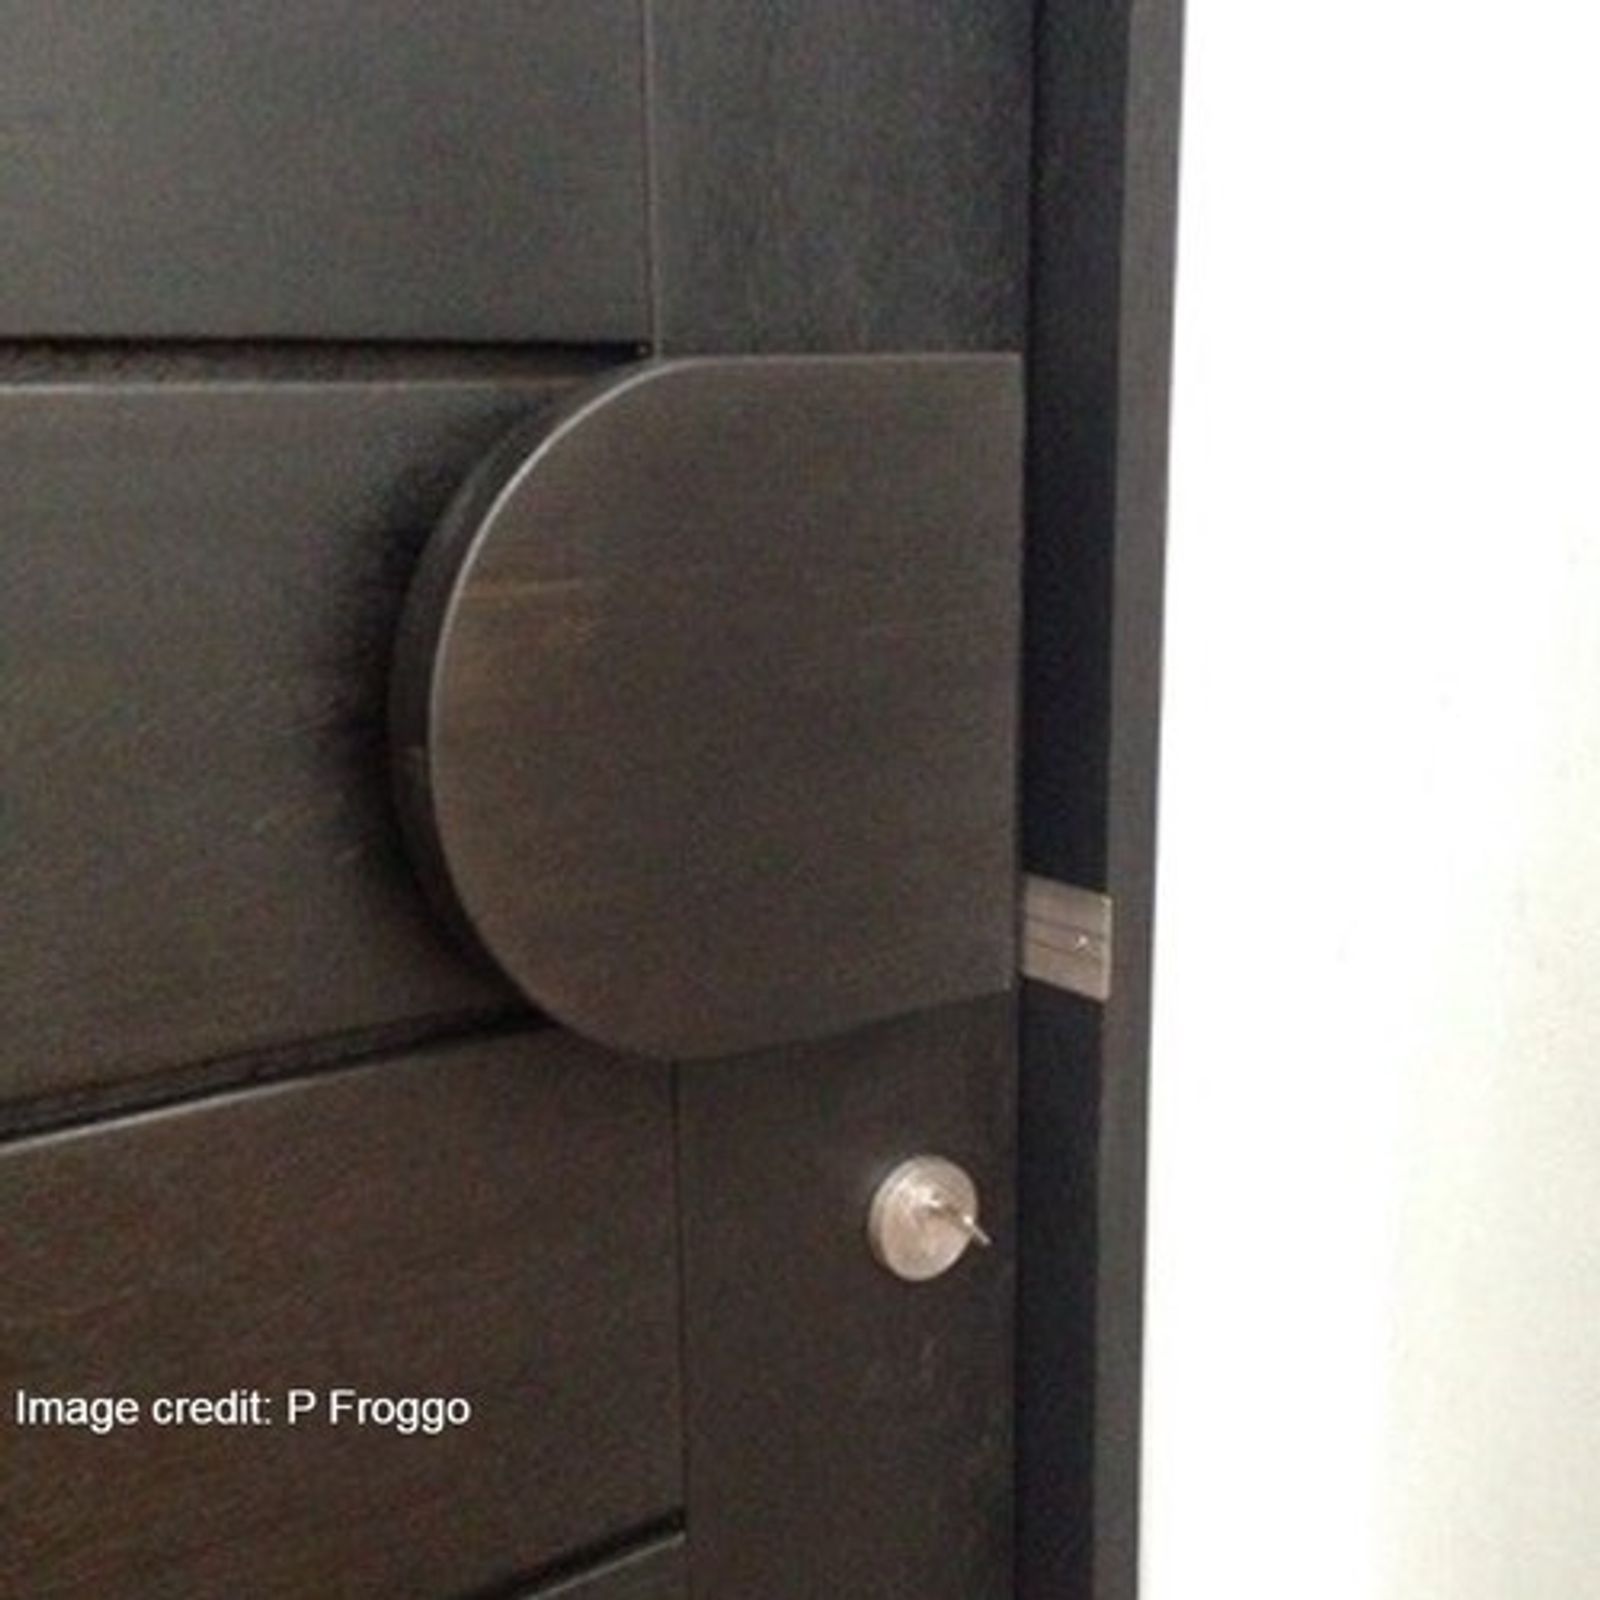
5. Install Screws with Rubber Stoppers
Insert screws into the starter holes, leaving enough space for the keyhole fixings to latch onto. Don’t forget to add rubber stoppers (green buttons) to protect the screws and reduce any movement once the handle is in use.
6. Push Keyhole Fixings onto the Buttons
Carefully align & place the keyhole fixings over the green buttons. Push down on the top of the handle to lock it in place. These fixings will hold the handle securely in place while also allowing it to be easily removed if needed for maintenance.
7. Repeat for the Other Side
For handles that require installation on both sides of the door, repeat these steps to attach the second handle. Double-check alignment with a level, ensuring everything lines up perfectly.
Conclusion
And that’s it! You’ve successfully installed your long wooden door handle with button fixings. Whether you're upgrading your front door or adding a unique touch to your interior, this DIY project is a great way to enhance the style and functionality of your home.
Special thanks to Natasha Dickins for creating and sharing her video to help fellow DIY enthusiasts with this easy installation.
Ready to take the next step? Contact us today for a quote on our beautiful wooden door handles and bring timeless elegance to your doors!