How to Install Wooden Flooring

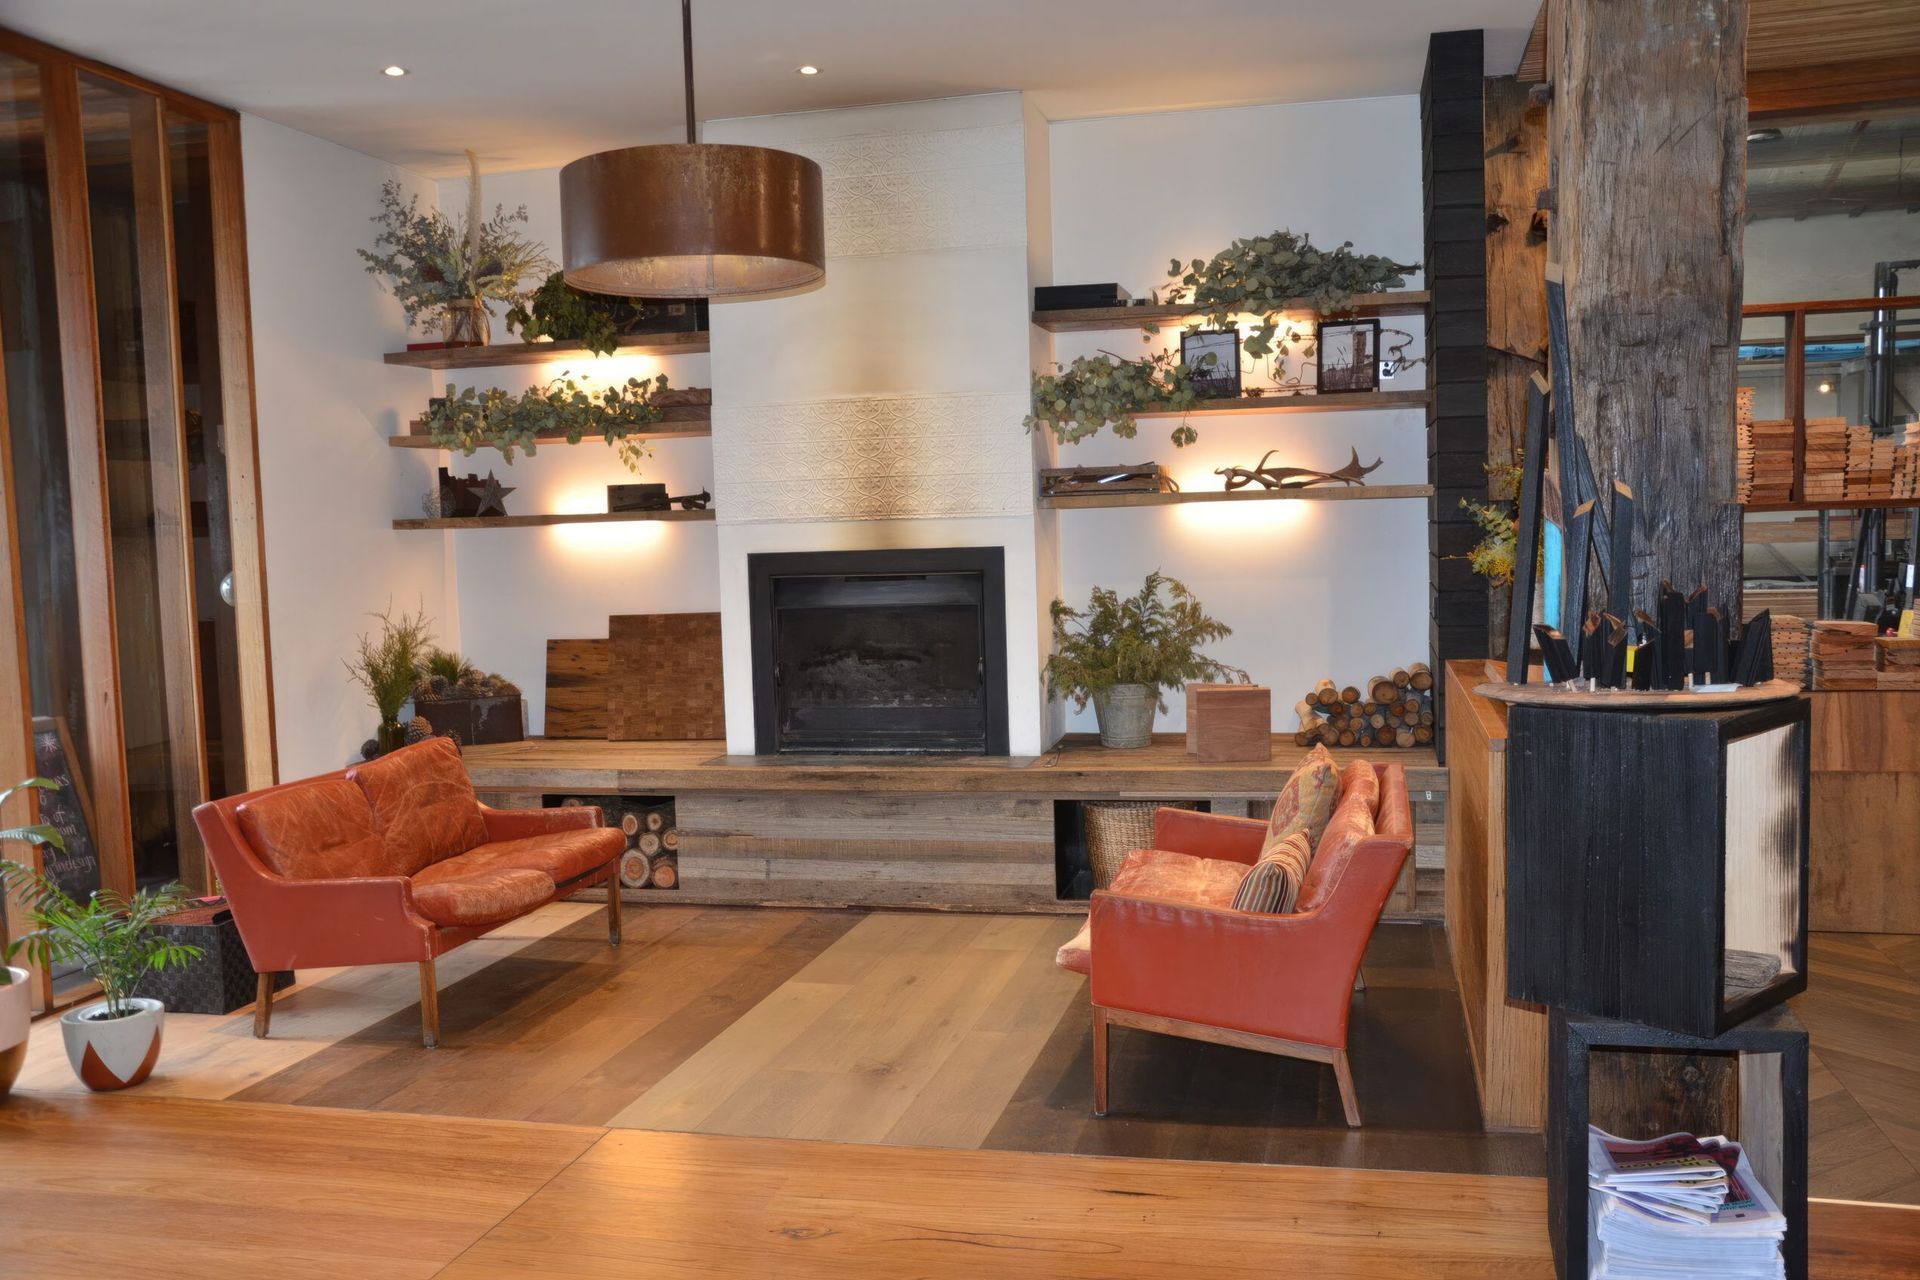
Not only is using timber flooring in Melbourne an aesthetically beautiful addition to your home it is also durable and easy to maintain. For instance, if the flooring becomes scratched, dented or faded you can simply sand it back and re-polish to give it a near new finish. In this blog, we will explore how to install our wooden flooring in a general sense. Please note this is only a guide as depending on the flooring type and fixing required installation may vary. In Melbourne there are many different timber flooring specialists, so it is always best to check what installation is recommended with your supplier.
1. PREPARATION
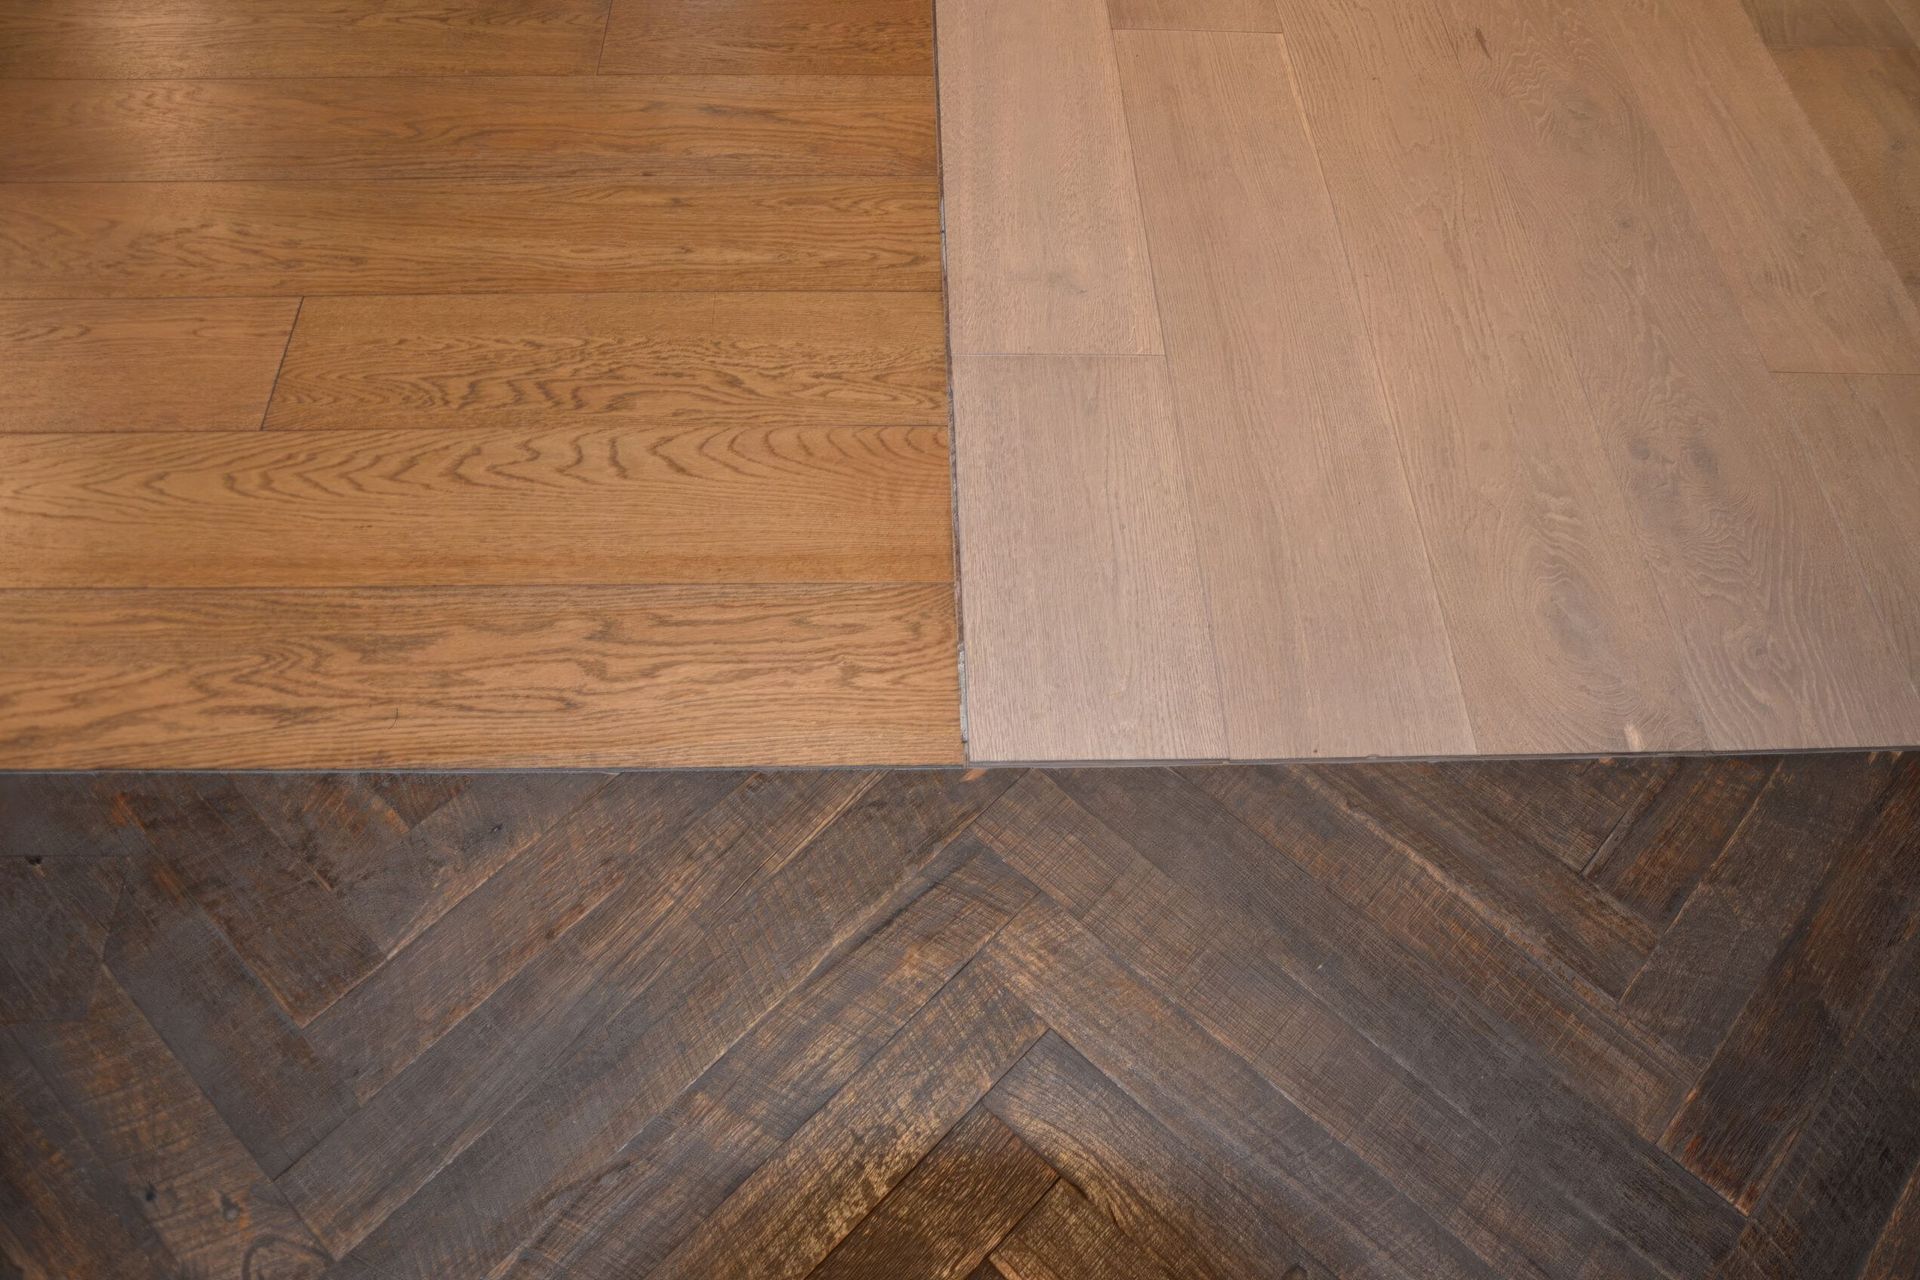
Before starting any installation, it is essential to prepare the surface. Ensure that the subfloor is clean, level, and free of debris. Any unevenness in the subfloor can cause issues during installation and lead to an uneven flooring surface. Also, check the moisture level of the subfloor and ensure that it is within acceptable levels. Moisture can cause the wooden flooring to expand or contract, leading to buckling or warping.
2. ACCLIMATISATION
One of the critical steps in installing wooden flooring is allowing the planks to acclimate to the environment where they will be installed. This means that the planks should be stored in the room where they will be installed for at least 72 hours before installation. This will allow the planks to adjust to the temperature and humidity levels of the room and prevent issues such as cupping or shrinkage.
3. INSTALLATION
There are two main methods for installing wooden flooring: nail-down and glue-down. Nail-down is the most common method and involves nailing the planks to the subfloor. Glue-down involves applying adhesive to the subfloor and gluing the planks to it. The installation method will depend on the type of wooden flooring and subfloor you have.
4. FINISHING
Once the wooden flooring is installed, it is time to finish it. Finishing involves sanding the floor to remove any imperfections and applying a finish such as oil or varnish. The finishing process should be done carefully to ensure a smooth and even surface.
5. MAINTENANCE AFTER INSTALLATION
It is essential to maintain your wooden flooring to ensure its longevity. Regular cleaning and maintenance can help to prevent scratches and dents. Avoid using harsh chemicals or abrasive materials when cleaning the floor, as they can damage the surface. Also, consider using protective pads under furniture legs to prevent damage.
6. HIRING A PROFESSIONAL
While DIY installation of wooden flooring can be a great option, it is essential to understand the complexities of the installation process. Hiring a professional timber flooring specialist in Melbourne can ensure that the installation is done correctly, and any issues are addressed promptly. A professional installation can also provide you with peace of mind, knowing that your flooring is installed correctly and will last for years to come. In conclusion, installing wooden flooring can be a great way to enhance the aesthetics and durability of your home. It is essential to prepare the surface, allow the planks to acclimate, and choose the right installation method for your subfloor. Finishing and regular maintenance can help to ensure the longevity of your wooden flooring. If you are unsure about installing the flooring yourself, consider hiring a professional timber flooring specialist in Melbourne to ensure the job is done correctly. With proper installation and maintenance, your wooden flooring can provide you with a beautiful and durable flooring solution for years to come.