A Kiwi Guide to DIY Artificial Grass Installation: From Mud Patch to Lush Lawn

A Kiwi Guide to DIY Artificial Grass Installation: From Mud Patch to Lush Lawn
Kia ora, DIY enthusiasts! Ready to swap that tired old lawn With a stunning synthetic lawn? You’re in the right spot. This comprehensive guide is your key to creating a lush green paradise in your own backyard. Whether you’re a seasoned DIYer or just starting out, we’ve got you covered with step-by-step instructions that’ll make laying synthetic grass a breeze. So, grab a cuppa, roll up your sleeves, and let’s dive into turning that unsightly area into the envy of the neighbourhood.
Step 1: Sizing It Up – Measure and Plan
Begin by measuring your lawn area with precision, treating it like a grand adventure. Note down every nook, cranny, and quirky bit. This will help you fit the synthetic grass just right. If you find yourself puzzled over the layout or aiming to minimise waste, give the Eco Lawnteam a bell – we’re all ears to help out.
Step 2: Gear Up – The Ultimate DIY Kit
Prepare to become a DIY legend by assembling your toolkit:
- A turf cutter or a sturdy shovel (to ditch the old grass)
- Timber or Steel Edging (for those fancy lawn borders)
- Screws, nails, or pegs (to secure the edges)
- A sharp utility knife (for precise turf cutting)
- Joining tape (to stitch your turf together)
- Geotek Cloth (your best mate against weeds and wobbly ground)
- The right turf sand (to keep your grass secure)
- A compactor or a hand tamp (to flatten your turf’s bed like a pancake)
Prep these and you’re halfway to victory.
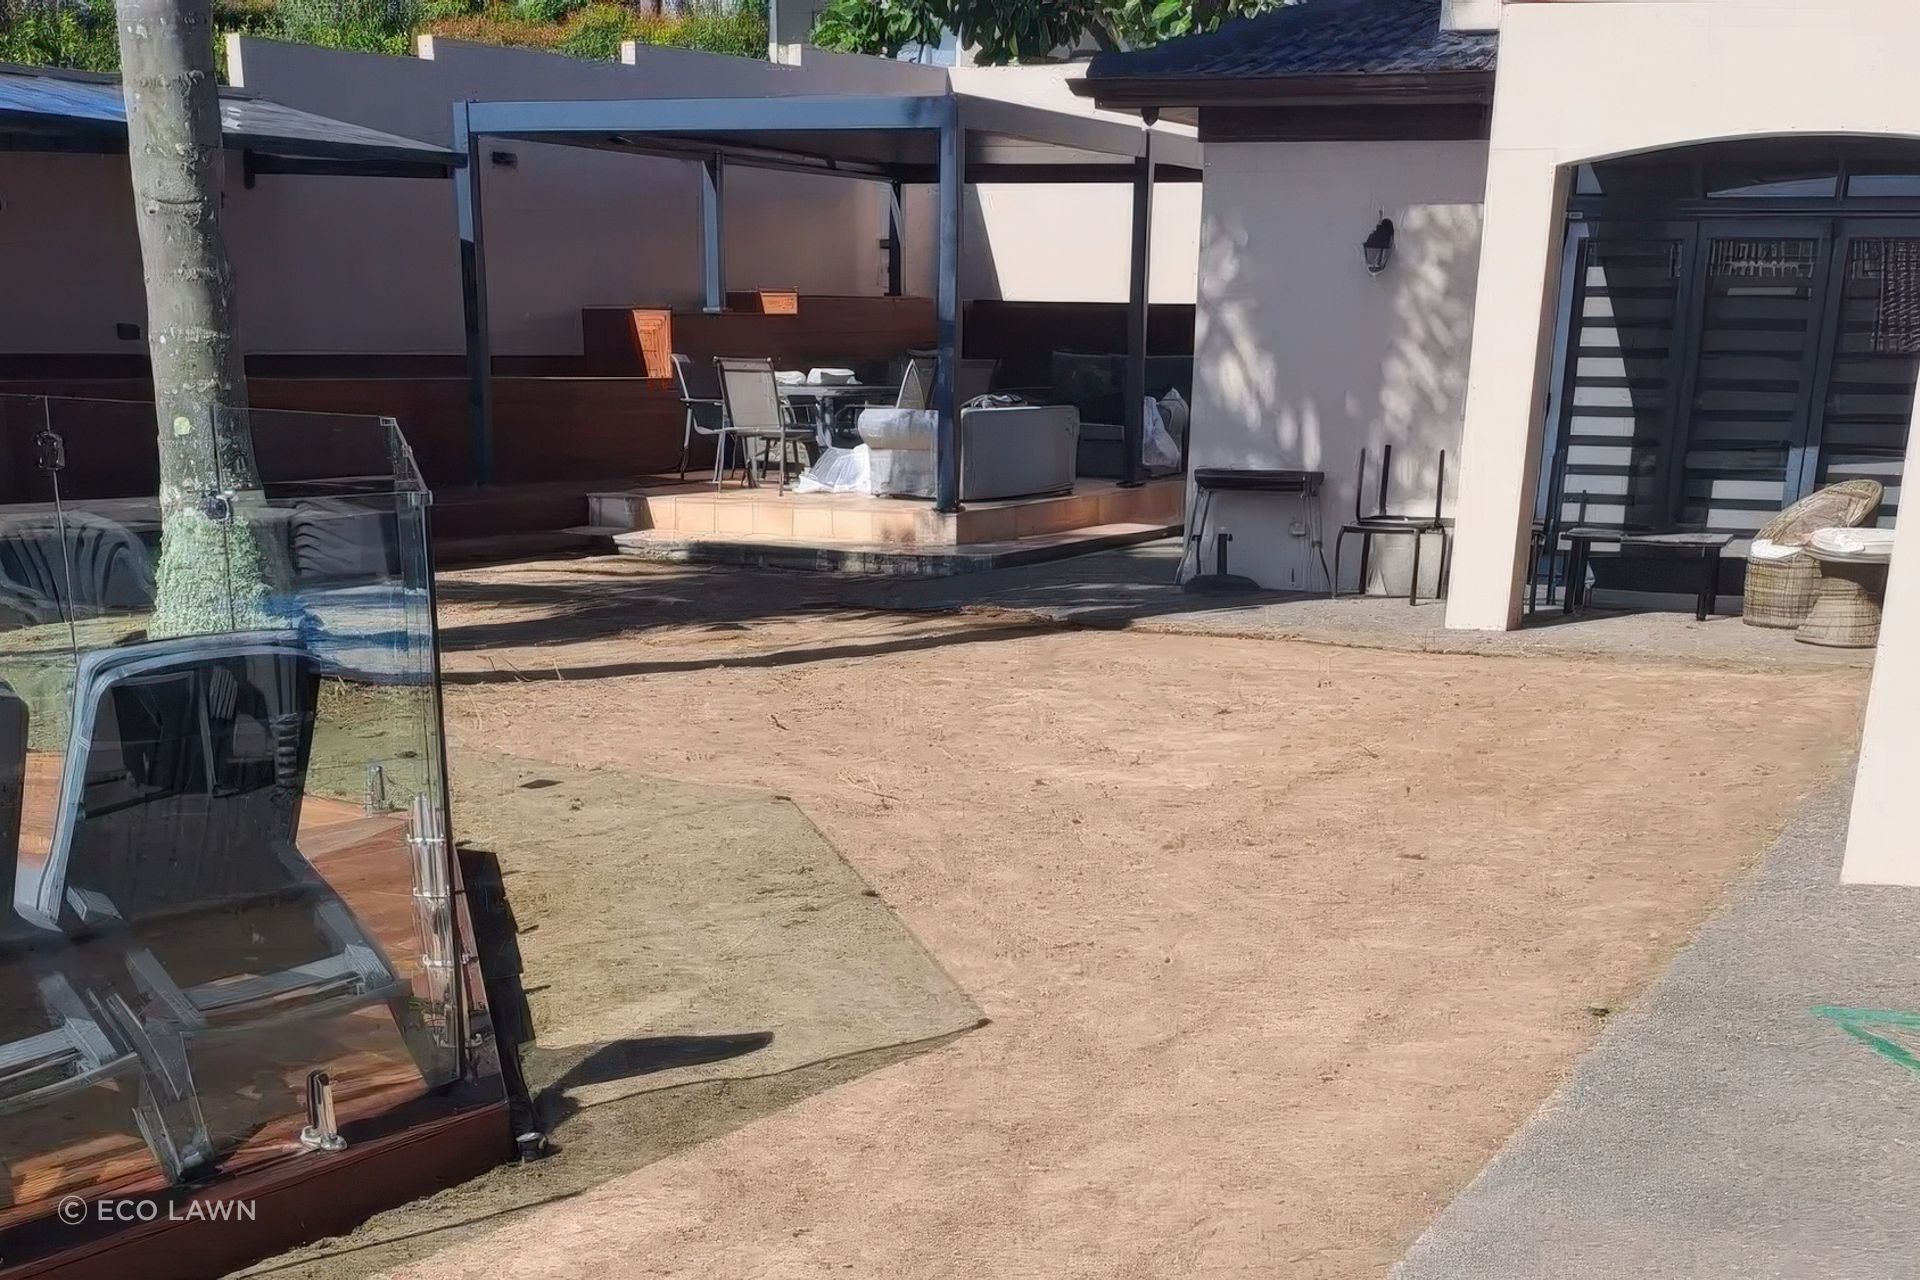
Step 3: Clear the Way – The Great Grass Eviction
Roll up your sleeves and evict the old lawn. Dig down 70 – 90 mm, showing no mercy to grass and roots. Toss out any organic debris – you don’t want lumps under your new turf. Arm yourself with a shovel, rake, and wheelbarrow – they’re your trusty sidekicks for this mission.
Step 4: Weed Out the Troubles – Laying the Geotek Cloth
After digging, lay the Geotek cloth over the area, covering it like a well-kept secret. This cloth acts as your shield against sneaky weeds and stabilises the ground. Pin it down at the edges or use U-Pins or nails to keep it in place.
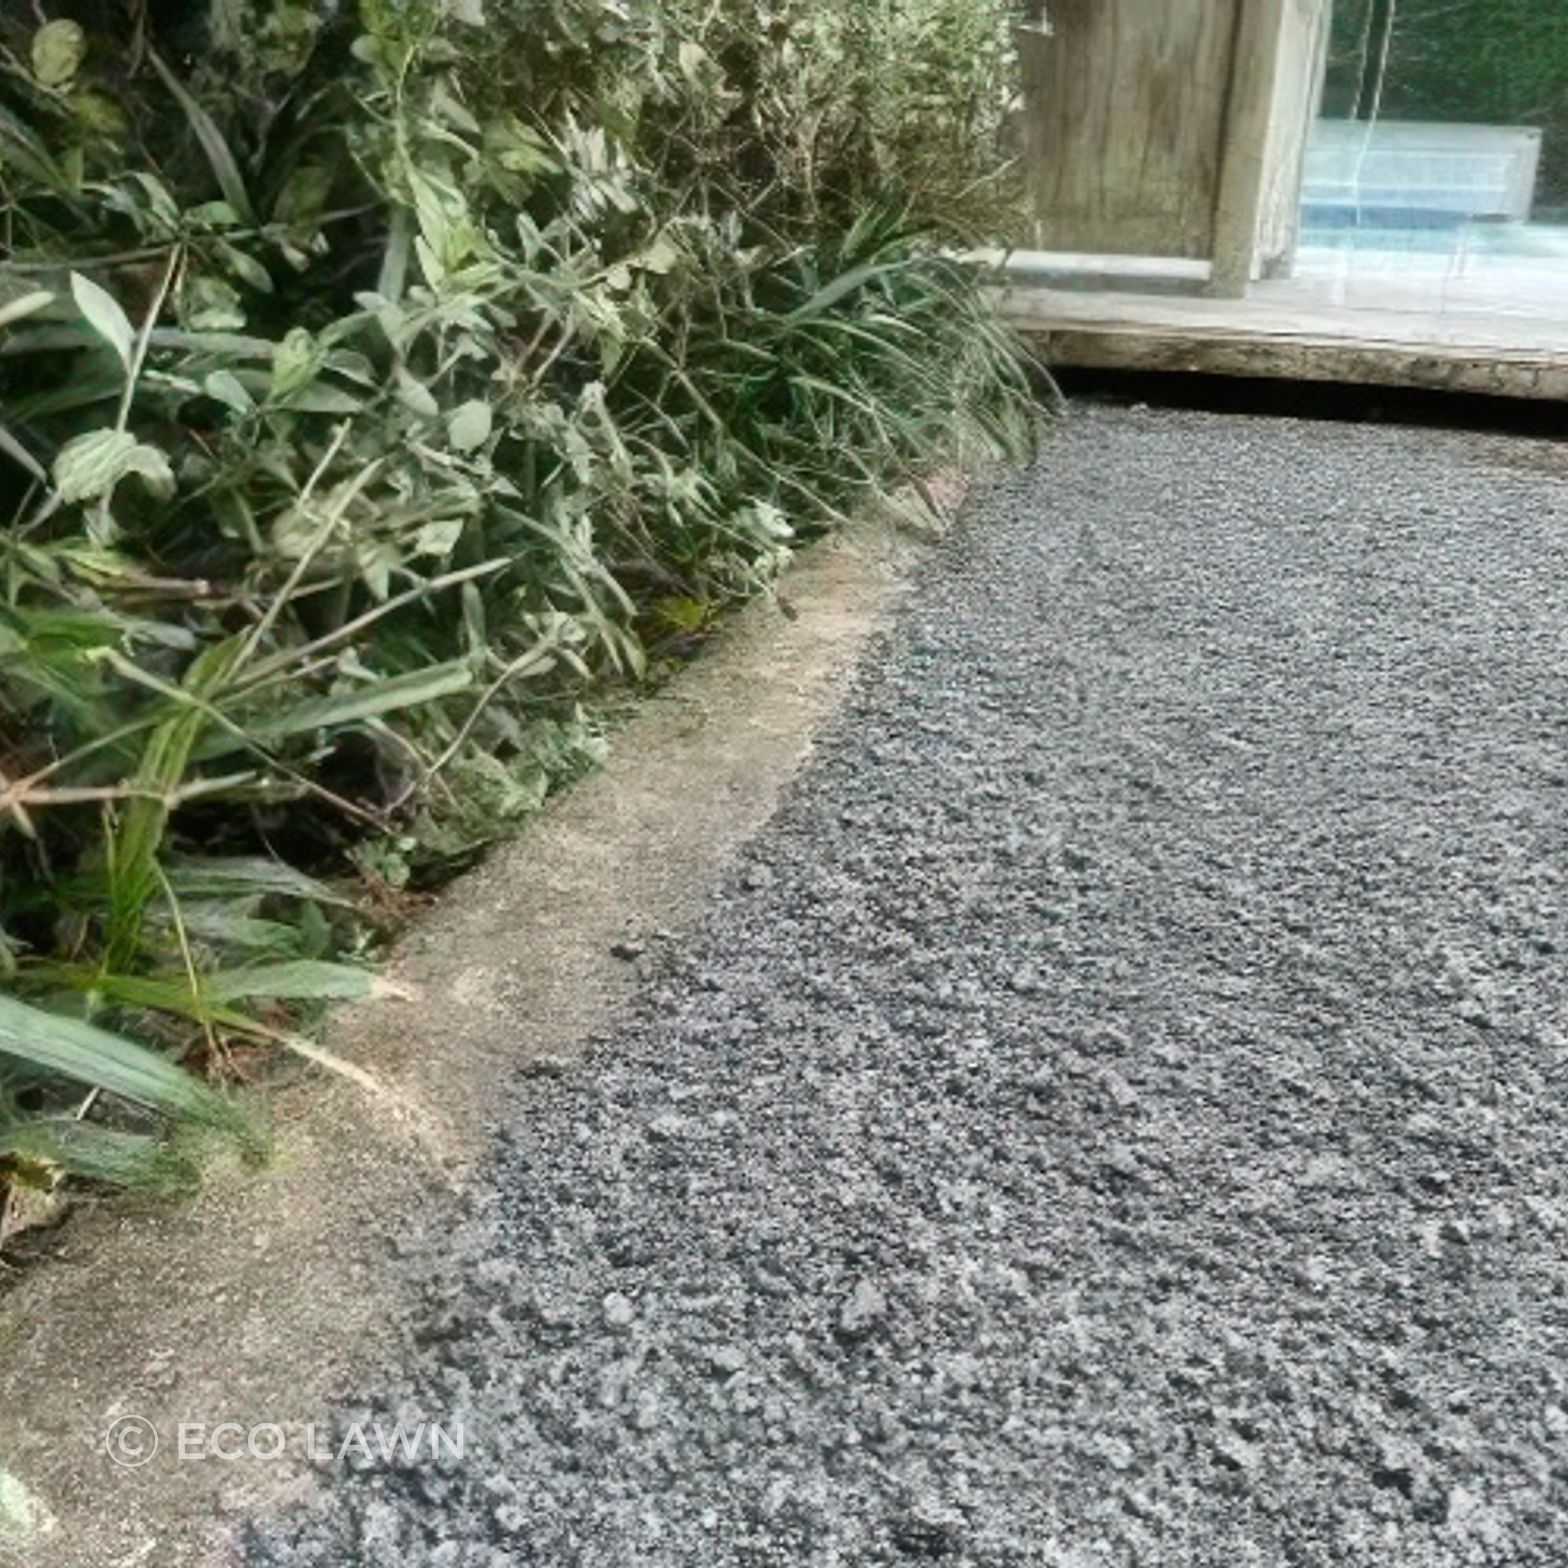
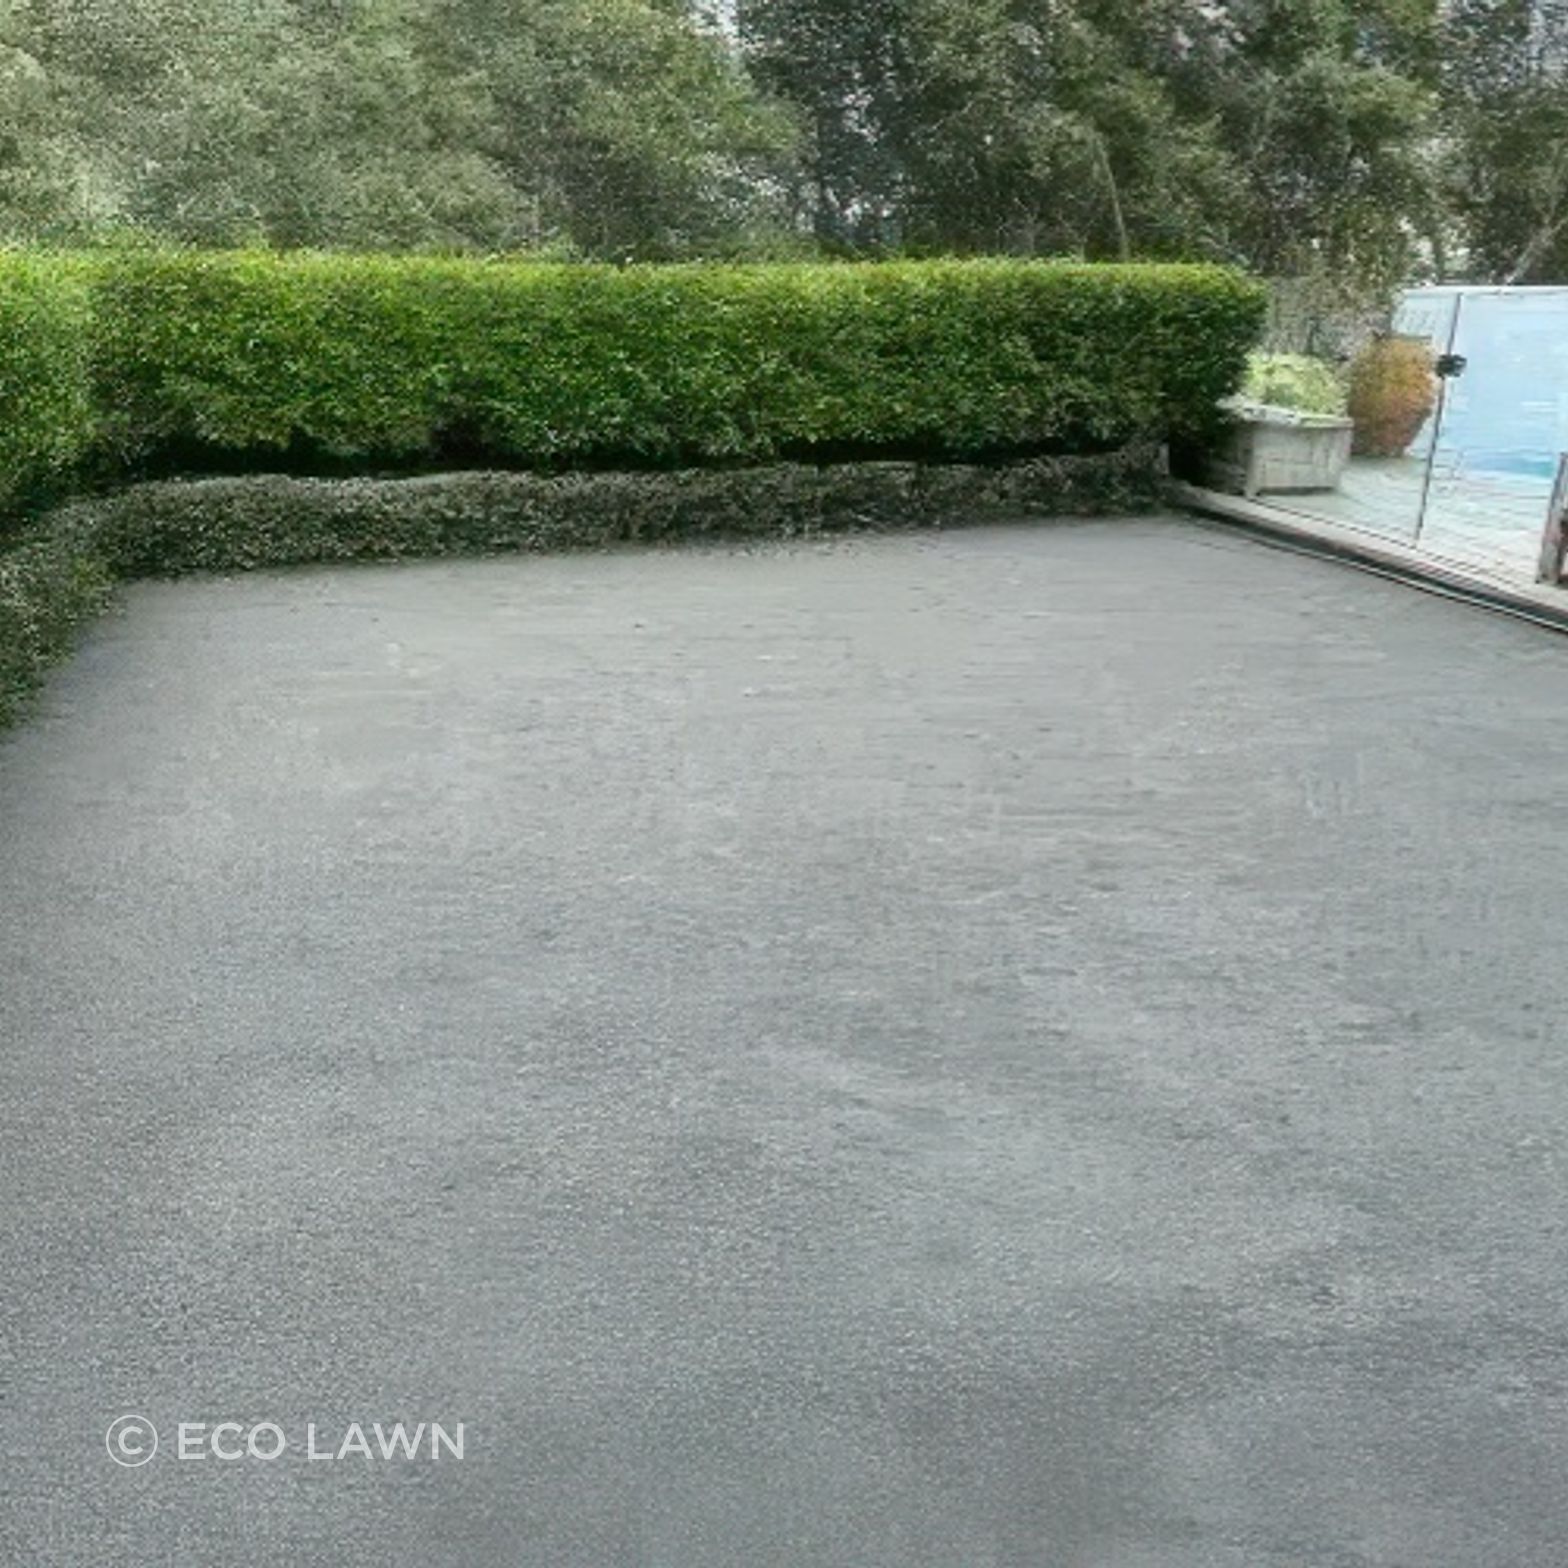
Step 5: Build a Solid Base – The Foundation Saga
Now, build a flat-as-a-pancake base for your artificial grass. Start by chucking down a layer of GAP7 aggregate. Remember, it shrinks about 20% when compacted, so plan accordingly. Level it out, give it a good hosing, and compact it down – either with a vibrating plate or a good old hand tamp. This base will keep your lawn steady and help with drainage. You’ll need your rake, shovel, wheelbarrow, hose, and compactor for this bit. Keep the base smooth for the best results.

Step 6: Roll Out the Green Carpet – The Turf Tango
Now for the fun part – laying down your synthetic grass! Make sure all your grass pieces are facing the same direction to keep them looking sharp. Use your newly purchased turf and a bit of muscle to position it correctly. Pro tip: Blades facing towards you give the best appearance. Brush it up for a pristine look from every angle.
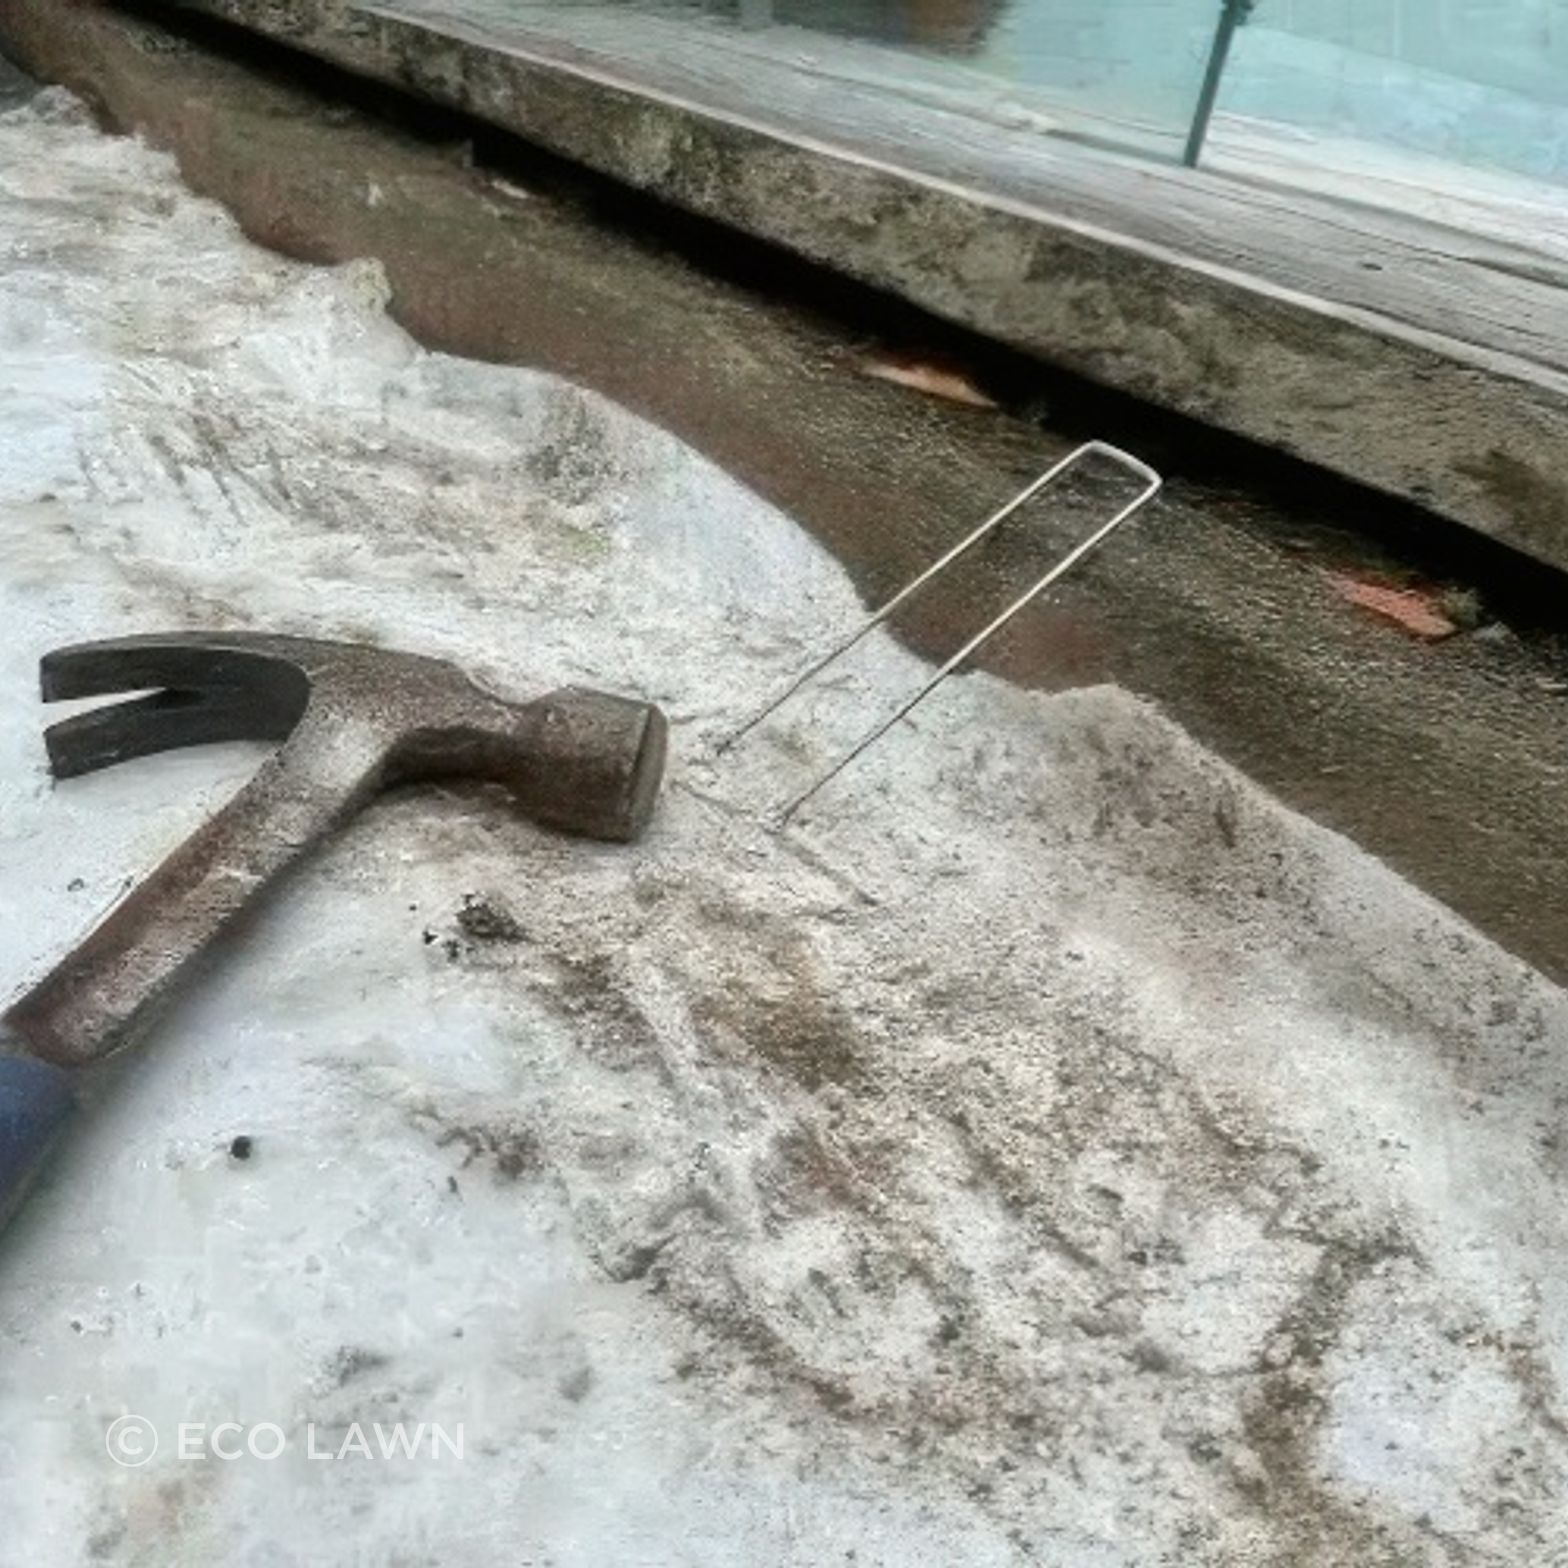
Step 7: Joining the Dots – Mastering the Seam
Bring turf edges close together, ensuring a perfect alignment., Fold back the turf, whack down your joining tape (sticky side up), press the grass back down onto the tape and use a bit of elbow grease to secure it. Secure the join with nails or U-pins every 200mm for that ‘can’t-see-the-join’ magic. You’ll need your joining tape, hammer, and nails/U-pins handy for this crafty step. To get that real grass look, your joins need to be spot on.
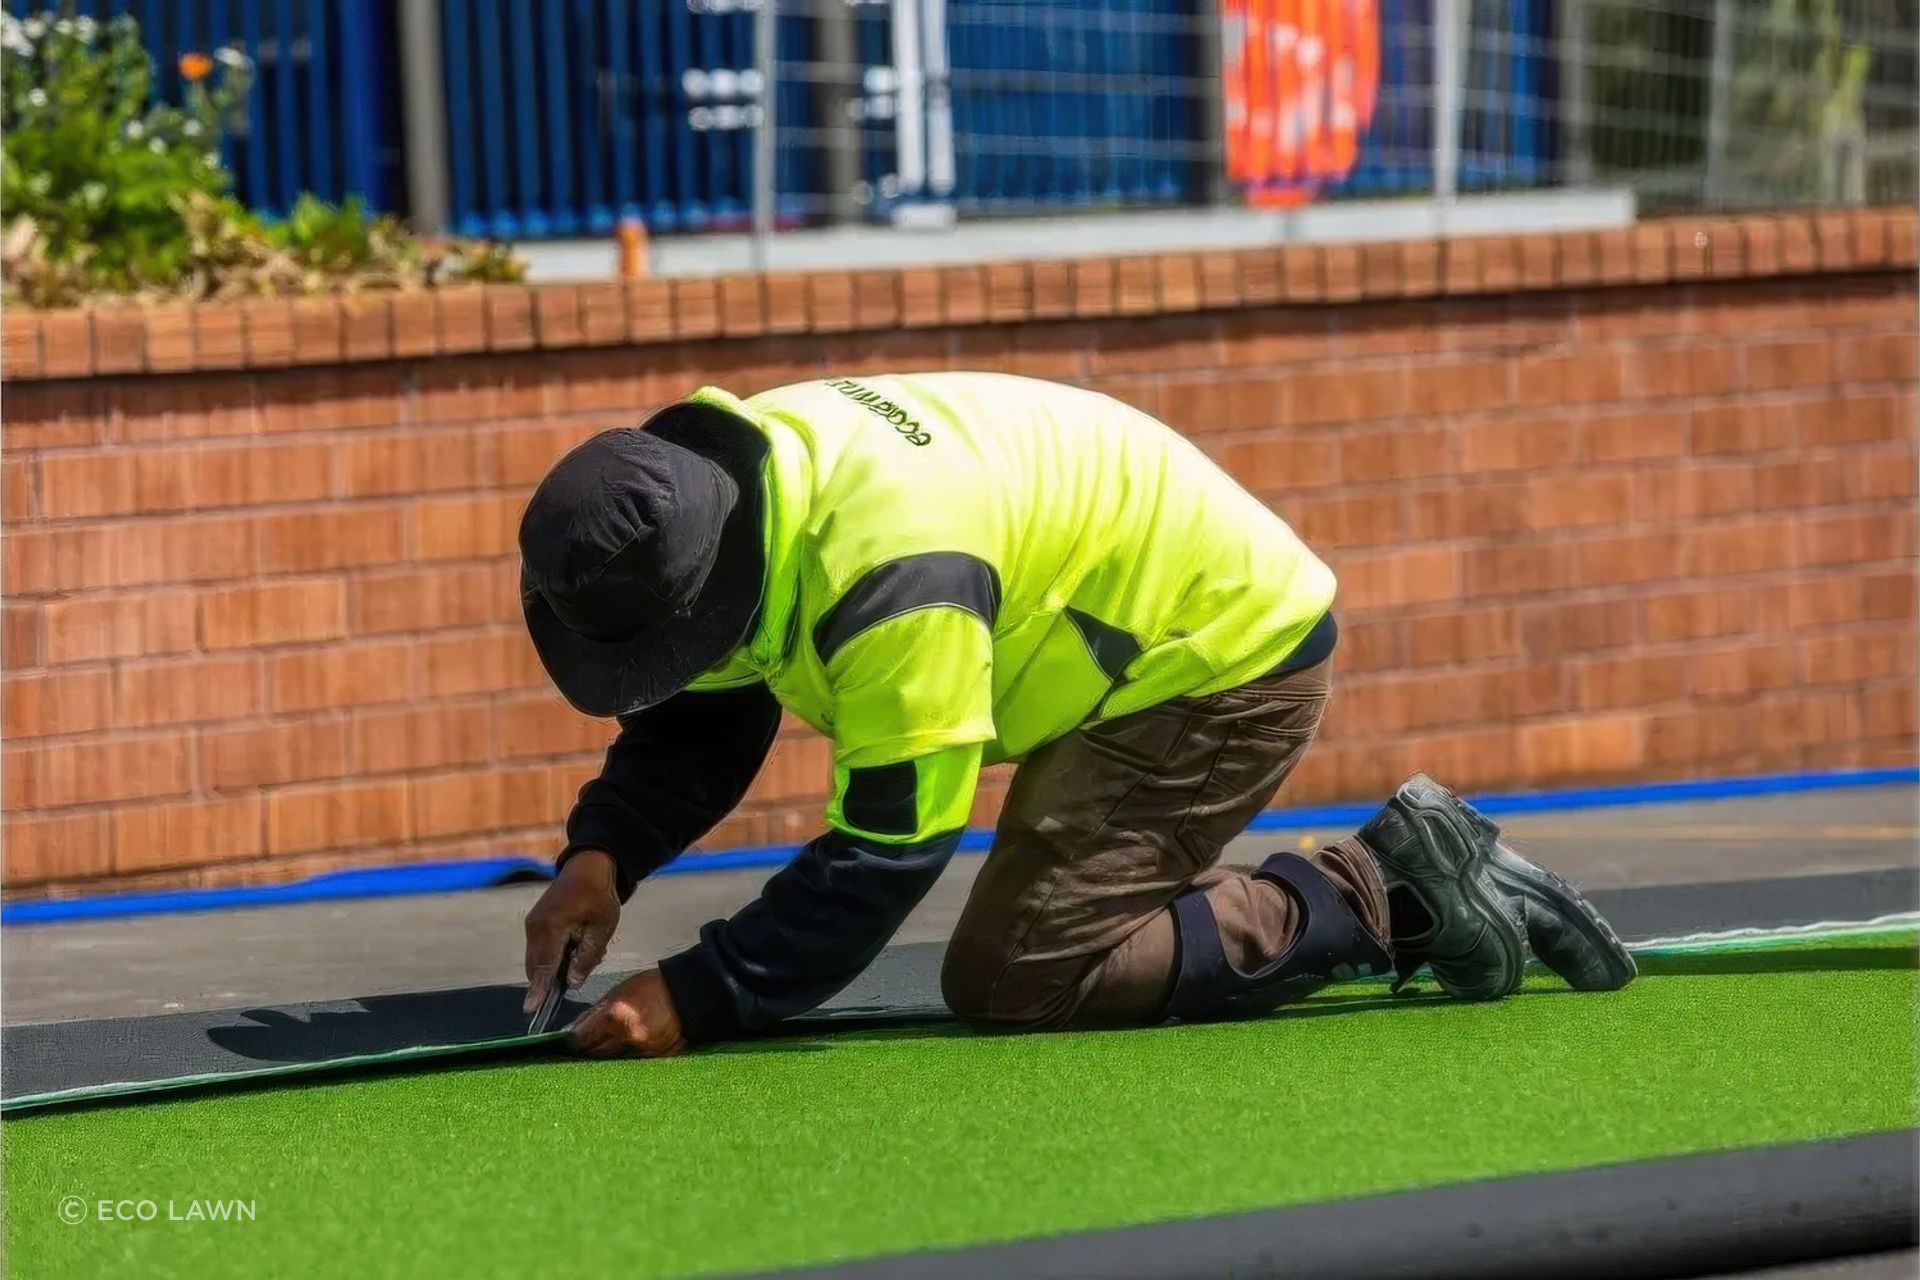
Step 8: Trim and Tidy – The Art of the Cut
Now, whip out your utility knife and trim any turf that’s trying to escape the edges. Sharp blades are key here for a clean, professional finish. It’s like giving your lawn a top-notch haircut.
Step 9: Lock It Down – The Final Anchoring
Secure the turf edges with nails or U-pins, spaced about 200mm apart. Hammer them down, making sure not to trap any grass blades. This is what keeps your turf from getting any wild ideas about moving.
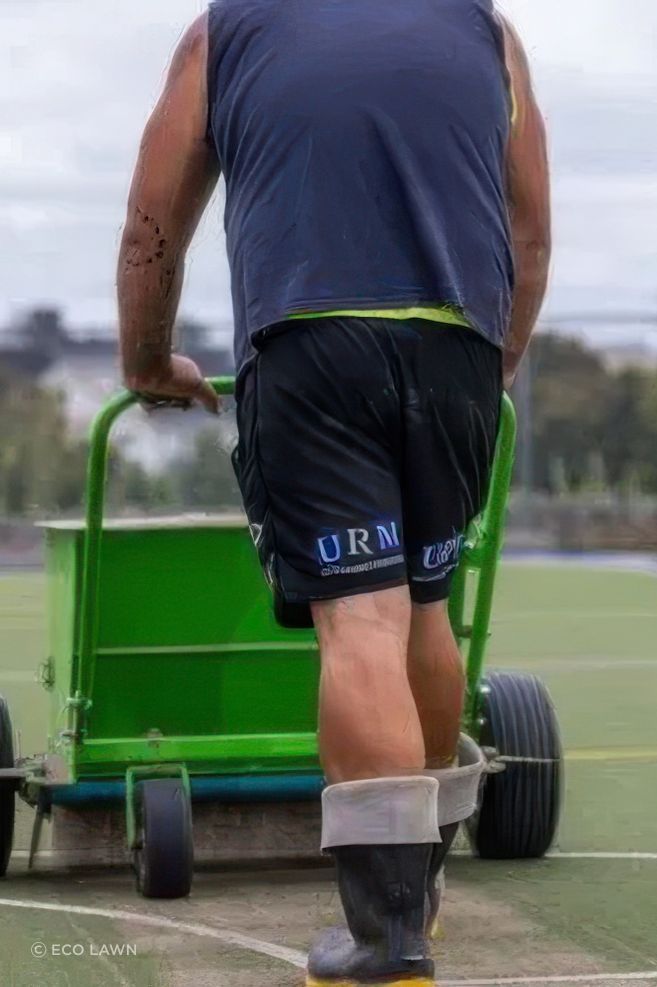
Step 10: The Finishing Touches – The Sand Sprinkle
Use specially graded, washed & dried turf sand. Spread it evenly across the turf, then give it a good brushing until it disappears from sight. This step weighs down your grass and keeps each blade standing tall and proud.
Step 11: Kick Back and Admire – The Sweet Victory
And just like that, you’ve nailed it! Your new lawn is ready for action. Crack open a cold one and bask in the glory of your handiwork. You’ve just transformed your lawn into a piece of paradise.
You’ve measured, dug, laid, and secured your way to a DIY masterpiece. Now’s the time to reap the rewards of your hard yakka. Fire up the BBQ, invite the mates over, or just lounge back and enjoy the view. You’ve earned it! Remember, if you hit a snag along the way or want to brag about your newfound DIY prowess, we’re just a hop, skip, and a jump away. Cheers to your new green oasis!