Understanding Substrate Preparation for Polished Plaster

Written by

Ambitec

30 August 2026

 • 

1 min read

banner
Learn why proper substrate preparation and early coordination are essential for achieving flawless polishe

To achieve the expressive finishes of polished plaster requires attention to detail when prepping your surface. Like any wall finish, the final result comes down to the substrate beneath it. This is no different from paint or wall coverings. Good preparation leads to a good outcome.

From a construction point of view, preparing a surface for polished plaster is not more difficult than preparing for paint. In most cases, a standard Level 4 finish, flat, dry, and free of visible defects, is all that is required. The confusion usually comes from the word “plaster”. It is often assumed that it will behave like a stoping compound and correct imperfections in the wall. That is not the case.

Polished plaster is a thin decorative finish, usually around 1 to 1.5mm. It is not designed to fill gaps, level surfaces, or correct poor workmanship. If the substrate is not finished properly, those issues will remain visible.

Polished plaster does not require a higher standard than paint. It simply relies on the substrate being finished correctly.

Substrate Preparation: Comparable to Paint

Polished plaster is applied over surfaces that meet a Level 4 plasterboard finish.

In practical terms, this means:

  • Boards are properly installed and stopped as per the manufacturer's requirements
  • Surfaces are smooth and even
  • The wall is clean, dry, and ready for finishing

Walls also need to be straight and stable, within standard tolerances, and free from movement in the lining. These are standard requirements for any quality paint finish.


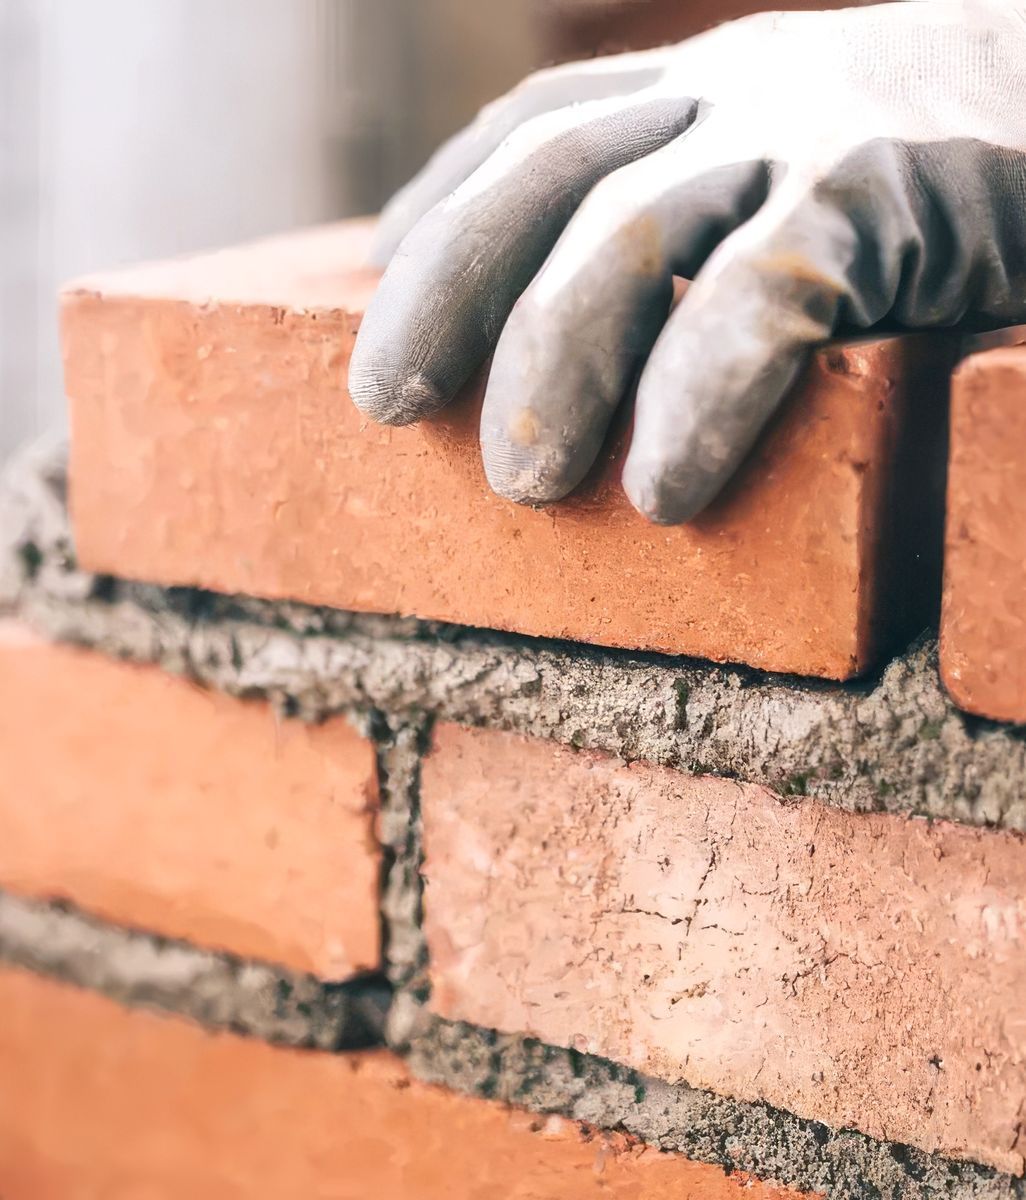
substrateprep-ambiteclevel4.jpg
ambitecfinishingonlevel-4wall.jpg

Where Detailing Really Matters

The main difference with polished plaster is not just the wall preparation. It is the level of attention needed in the detailing.

Because the finish is thin, it will follow the surface exactly as it is.

All penetrations need to be in the right place and the right size before work begins. If changes are made later, the repair will be visible. Matching a polished surface is similar to matching a natural material such as timber.

Polished plaster will not:

  • Fill gaps left around power points or plumbing
  • Hide oversized holes
  • Disguise patching

Edges and junctions also need to be clean and sharp, free from excess stopping compound and ready for masking.

Any build-up of compound around joinery, skirting, or tiles needs to be removed before finishing. The plaster will follow what is already there. It will not correct untidy edges.

Early coordination reduces risk

Polished plaster outcomes are often influenced by decisions made early in the project.

Engaging with the plaster system and installation requirements during the design and planning stage helps ensure that:

  • Substrate specifications are clearly defined
  • Junctions and material transitions are properly detailed
  • Penetrations and set-outs are coordinated before lining begins

Where these considerations are addressed early, the risk of rework is reduced and a more consistent result can be achieved.