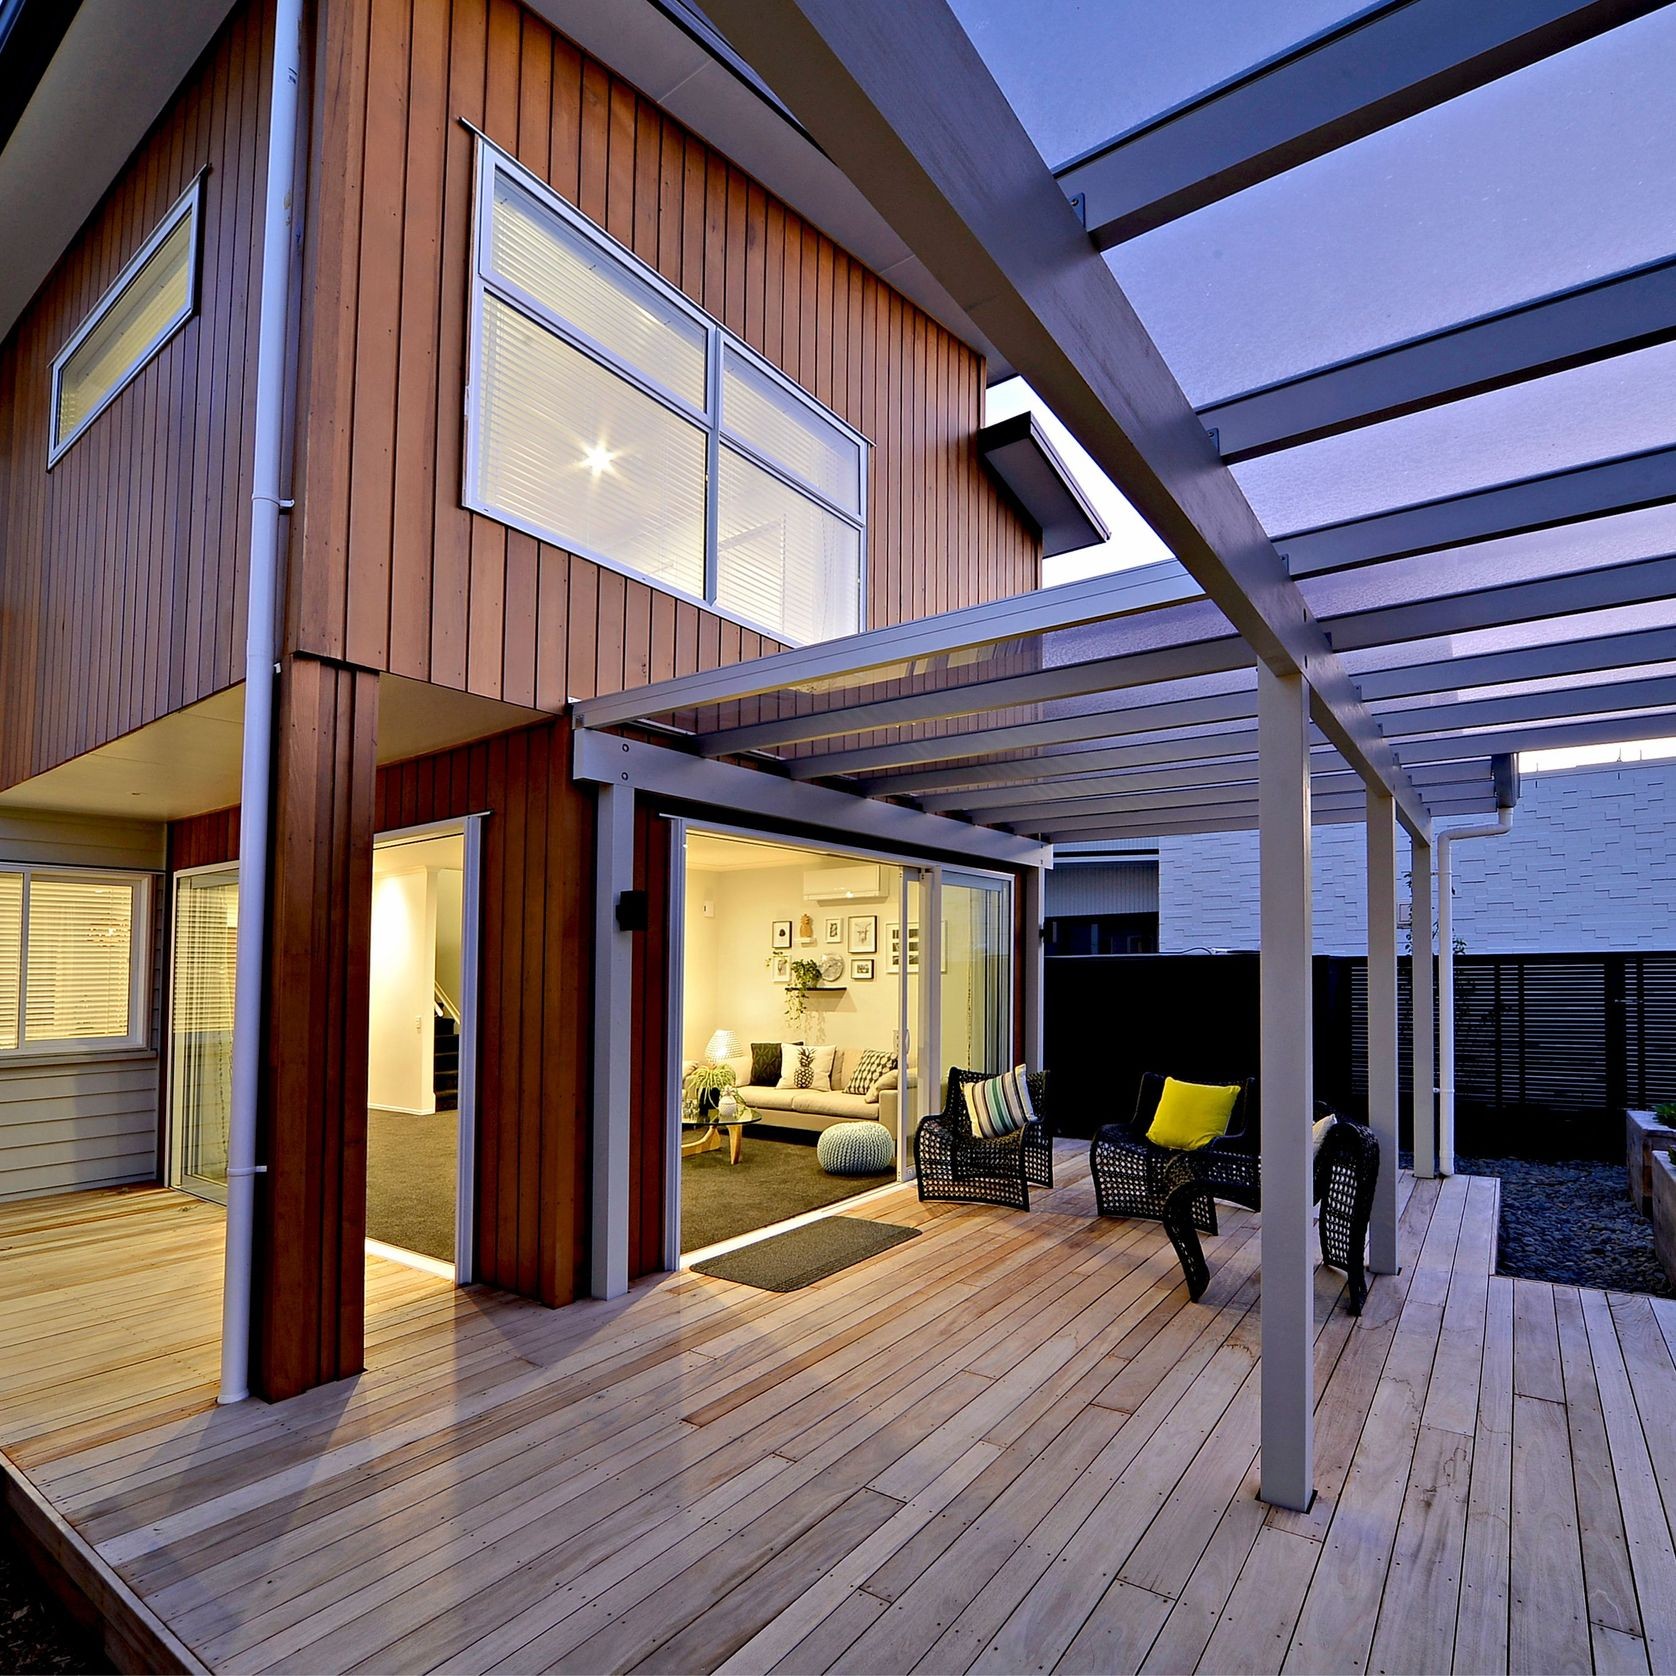
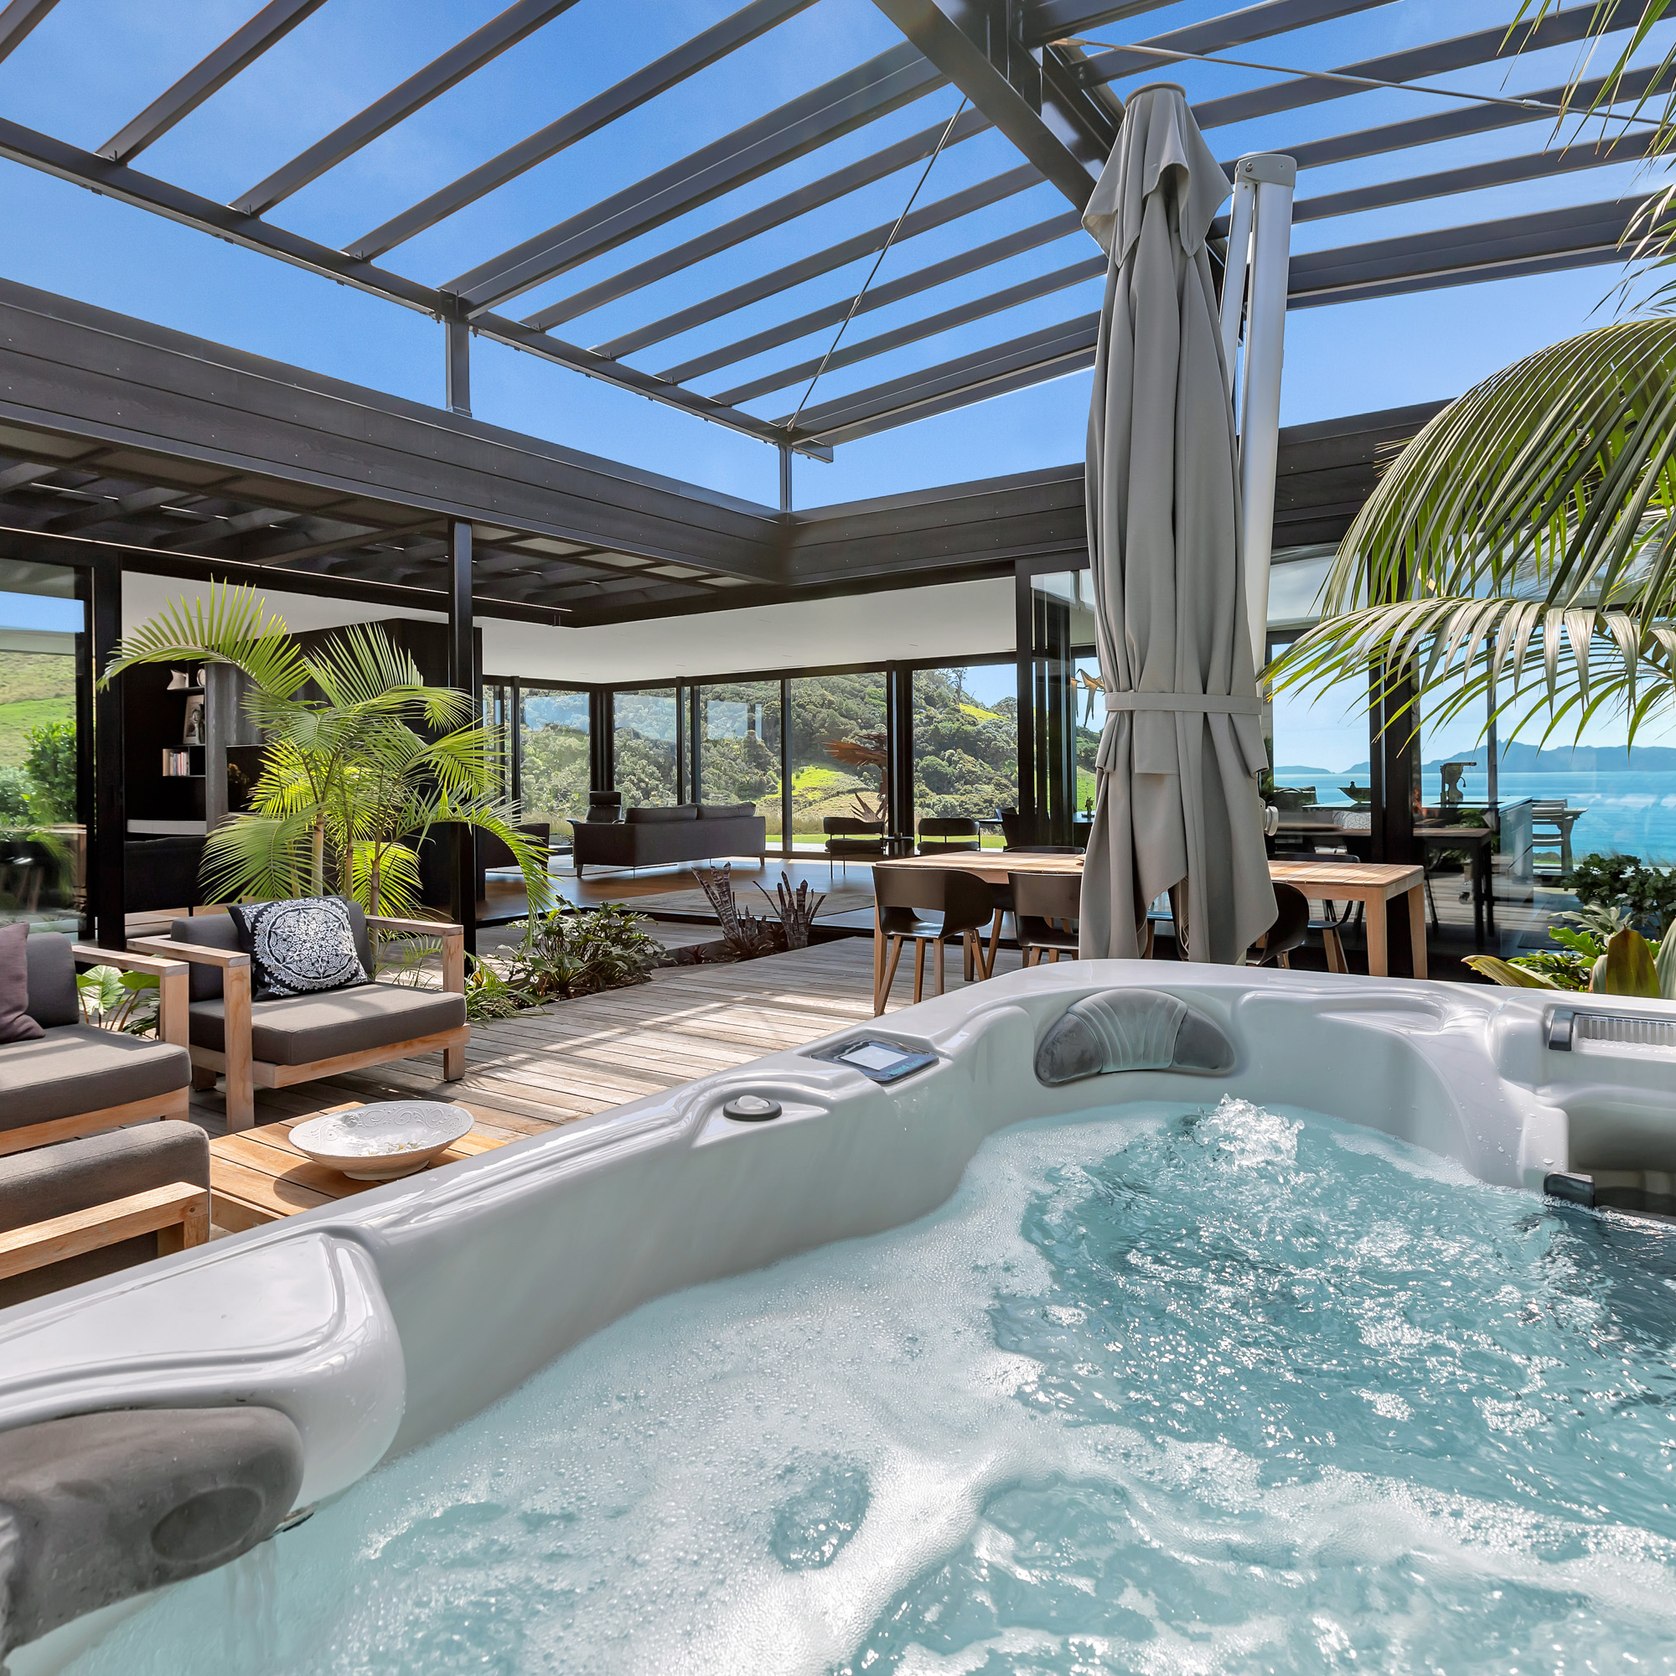
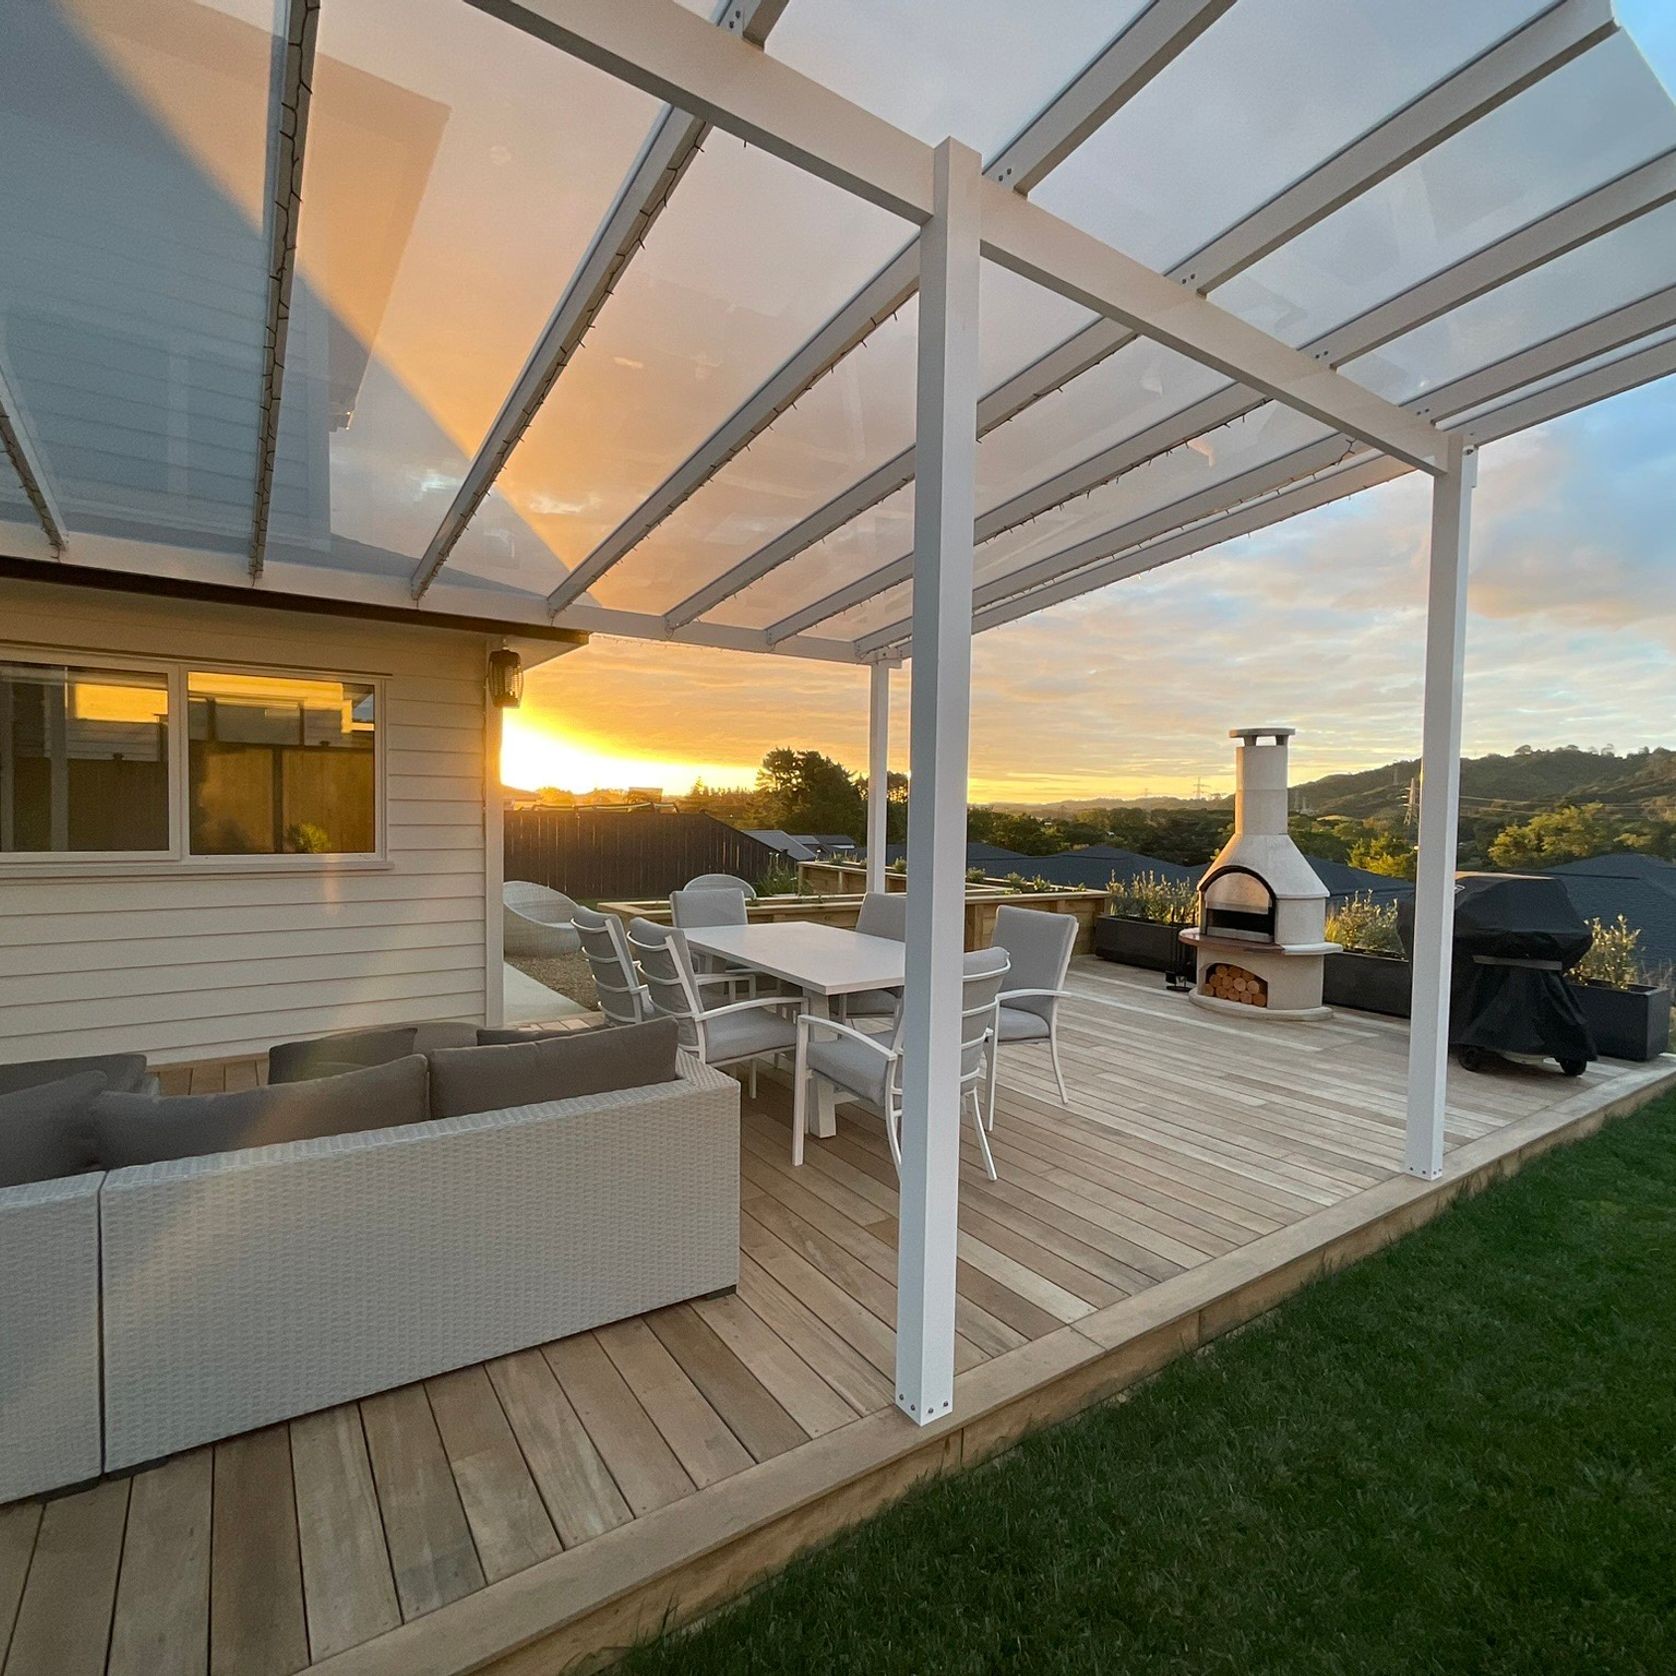
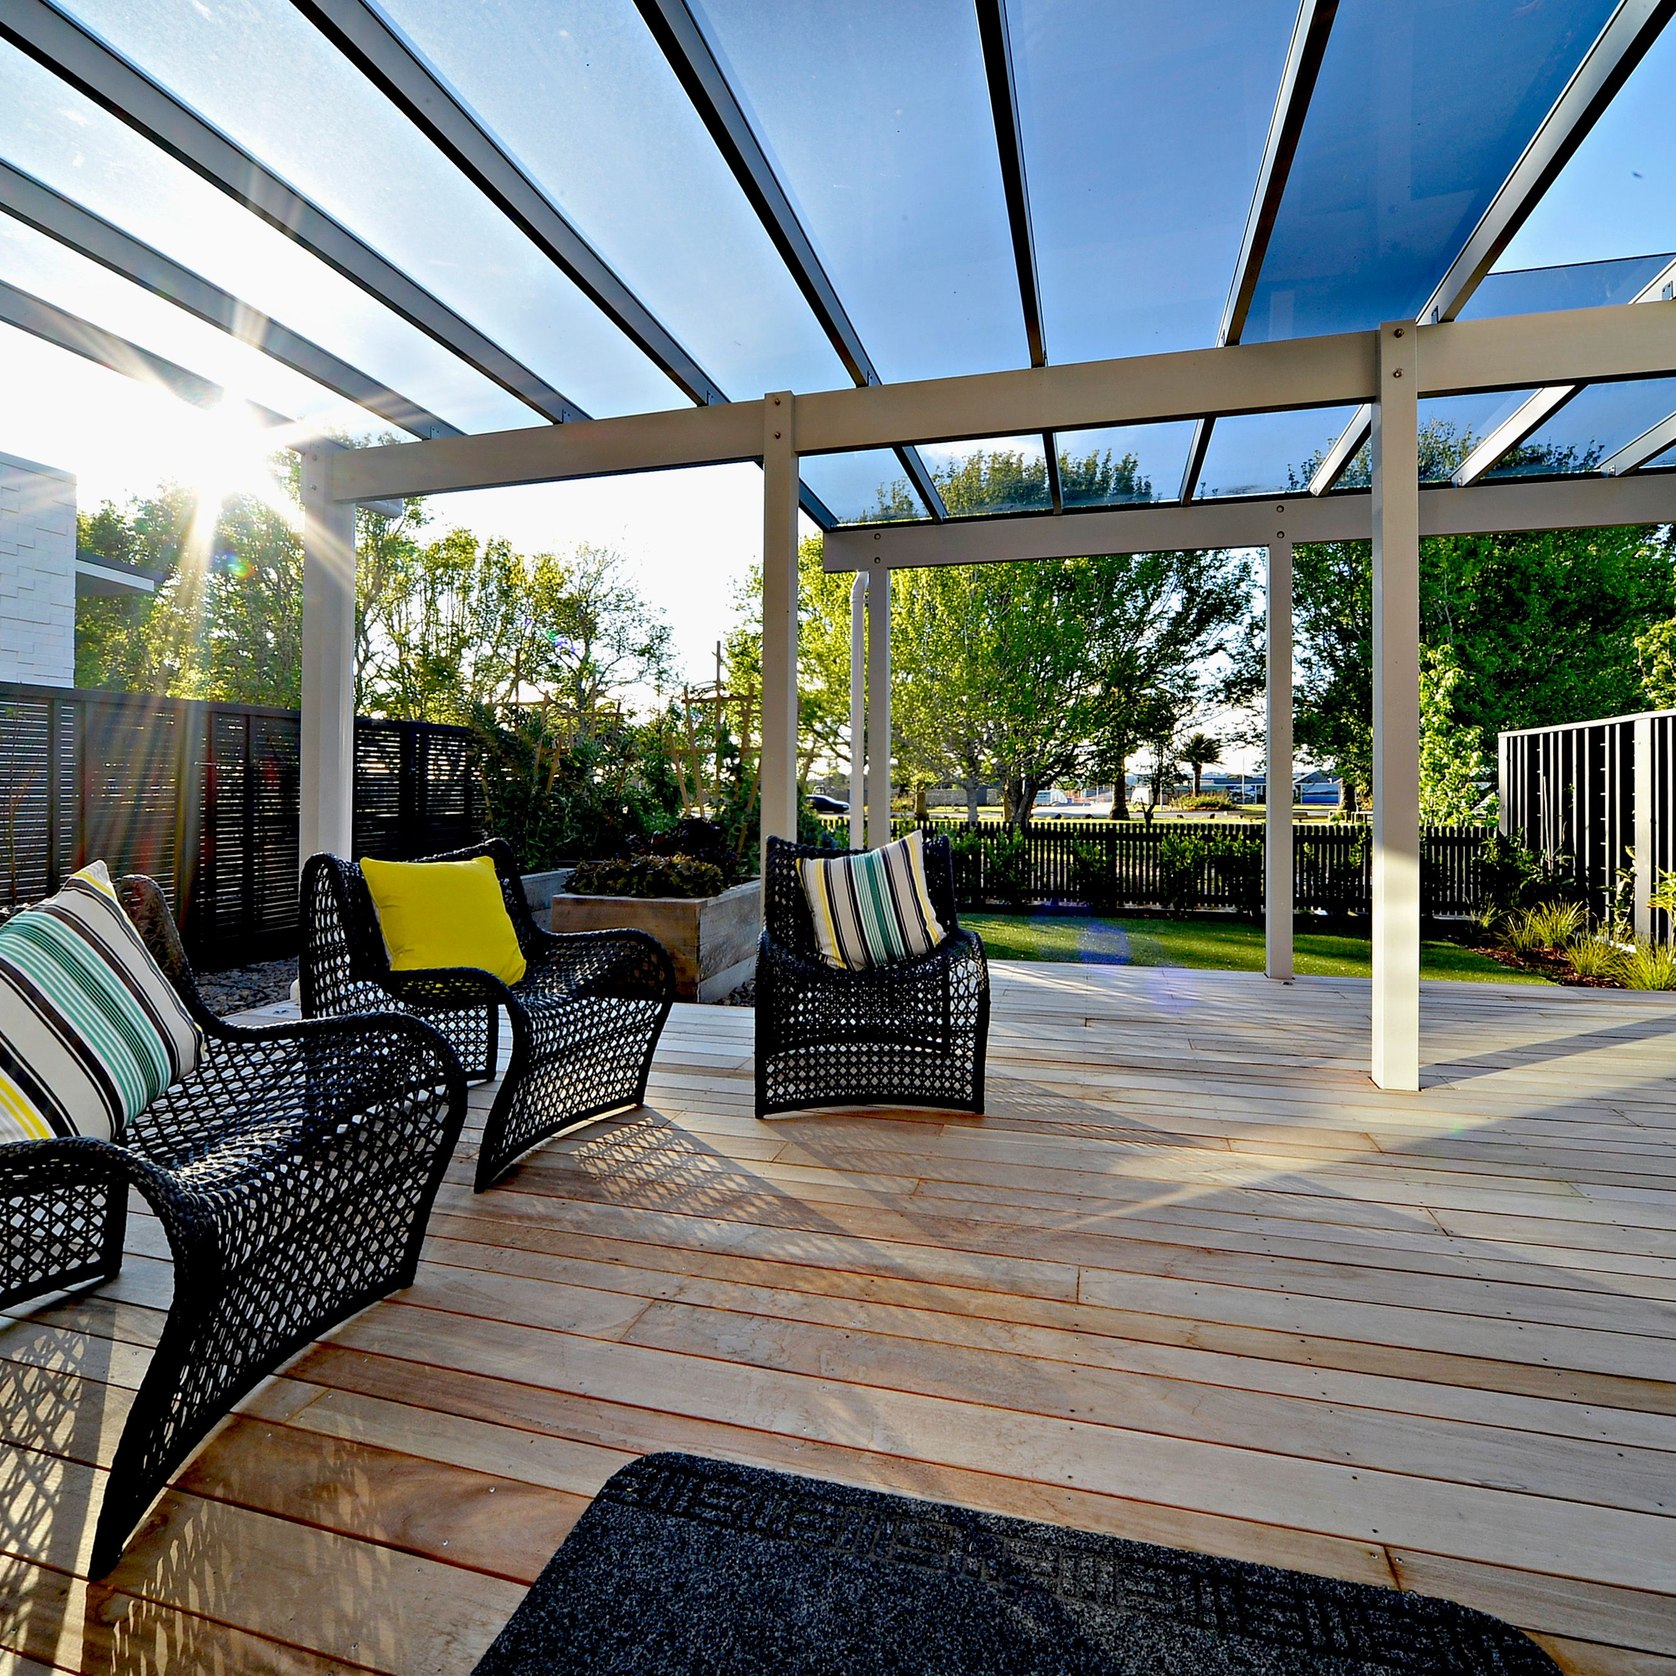
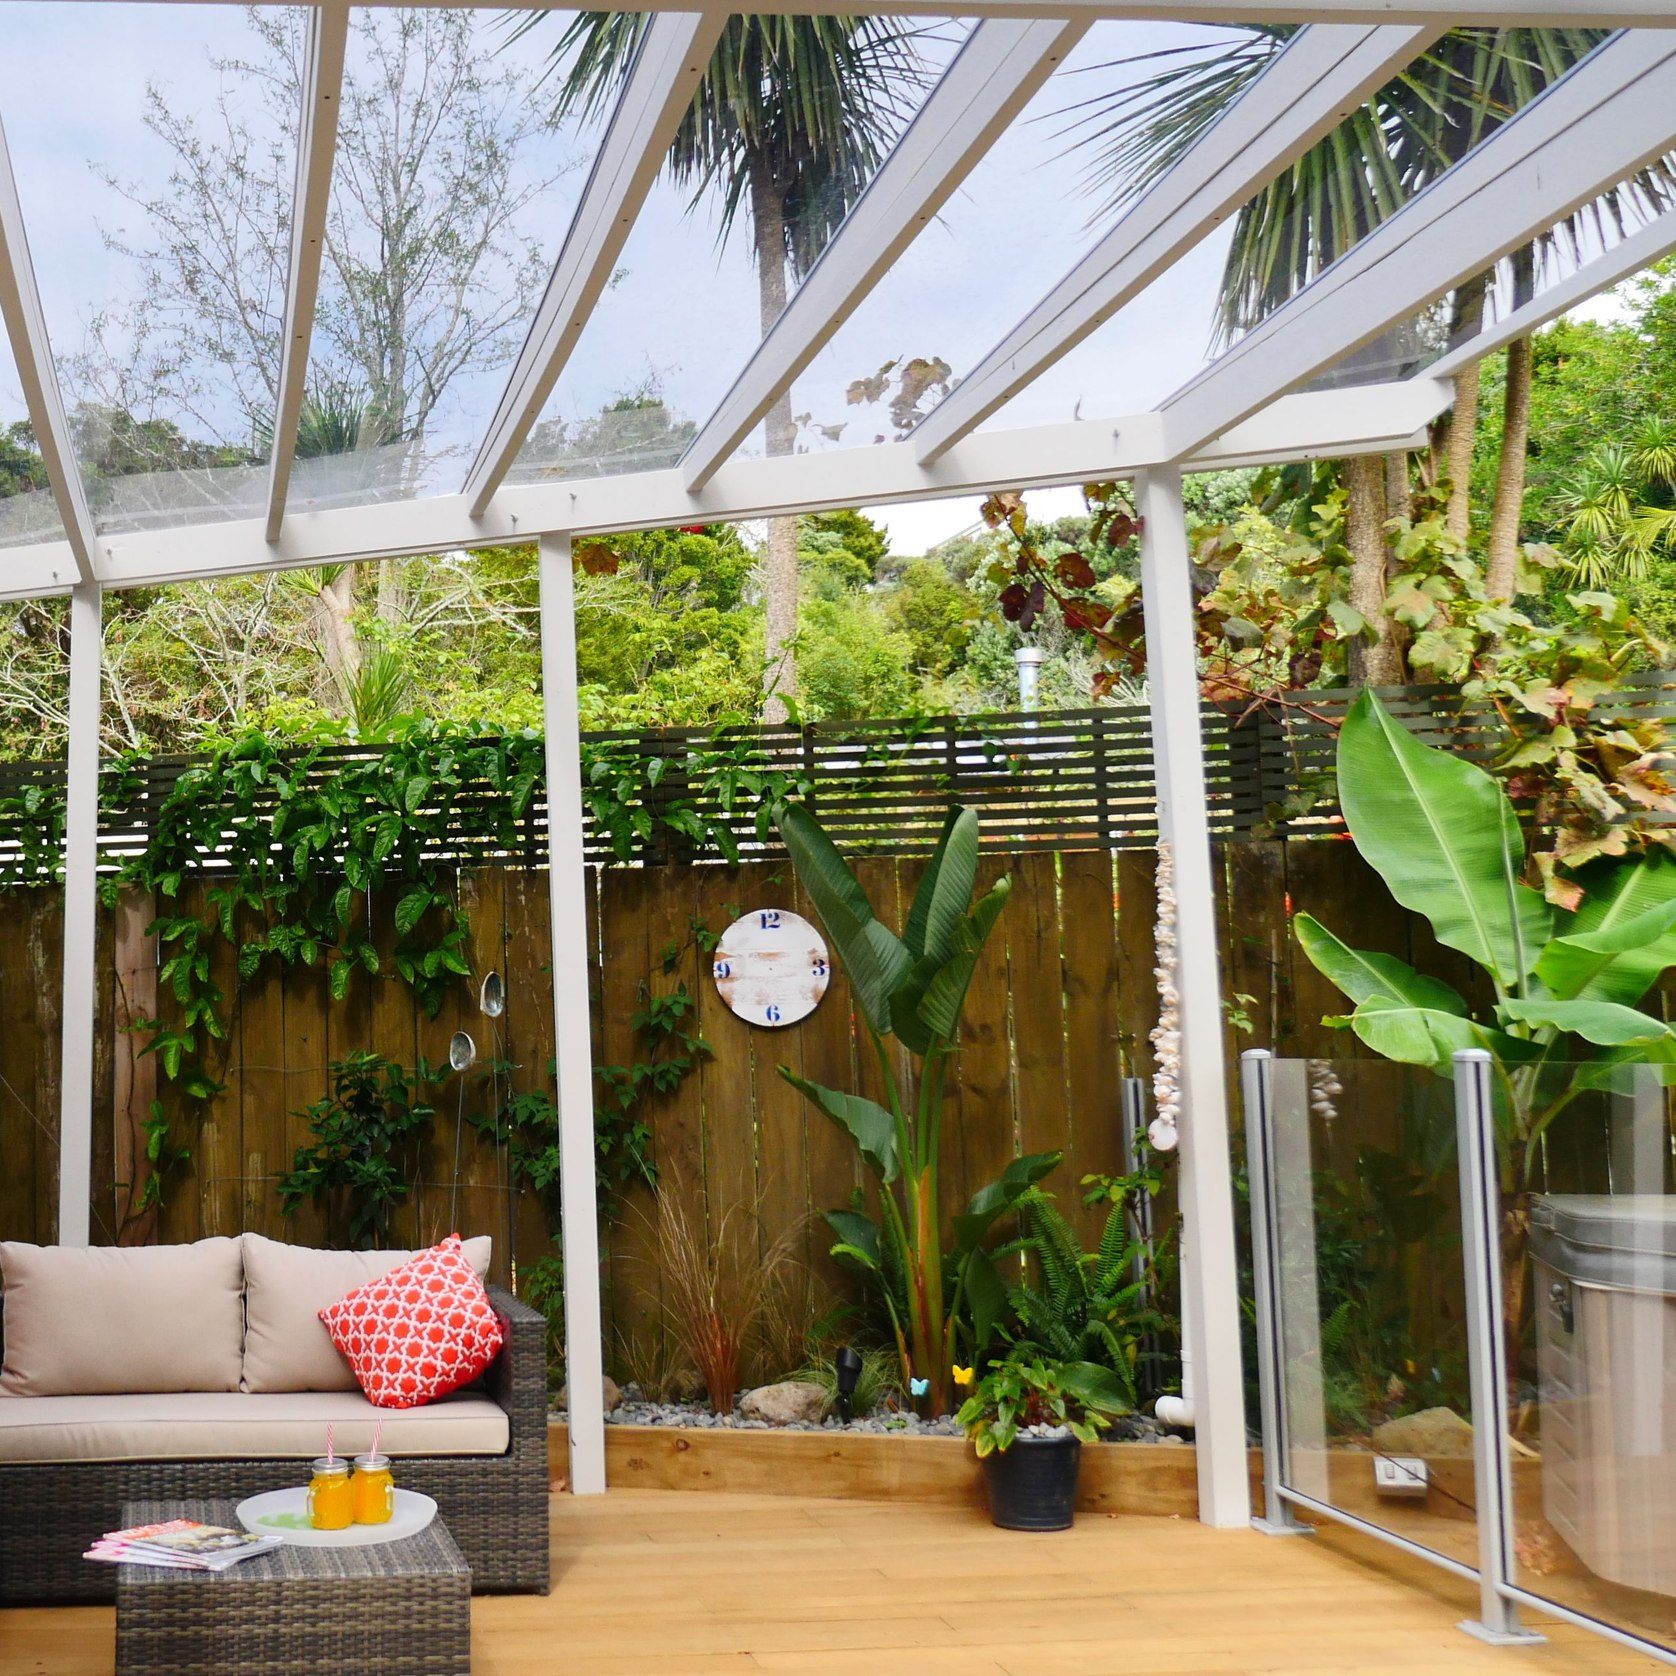
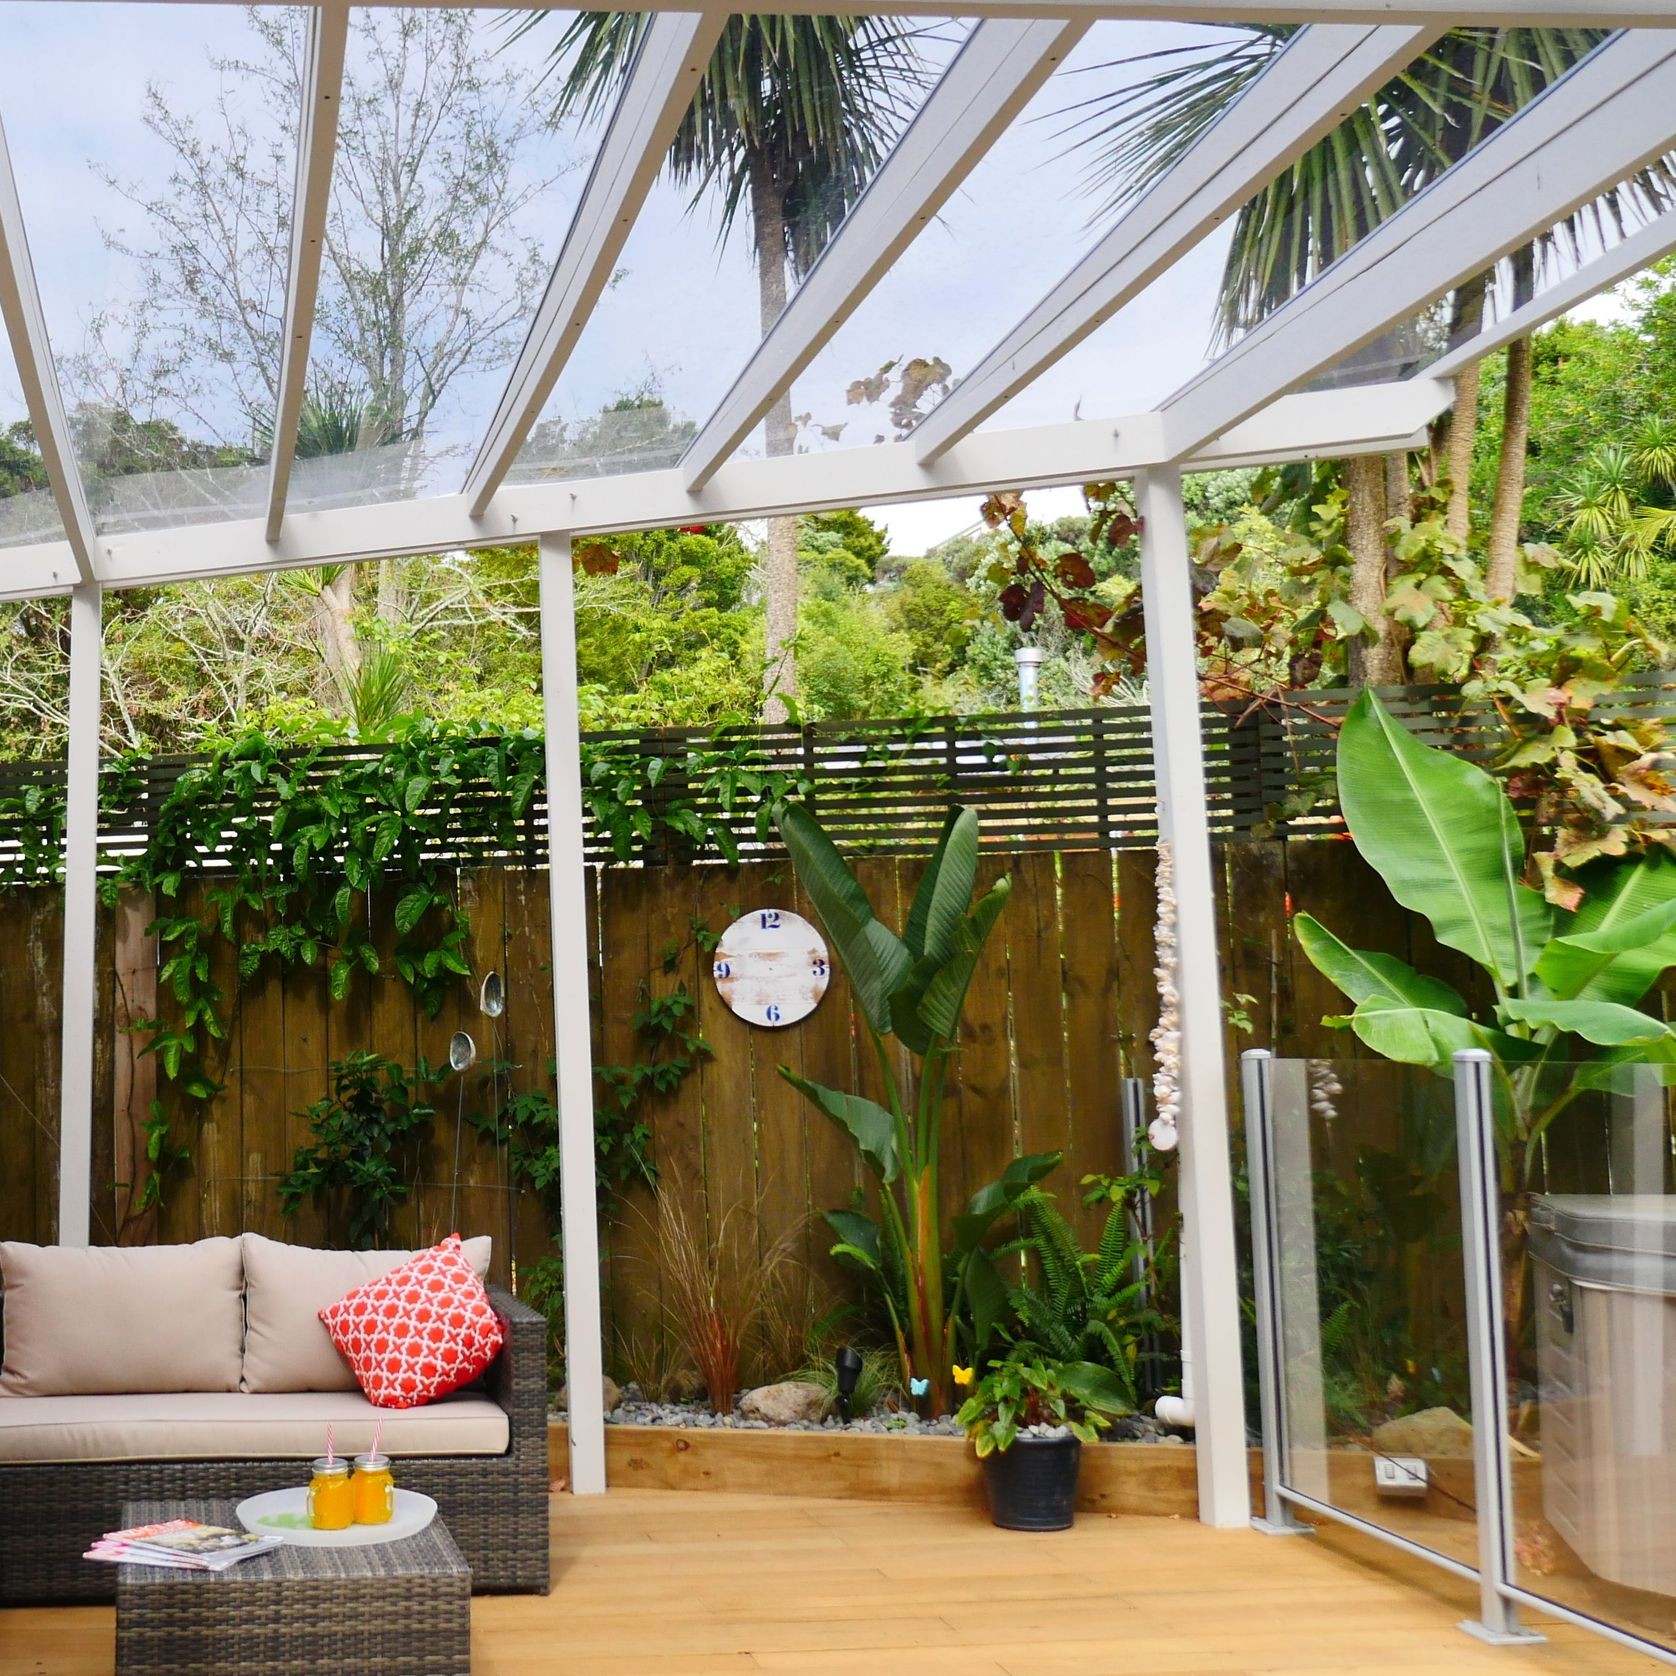
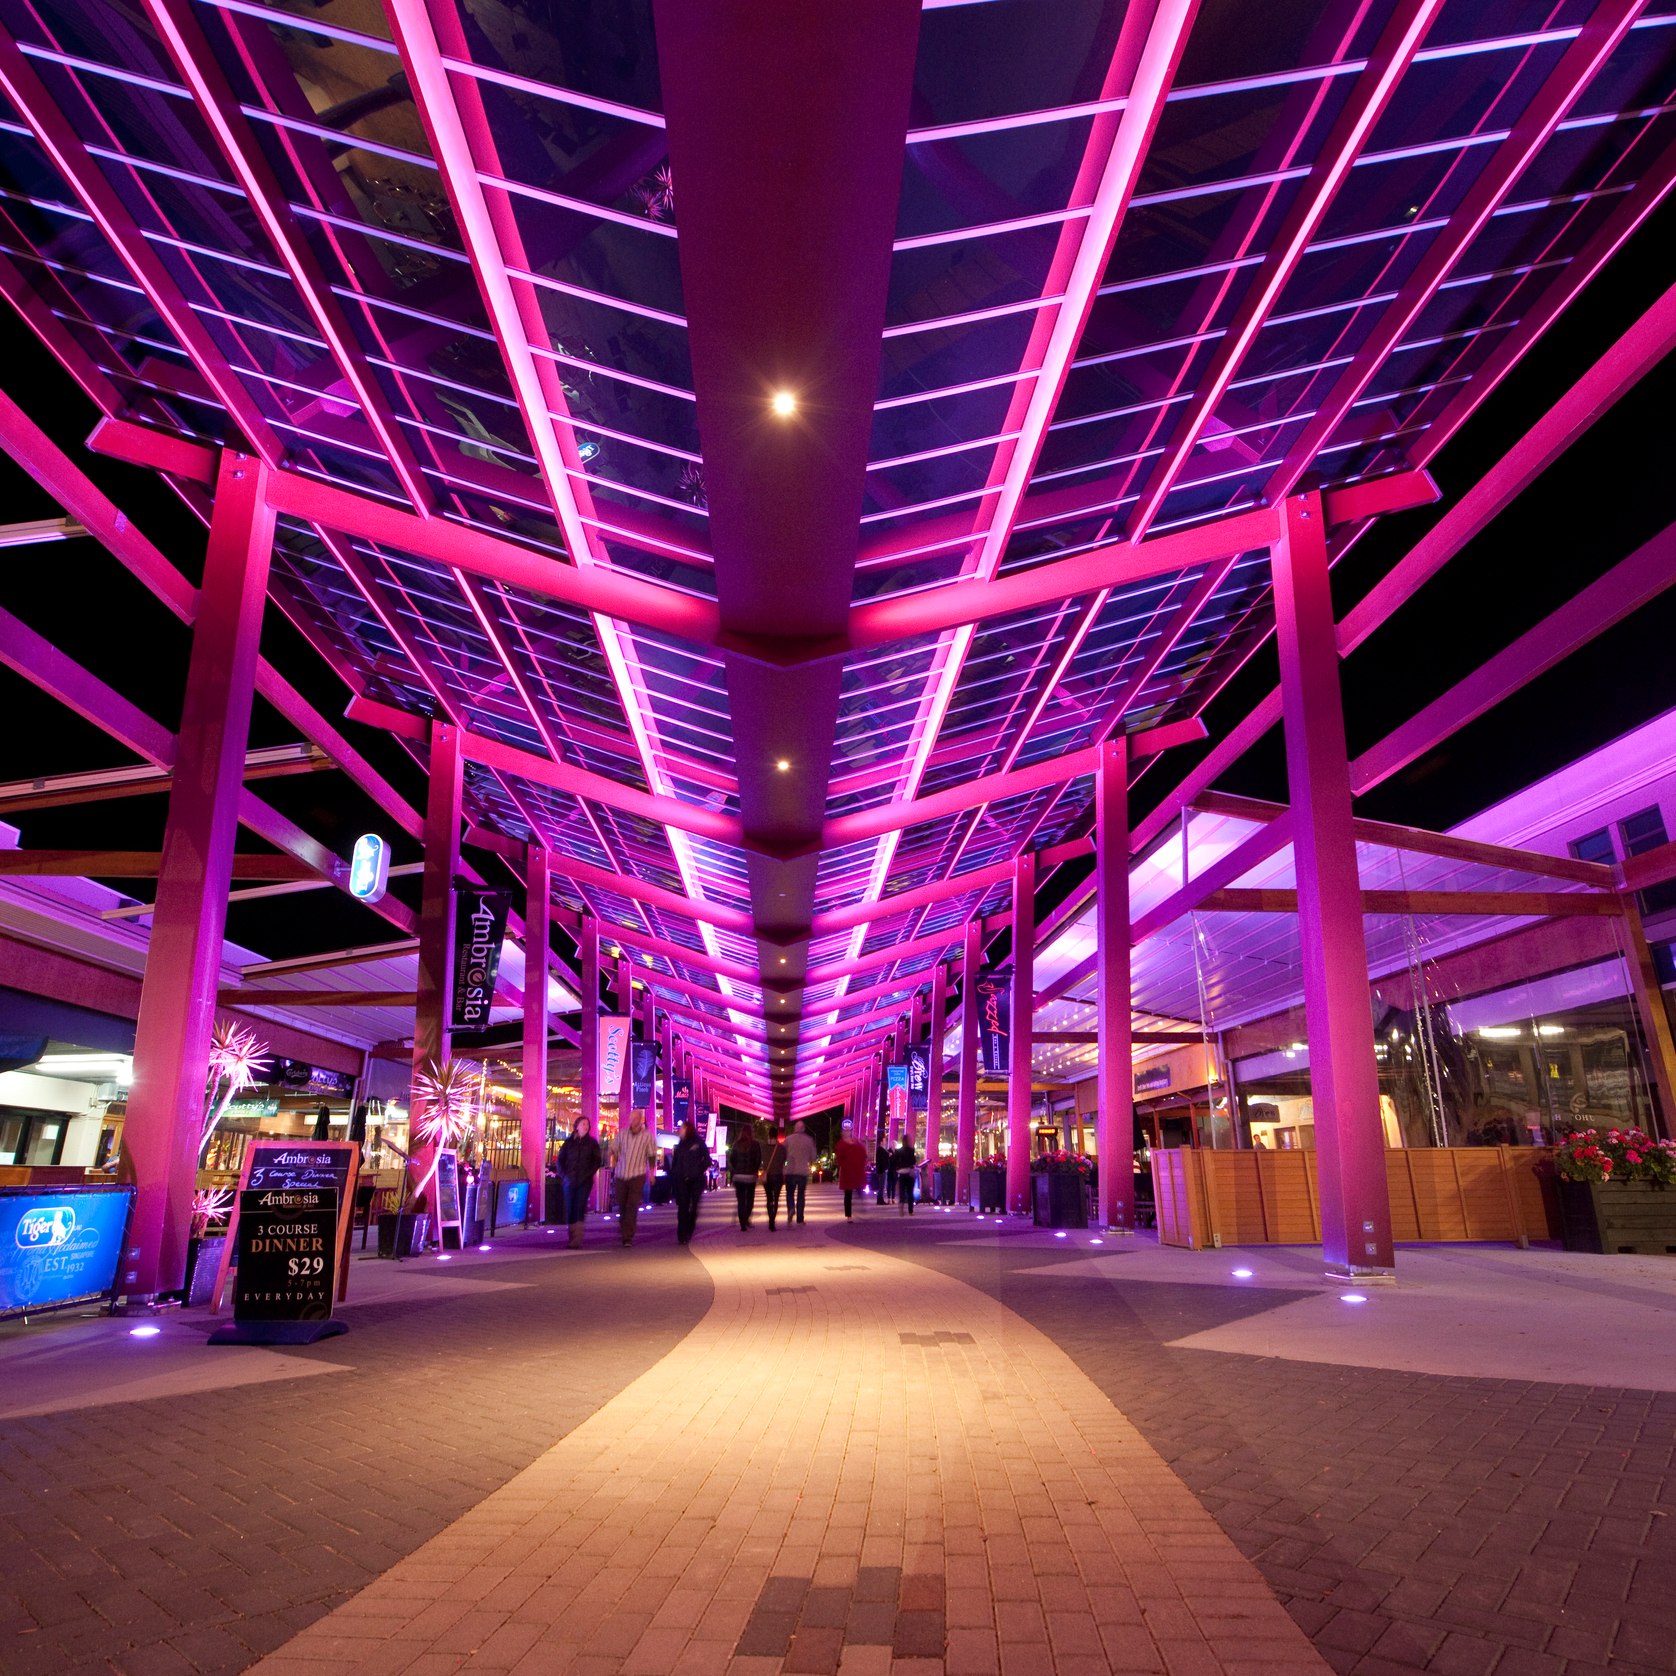
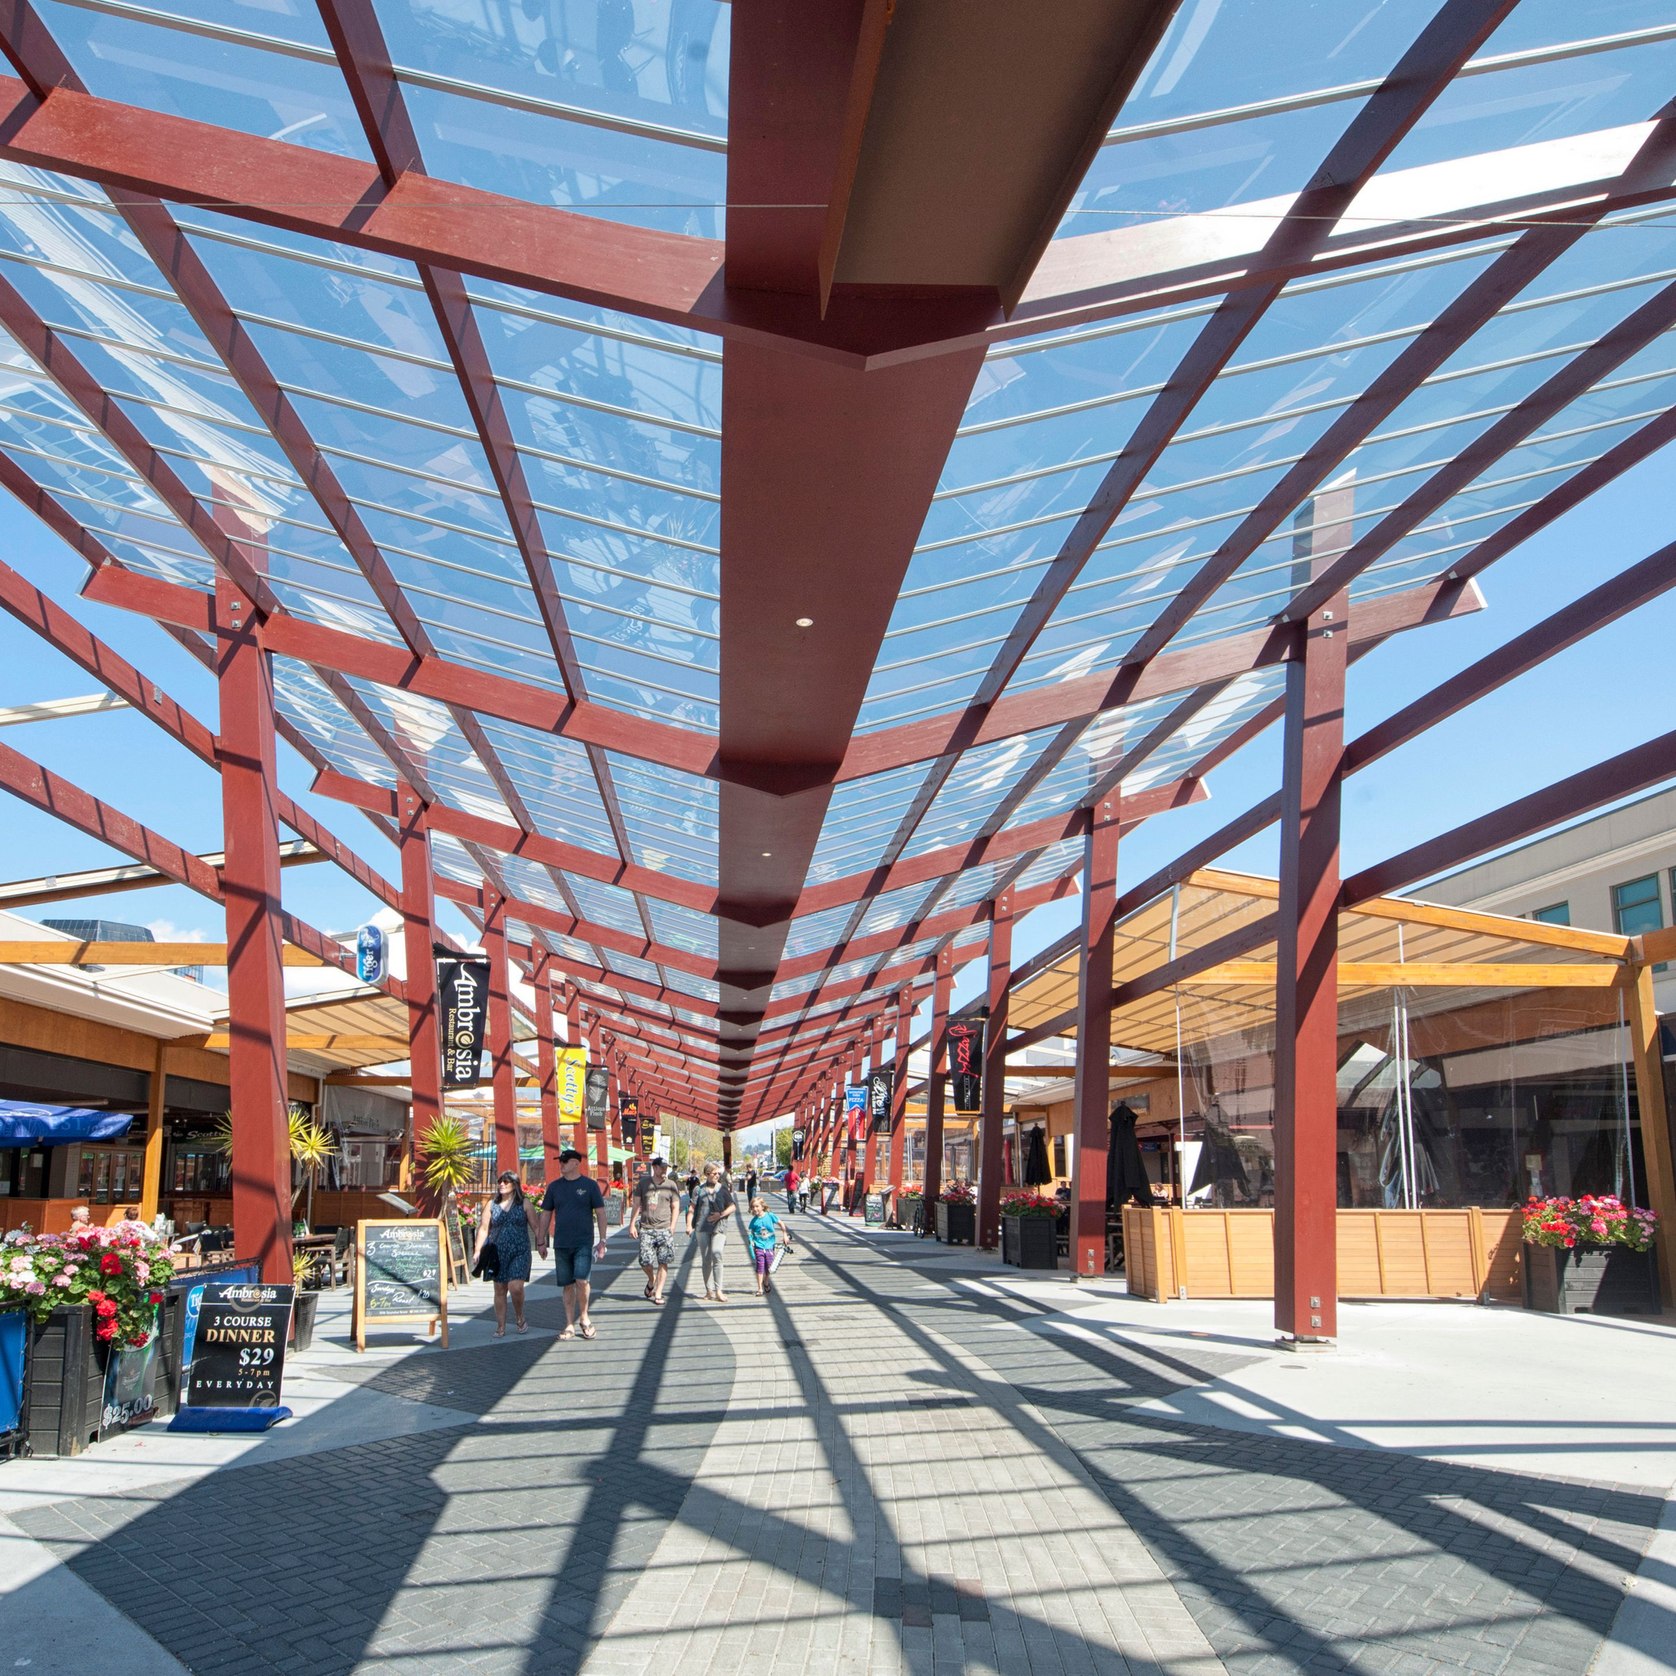
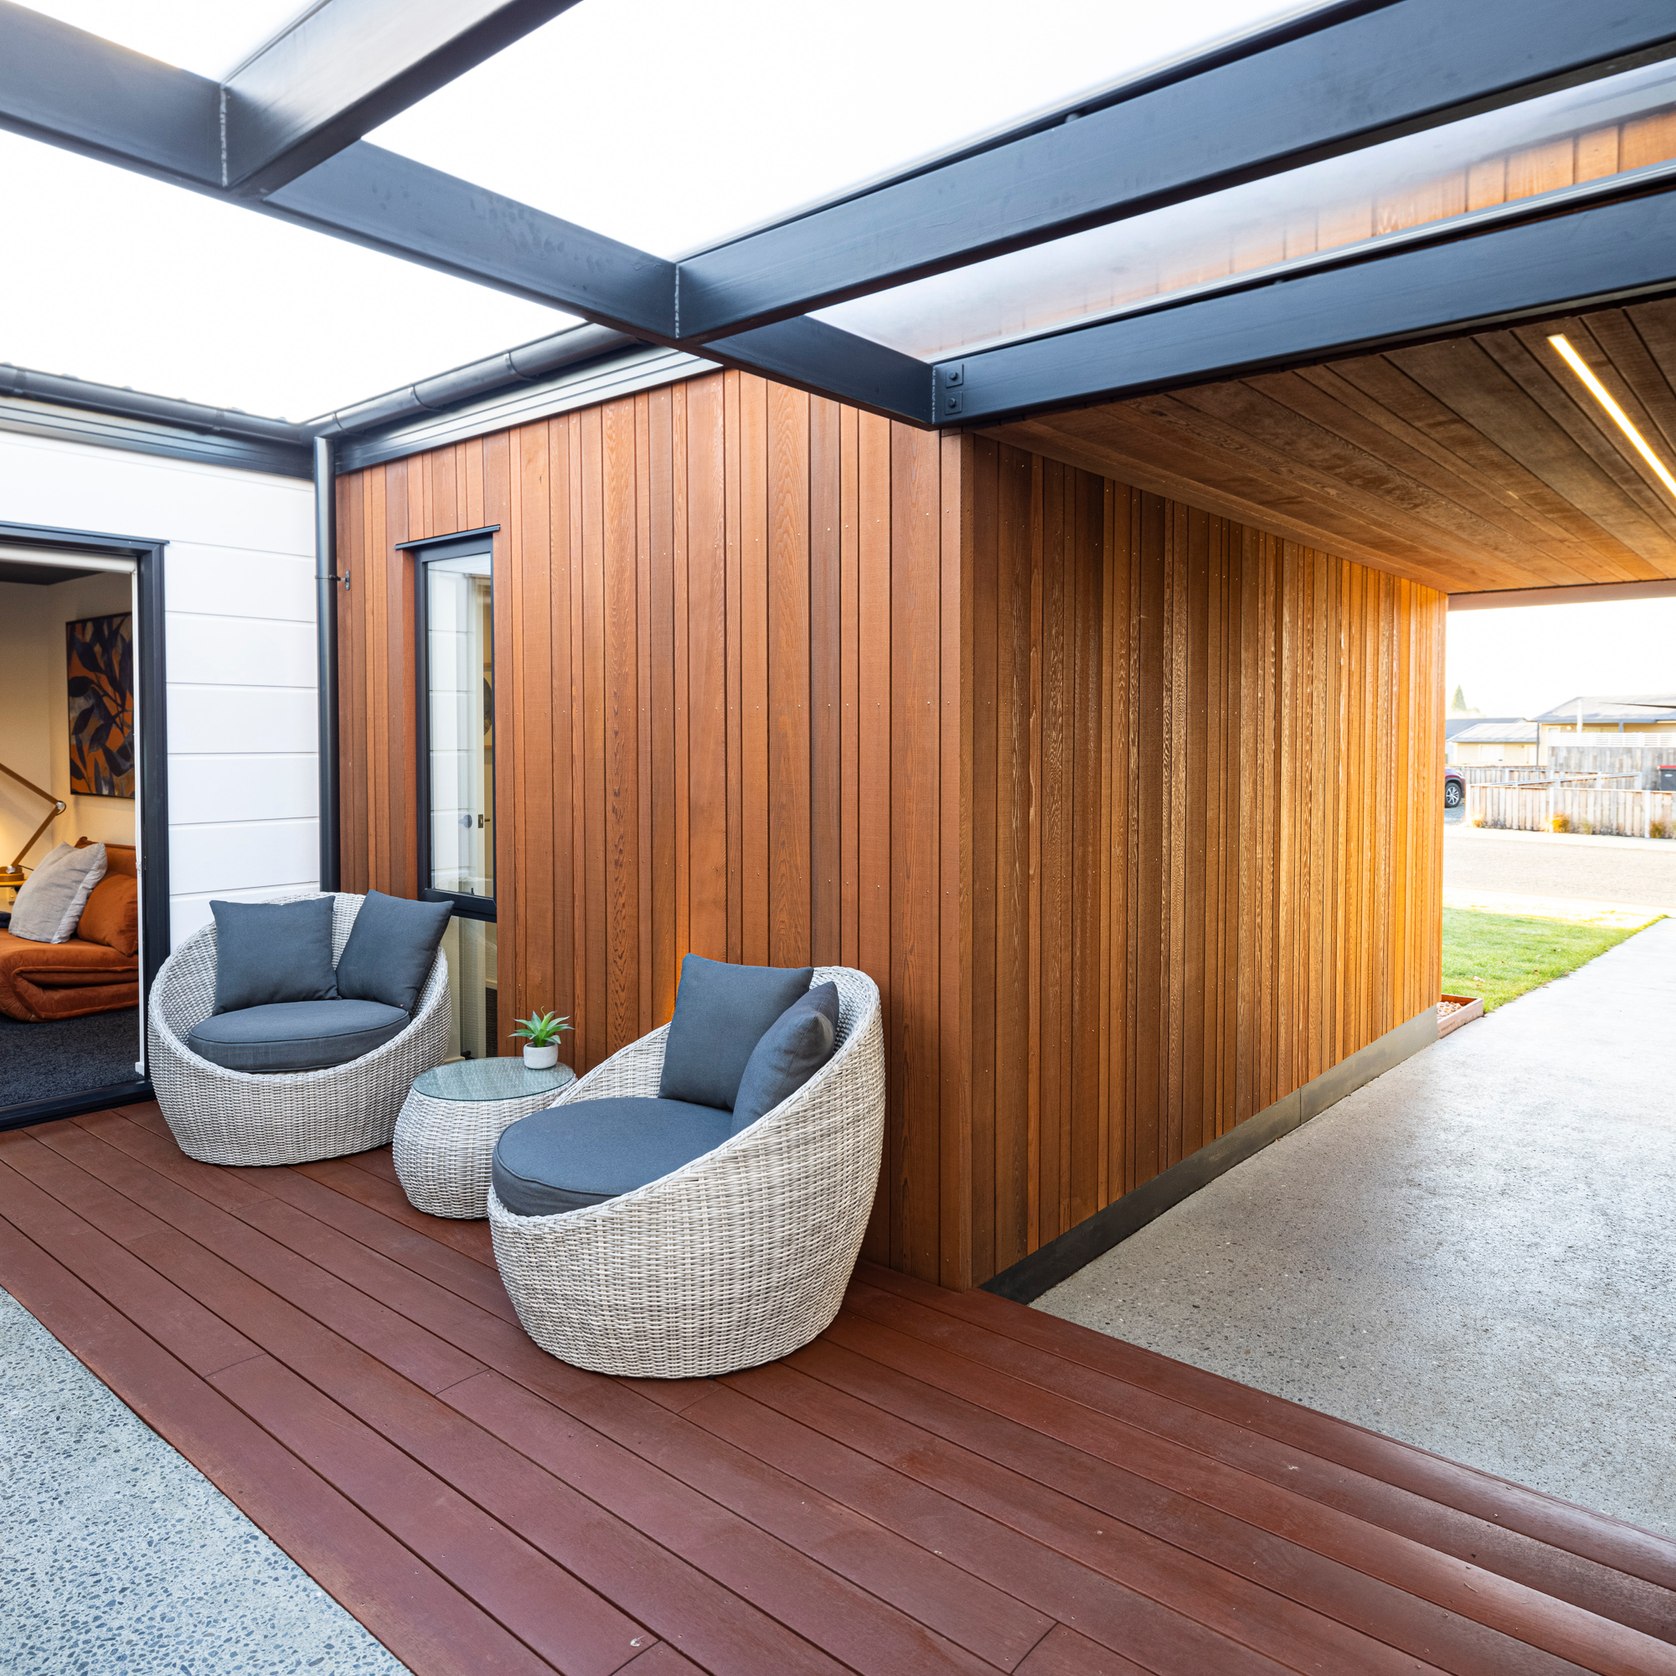
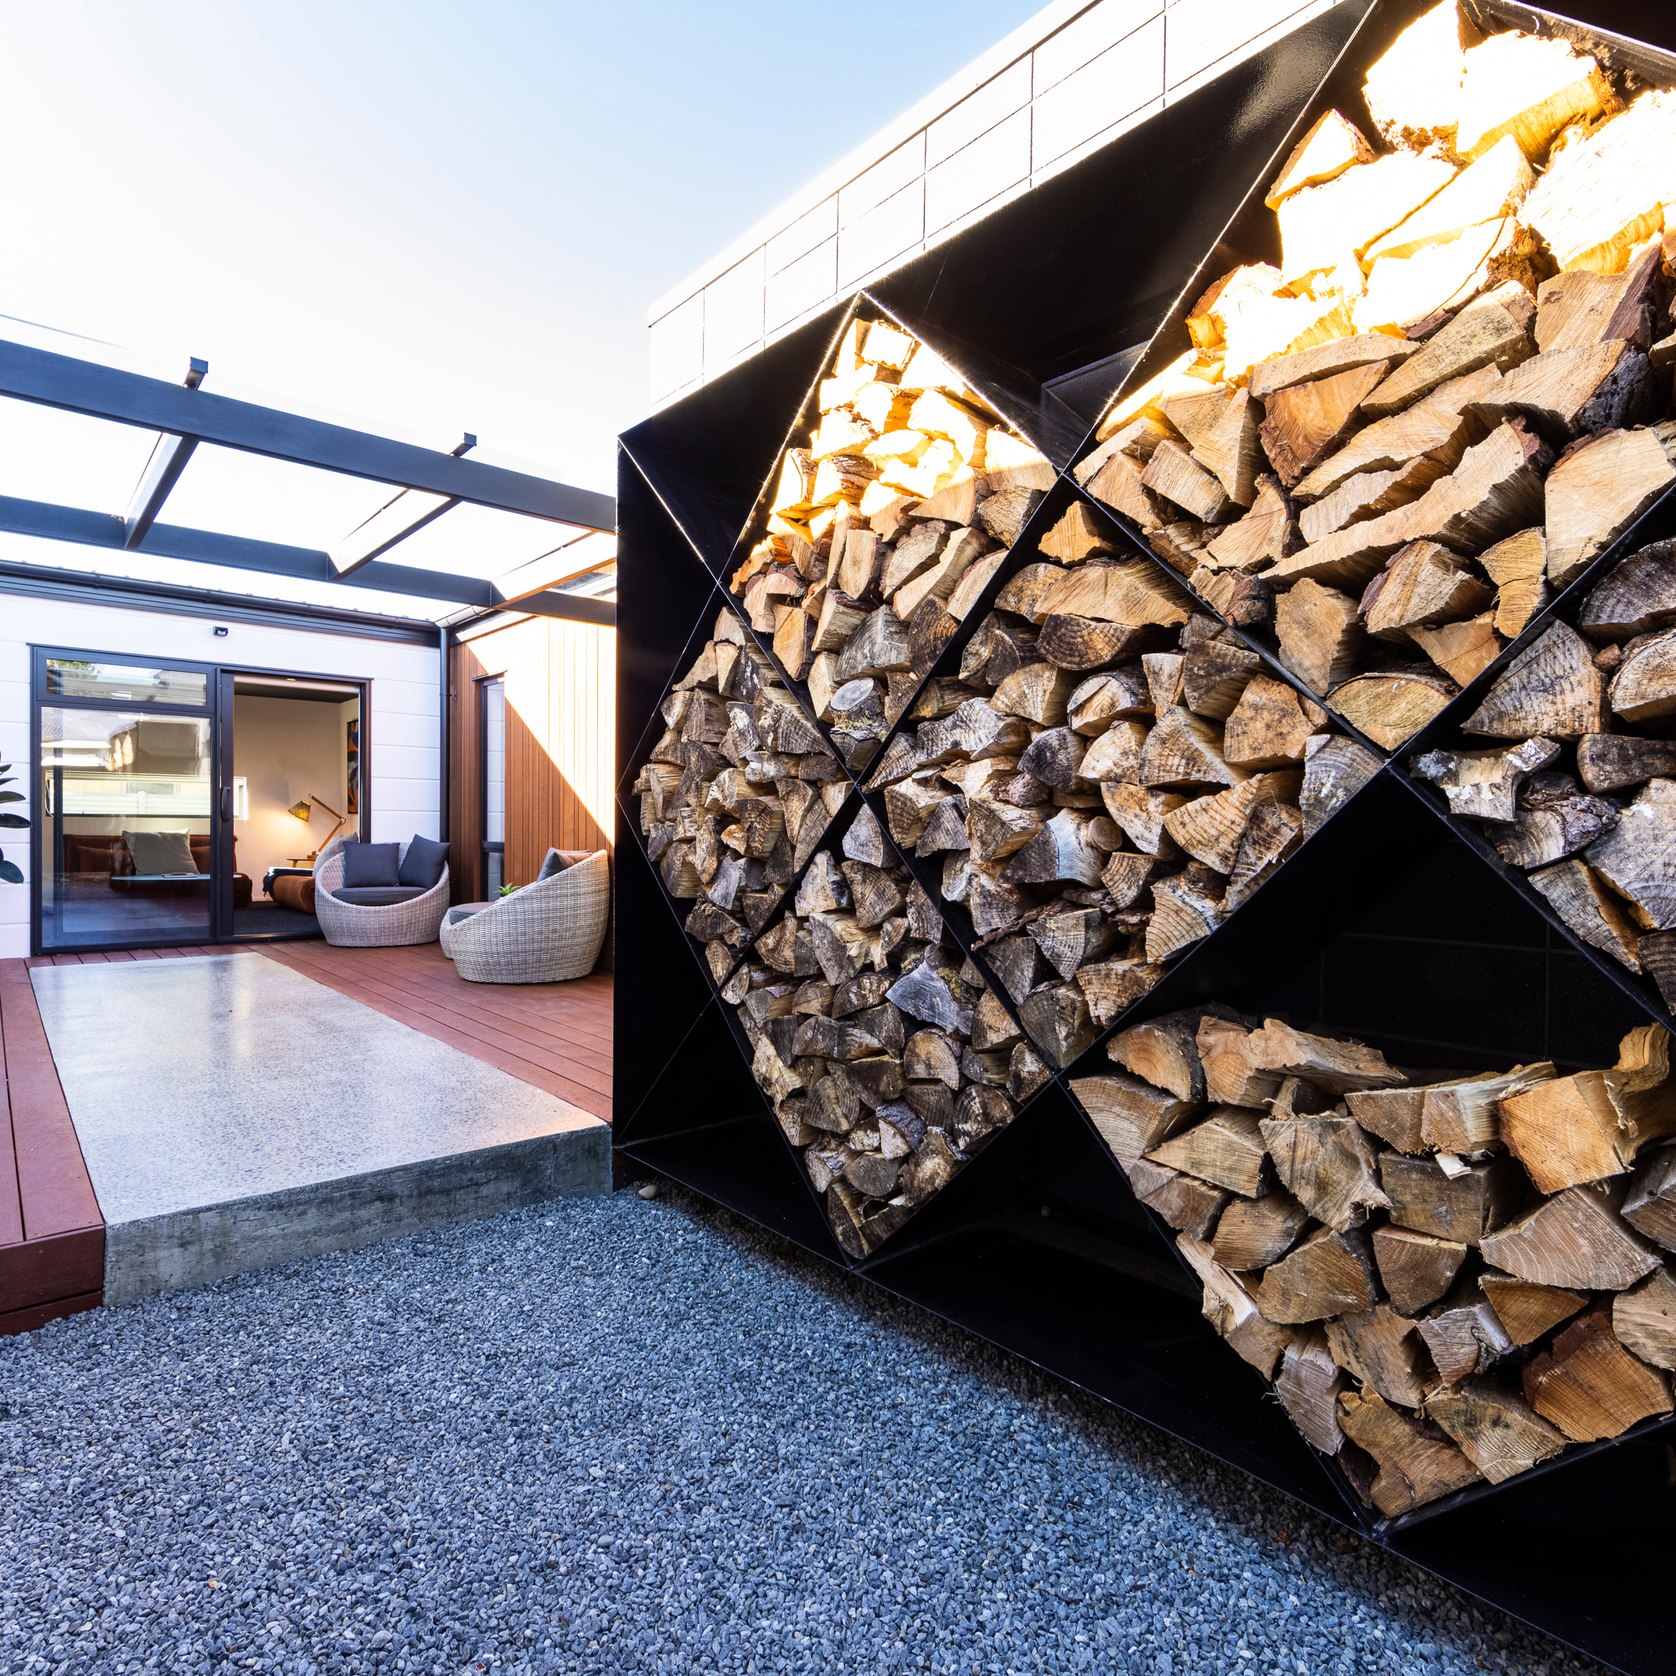
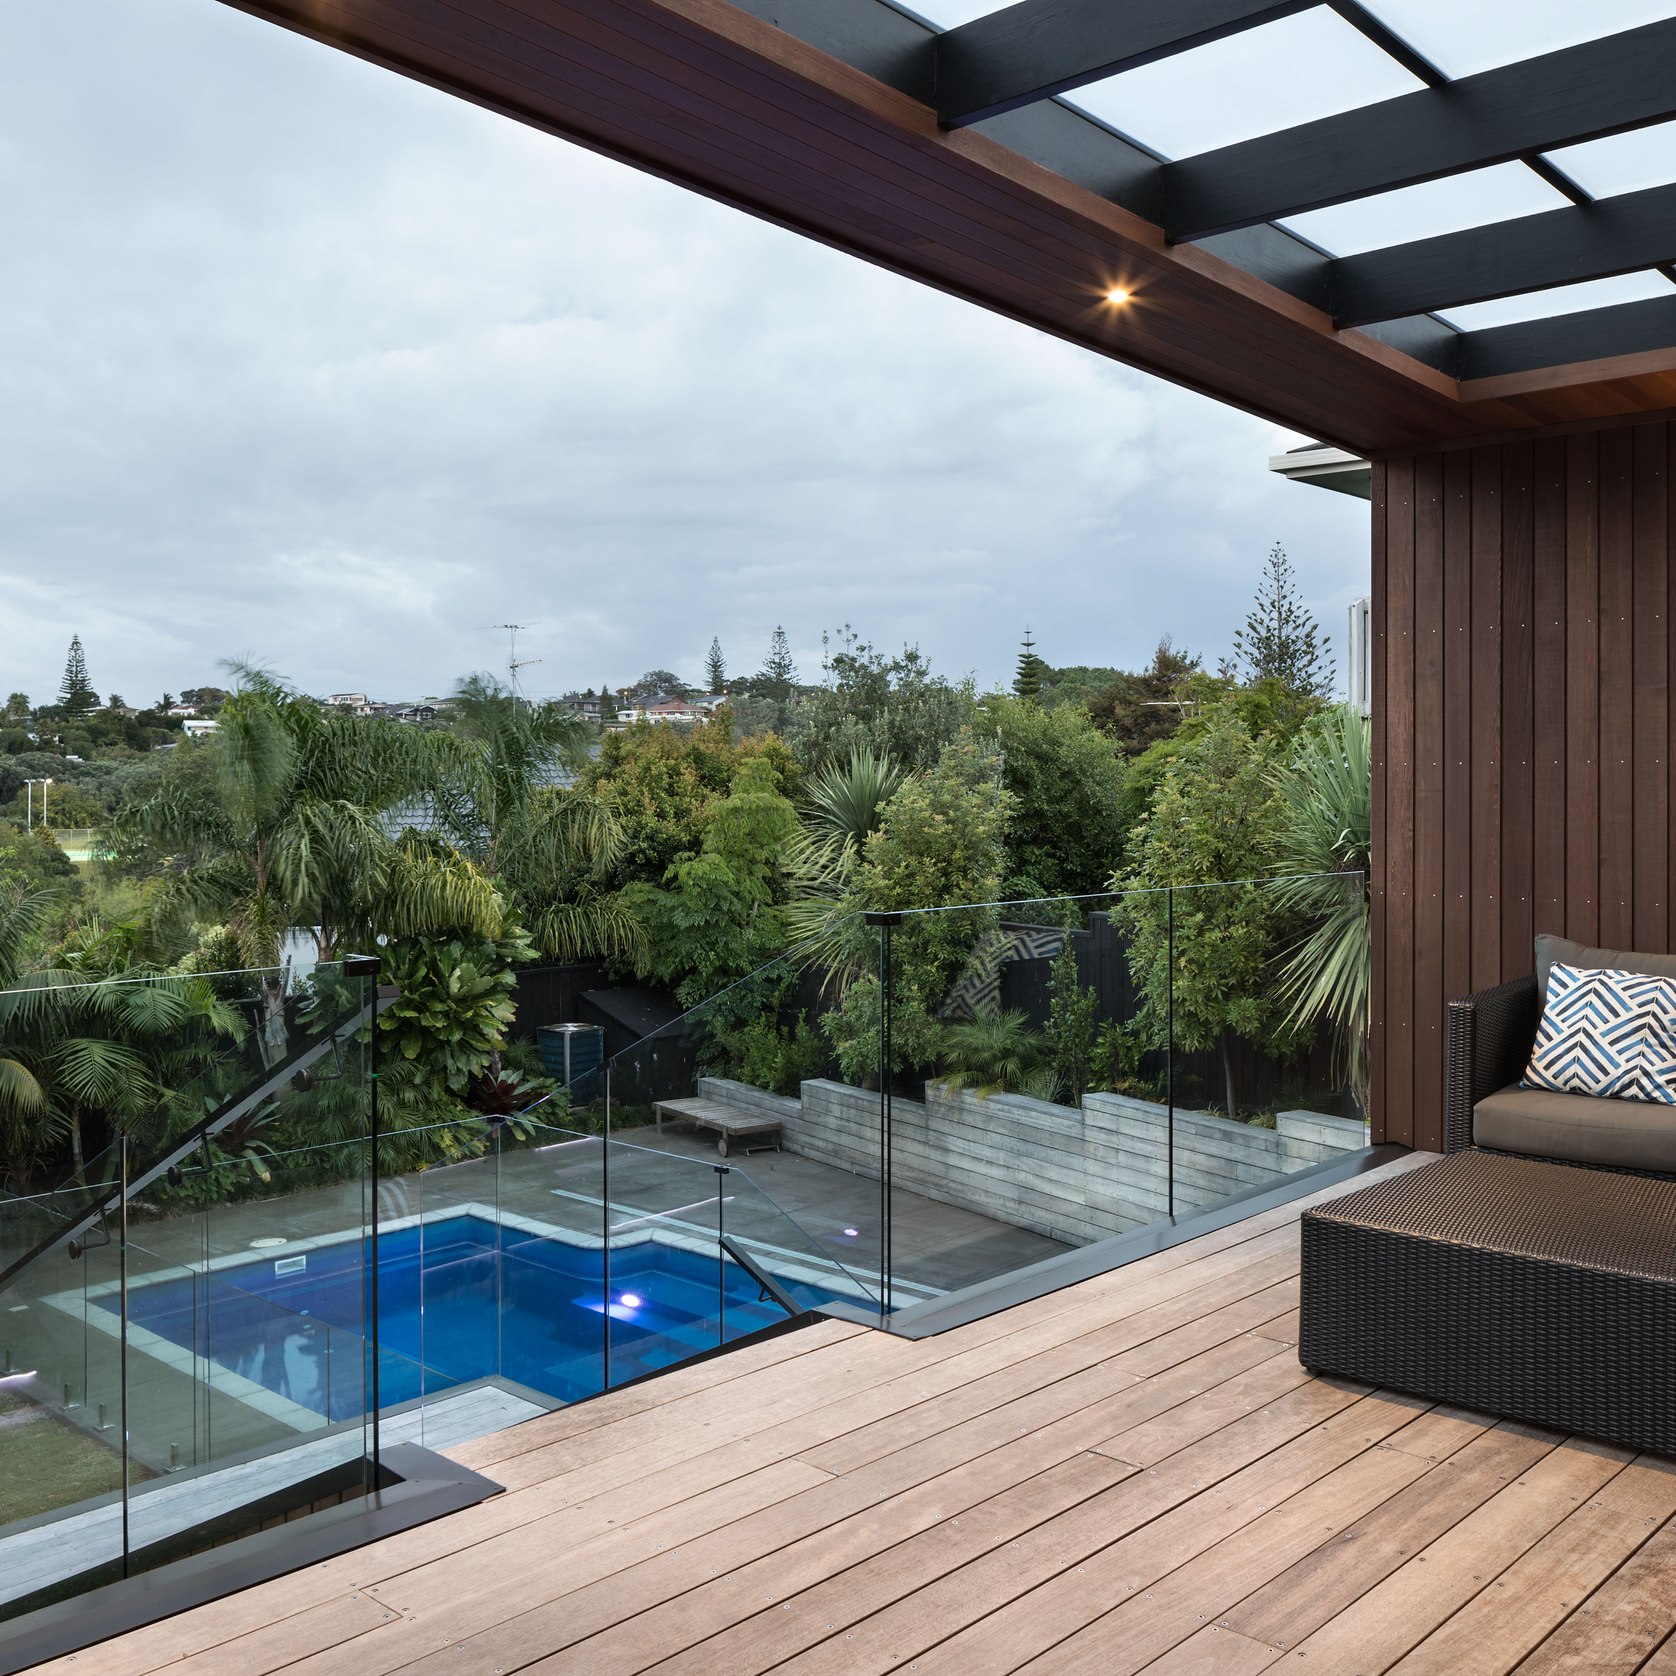
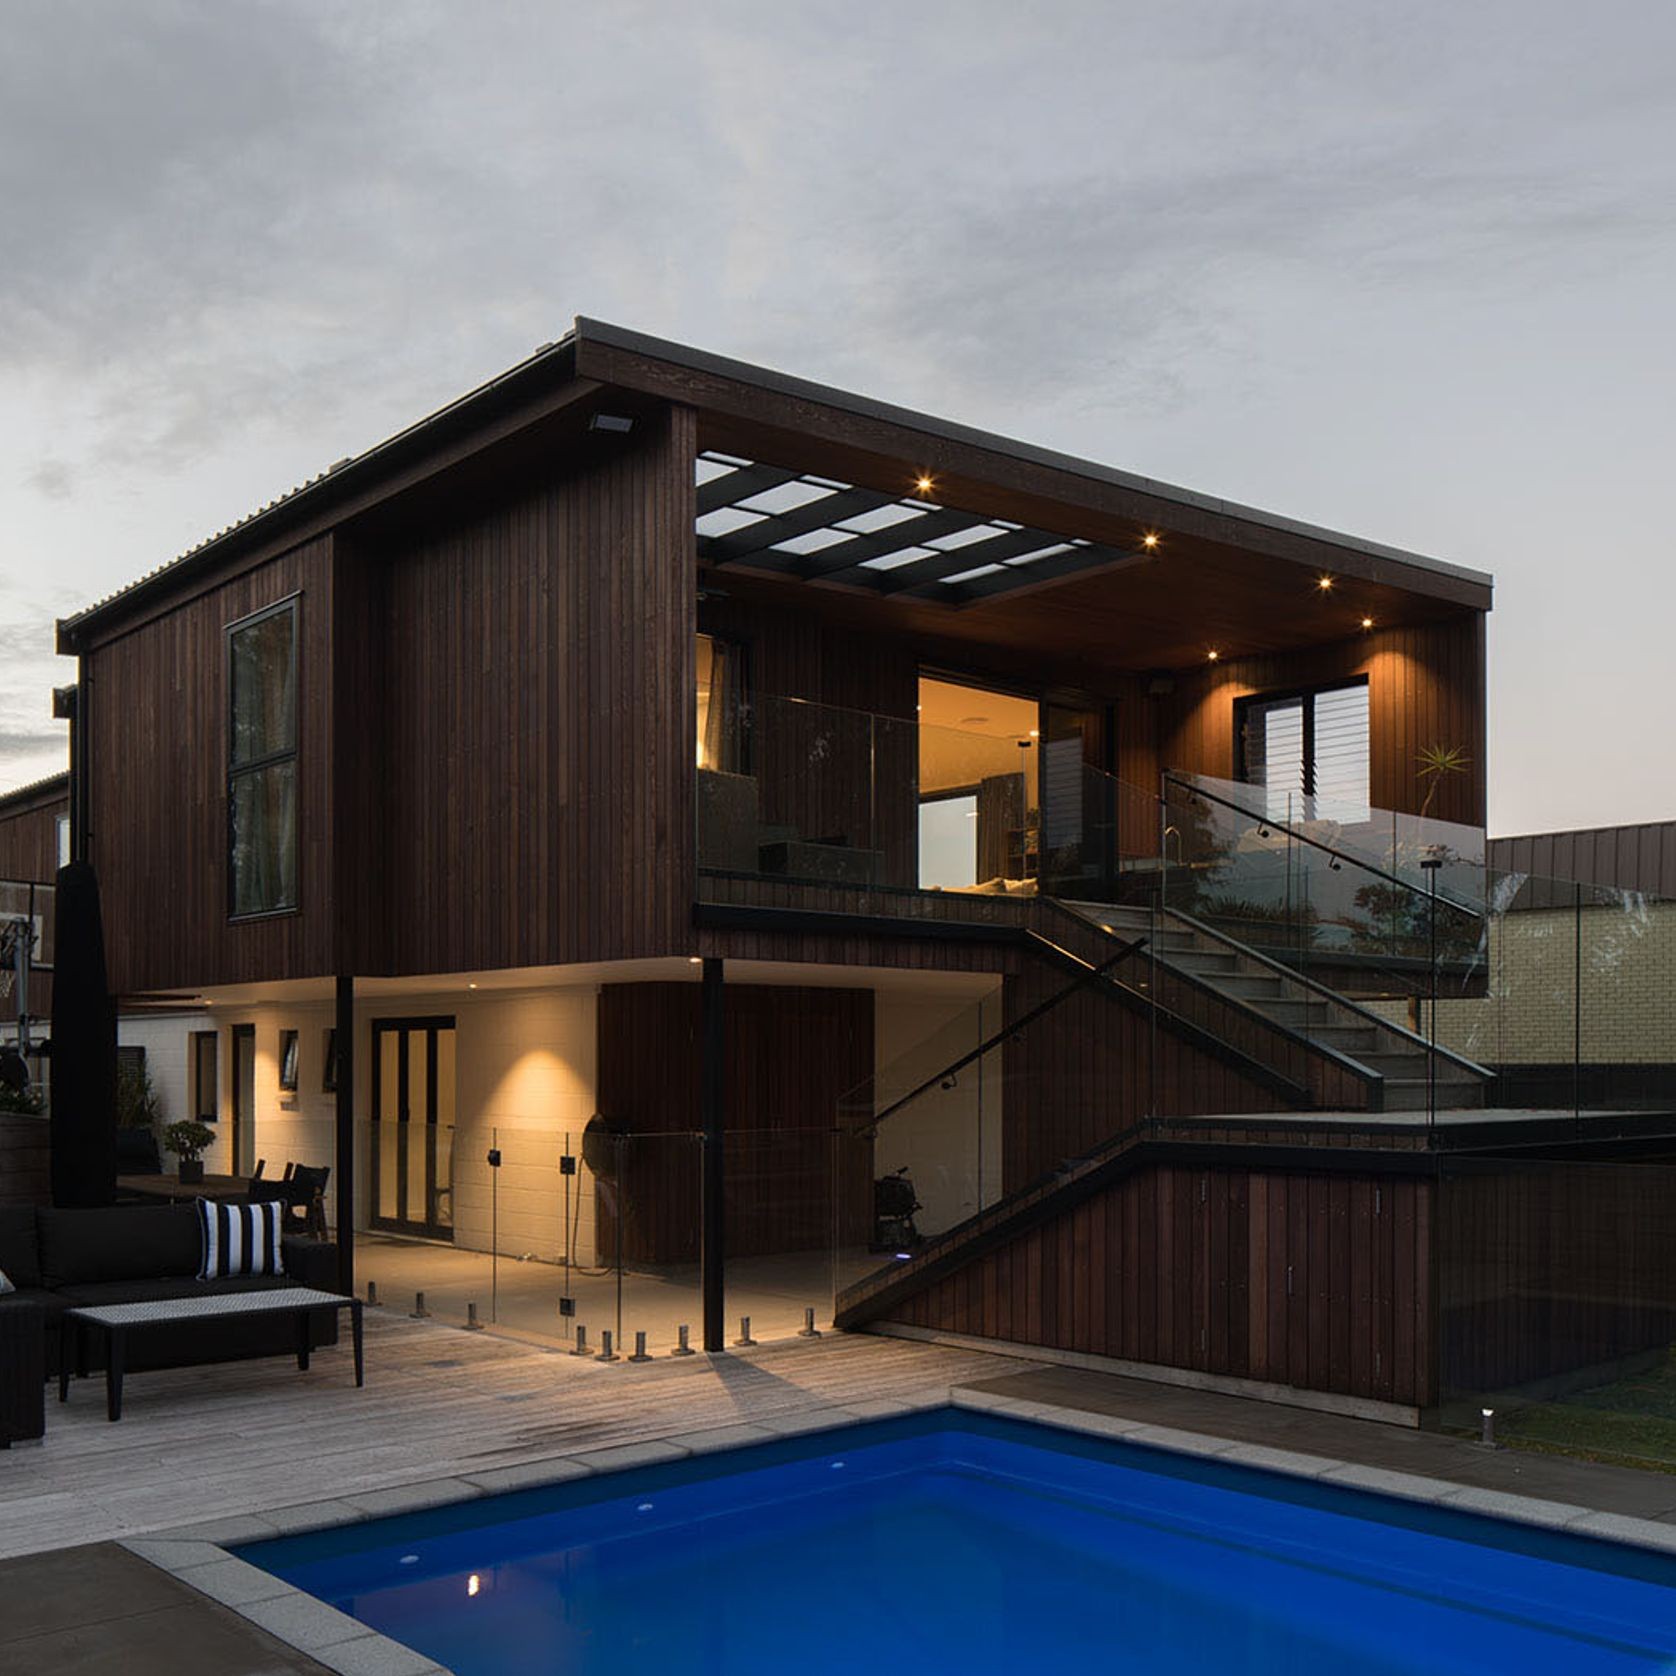
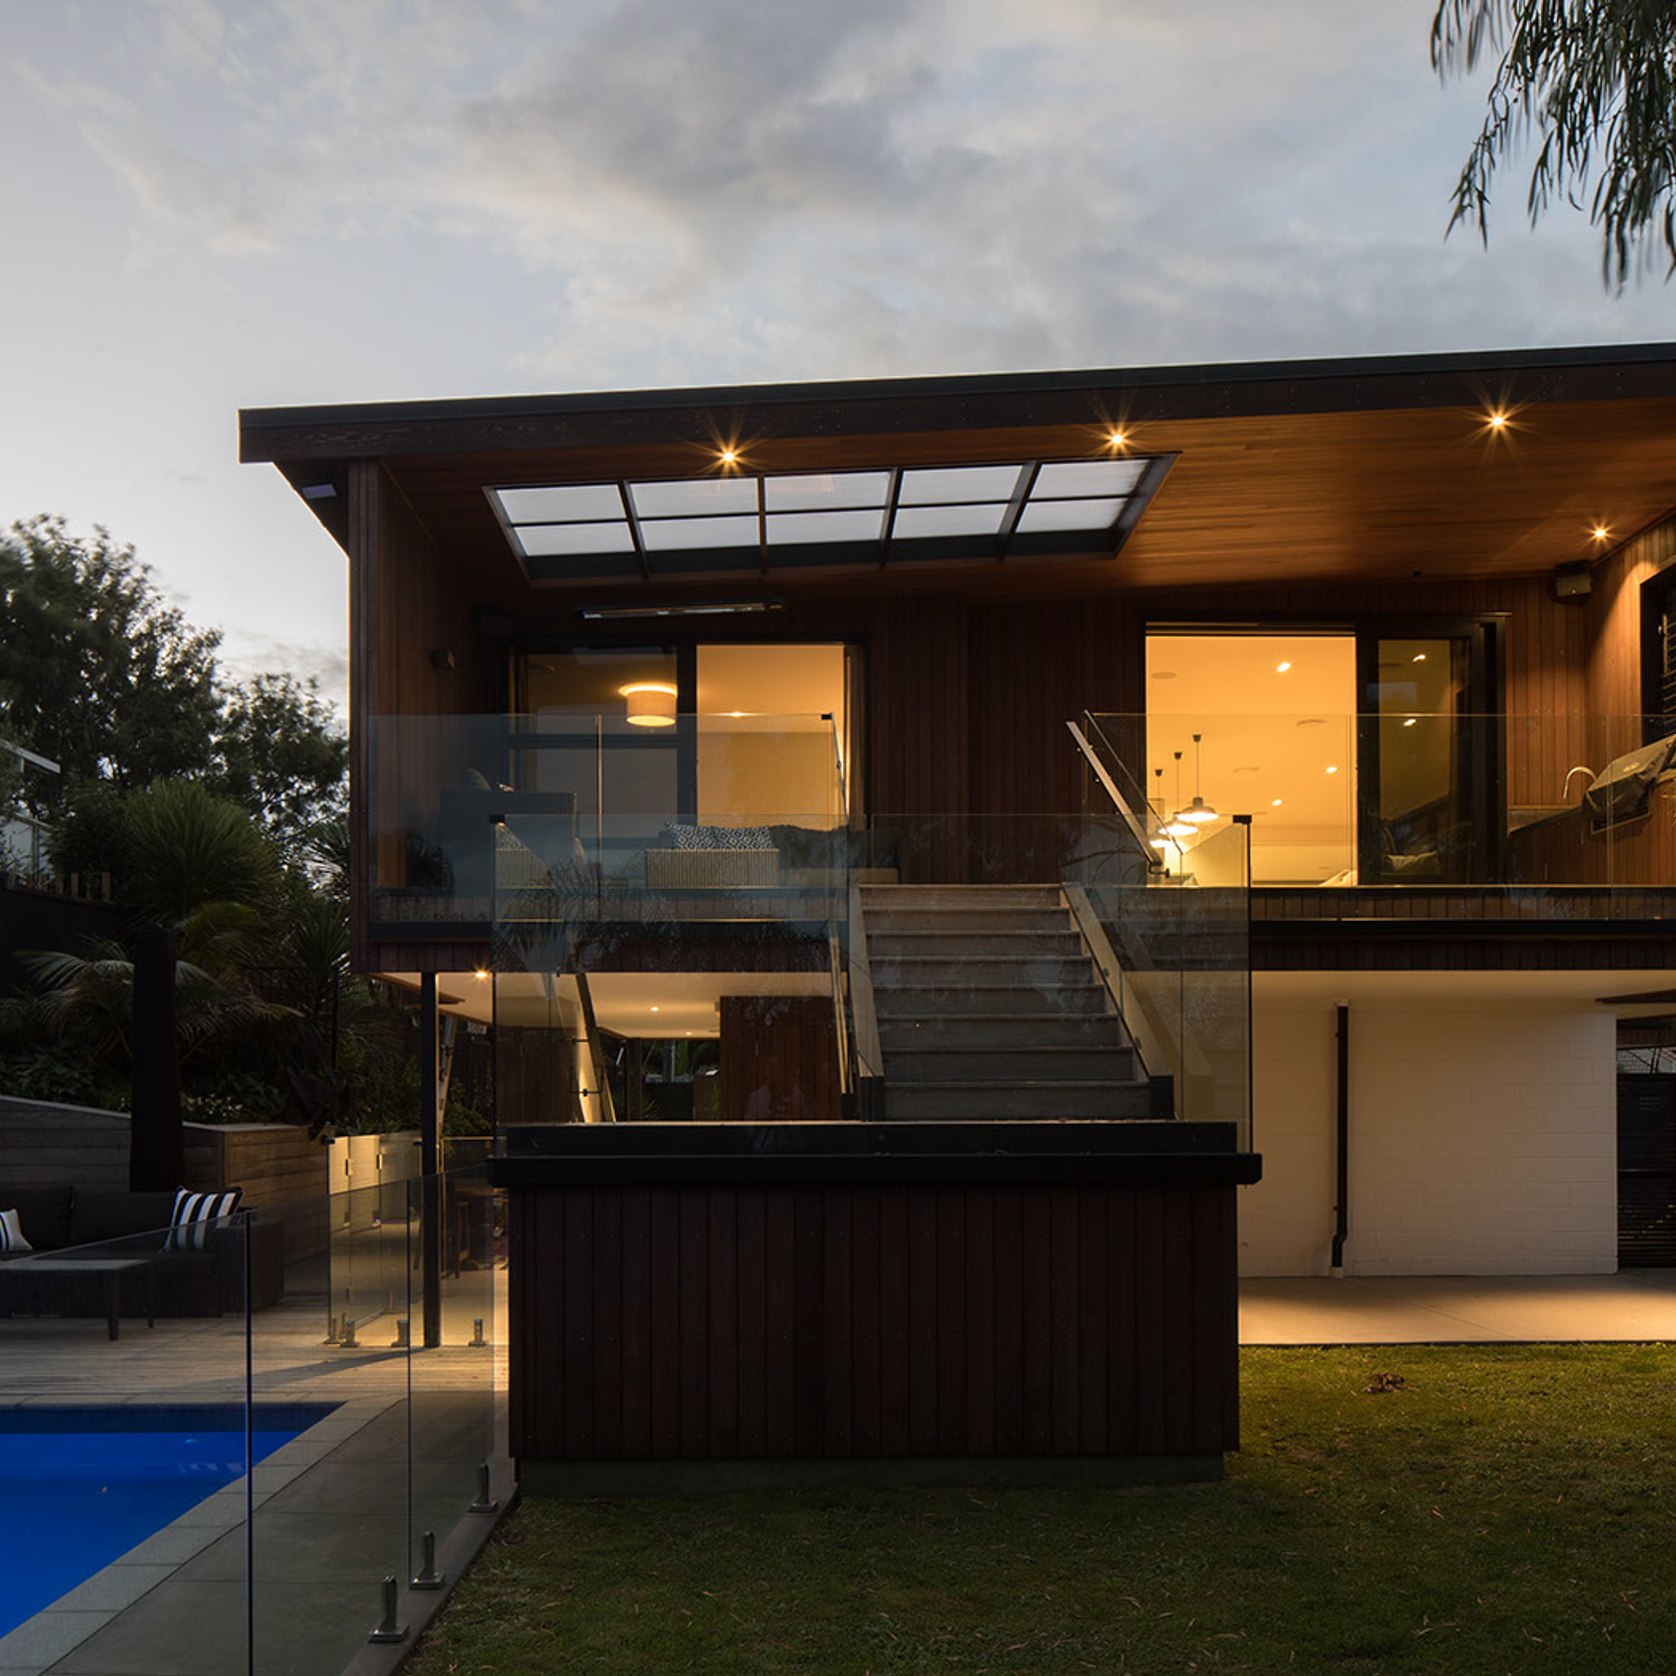
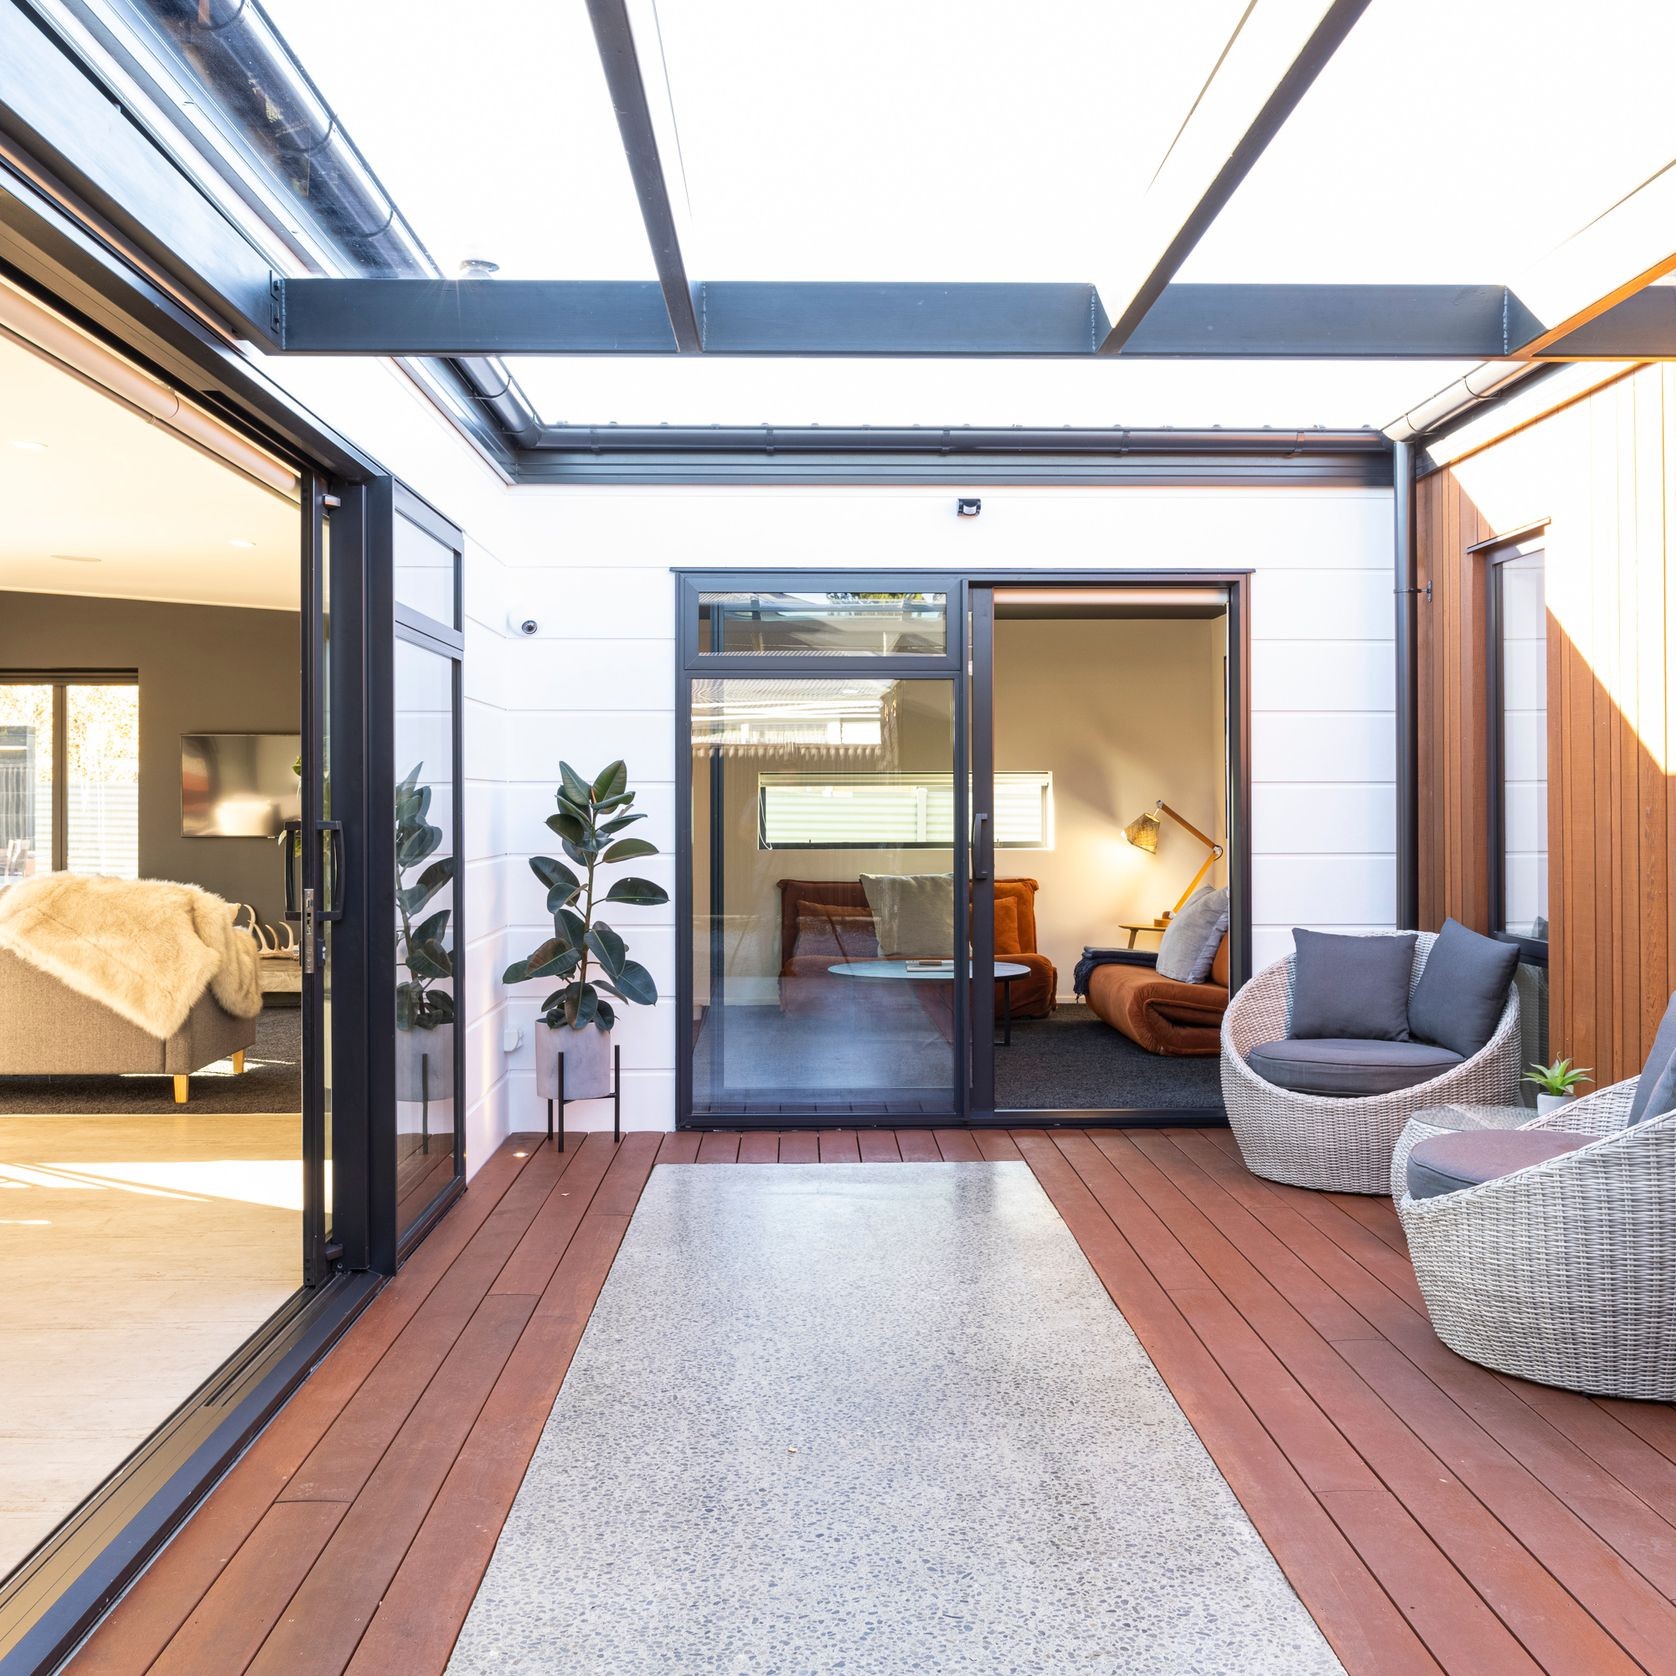
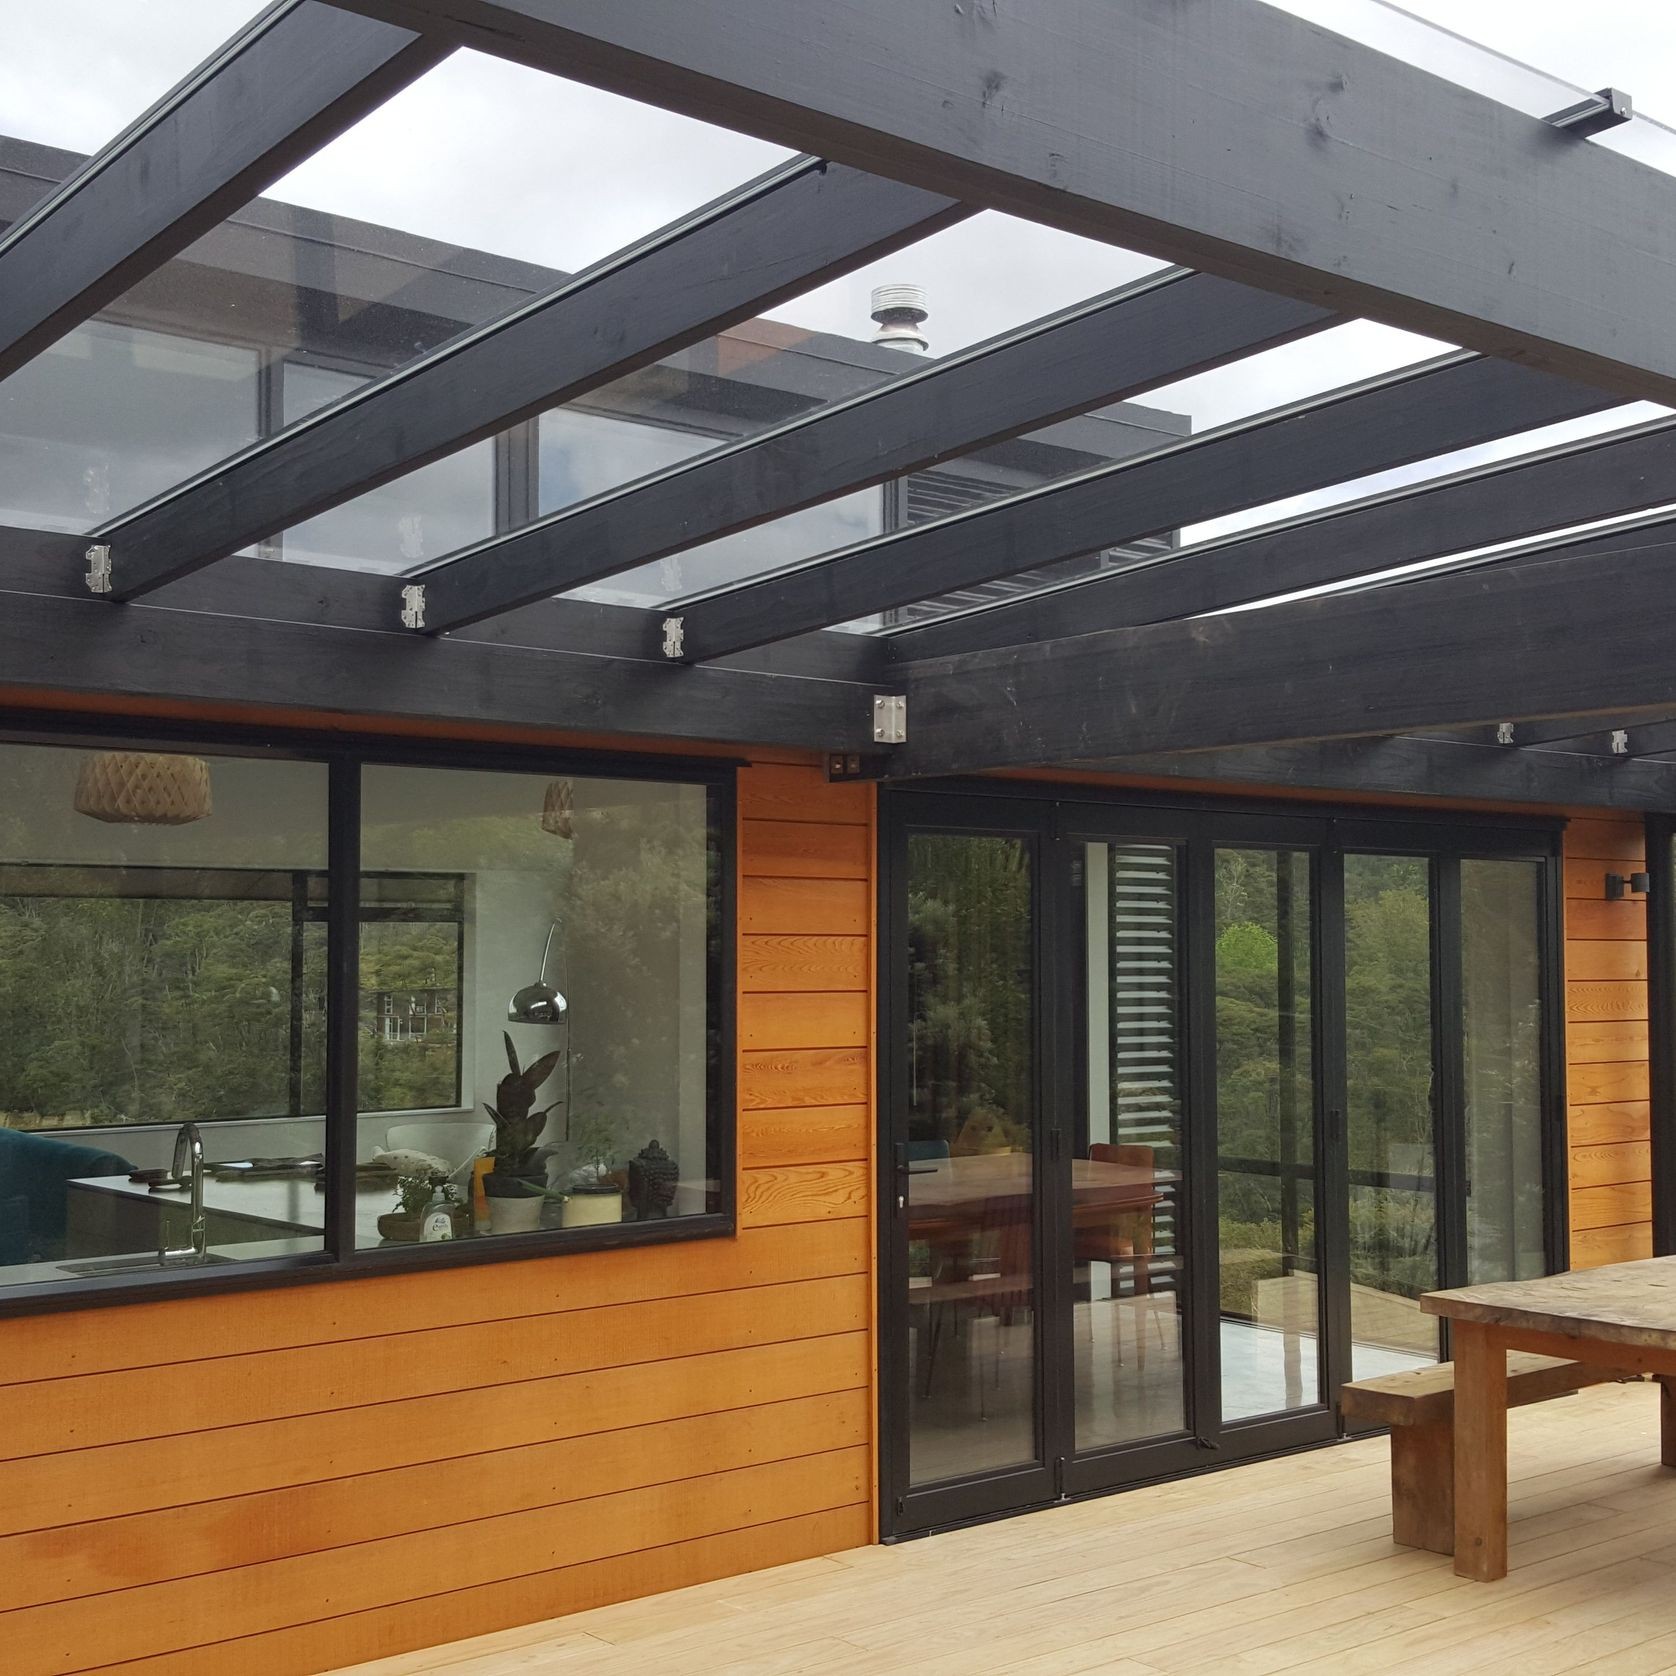
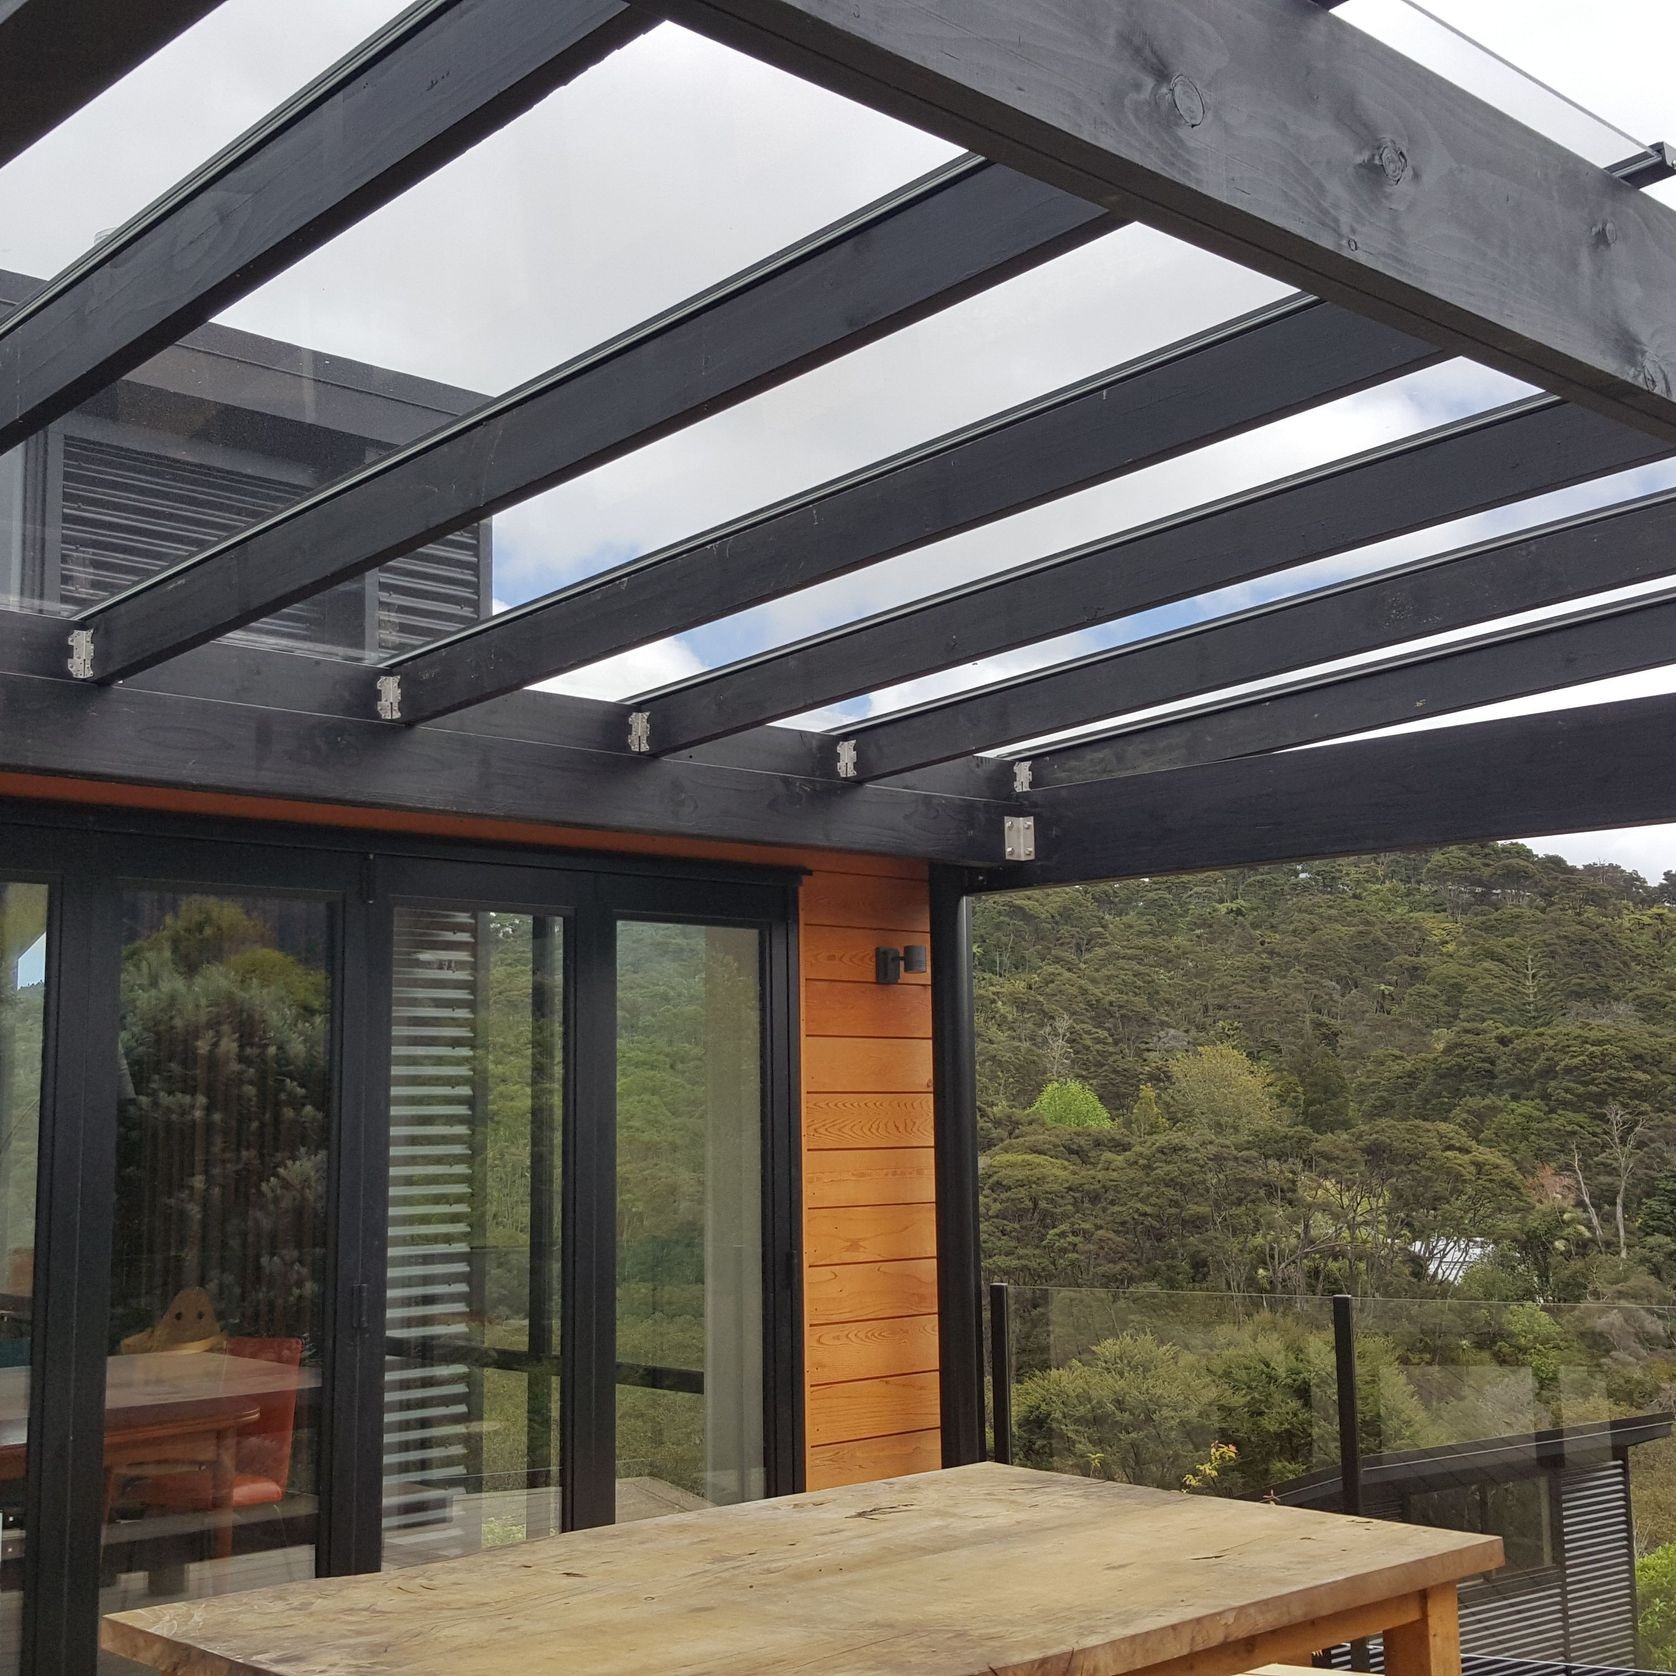
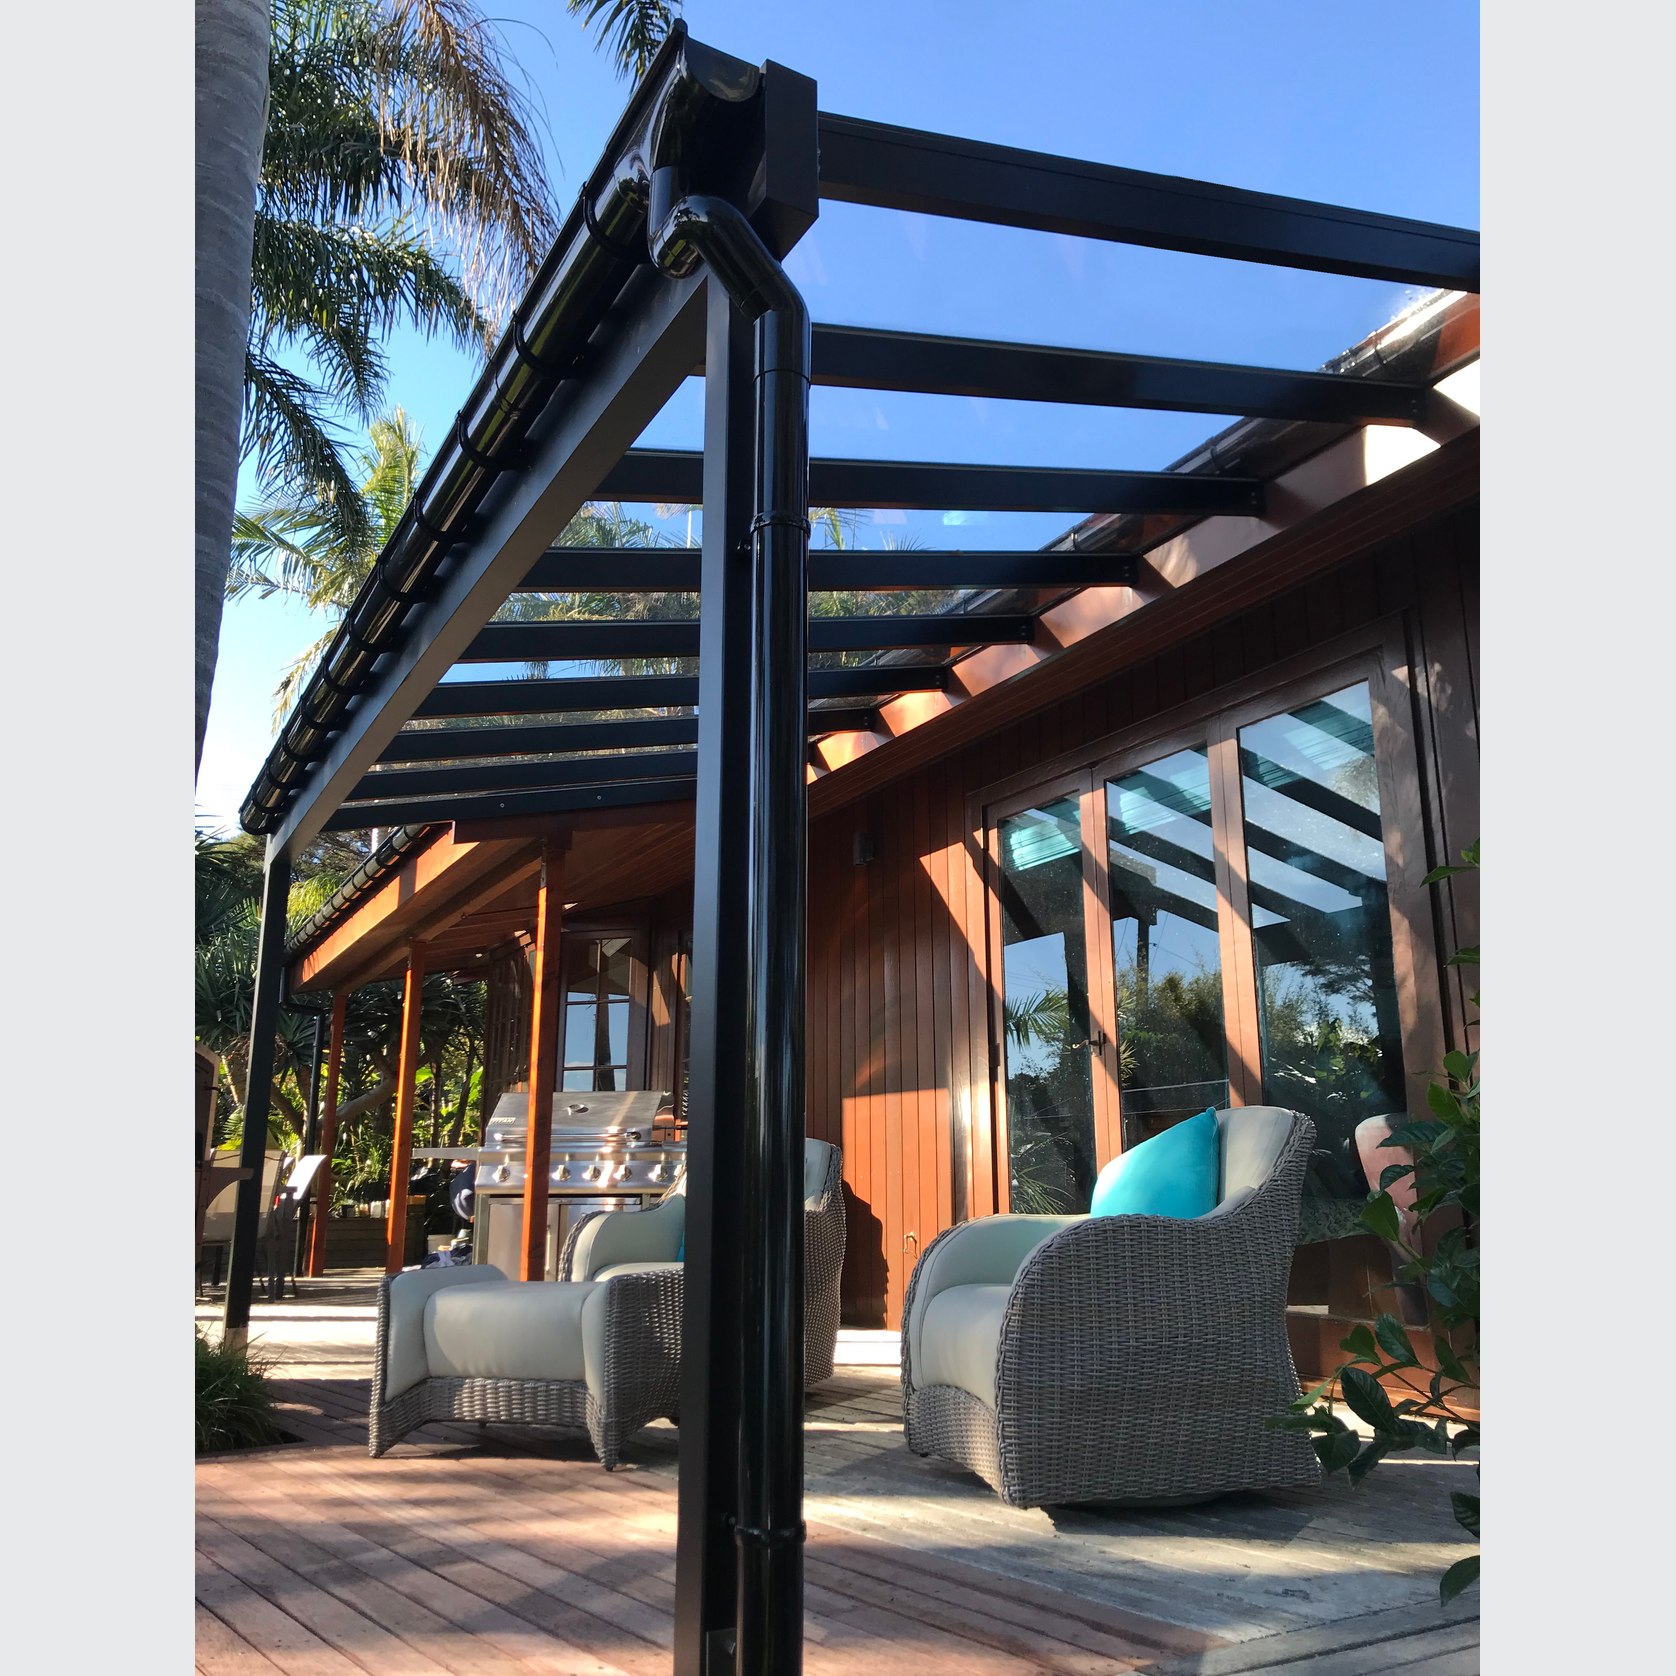
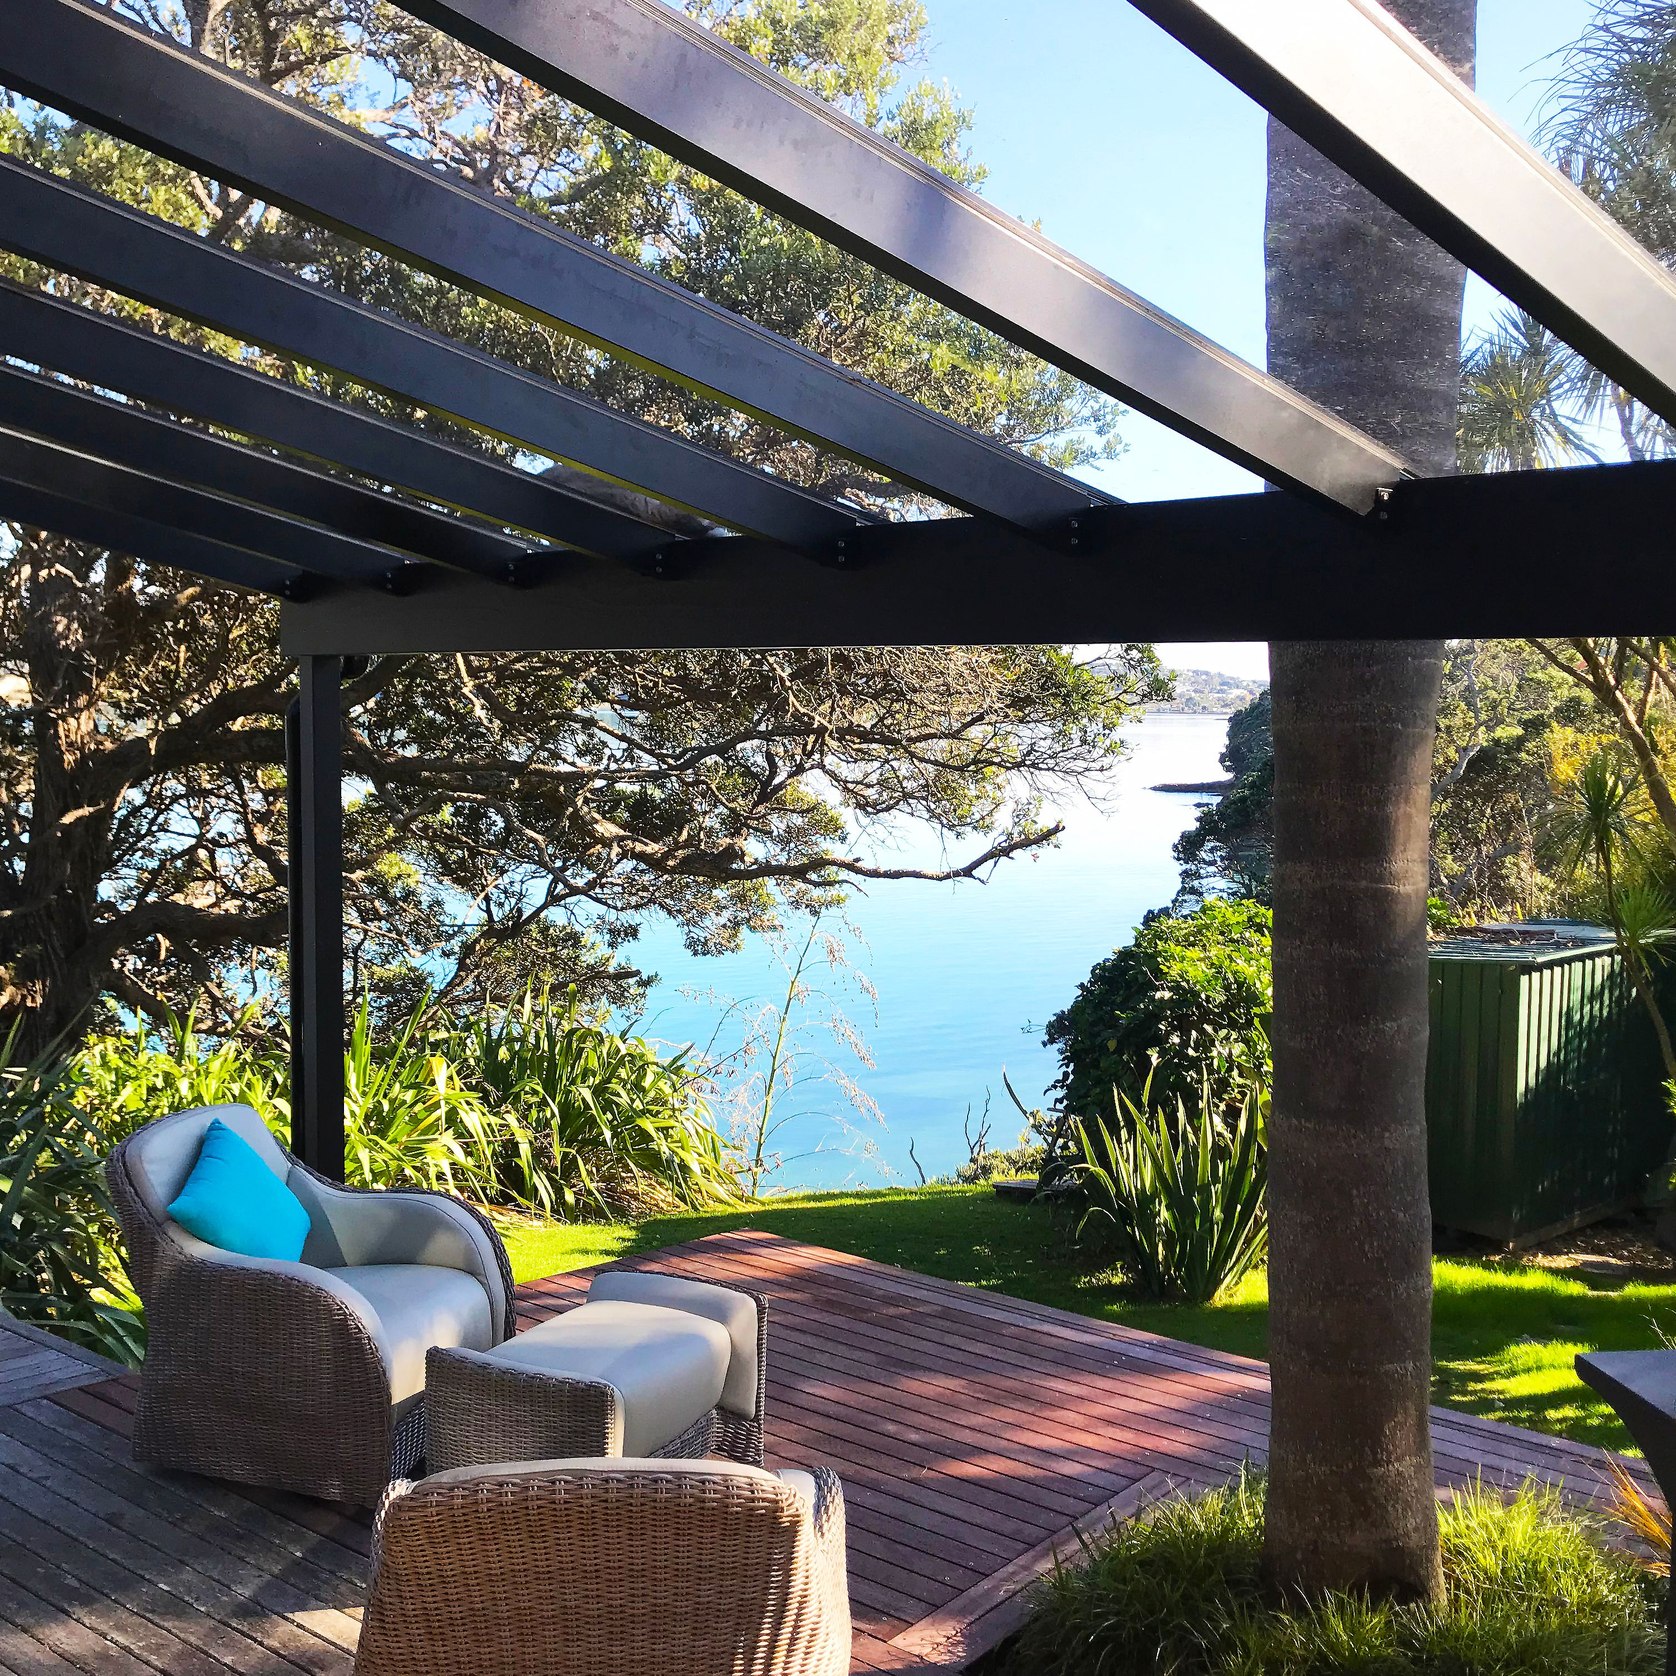
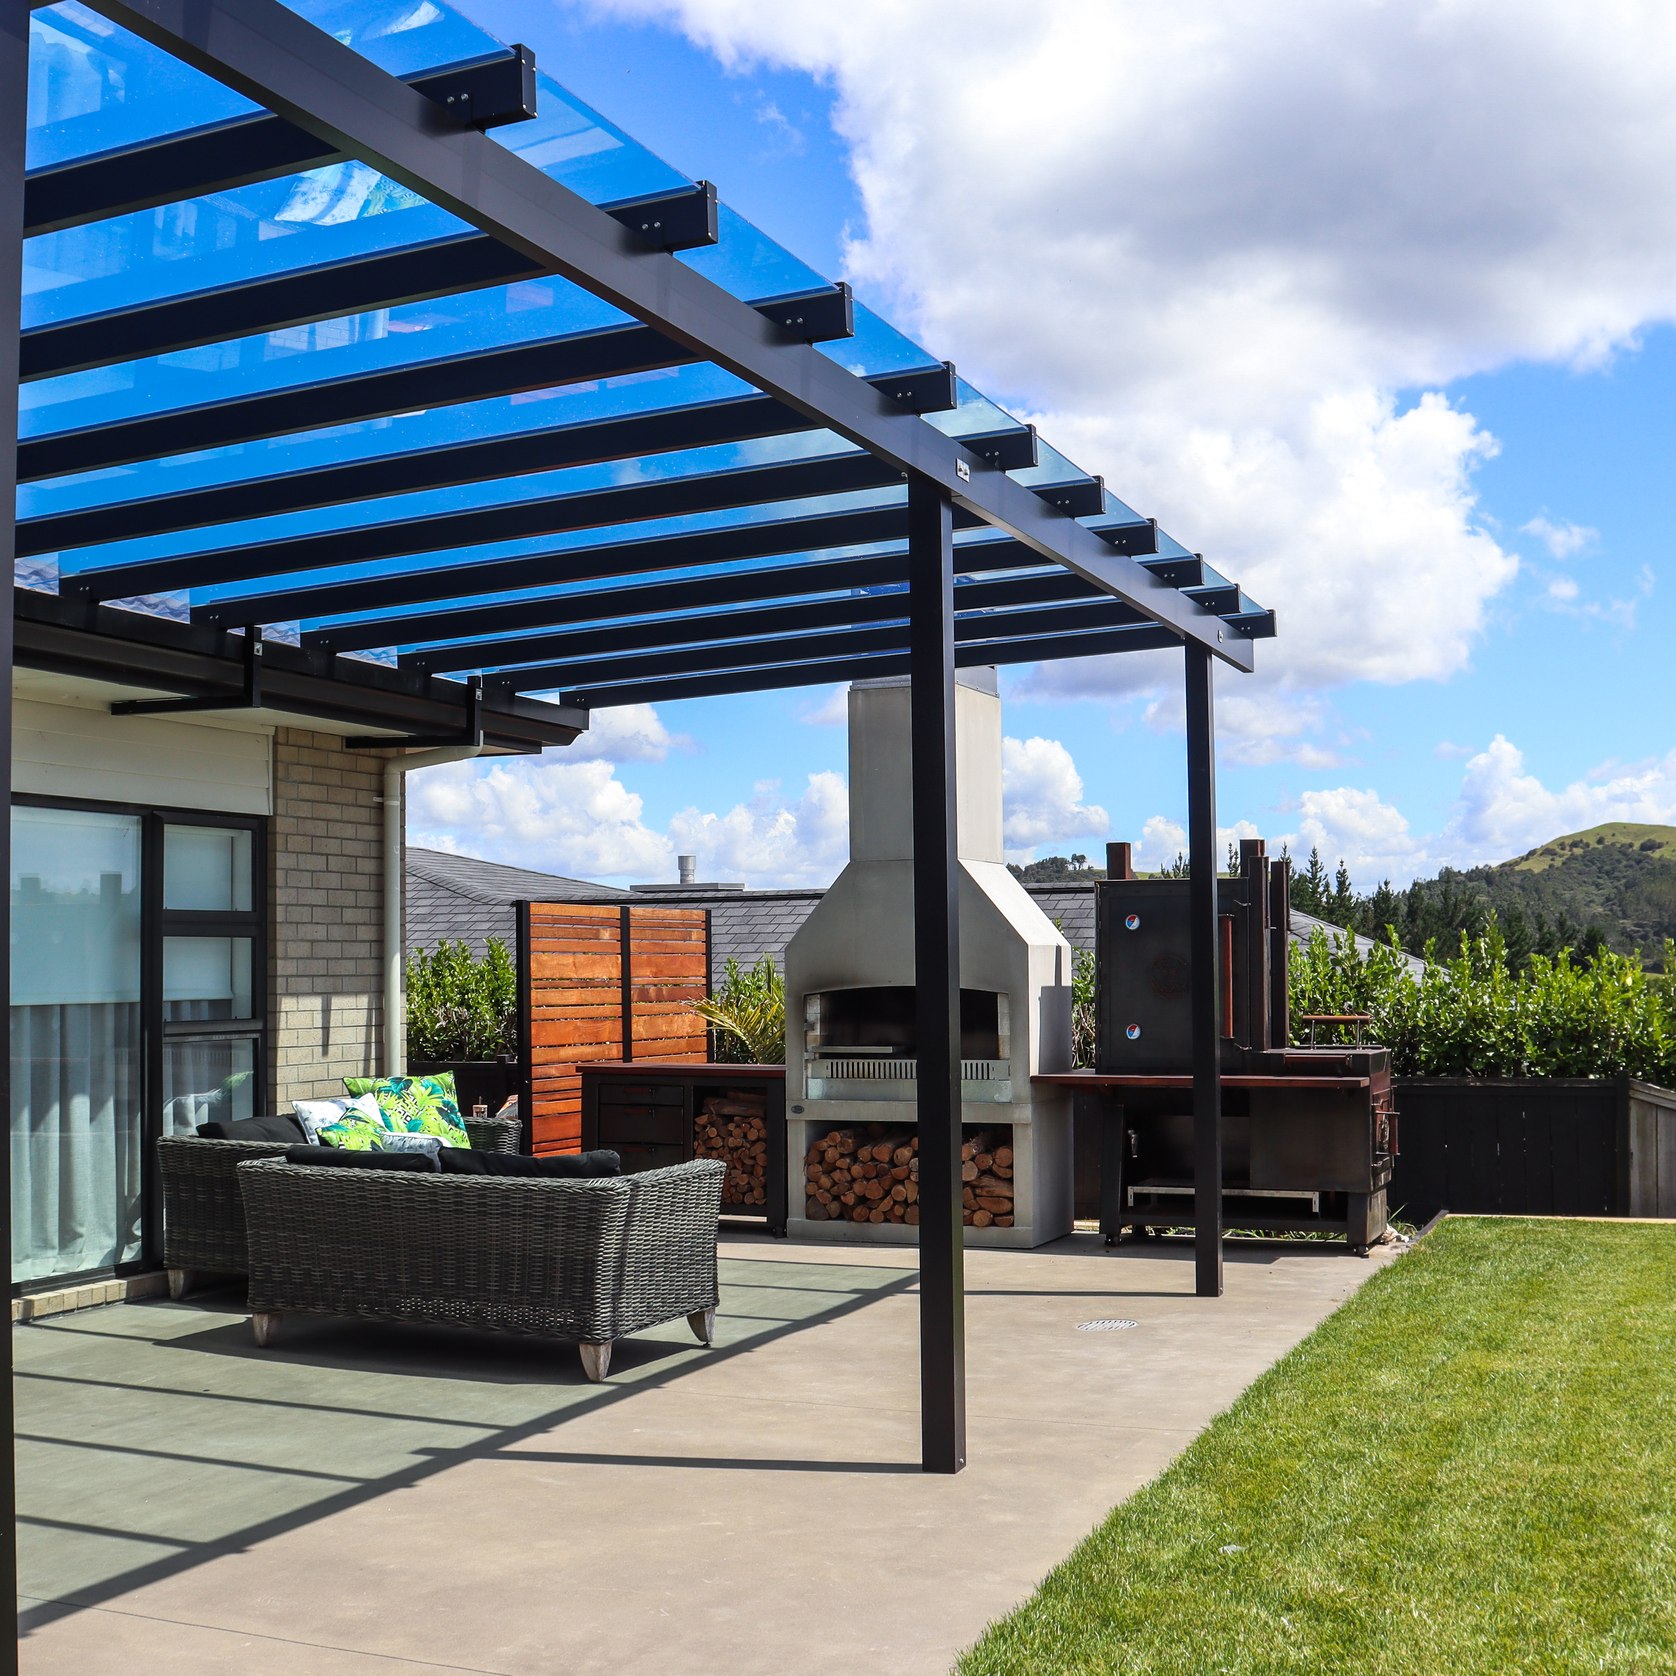
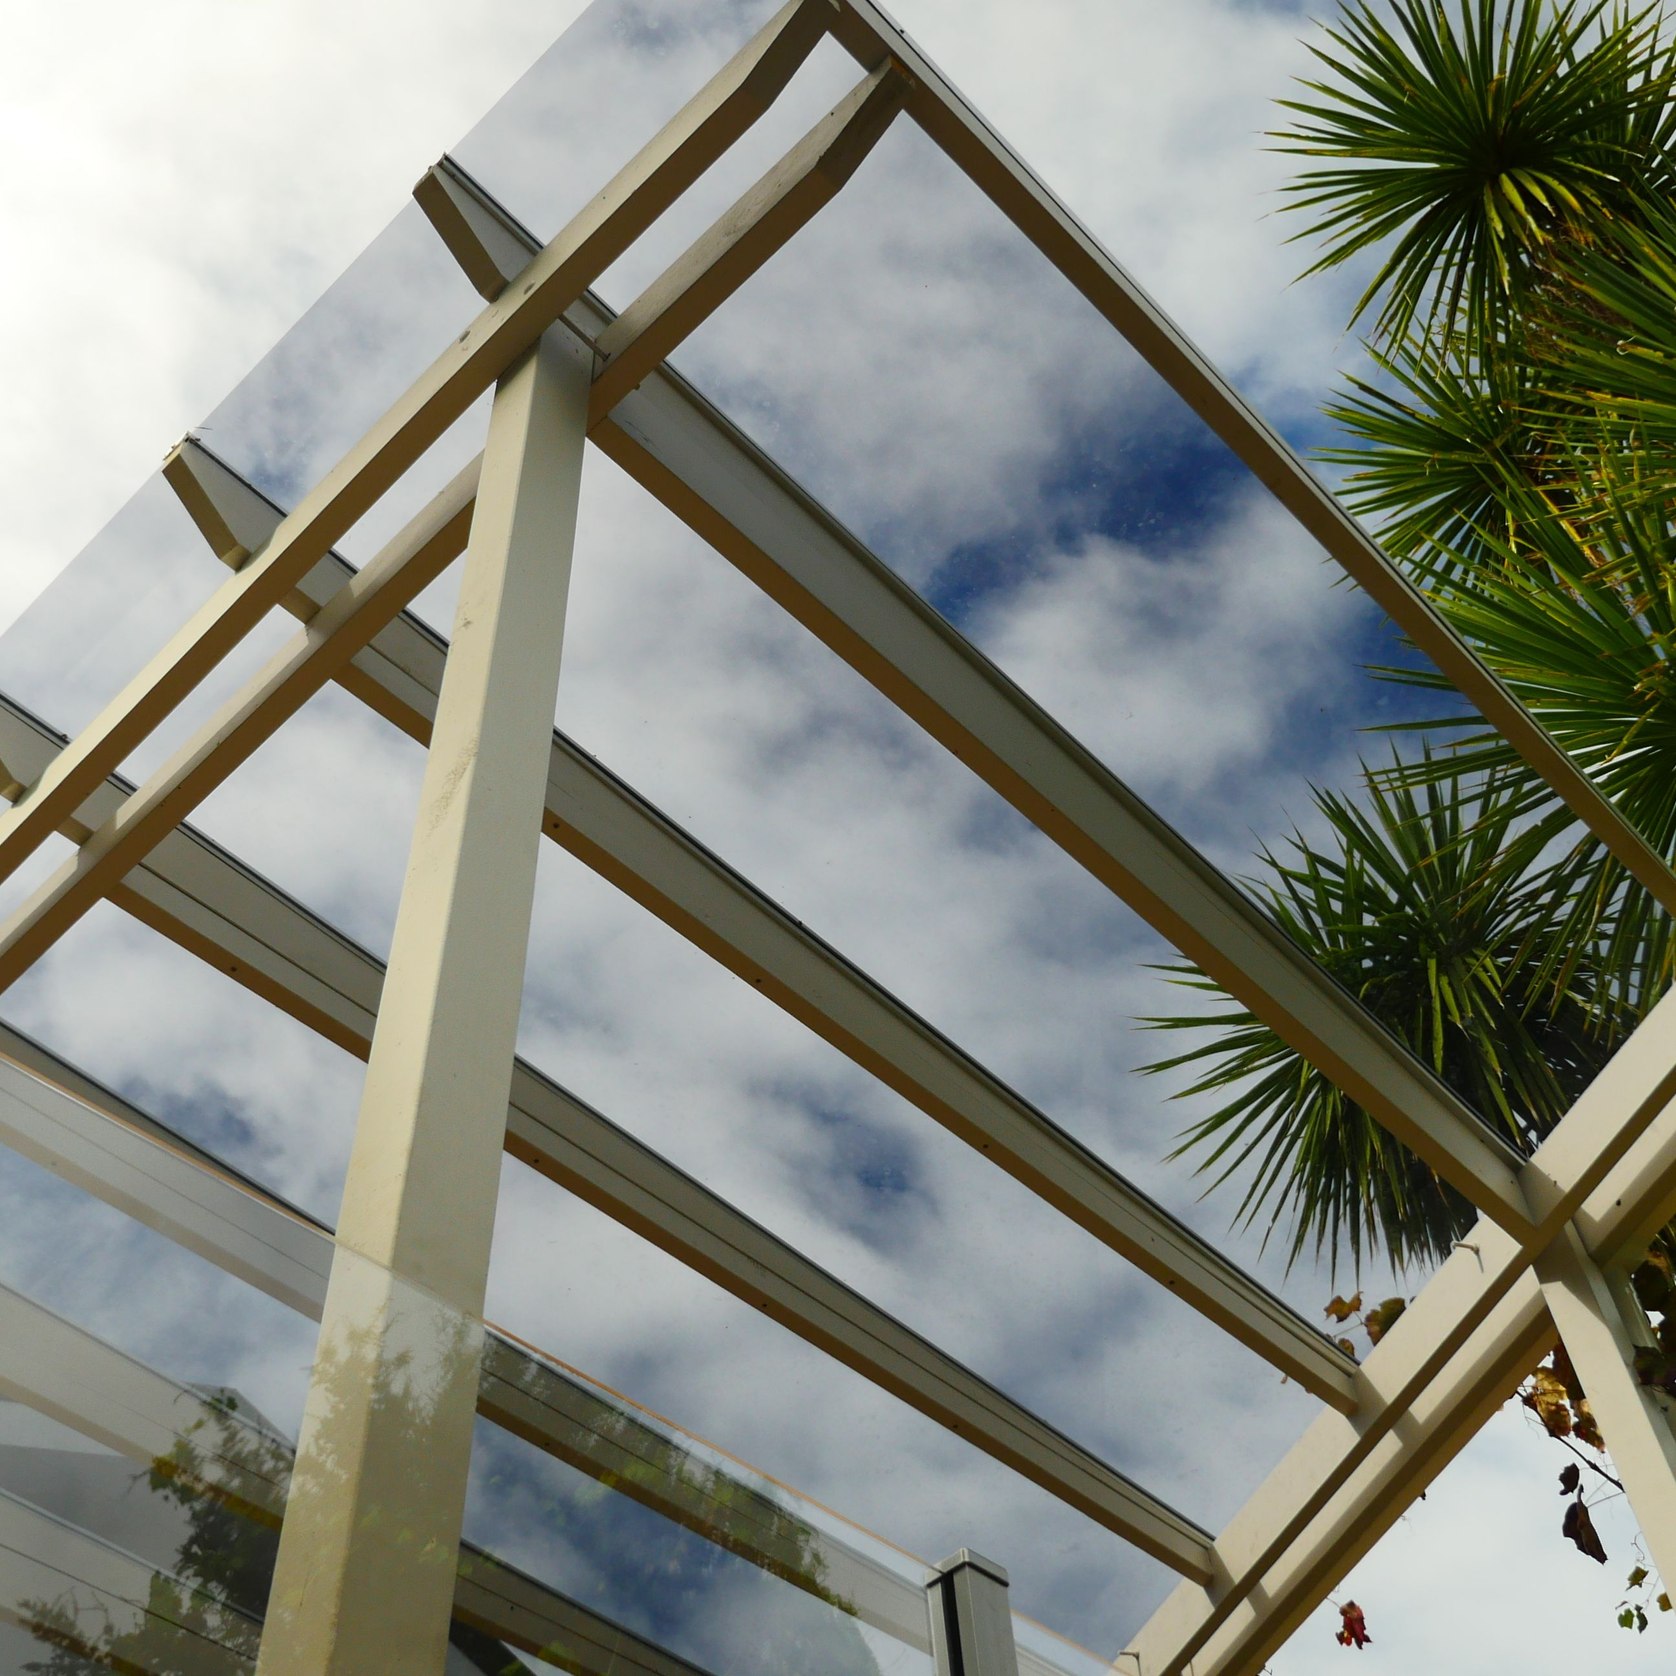
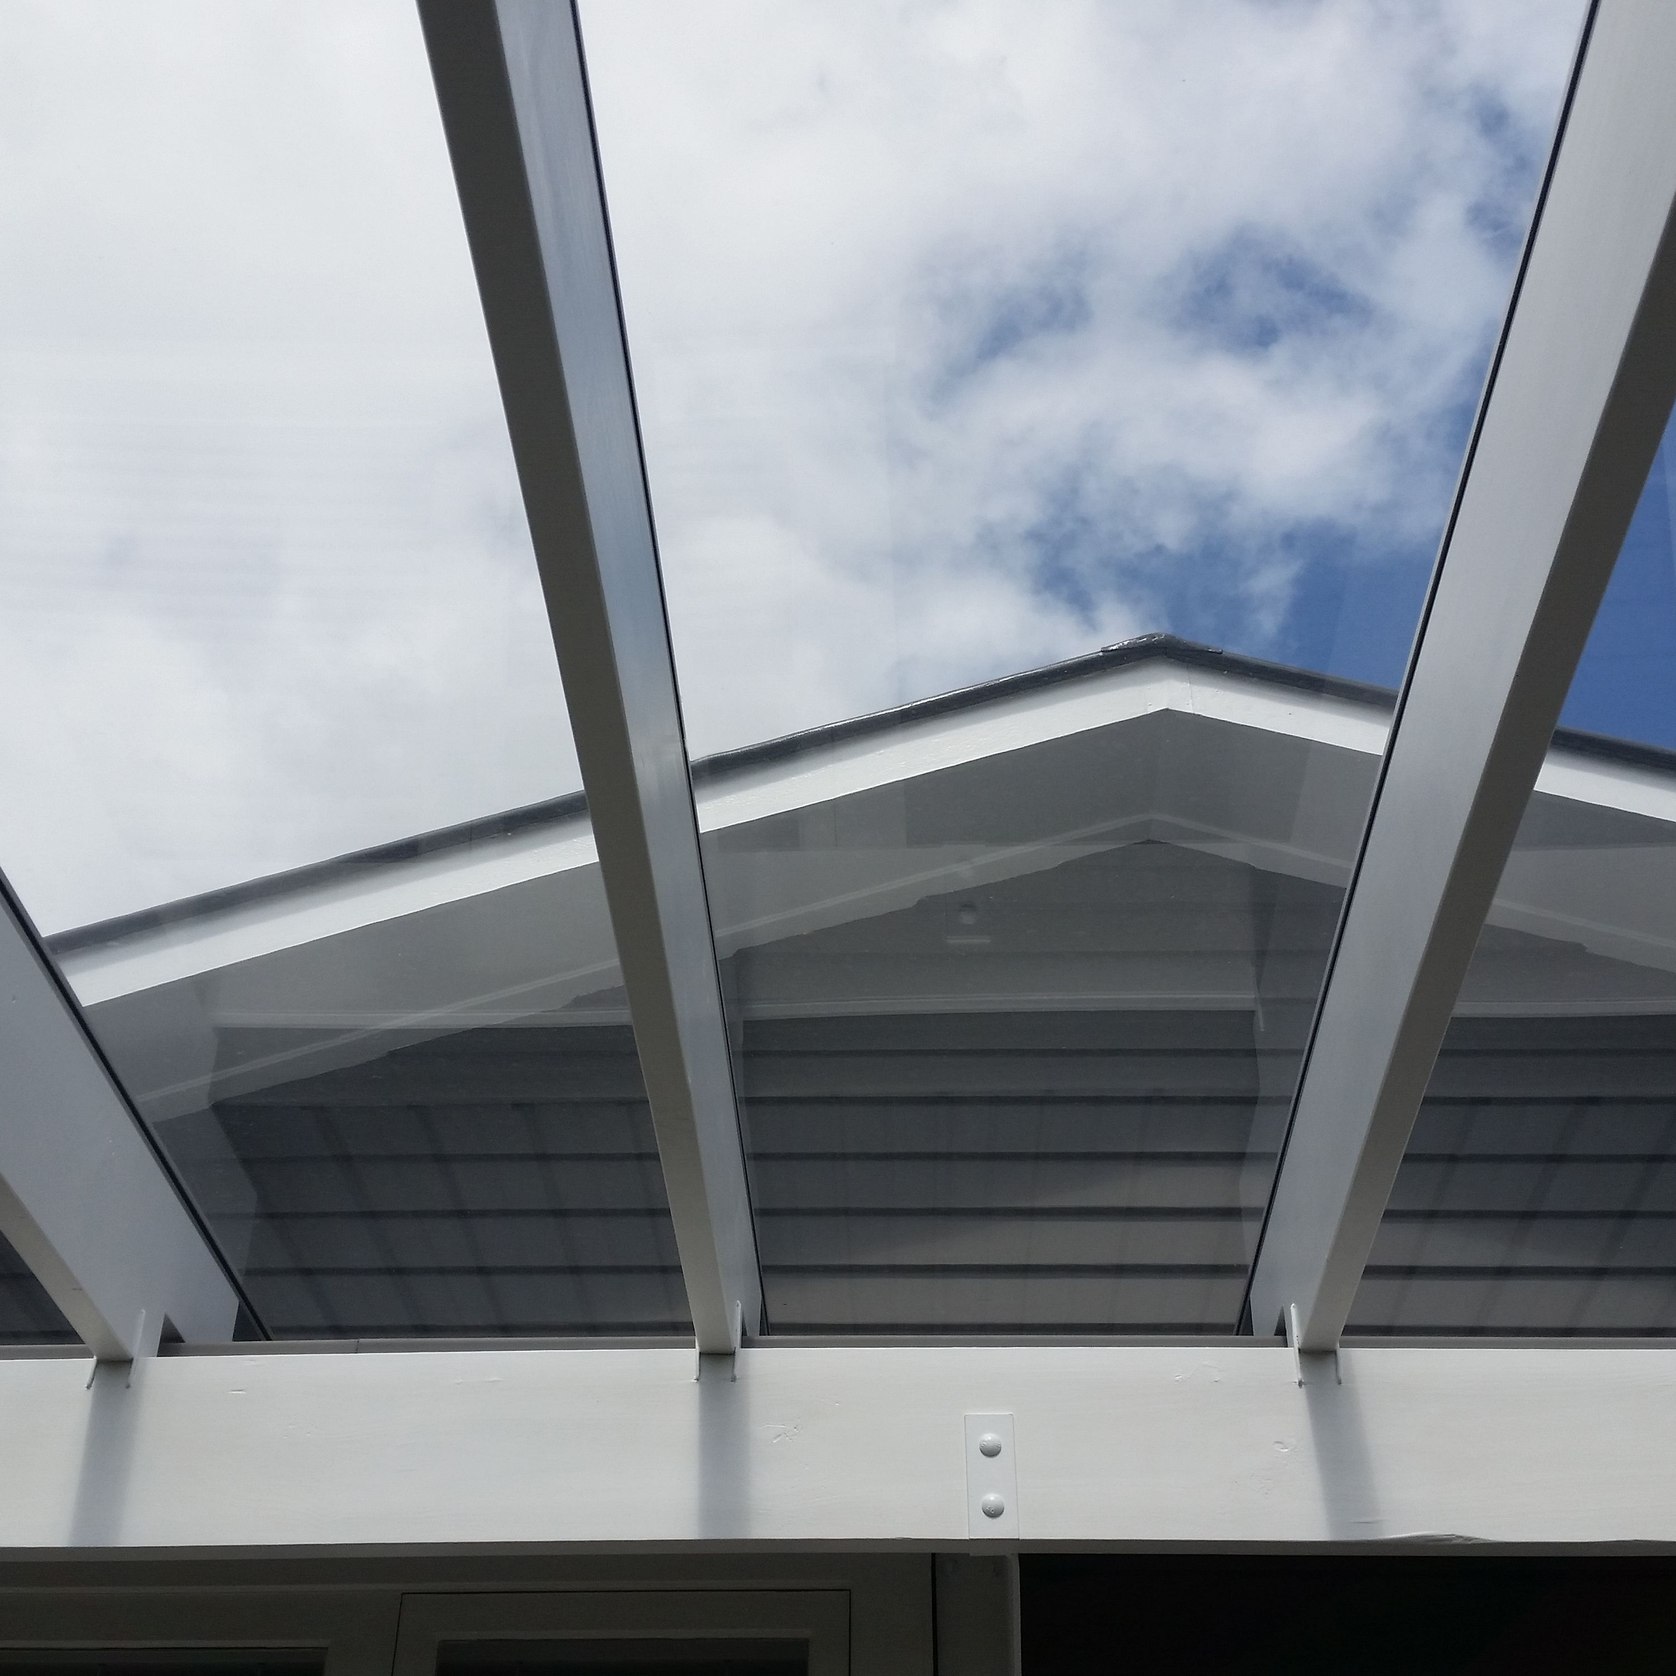
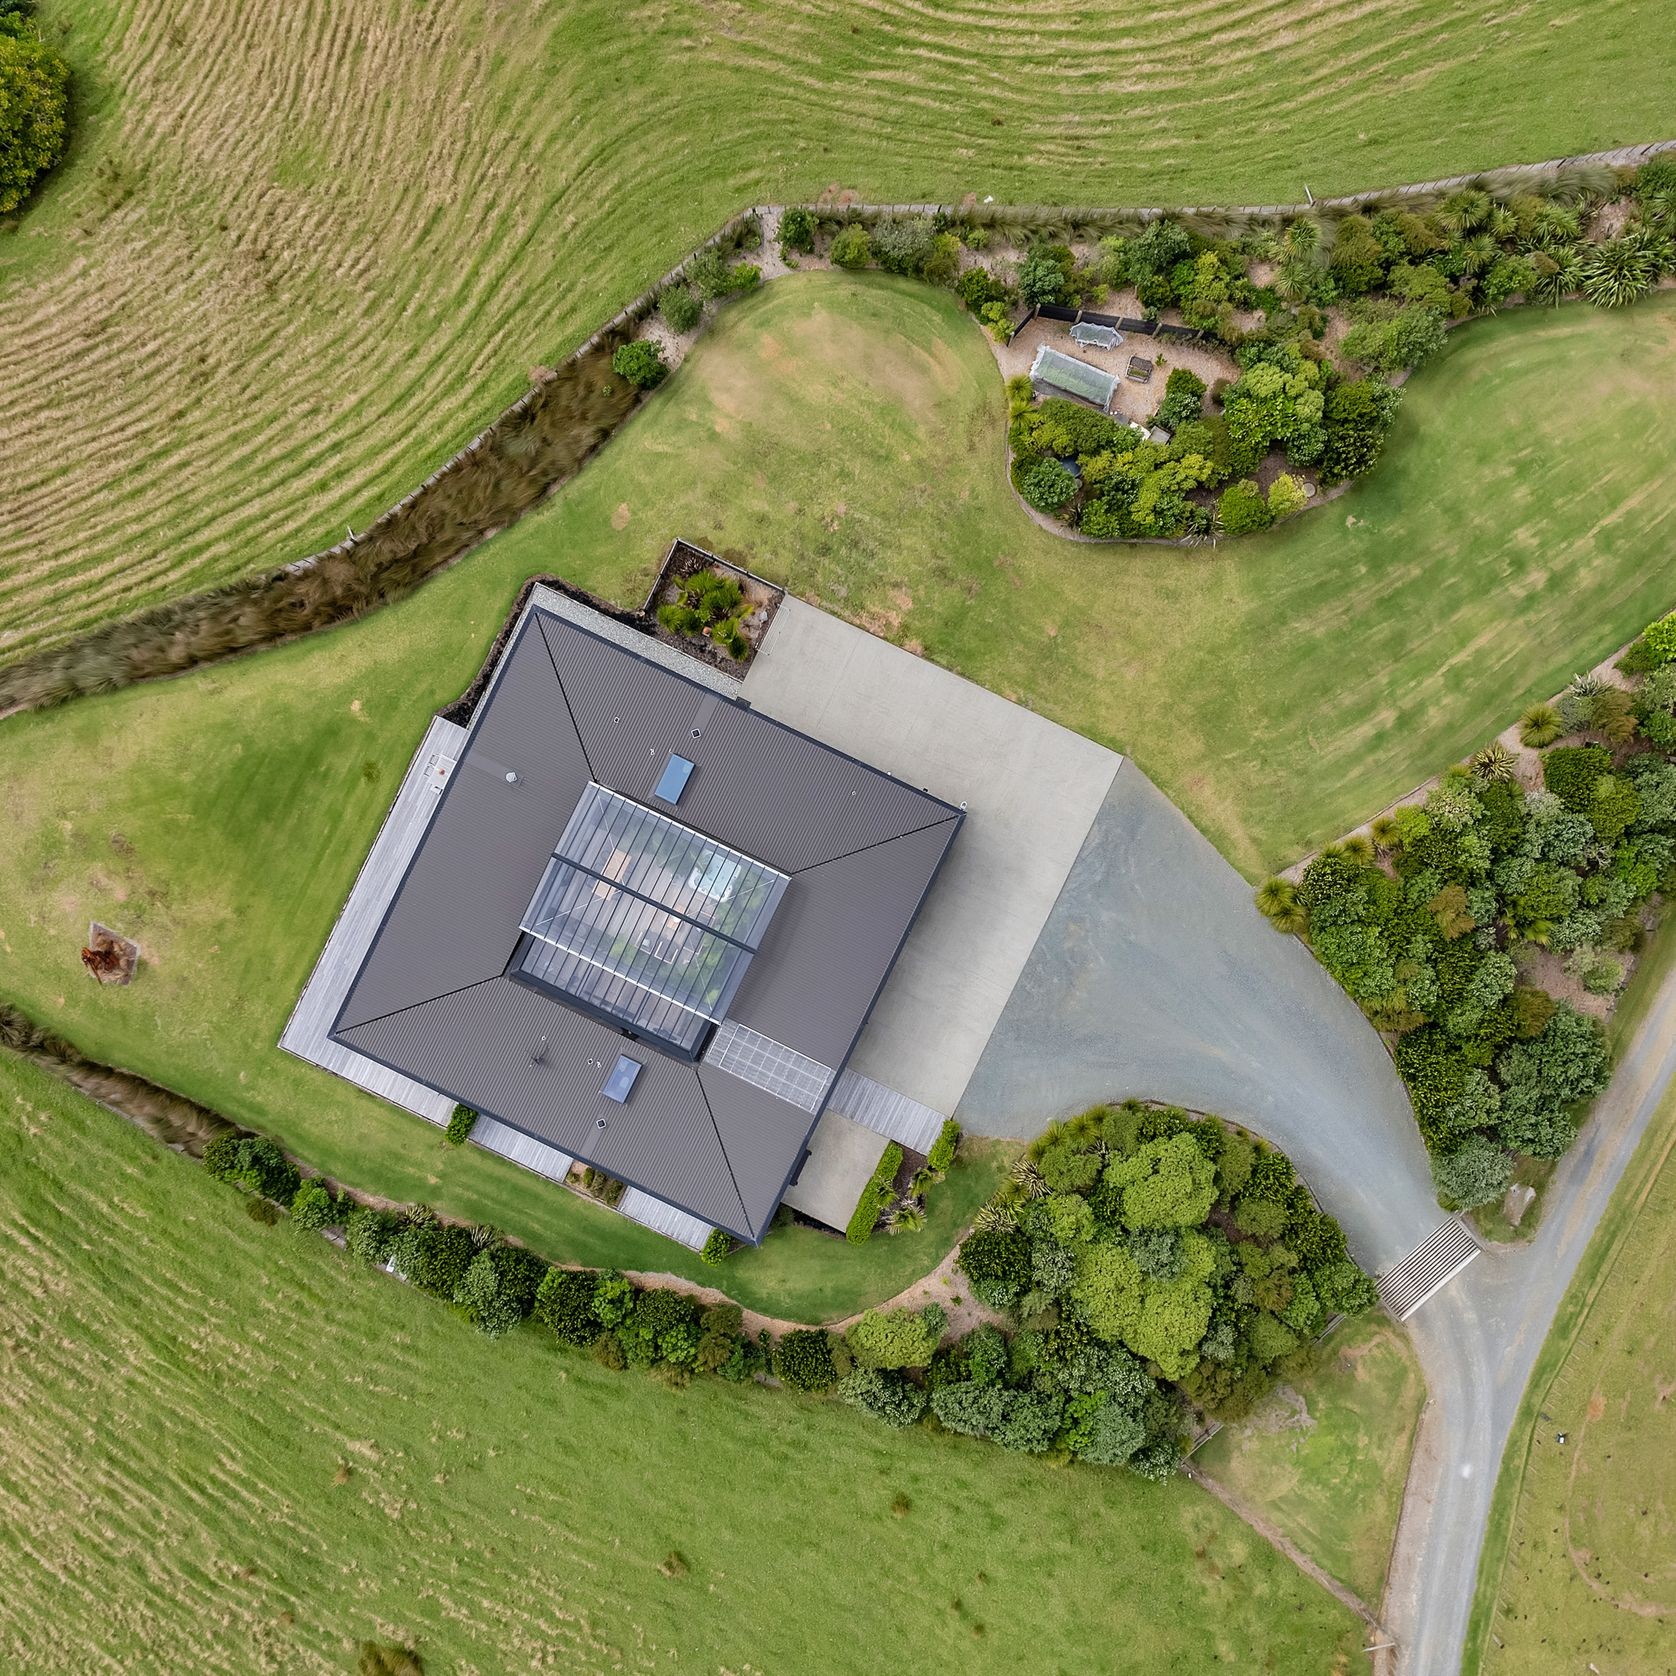
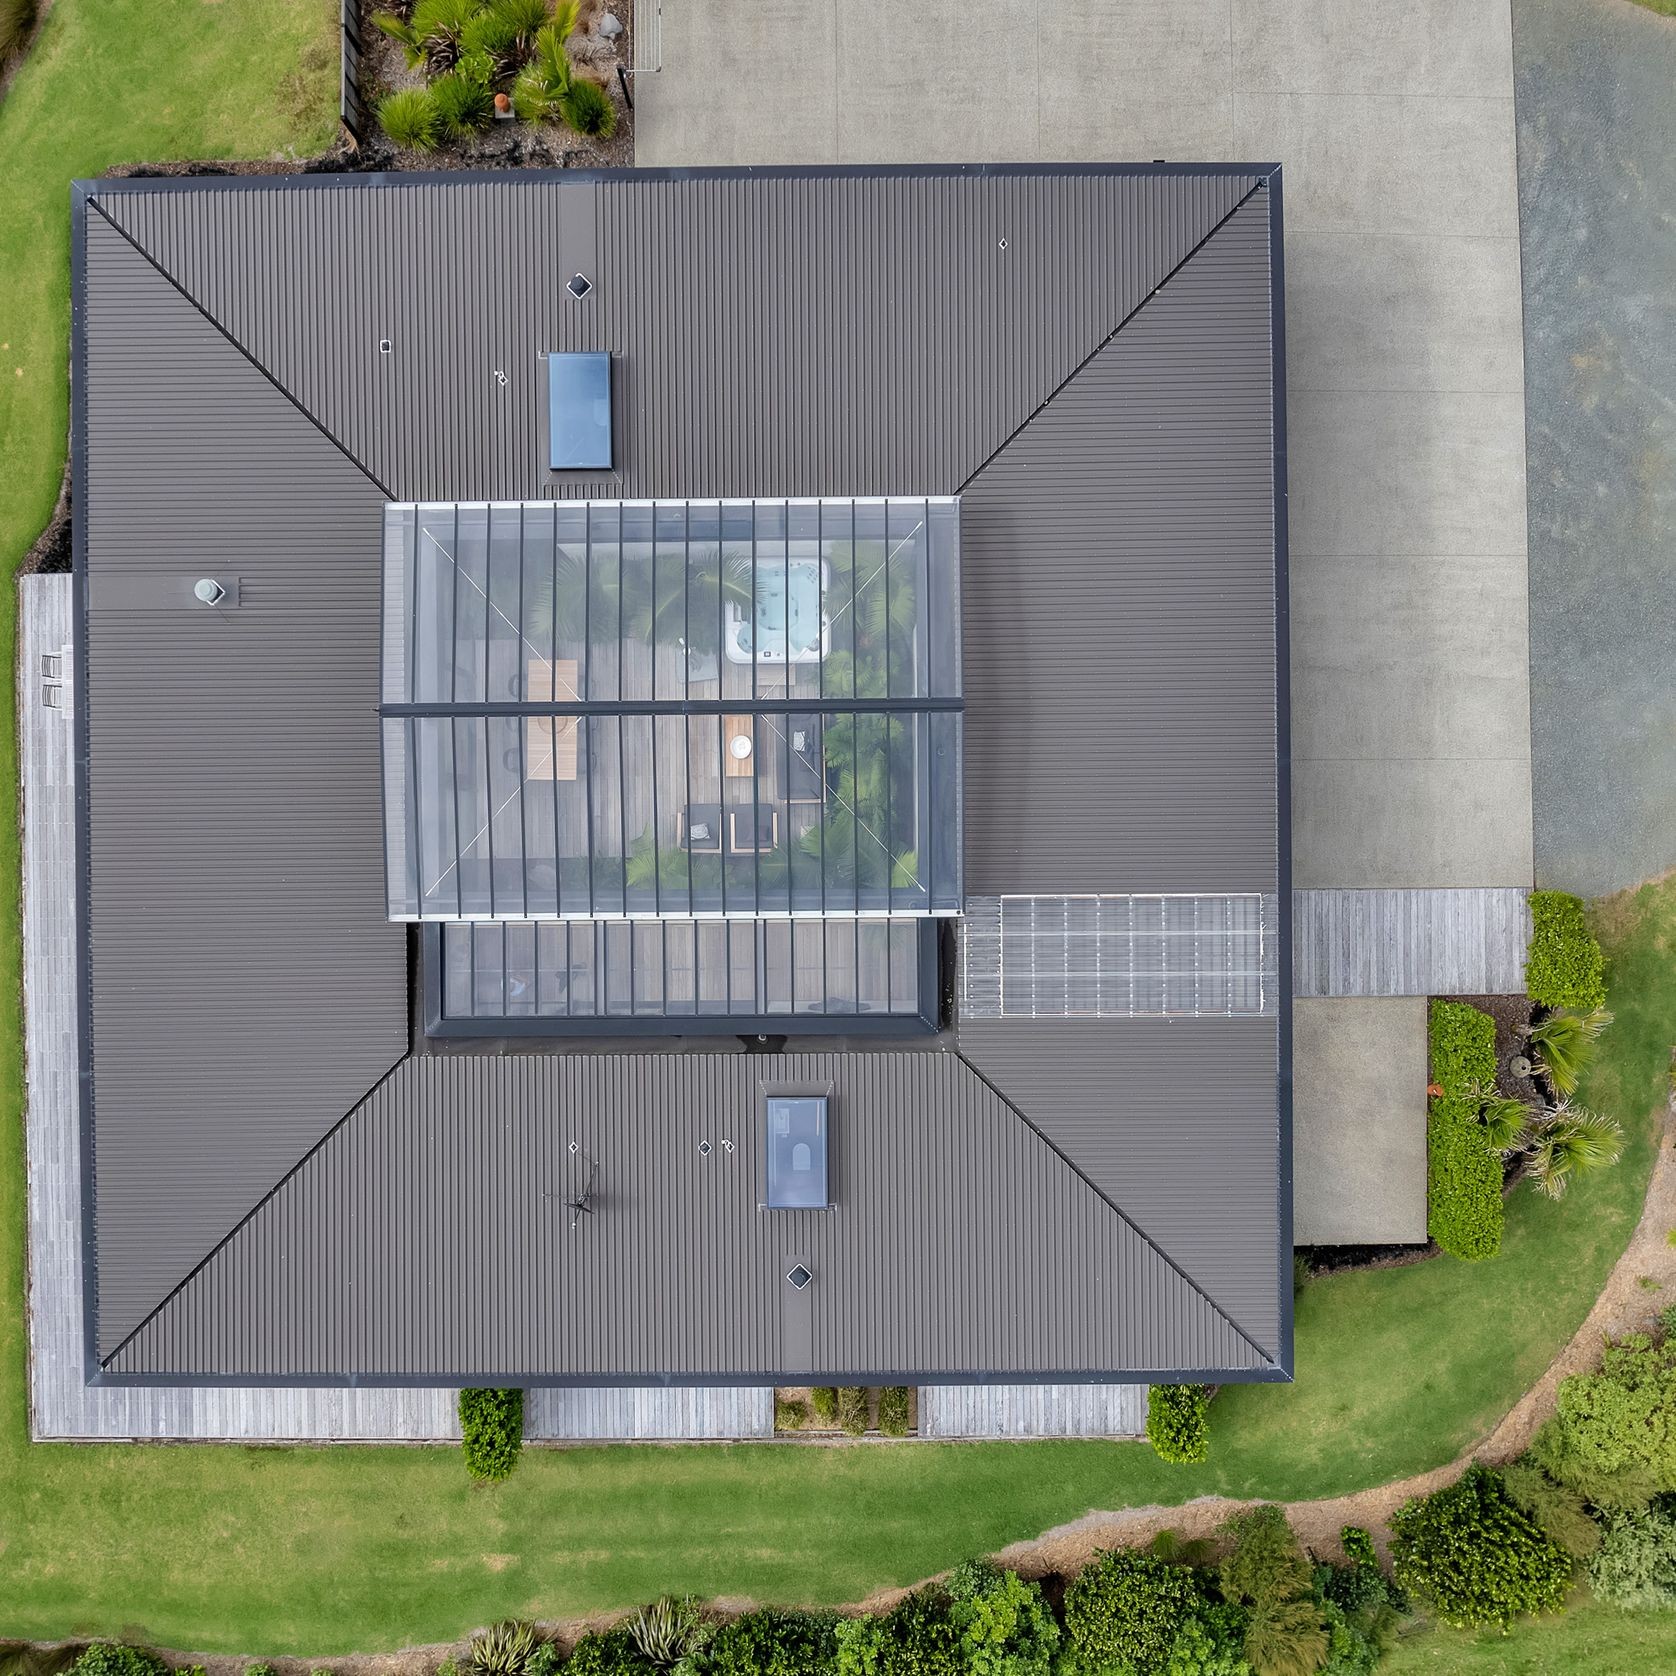
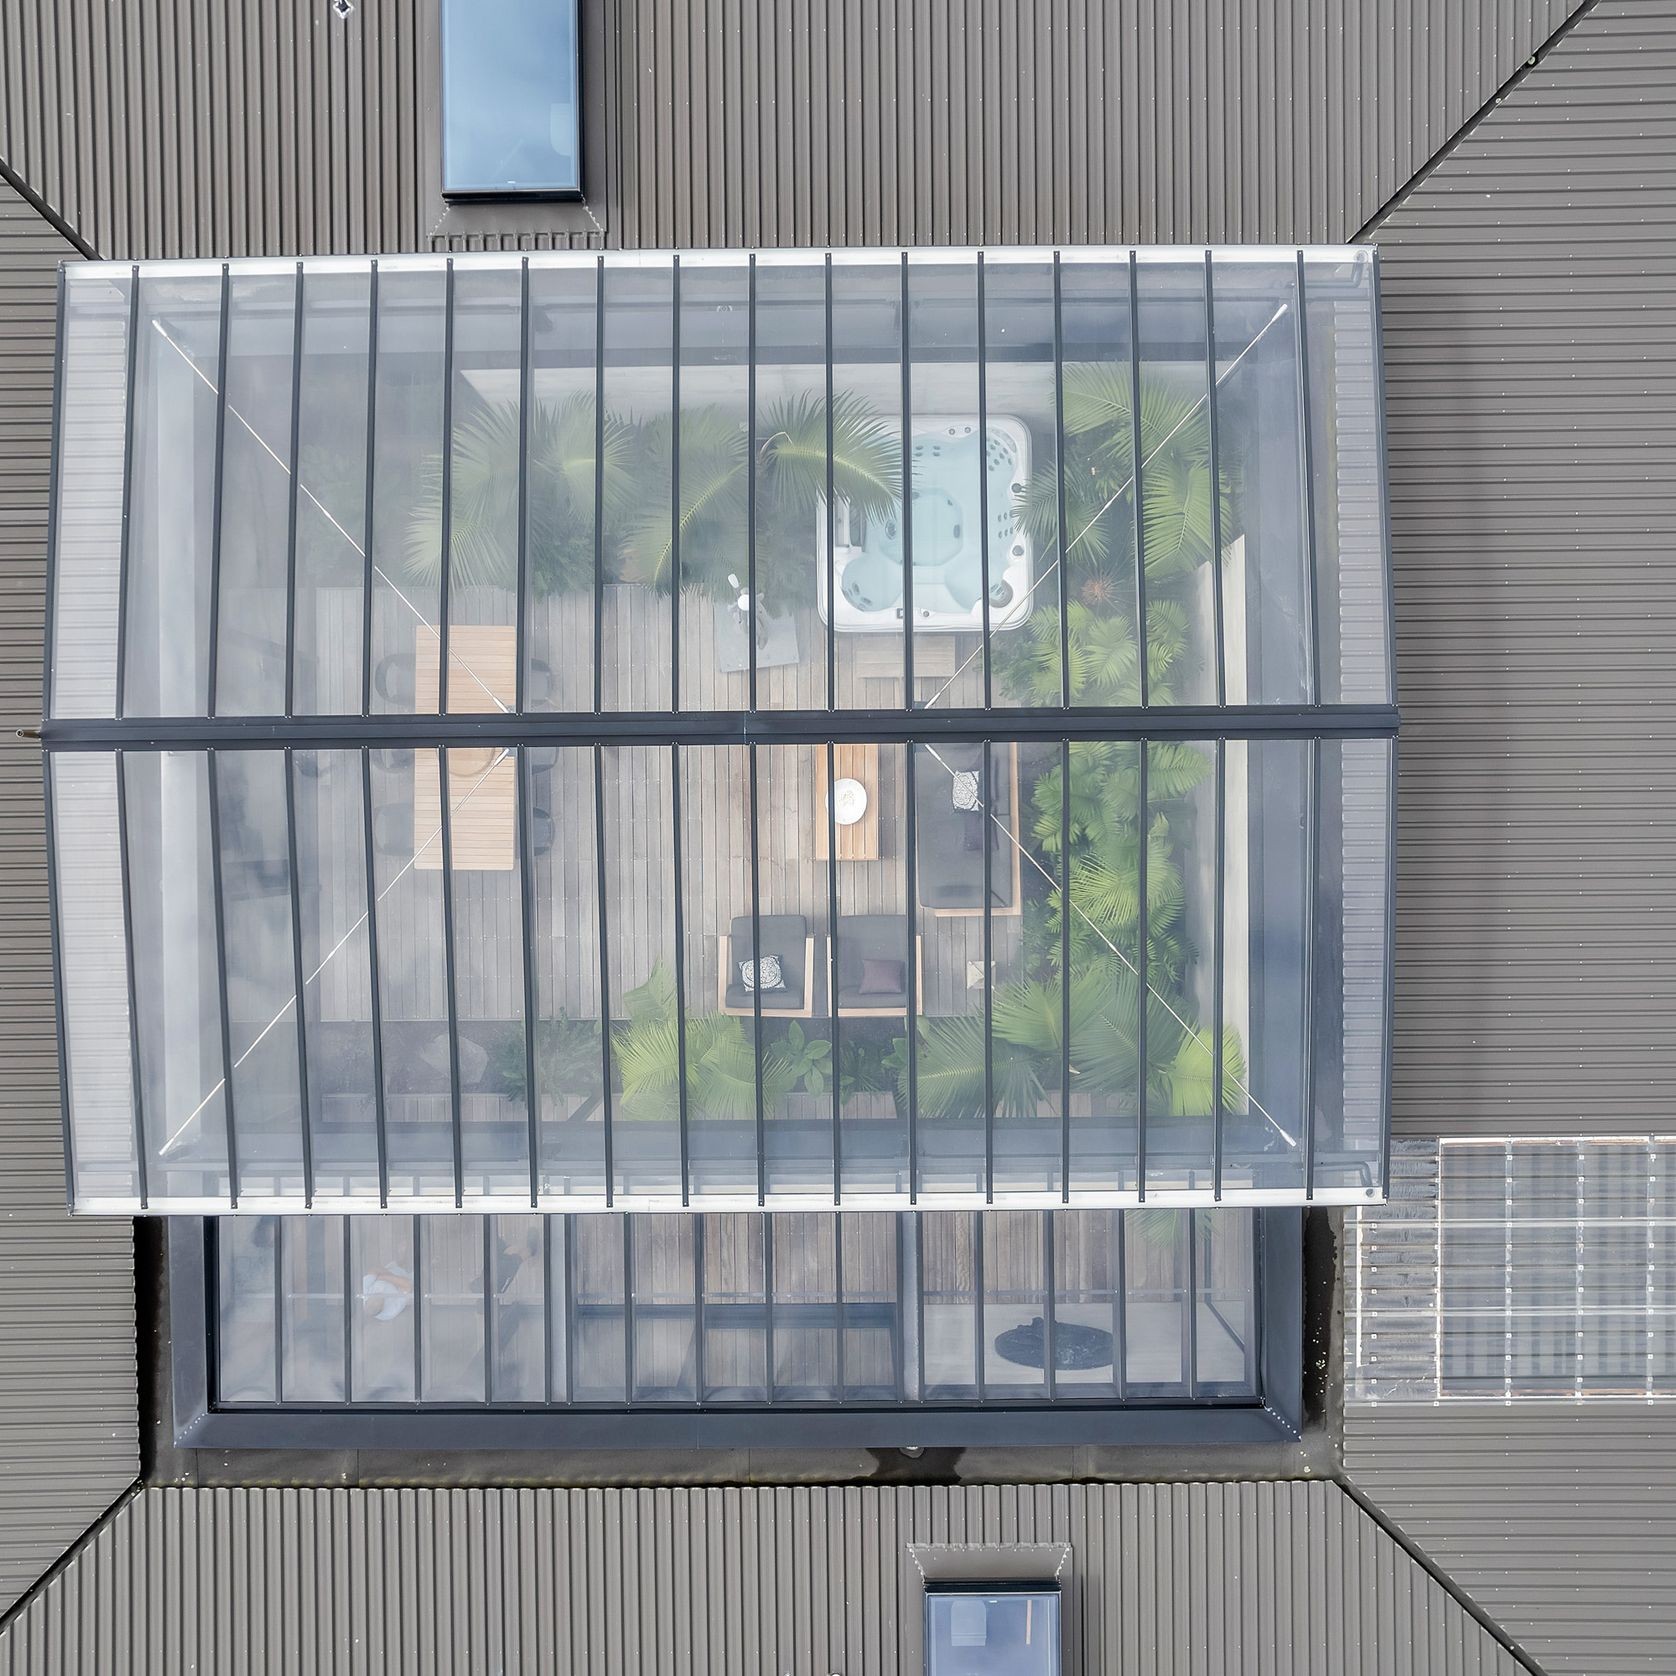
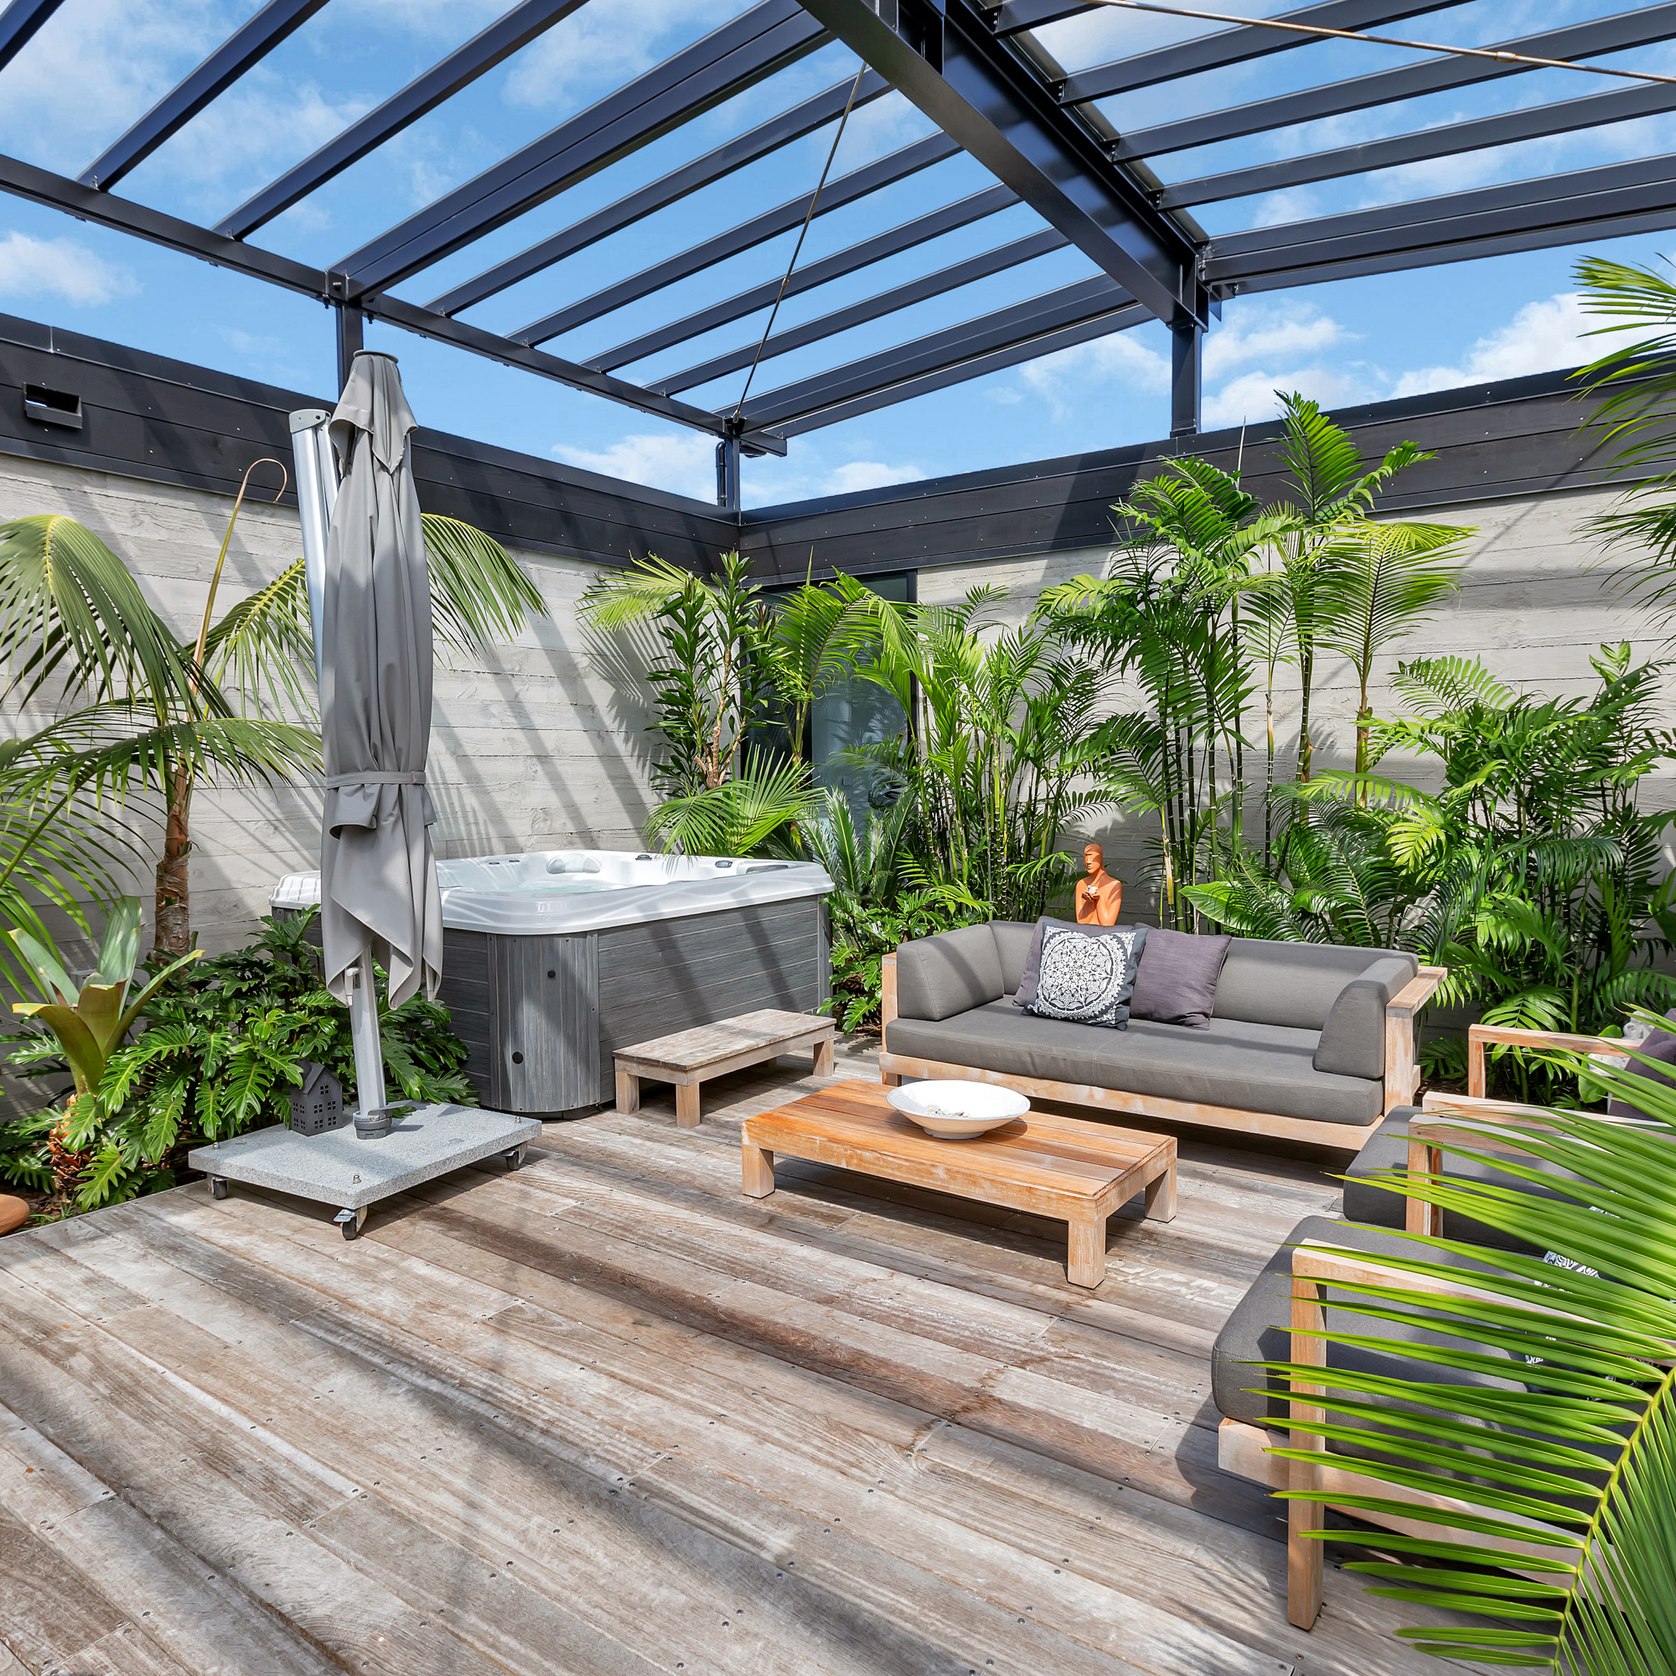
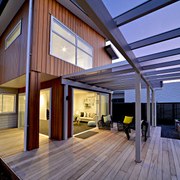
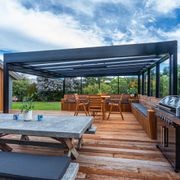
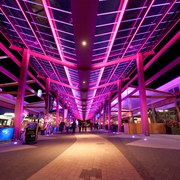
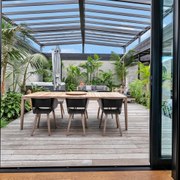
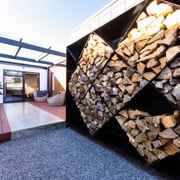
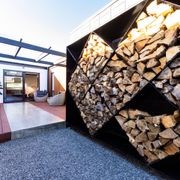
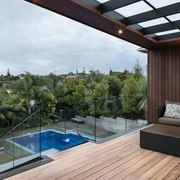
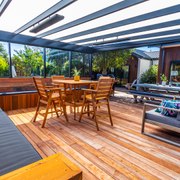
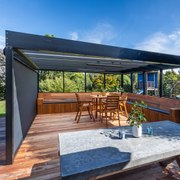
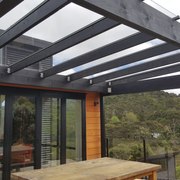
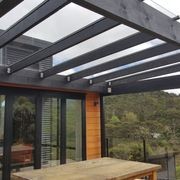
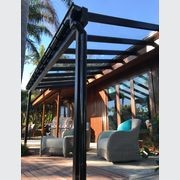
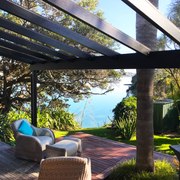
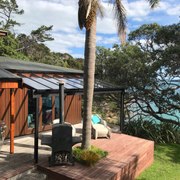
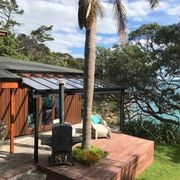
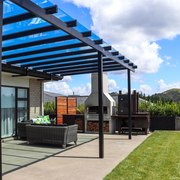
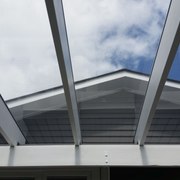
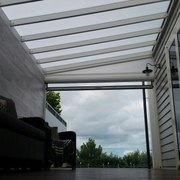
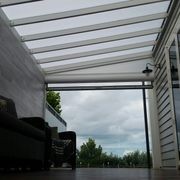
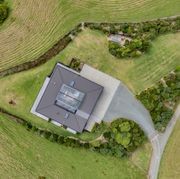
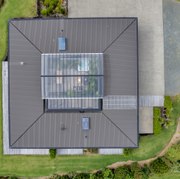
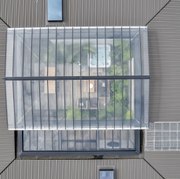
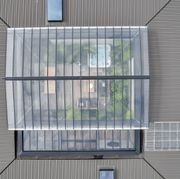
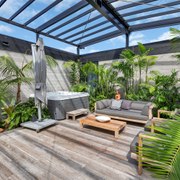
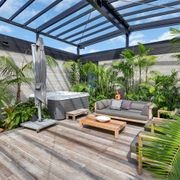
ClearVue Roofing System
PSP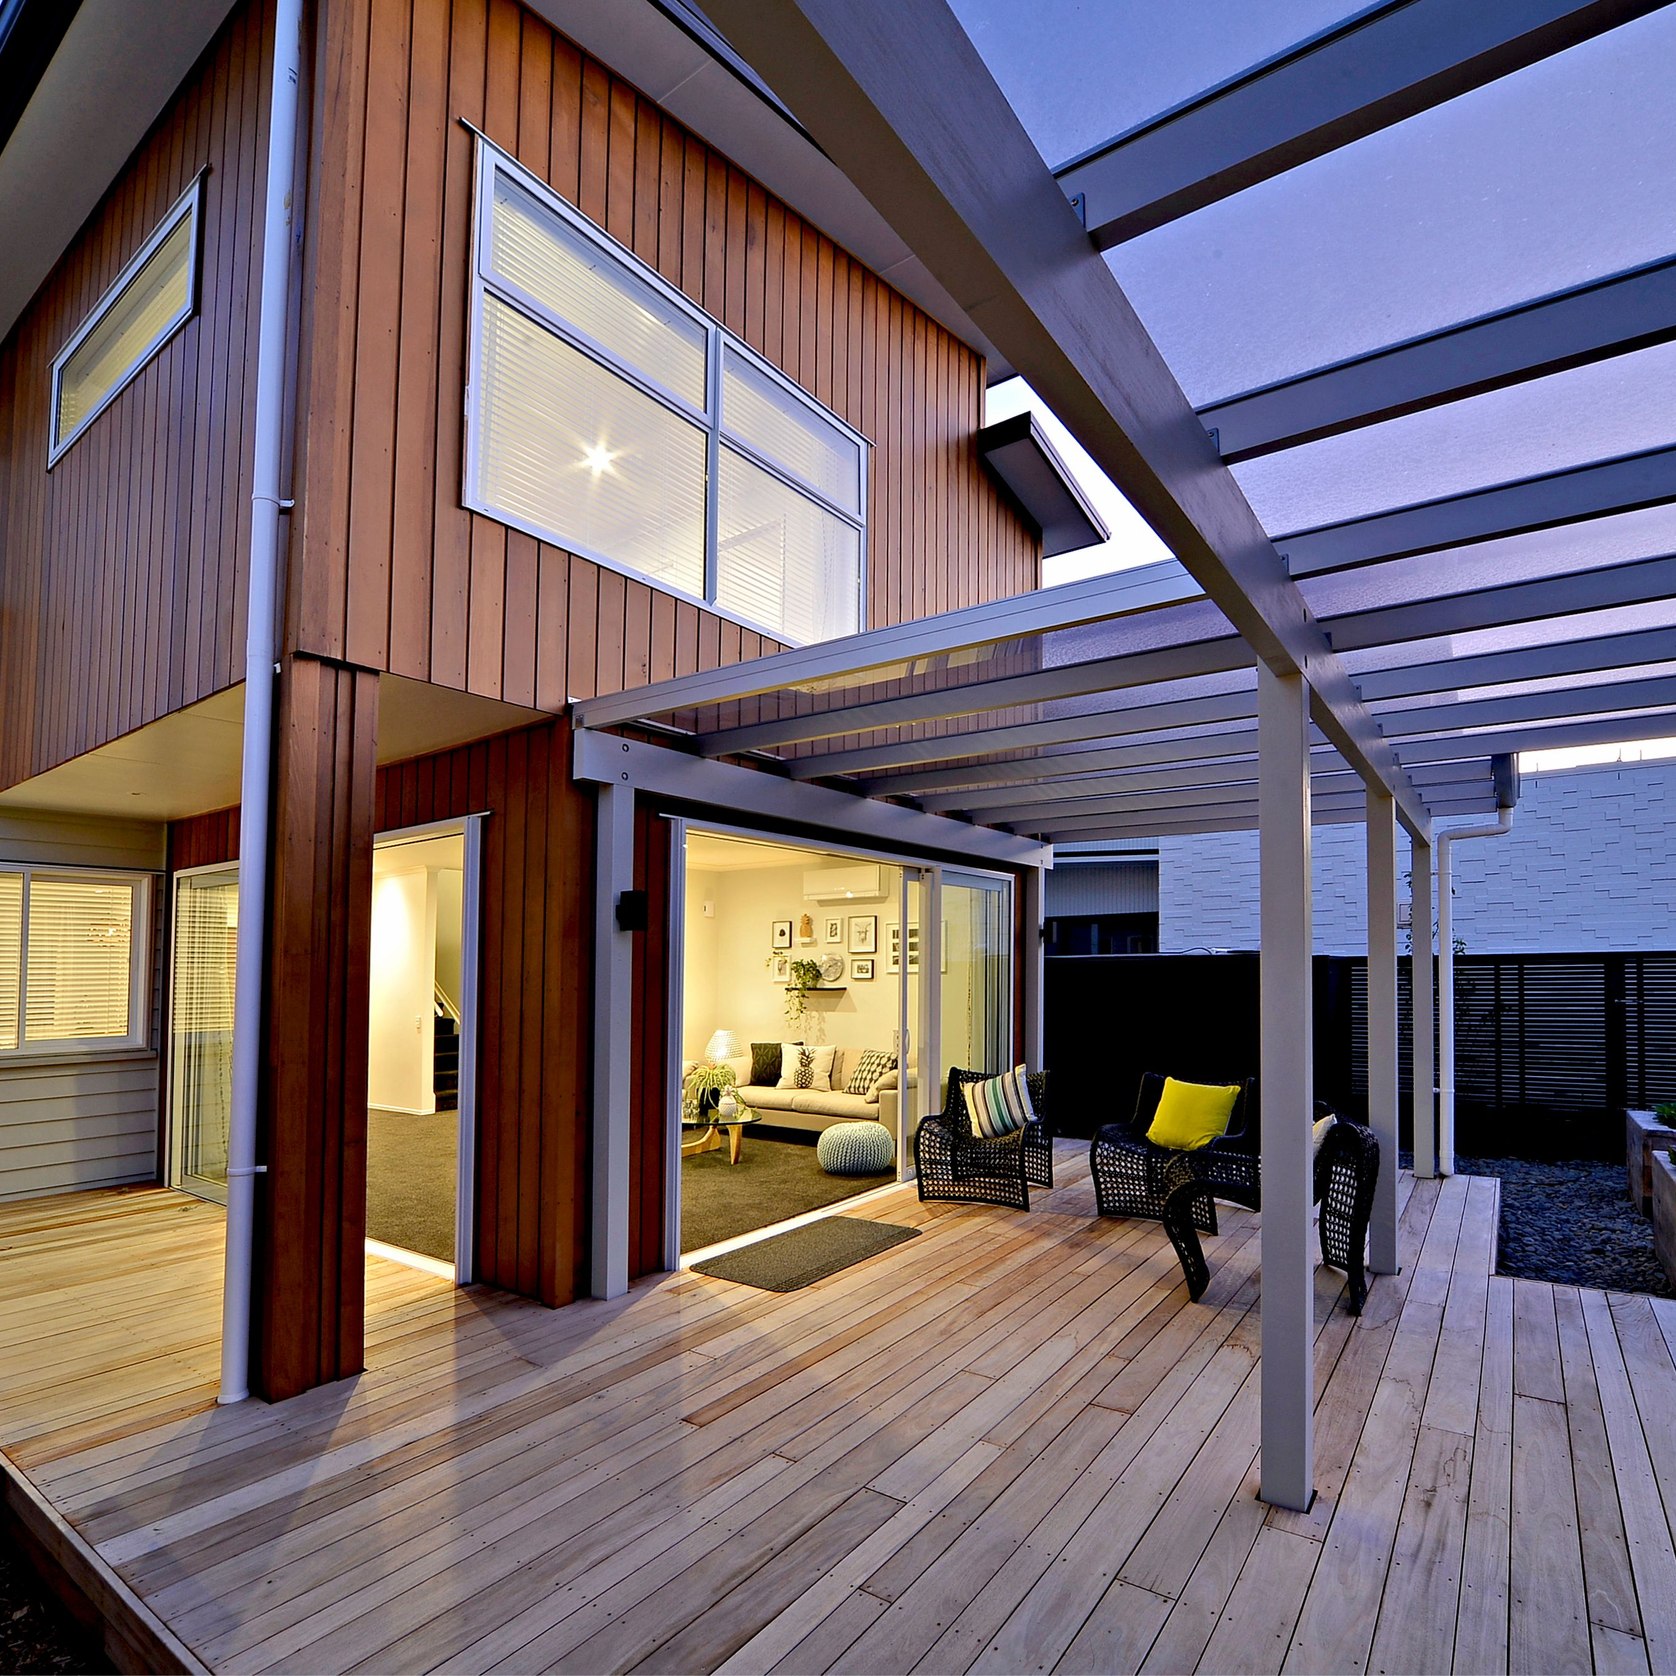


- Category
- Range
- Warranty15 years
Other products in the Translucent Roofing range


Projects using this product: ClearVue Roofing System


About the
Seller
PSP – leading with innovation, building with confidence.
PSP Limited proudly offers the industry the highest quality, widest choice and expert advice on the most innovative materials now available. With over thirty five years of commitment to the New Zealand building, glazing, signage and display markets – and now the flexible signage media market - PSP has established a reputation for quality and consistency, weathering the many challenges the sector has faced over that time.
Sitting behind PSP’s superior range of over 3000 products is an extensive warehouse covering 7000m2 run by experienced operations and support staff with branches located in:
Auckland – Albany (Head Office)
Auckland – East Tamaki
Auckland – Glenfield
Hamilton
Wellington
Christchurch
With ten sales staff located throughout the country, PSP has the depth to offer you the detailed, technical advice that will improve your project and your world. Proudly New Zealand owned and operated; PSP is a leading-edge provider of materials, innovation, and advice. Keeping ahead where others have only followed.
- More information